
When I look back on years of teaching baking fundamentals, some recipes stand out as the true benchmarks of home cook accomplishment. And believe me, making the red velvet cheesecake cake is right at the top of that list! It looks intimidating, like something you’d only order at a fancy city bakery. But I promise you, with a little patience—the kind I taught my second graders every day—you absolutely can create this masterpiece at home. It’s the perfect marriage of that familiar, tangy red velvet and a rich, velvety cheesecake center. We’re going to break this down together, step by steady step, so you can experience the reward of pulling this incredible dessert from your own oven. If you love the idea of creamy desserts, you should also check out my guide on the white chocolate cheesecake! You’ve got this!
- Why This red velvet cheesecake cake Recipe is a Showstopper
- Gathering Ingredients for Your red velvet cheesecake cake
- Step-by-Step Instructions for the red velvet cheesecake cake
- Tips for Achieving the Deep Red Color and Creamy Texture
- Ingredient Notes and Substitutions for red velvet cheesecake cake
- Serving Suggestions for Your Gourmet Dessert Assembly Instructions
- Troubleshooting Common Issues in red velvet cheesecake cake Baking
- Storing and Keeping Your red velvet cheesecake cake Fresh
- Estimated Nutritional Data for a Slice
- Share Your Impressive Birthday Cake Projects
Why This red velvet cheesecake cake Recipe is a Showstopper
Honestly, what isn’t to love about this cake? It takes two of the most beloved desserts and marries them together perfectly. It truly is a showstopper, whether you are serving it at a big holiday gathering or just because someone has a birthday. It builds confidence!
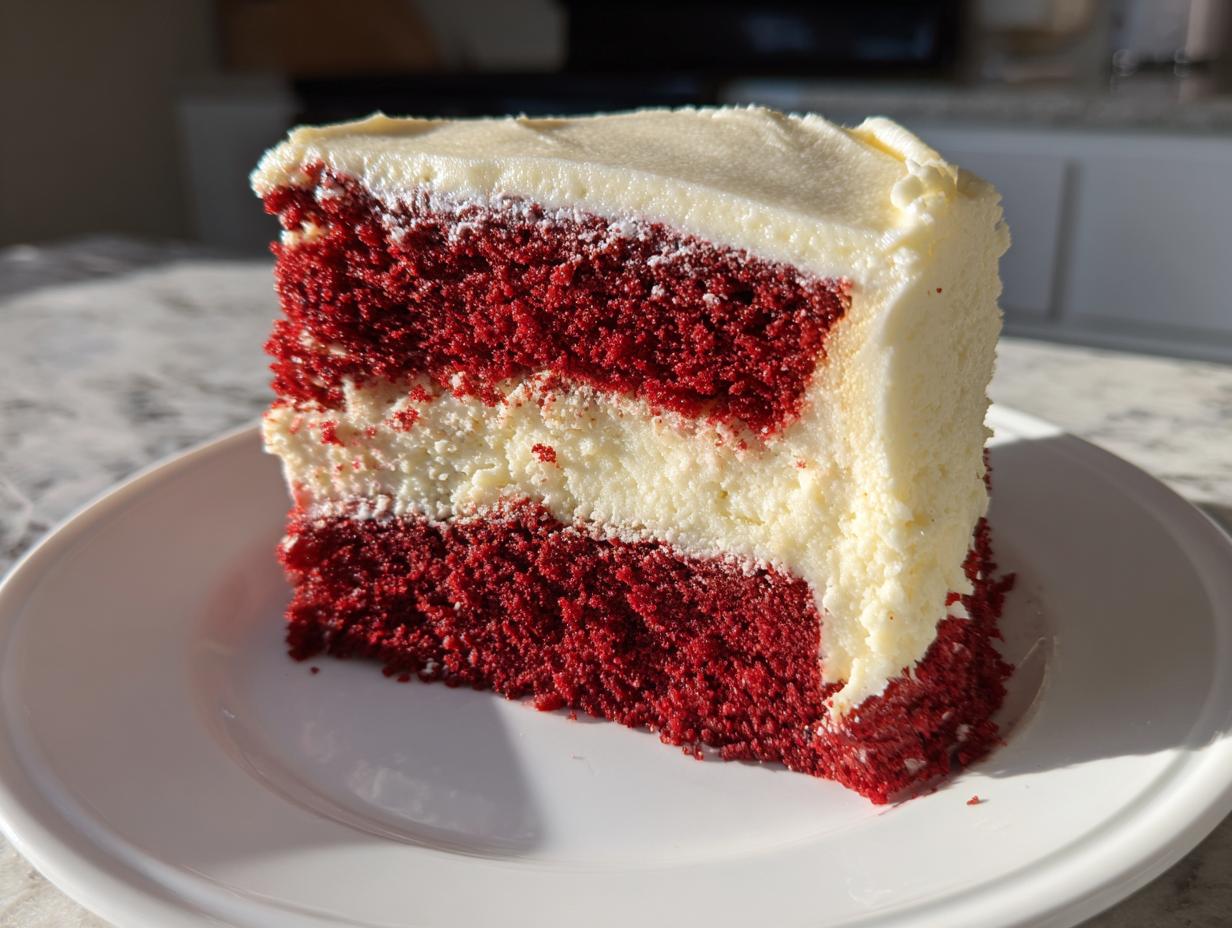
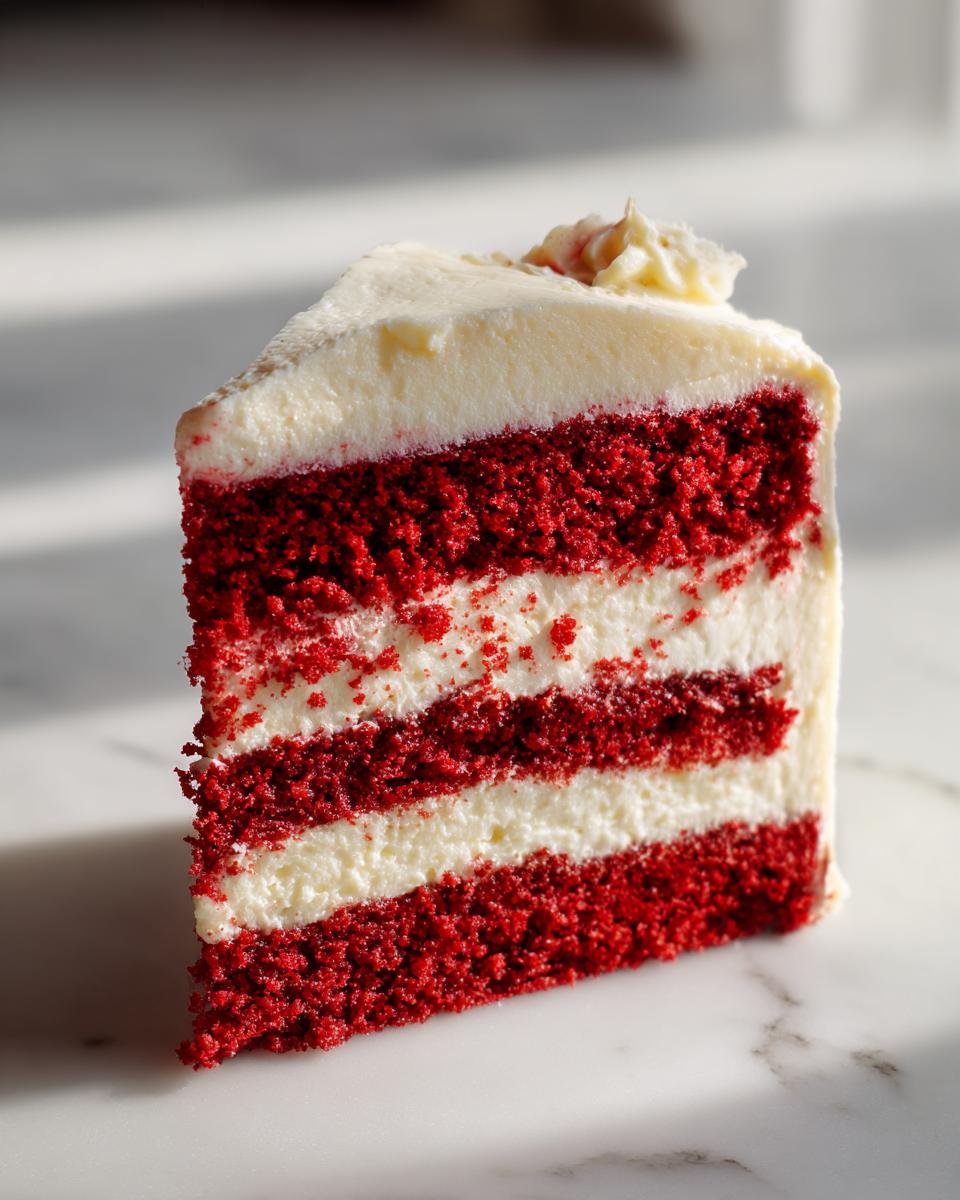
- That unmistakable, deeply moist red velvet cake texture.
- The cool, tangy contrast of the creamy, uncracked cheesecake swirl.
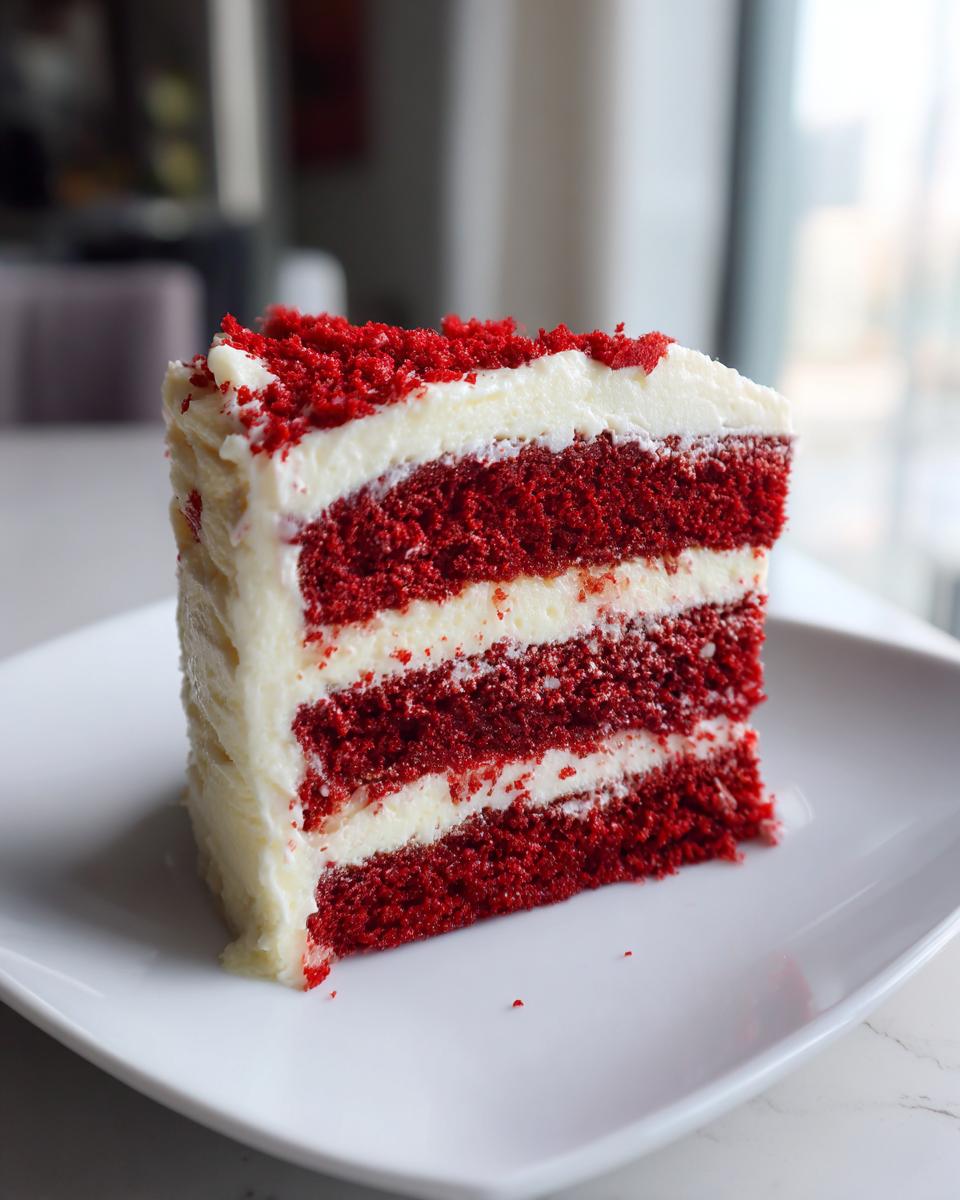
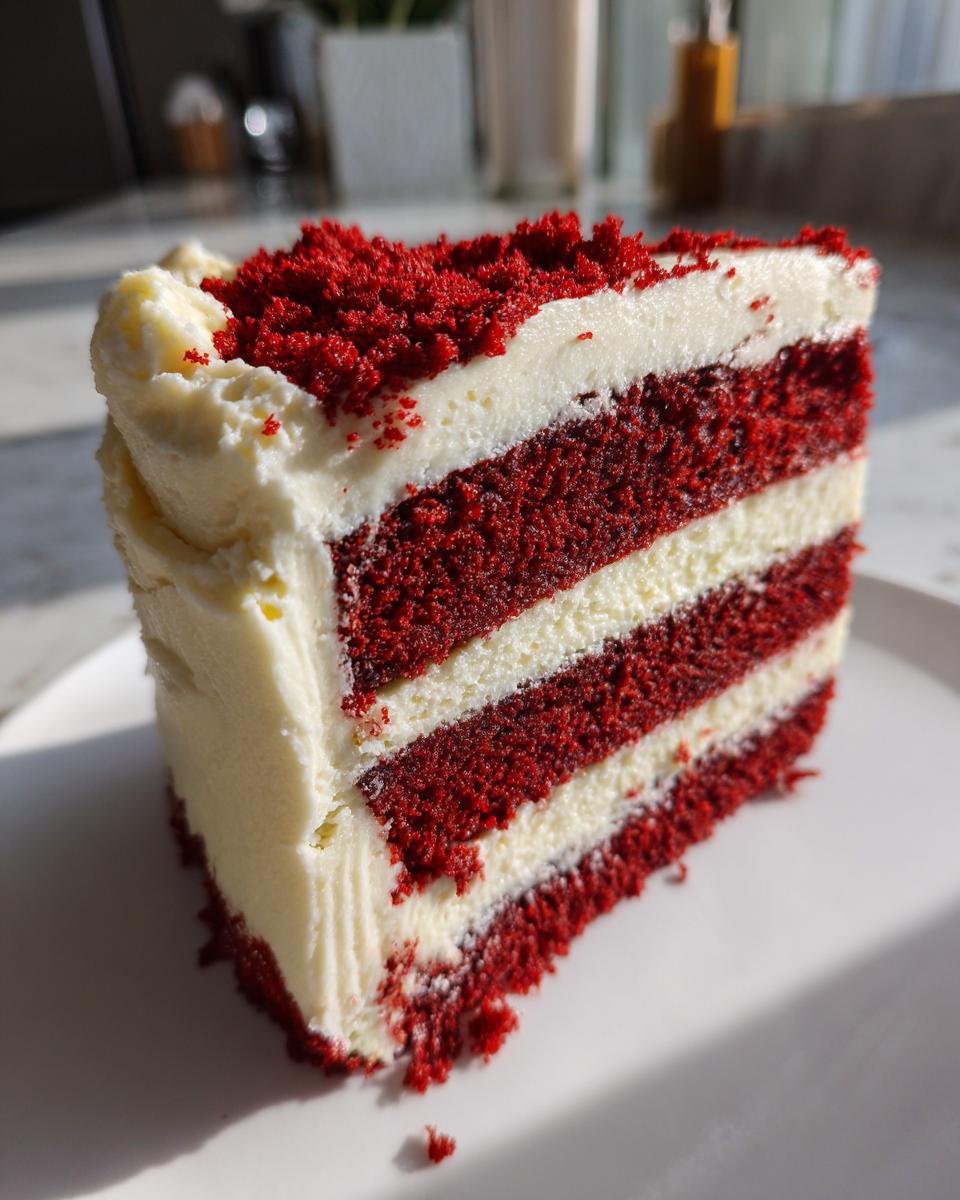
- The stunning visual appeal when you cut into that perfect first slice.
- It holds up beautifully under a generous layer of classic frosting—you can see my favorite recipe here for the best cream cheese frosting that never gets too sloppy on this cake.
Gathering Ingredients for Your red velvet cheesecake cake
Alright, now for the real heart of the matter—the ingredients! Making a layered dessert like this red velvet cheesecake cake means we have three distinct components to think about: the cake itself, that marvelous, creamy middle layer, and finally, the crowning glory of frosting. Don’t let the list overwhelm you; we are just focusing on quality here. I gathered all the details for you below, just like in my standardized lists. If you want to peek at another great red velvet option while you gather your supplies, check out my red velvet poke cake recipe!
For the Moist Red Velvet Cake Base
- 1 1/2 cups all-purpose flour
- 1 1/2 cups granulated sugar
- 1 teaspoon baking soda
- 1 teaspoon salt
- 1 tablespoon unsweetened cocoa powder (just enough for that little chocolate hint!)
- 1 cup buttermilk (don’t skip this; it helps our baking soda do its job!)
- 1/2 cup vegetable oil
- 2 large eggs
- 1 teaspoon white vinegar
- 1 teaspoon vanilla extract
- 2 tablespoons red food coloring (and please, aim for gel coloring—it gives you that gorgeous, deep color without thinning out your batter.)
For the Cream Cheese Swirl Layer
This layer needs to be smooth as silk so that it sets up perfectly against the cake. Remember, everything here needs to be at room temperature, especially the cream cheese!
- 8 ounces cream cheese, softened (this is crucial!)
- 1/2 cup granulated sugar
- 1 large egg
For the Perfect Cream Cheese Frosting
We want a frosting that’s sturdy enough to hold up to the rich cake underneath. Again, room temperature ingredients are your very best friends here!
- 4 ounces cream cheese, softened
- 1/2 cup (that’s one whole stick) unsalted butter, softened
- 2 cups powdered sugar
- 1 teaspoon vanilla extract
Step-by-Step Instructions for the red velvet cheesecake cake
This is where the magic happens! Don’t rush these steps, especially the cooling. Remember, even though this is a showstopper, we are just following simple procedures. Think of this like assembling a structure in my classroom—you need the foundation set before you build up. If you enjoy watching batter layers swirl together beautifully, you might also love the technique in my chocolate babka recipe!
Mixing the Velvety Red Cake Batter
First things first, get your oven warming up! We preheat it to 350°F (175°C). Then, get your 9-inch springform pan ready; make sure you grease it and dust it with flour well. No one wants a stuck cake, especially not a gorgeous red velvet cheesecake cake!
Grab a large bowl and whisk together all your dry items: the flour, sugar, baking soda, salt, and that tiny bit of cocoa powder. Don’t worry about over-whisking this part; we just need them combined.
In a separate bowl, mix the wet side: the buttermilk, oil, eggs, vinegar, vanilla, and the crucial deep red food coloring. Mix until that color is exactly how you want it—deep, rich, and velvety looking.
Now, the important part! Pour the wet mixture into the dry stuff. Mix it on low speed, just until everything comes together. Stop mixing the second you no longer see flour streaks. Seriously, overmixing the red velvet batter is what makes it tough, and we want velvety soft!
Divide that beautiful batter in half and pour just the first half into your prepared springform pan. That’s the base layer.
Creating the No Fail Cheesecake Layer Technique
This cheesecake layer is what sets this dessert apart, and mastering the No Fail Cheesecake Layer Technique keeps things smooth and crack-free. Before starting this layer, make sure your 8 ounces of cream cheese is truly soft so it mixes into a beautiful cloud, not a lumpy mess.
Beat that 8 ounces of cream cheese together with its 1/2 cup of sugar until it’s perfectly smooth. Then, gently beat in that single egg until it’s just blended. Don’t whip too much air into this, we want density, not froth! Carefully pour this creamy mixture right over the first layer of red velvet batter you already have in the pan. Pour slowly so you don’t disturb the base layer too much.
Baking and Cooling the Layered Dessert
Time to top it off! Gently spoon the remaining red velvet batter over the cheesecake filling. You let this bake at 350°F (175°C) for about 50 to 60 minutes. You’ll know it’s ready when a toothpick inserted near the edge comes out clean. The center might still look a tiny bit soft, but that’s okay; it sets as it cools.
Cooling correctly is non-negotiable for this type of bake. Let the cake cool completely in the pan on a cooling rack first. Truly, let it cool down! Then, you must chill it in the refrigerator for a minimum of four hours, but honestly, overnight is always better. This long chill time is essential for the cheesecake to firm up before you try to remove the springform ring or even think about frosting it.
Assembling Your Stunning red velvet cheesecake cake
Once your cake is completely chilled—and I mean *cold*—you can carefully release the sides of the springform pan. Now, let’s make that frosting!
For the frosting, beat the cream cheese and butter until they look light and fluffy—no lumps allowed! Then, slowly incorporate the powdered sugar and vanilla. Beat it until it’s smooth and easily spreadable. Finally, frost the top and sides of your lovely, chilled red velvet cheesecake cake, making sure to get a nice, smooth finish. It looks so impressive!
Tips for Achieving the Deep Red Color and Creamy Texture
This mixed-up dessert is all about visual appeal and that dreamy texture, so let’s talk secrets! When it comes to getting that signature shade, you’ll want to pay close attention to my Deep Red Food Coloring Tips. Liquid dye simply won’t cut it here; you must use a good quality gel paste. It packs so much pigment without adding extra liquid that could mess up the balance of our buttermilk and oil.
For the creamy part, the secret really lies underneath the red velvet layer. You need the cheesecake batter to be totally smooth before you pour it in, which means beating that cream cheese until it’s completely incorporated. Don’t worry about whipping too much air into the cheesecake component—we are aiming for dense and creamy, not light and airy, so mix just enough to combine everything beautifully!
Ingredient Notes and Substitutions for red velvet cheesecake cake
I always tell people that baking is chemistry, but home baking is about making good choices with what you have! Since this red velvet cheesecake cake relies on a few key players to get that perfect texture and color, I wanted to spend a moment discussing ingredients. Sometimes we just don’t have the exact item the recipe calls for, and that’s okay! We can usually find a reliable substitute that keeps our baking goals intact.
You might have noticed I stressed using gel food coloring earlier. Liquid coloring works, sure, but when you use two full tablespoons of it, you’re adding a lot of water to a delicate cake batter—and that can sometimes lead to a less tender crumb. The gel pastes are concentrated, so you only need a little bit to get that fantastic, deep red hue without altering the structure of the cake.
Another ingredient we rely on heavily is buttermilk. It adds that lovely tang that balances the richness of the cocoa and the cream cheese. If you find yourself staring at an empty fridge and realizing you’re out of buttermilk, please don’t run to the store! We have a super simple trick for that. It’s one of those pantry hacks I learned years ago and I use it all the time, just like when I make my lemon olive oil cake.
Here is how you can whip up a quick substitute:
- Measure out one cup of regular milk—whole milk works best if you have it, but any milk will do.
- Add one tablespoon of white vinegar or fresh lemon juice to the milk.
- Give it a gentle stir and let it sit on the counter for about five minutes. It will start to curdle slightly, and that’s exactly what we are looking for! That slightly soured milk acts just like buttermilk in the recipe, giving you the necessary acidity for that soft rise.
The key thing to remember is that nearly every ingredient in this recipe plays a specific role—from the oil providing moisture to the vinegar helping activate the baking soda. If you are substituting something major, just focus on swapping it with something that matches its function (fat for fat, acid for acid).
Serving Suggestions for Your Gourmet Dessert Assembly Instructions
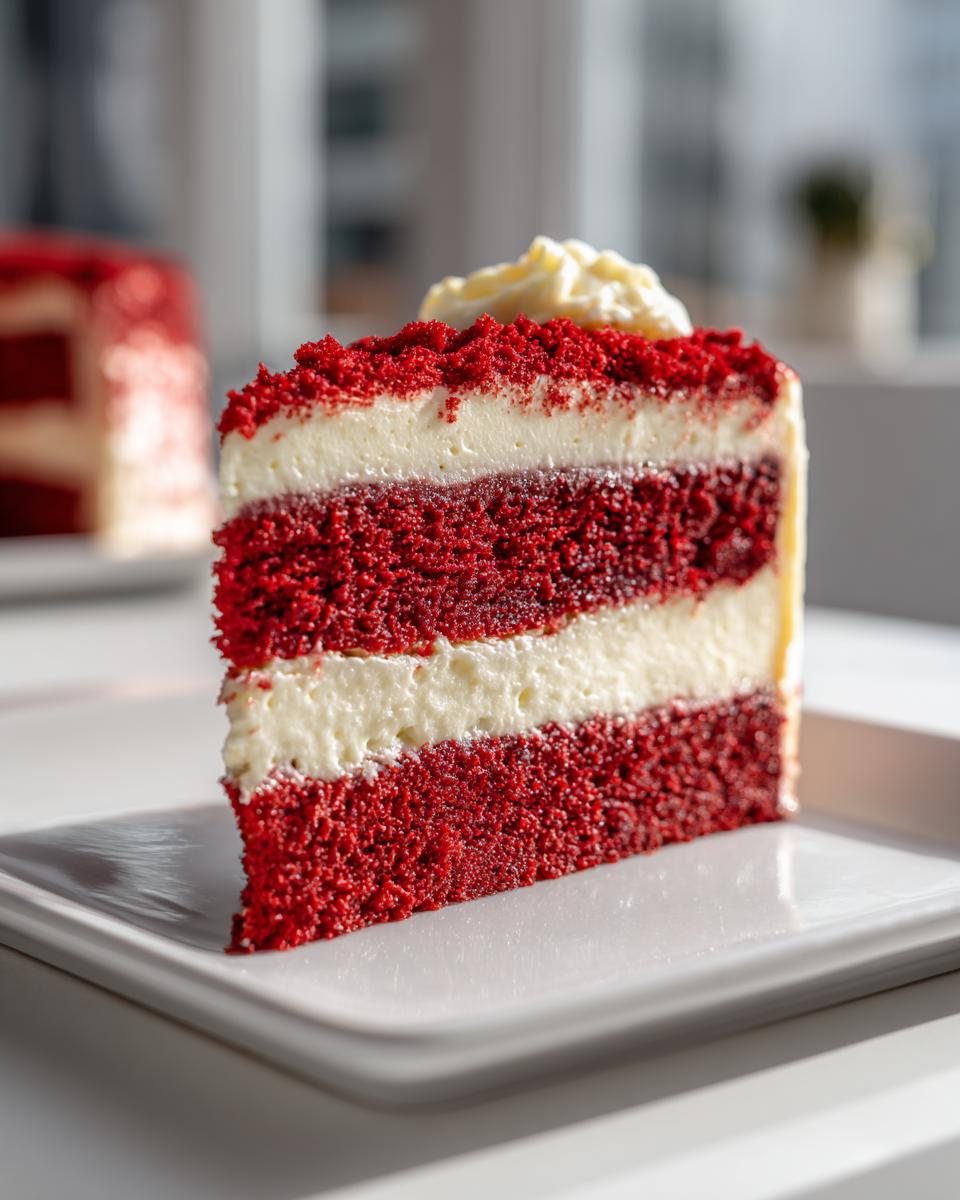
We’ve done the hard work, and now it’s time to show off this stunning red velvet cheesecake cake! Presenting and cutting a layered dessert like this correctly is the final step in mastering those Gourmet Dessert Assembly Instructions. You want that beautiful cross-section to be visible for everyone!
First, serving requires a very sharp, thin knife, and you need to use hot water. Seriously! Fill a tall glass with hot water while the cake rests. Dip your knife into the hot water, wipe it completely dry with a paper towel, and then make your cut. Wipe and heat the knife again between every single slice. This simple trick ensures you get clean edges without dragging that gorgeous, creamy cheesecake layer all over the pretty red velvet sides.
You’ll find this cake is incredibly rich; it stands up perfectly well on its own, but if you want to make it extra special for a party, think about what complements richness. A light, slightly tart fruit topping is wonderful—maybe some fresh raspberries or strawberries would be lovely on the side. If you love chocolate and fruit together, you should definitely check out my recipe for chocolate raspberry cake for serving inspiration!
For drinks, this cake pairs divinely with a strong, hot cup of coffee—the bitterness cuts right through the sweetness of the frosting and the tanginess of the cream cheese. A glass of cold buttermilk, just like the kind we used in the batter, is also a fun, nostalgic nod to the red velvet flavor profile. No matter how you serve it, I hope you enjoy every single beautiful slice!
Troubleshooting Common Issues in red velvet cheesecake cake Baking
Now, even with the most careful planning, baking is real life, and sometimes things don’t go exactly to plan. That’s part of the fun, really! When working on something as layered and ambitious as the red velvet cheesecake cake, you might run into a few snags. But don’t you worry one bit! I’ve seen just about everything happen at least once over my teaching career, and I know the fixes. We’re going to uncover some of those essential Velvety Cake Baking Secrets that help you recover like a pro.
If you’re aiming for perfection on your first try, keep these common problems in mind:
Why Did My Cheesecake Layer Crack?
This is the most frequent worry when combining cake and cheesecake! A crack usually happens because the cheesecake layer cooled down too fast or cooled unevenly after baking. Remember how I mentioned the water bath? That’s your first line of defense! Putting the springform pan inside a larger roasting pan filled halfway with hot water acts like a nice, gentle steam blanket, ensuring even, slow cooking.
If you see a small crack starting to form anyway, don’t panic! The good news is that this cake is getting a thick layer of cream cheese frosting on top, which hides almost everything. For any small cracks in your chocolate cheesecake layer, a little dab of leftover frosting smoothed over the crack while it’s chilling really does the trick before you frost the whole thing.
What If My Cake Sinks in the Middle?
Seeing a dip where a dome should be is certainly disappointing, especially when relying on those careful steps for the red velvet base. Sinking usually comes down to two things: either you opened the oven door too soon while it was baking, disturbing the rise, or, less commonly, the cake batter was overmixed.
Overmixing develops too much gluten in the red velvet part, which causes a good rise initially, but then it falls flat once it starts cooling because the structure can’t support itself. Next time, remember that rule: stop mixing the batter as soon as the flour streaks disappear! The cheesecake center helps stabilize the whole dessert, but a gentle oven door policy is always best for the cake portion.
My Cream Cheese Frosting is Running Everywhere!
This is usually just a temperature issue! Your cake must be completely, totally cold before you even think about frosting it. If the cake top is even slightly warm, that beautiful blend of softened butter and cream cheese in your frosting will melt right into a soupy puddle. If this happens while you are frosting, stop immediately! Chill the entire cake, frosted parts and all, for 20 minutes in the freezer. That quick chill will firm everything back up, and you can go back in and smooth it out nicely.
Storing and Keeping Your red velvet cheesecake cake Fresh
This beautiful red velvet cheesecake cake is definitely a special occasion dessert, and we want those leftovers to taste just as amazing the next day, right? Because we have that rich, tangy cheesecake layer right in the middle, storage rules are definitely different than they are for a simple layer cake. You need to treat this dessert like the dairy-heavy item it is!
Forget leaving this on the counter—even if it’s frosted! That cream cheese in the cake layer and the frosting needs proper refrigeration to stay safe and keep its dreamy texture. The good news is that chilling actually helps the flavors settle in beautifully. I often think the second day tastes even better, once those spices and the tang of the cheese have really married together.
Here are my straightforward guidelines for keeping your baking masterpiece fresh:
- Refrigeration is Mandatory: Always store the cake in an airtight container or cover it tightly with plastic wrap directly in the refrigerator. Make sure no strong fridge odors (hello, leftover onions!) can seep into that beautiful frosting.
- How Long It Lasts: Because of the cheesecake component, this cake is at its very best within three to four days tucked away in the fridge. After that, the cake layers might start to dry out a little, even with all that moisture packed in there.
- Serving Chilled: When you take a slice out to serve, try to let it sit on the counter for at least 20 to 30 minutes before eating. Cheesecake flavors really shine when they aren’t ice-cold straight from the fridge. The frosting will soften just enough to spread beautifully.
Now, what about reheating this magnificent creation? Well, truthfully, you don’t reheat a cheesecake cake! That dense, creamy layer needs to stay cold to hold its structure. If you’re trying to save a slice for a cozy moment later, forget the microwave. If you want to warm up a slice of plain red velvet cake, maybe a tiny bit of warmth helps, but for this hybrid, keep it cool. It’s truly best enjoyed as a chilled or room-temperature dessert. If you are looking for something that heats up wonderfully, you might want to try my recipe for easy fudge—that’s a perfect cozy treat for a colder evening!
Estimated Nutritional Data for a Slice
When we bake something this indulgent, full of cream cheese, butter, and rich cake, we know it’s going to be a treat! I believe in being honest about what goes into our bodies, even when we’re talking about happy holiday baking. So, here is the estimated nutritional breakdown for one generous slice of our red velvet cheesecake cake. Remember, these numbers are just an educated guess based on standard calculations for the ingredients we used, so they might shift slightly based on the exact brands you pick up at the store.
Think of this as the ‘metadata’ for your beautiful baking accomplishment. It’s a rich dessert, meant to be savored!
- Serving Size: 1 slice
- Calories: 450
- Sugar: 45g
- Sodium: 300mg
- Fat: 28g
- Saturated Fat: 16g
- Carbohydrates: 48g
- Protein: 6g
You can see that the sugar and fat content reflects the richness of both the cheesecake and the cream cheese frosting we worked so hard to make perfect. When you’re making something this special, meant for birthdays or big celebrations, those numbers are just part of the story. Enjoy every last bite because you absolutely earned it!
Share Your Impressive Birthday Cake Projects
Well, friends, we’ve come to the end of our baking adventure, and I sincerely hope you feel proud of the red velvet cheesecake cake you’ve created! Whether this was for a quiet Sunday treat or one of those true milestone celebrations, you tackled a complex recipe and you conquered it. That’s exactly what I love to see when folks try my recipes!
Now comes my absolute favorite part of teaching—hearing from you! When you’ve put in the time to create something as truly spectacular as this layered dessert, I want to know all about it. Your shared experiences help build up our community here at Cooking by Carla, and honestly, seeing your successes keeps me inspired to keep testing out all those classic American comfort foods!
I encourage you to take a moment, snap a picture of that gorgeous swirl, and share your results! We all love seeing our fellow home cooks pull off these Impressive Birthday Cake Projects. Did you use the water bath trick successfully? Did the frosting hold up perfectly overnight? Tell me everything in the comments below.
If you found this recipe helpful and reliable, please take a moment to leave a star rating right at the top of the page. Your feedback is so valuable to me as I build out this digital family cookbook. If you’ve tried something else elaborate recently, perhaps you want to check out my fluffy vanilla cupcakes? They are a simpler, but equally delicious, way to practice your frosting skills!
Thank you so much for baking with me today. Happy eating, and I can’t wait to see what you make next!
PrintUltimate Layered Red Velvet Cheesecake Cake

A guide to making a stunning, layered Red Velvet Cheesecake Cake featuring a moist red velvet base and a creamy, uncracked cheesecake center, topped with classic cream cheese frosting.
- Prep Time: 30 min
- Cook Time: 60 min
- Total Time: 90 min
- Yield: 12 servings 1x
- Category: Dessert
- Method: Baking
- Cuisine: American
- Diet: Vegetarian
Ingredients
- 1 1/2 cups all-purpose flour
- 1 1/2 cups granulated sugar
- 1 teaspoon baking soda
- 1 teaspoon salt
- 1 tablespoon unsweetened cocoa powder
- 1 cup buttermilk
- 1/2 cup vegetable oil
- 2 large eggs
- 1 teaspoon white vinegar
- 1 teaspoon vanilla extract
- 2 tablespoons red food coloring (gel preferred)
- 8 ounces cream cheese, softened (for cheesecake layer)
- 1/2 cup granulated sugar (for cheesecake layer)
- 1 large egg (for cheesecake layer)
- 4 ounces cream cheese, softened (for frosting)
- 1/2 cup (1 stick) unsalted butter, softened (for frosting)
- 2 cups powdered sugar (for frosting)
- 1 teaspoon vanilla extract (for frosting)
Instructions
- Prepare the Red Velvet Cake Batter: Preheat your oven to 350°F (175°C). Grease and flour a 9-inch springform pan.
- In a large bowl, whisk together the flour, sugar, baking soda, salt, and cocoa powder.
- In a separate bowl, mix the buttermilk, oil, eggs, vinegar, vanilla extract, and red food coloring until the color is deep and uniform.
- Pour the wet ingredients into the dry ingredients and mix on low speed until just combined. Do not overmix.
- Pour half of the red velvet batter into the prepared springform pan.
- Prepare the Cheesecake Layer: In a medium bowl, beat the 8 ounces of softened cream cheese and 1/2 cup sugar until smooth. Beat in the single egg and vanilla until just blended.
- Gently pour the cheesecake mixture over the red velvet batter in the pan.
- Top with the remaining red velvet batter, pouring slowly over the cheesecake layer.
- Bake the Cake: Bake for 50 to 60 minutes, or until a toothpick inserted near the edge comes out clean. The center should be mostly set.
- Cool the Cake: Let the cake cool completely in the pan on a wire rack. Once cool, chill in the refrigerator for at least 4 hours or preferably overnight before removing the sides of the springform pan.
- Make the Cream Cheese Frosting: Beat the 4 ounces of cream cheese and butter together until light and fluffy. Gradually add the powdered sugar and vanilla extract. Beat until smooth.
- Frost the Cake: Frost the top and sides of the chilled cake with the cream cheese frosting.
Notes
- For the best red color, use a high-quality gel food coloring instead of liquid drops.
- To prevent the cheesecake layer from cracking, bake the cake in a water bath (place the springform pan inside a larger roasting pan and fill the roasting pan with hot water halfway up the side of the springform pan).
- Cooling the cake completely before frosting prevents the cream cheese frosting from melting.
Nutrition
- Serving Size: 1 slice
- Calories: 450
- Sugar: 45
- Sodium: 300
- Fat: 28
- Saturated Fat: 16
- Unsaturated Fat: 12
- Trans Fat: 0
- Carbohydrates: 48
- Fiber: 1
- Protein: 6
- Cholesterol: 90