
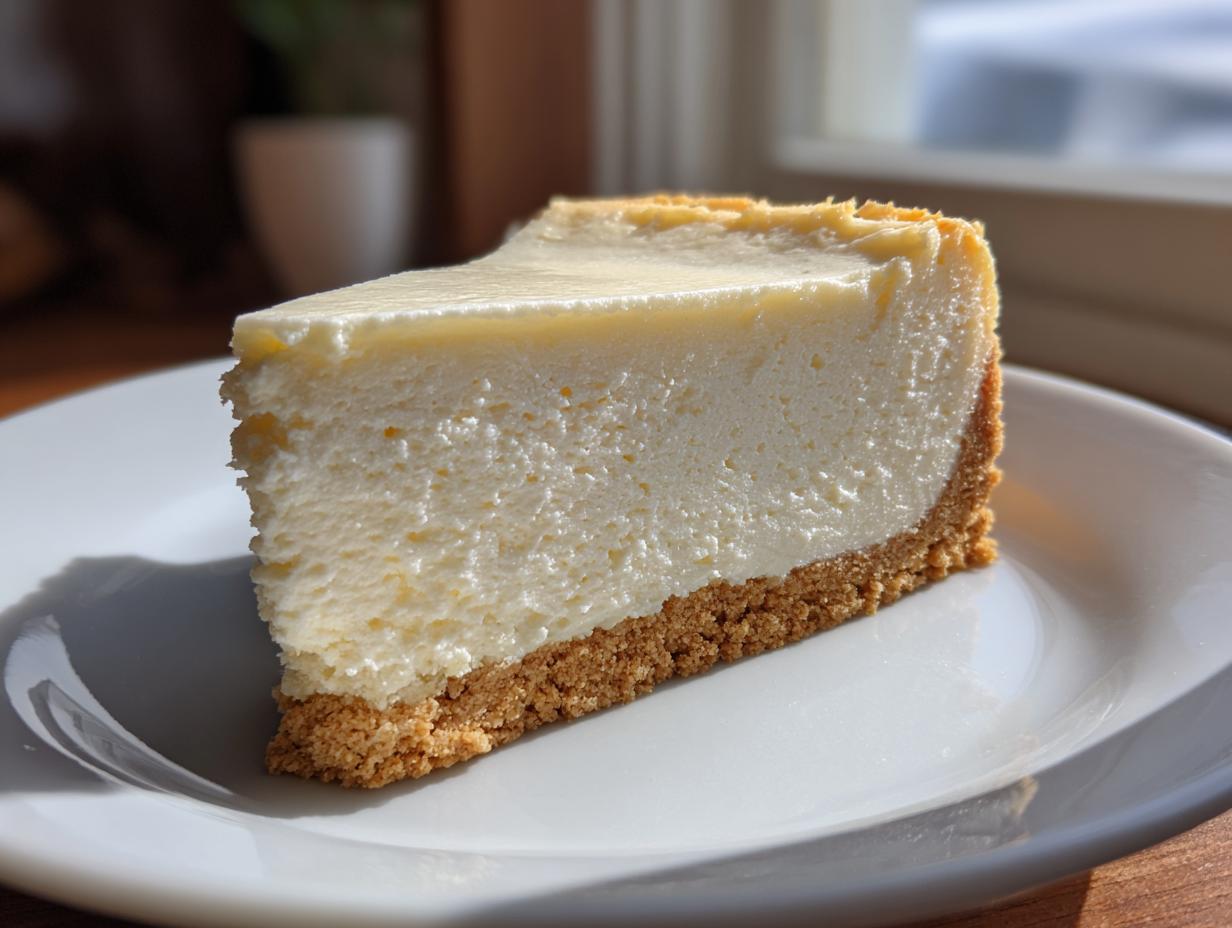
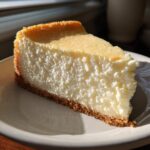
Oh, friends, if there is one dessert that screams “celebration” in my house, it’s this one. We are talking about achieving that impossibly smooth, unbelievably creamy texture everyone chases in a baked dessert. I can tell you right now, this ultimate white chocolate cheesecake recipe will become your go-to showstopper. The best part? You don’t need to wrestle with a fussy water bath to get it perfect. I learned long ago that keeping things simple doesn’t mean sacrificing luxury. This rich dessert is always requested for birthdays and holidays because it tastes like pure happiness. Trust me, this is the baked white chocolate cheesecake you’ve been searching for!
- Why This Ultimate White Chocolate Cheesecake Recipe Works (E-E-A-T Focused)
- Gathering Ingredients for Your Creamy White Chocolate Cheesecake
- Step-by-Step Instructions for Baked White Chocolate Cheesecake
- Tips for Success with Your Creamy White Chocolate Cheesecake
- Flavor Twists: Variations on White Chocolate Cheesecake
- Serving and Storing Your Decadent White Chocolate Dessert
- Frequently Asked Questions About This White Chocolate Cheesecake
- Nutritional Estimates for Your Cheesecake Slice
- Share Your Homemade White Chocolate Cheesecake Experience
Why This Ultimate White Chocolate Cheesecake Recipe Works (E-E-A-T Focused)
I know what you’re thinking: baked cheesecake means cracks, humidity, and hovering over a simmering water bath. Nope! Not with this recipe. We are making a truly creamy white chocolate cheesecake shine without all that fuss. My goal here is to make sure every home cook, even beginners, feels confident pulling a flawless dessert from their oven. A water bath is meant to equalize the temperature, but we achieve that same perfectly smooth texture using a simple, gentle cooling trick. This removes the intimidation factor entirely, letting you focus on the glorious, rich flavor of the white chocolate.
This method results in a true showstopper cheesecake that is silky from the edges to the very center. I truly believe baking should serve you, not the other way around! If you want to learn more about my general approach to keeping those fragile cheesecakes looking perfect, check out my tips on crack-free methods.
The Secret to a Crack-Free White Chocolate Cheesecake
The absolute key to avoiding those dreaded surface cracks comes AFTER the cheesecake is baked. Once the edges look set but the middle jiggles just a bit—that’s when you turn the oven OFF. Don’t pull it out! Instead, just prop that oven door open about two inches, maybe wedge a wooden spoon in there. This allows the cheesecake to cool down slowly, gradually adjusting to the kitchen temperature instead of getting shocked by a sudden draft.
We leave it in there like that for a full hour. Seriously, don’t cheat! This slow descent into cool air is what locks in that smooth top. You’ll be amazed that such a simple step guarantees such an elegant, professional result every single time. It’s practically magic. Then, it heads to the fridge where it firms up into the ultimate treat.
Gathering Ingredients for Your Creamy White Chocolate Cheesecake
To make this rich white chocolate dessert truly shine, we need to make sure our ingredients respect each other! Cheesecake making is a little like baking in layers, so I like to keep my dough components separate right on the counter. Since we are aiming for that fantastic, smooth finish, the single most important thing you need to remember is that your cream cheese has to be completely softened. I mean, really soft—no cool spots at all!
And please, choose good quality white chocolate chips. They are the star flavor here, so don’t skimp! When you melt them down, they integrate so beautifully, making this the best white chocolate cheesecake you’ve ever done.
Crust Components: Building the Buttery Graham Cracker Base
First up, the foundation! We want this buttery graham cracker crust dessert to hold firm, especially since we aren’t baking it in a water bath. You just need:
- 1 1/2 cups graham cracker crumbs
- 1/3 cup granulated sugar (for the crust)
- 6 tablespoons unsalted butter, melted
Remember when you mix these, press that mixture down into the bottom of your prepared pan *firmly*. Use the bottom of a measuring cup to pack it tight!
Filling Ingredients for a Rich White Chocolate Dessert
This is where the magic happens. For that absolutely creamy white chocolate cheesecake texture, make sure your cream cheese has sat out for at least an hour before you grab your mixer:
- 3 (8 ounce) packages cream cheese, softened
- 1 1/2 cups white chocolate chips, melted and slightly cooled
- 1 1/4 cups granulated sugar (for the filling)
- 1 teaspoon vanilla extract
- 1/4 teaspoon salt
- 3 large eggs
- 1/2 cup sour cream
We need those eggs at room temperature too, if you can swing it! It just helps everything blend together nicely without getting grainy.
Step-by-Step Instructions for Baked White Chocolate Cheesecake
Alright, let’s get baking! Don’t let the number of steps scare you; we move through this process quickly once everything is ready. Remember, we preheated the oven to 325 degrees Fahrenheit earlier. Before we even start mixing the batter, take your 9-inch springform pan and wrap the outside bottom really tightly with heavy-duty aluminum foil. This step is just an extra layer of protection, even though we are skipping the water bath for the bake itself.
Preparing the Buttery Graham Cracker Crust Dessert
First things first: the crust. Grab your crumbs, the crust sugar, and that melted butter. Mix it all up until it looks like wet sand—you want everything moistened. Press that mixture firmly into the bottom of your foil-wrapped pan. I always use the bottom of a measuring cup for this part because you really need to pack it tight for a sturdy base. Pop that into the oven and bake it for just 10 minutes. Let it cool down a bit while you make the star of the show.
Mixing the Ultimate White Chocolate Cheesecake Filling
Now for the filling! Start by beating your softened cream cheese until it’s absolutely silky smooth. Scrape the sides often! Next, beat in the filling sugar, vanilla, and salt. Once that’s perfect, slowly mix in your slightly cooled, melted white chocolate. This is what gives us that luxurious flavor. Now, add the eggs—this part is important—add them one at a time, mixing on *low* speed just long enough for the yellow to disappear. Over-beating the eggs introduces air that causes cracks later! Finally, mix in the sour cream until it’s just combined. No heavy beating here! If you want to know more about getting that cream base perfect, check out my favorite tips for making sure your cream cheese mixture stays flawless, like in my cream cheese frosting guide.
Baking and Slow Cooling for a No Water Bath Cheesecake Recipe
Pour that beautiful filling right over your cooled crust. Gently tap the pan on the counter a few times to knock out any giant air bubbles hiding inside. Bake this gorgeous thing for about 55 to 65 minutes. You’ll know it’s done when the edges are set firmly, but the very center two inches still have a gentle wobble. This slight wobble means it won’t dry out.
Here’s the trick for the no water bath cheesecake recipe: turn the oven off when it’s done. Don’t pull it out! Instead, just prop that oven door open about two inches wide and leave the cheesecake inside for a full hour. Letting it cool slowly inside the protected heat prevents that sudden temperature shock. Once the hour is up, carefully take it out and let it cool the rest of the way on a rack before covering it up overnight in the fridge. That slow cooling guarantees the creamiest result!
Tips for Success with Your Creamy White Chocolate Cheesecake
It’s easy to get caught up in the bake time, but the real secrets to an ultimate white chocolate cheesecake recipe that’s truly creamy are all in the prep work! I’ve only got a couple of quick reminders for you before you pour that batter in. If you follow these little habits, you’re guaranteed a flawless, rich dessert. Even though we skip the water bath, these steps help the structure stay perfect.
Don’t be afraid to take your time with these crucial steps. Remember, this decadent dessert deserves a little patience upfront!
Achieving Maximum Smoothness: Cream Cheese Temperature
I’m going to say it one more time because it’s my number one rule for any good cheesecake: your cream cheese must be fully softened! If it’s even a little cool, you’ll end up with tiny lumps even after mixing forever. I usually set my packages out two or three hours before I plan to start. If your kitchen is cold, you can always take the block out, cut it into smaller cubes, and microwave it for just five or ten seconds—but watch it closely! You want softness, not soup.
Handling Melted White Chocolate
When you melt down that white chocolate, it gets piping hot, right? If you pour that blazing hot chocolate right into your cream cheese mixture, it can actually start to cook the dairy slightly, making things grainy or just generally unhappy. Please, let your melted white chocolate cool down on the counter for about ten minutes until it’s just warm to the touch before adding it to your main bowl. This is an easy step to skip, but trust me, it keeps that filling beautifully smooth. If you want to see some fantastic serving ideas, check out this inspiration link. It will give you great ideas for presentation!
Flavor Twists: Variations on White Chocolate Cheesecake
Now that you have mastered the basic, flawless texture of this white chocolate cheesecake, it’s time to have some fun! While I stand by the classic flavor for true indulgence, sometimes holidays or just a Tuesday call for something extra special. You can easily transform this base into a fantastic seasonal treat. Think about making it a white chocolate raspberry cheesecake—it brightens up the richness perfectly!
If you’re looking for other dessert ideas that use similar fruit components, I have a lovely recipe for Raspberry Cheesecake Cookies that everyone simply adores. Or, for a more elegant presentation, you can look at some stunning examples of customized cheesecakes here.
Creating a White Chocolate Raspberry Cheesecake Swirl
If you want that lovely marbled look, it’s quite simple! Before you pour the main batter into the crust, take about a quarter of your filling aside. Mix that small portion with about half a cup of raspberry puree—the notes section mentions this detail. Gently pour the main white filling in first, and then dollop spoonfuls of the raspberry mix on top. Take a butter knife and gently run it through the fillings just once or twice to create those beautiful swirls. Don’t over-swirl, or you’ll just end up with a pink cheesecake! We want distinct ribbons of flavor in this decadent white chocolate dessert.
Serving and Storing Your Decadent White Chocolate Dessert
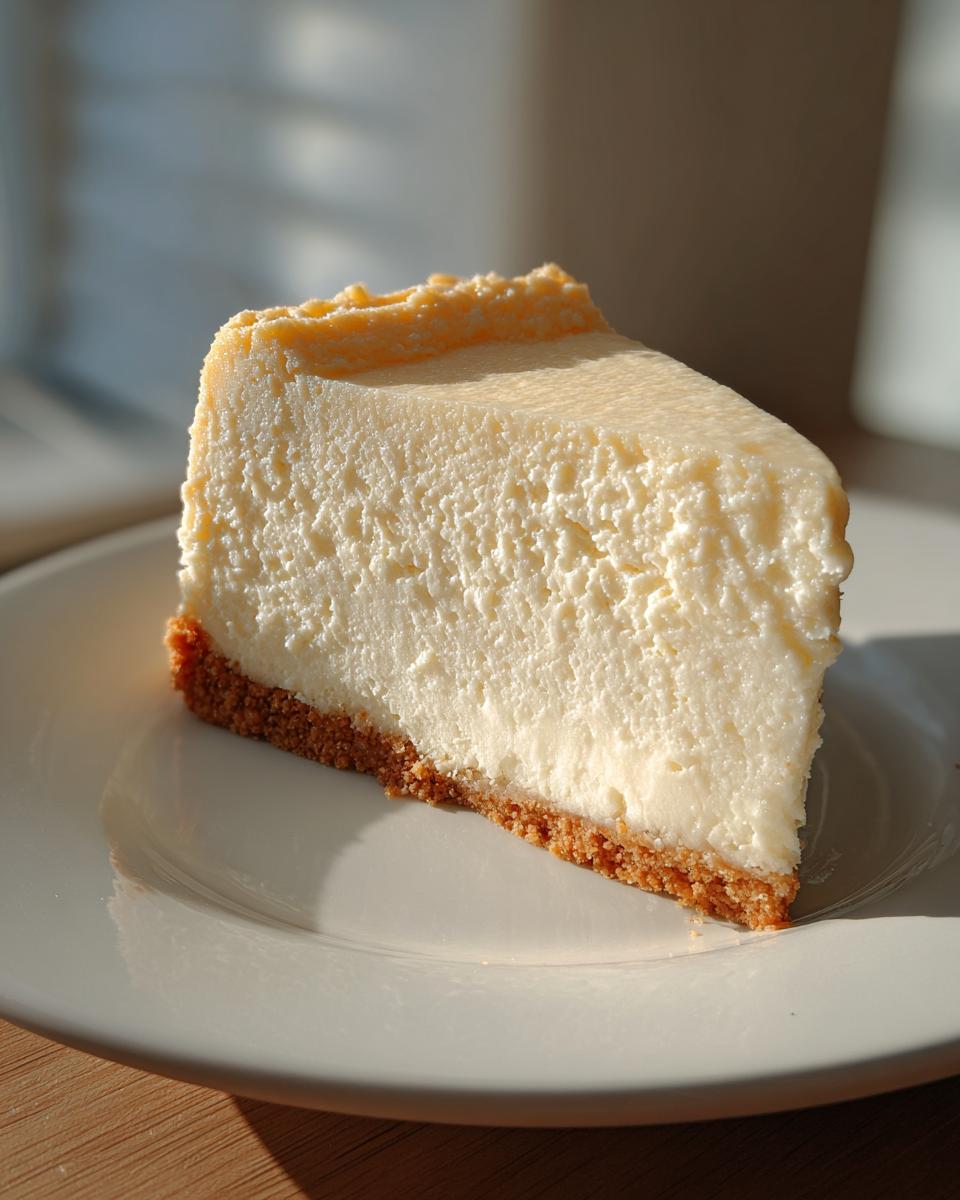
We’ve reached the finish line! But hold your horses—you can’t rush perfection, especially when it comes to this rich white chocolate dessert. After that slow cooling process, transfer your cheesecake to the refrigerator. It absolutely needs a minimum of six hours to firm up properly, but honestly? Make it the day before. Overnight chilling makes the texture even better and more cohesive.
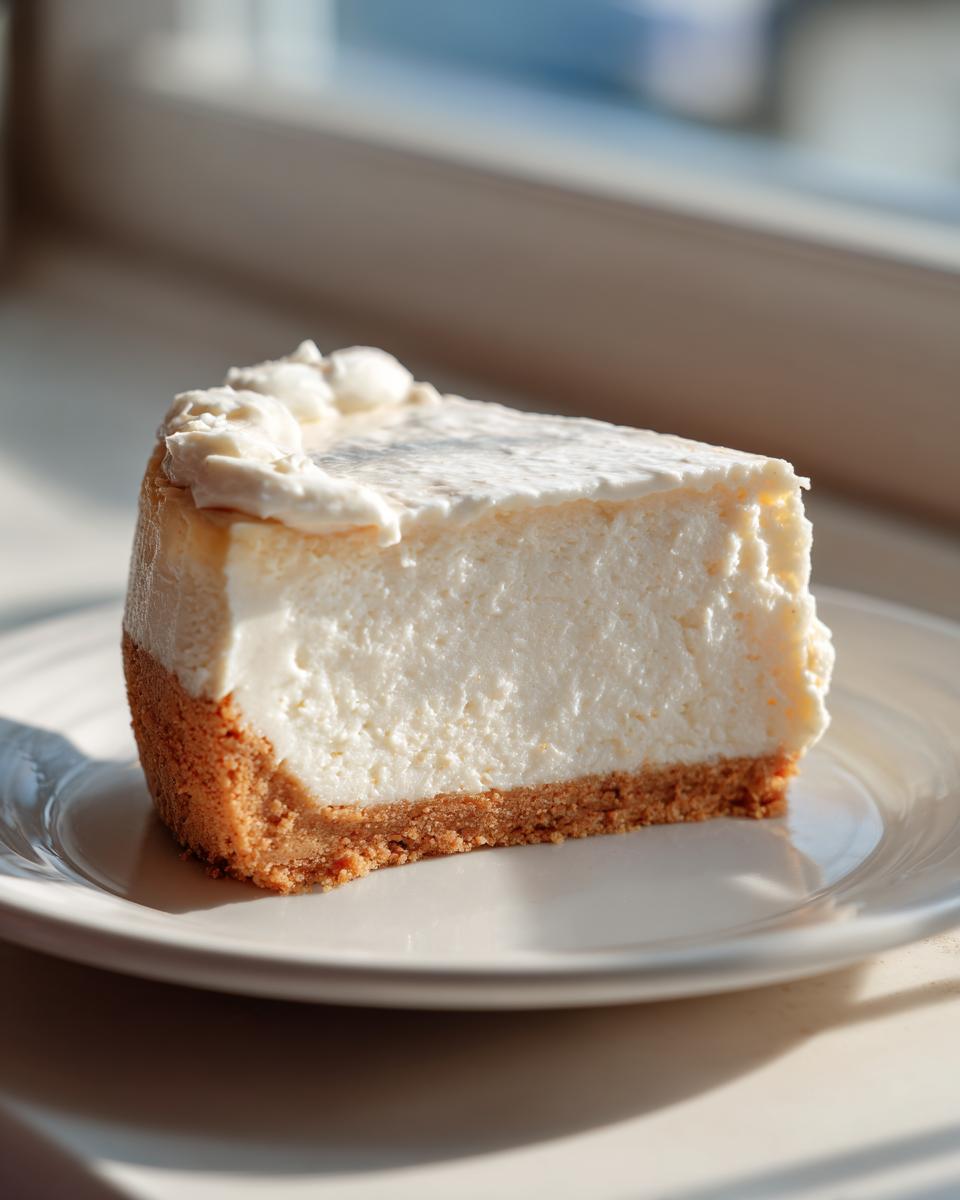
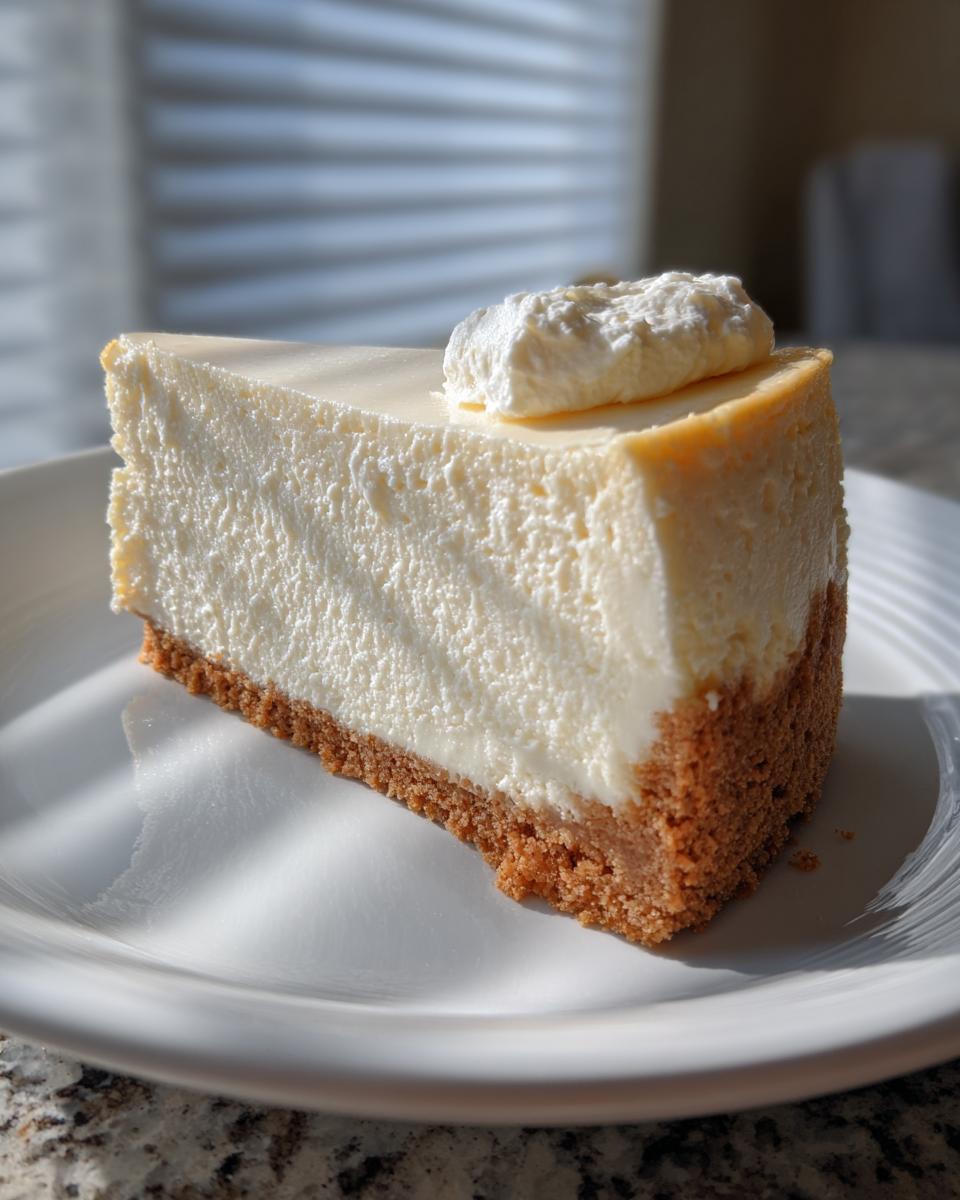
When you are ready to serve this showstopper cheesecake, you need one small trick to keep the edges clean. Run a thin, sharp knife—warmed slightly under hot water—around the inside edge of the pan before you release the springform clasp. It glides right off! Then, feel free to drizzle it with a homemade chocolate syrup, or top it with fresh raspberries or a simple dusting of powdered sugar.
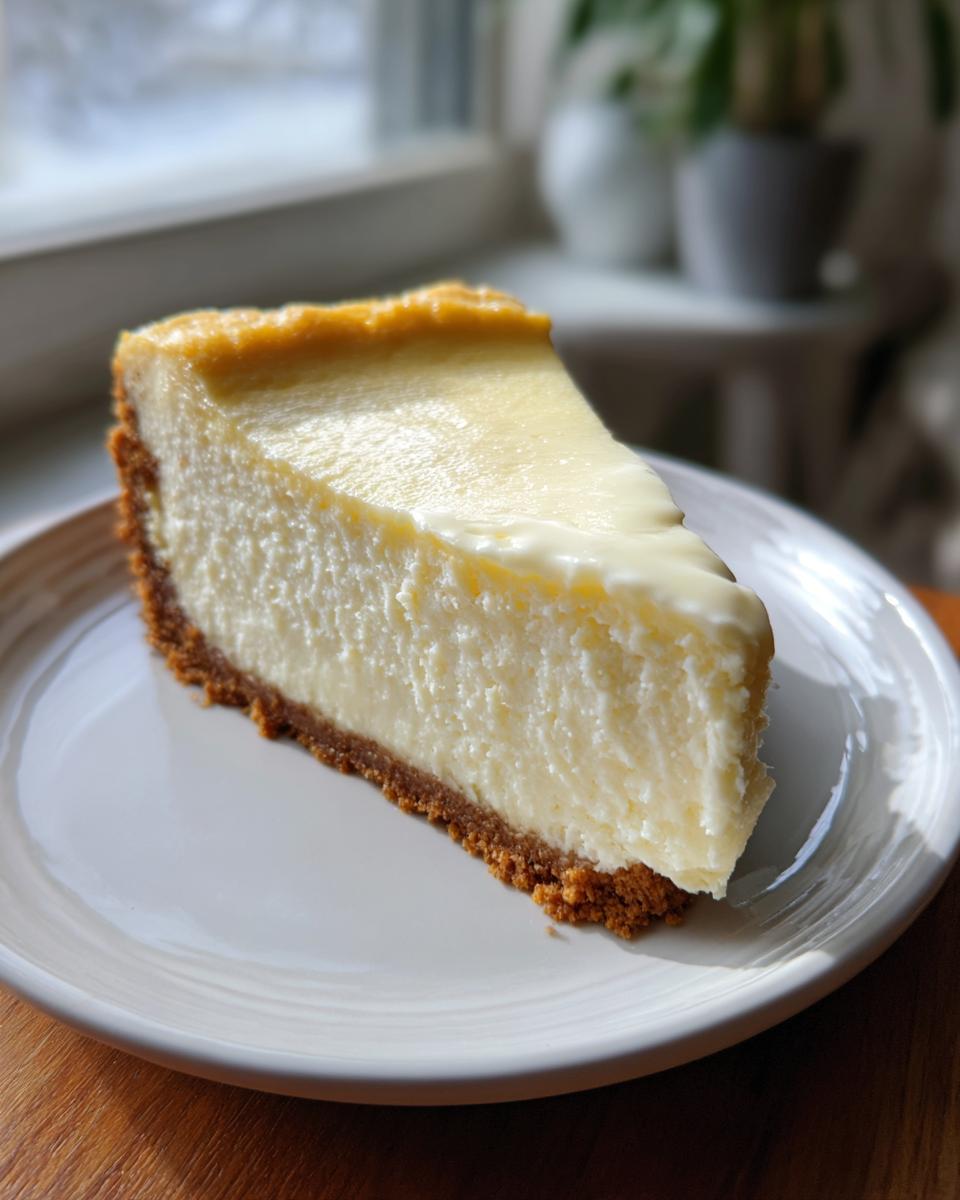
If you have any leftovers—which I doubt you will!—wrap the remaining cheesecake loosely in plastic wrap and store it in the fridge. It stays wonderfully creamy for about four or five days. Enjoy every luxurious bite!
Frequently Asked Questions About This White Chocolate Cheesecake
I always get questions when people make this for the first time, and that’s wonderful! It means you’re paying attention. Since we worked so hard to make sure this recipe delivers that creamy white chocolate cheesecake texture without cracks, I’ve gathered the most common inquiries below. Don’t hesitate to ask if you have another concern!
Can I make this a No Bake White Chocolate Cheesecake instead?
That’s a great question! While this recipe is specifically designed to be perfectly baked and incredibly smooth without that oven water bath, you absolutely can make a no bake white chocolate cheesecake. However, the chemistry changes quite a bit! No-bake versions rely on different stabilizing agents, usually things like gelatin or a large amount of stabilized whipped cream to set up in the fridge. If you want to skip the oven entirely, you’ll need a dedicated no-bake recipe, as this baked formula needs the heat to set the eggs properly.
What is the best way to serve this rich white chocolate dessert?
Always, always serve this rich white chocolate dessert chilled! It needs that minimum overnight rest to fully firm up properly. When you are ready to serve, run that thin, warm knife around the edge as I showed you in the steps, and then release the springform. It looks so elegant on its own, but my family loves it with a simple dusting of powdered sugar, just like my mother used to do. If you’re feeling fancy, a spoonful of fresh raspberries or a thin drizzle of homemade white chocolate ganache takes it over the top!
Why is my white chocolate cheesecake batter so thin?
This is a very common worry when using white chocolate! The batter will definitely look thinner than a standard vanilla cheesecake batter, and that’s mostly because of the melted white chocolate and the sour cream. Remember the most crucial rule: once those eggs go in, you mix as little as possible! We are relying on the oven heat and the long chilling time, not aggressive mixing, to create that structure. If your batter seems overly liquid, just give it a gentle tap on the counter to release big bubbles, and trust the process! It sets beautifully when chilled. For more simple cheesecake baking tips, take a look at my guide on mini cheesecake recipes—it covers basic batter management there too!
Nutritional Estimates for Your Cheesecake Slice
Now, I know when we’re making something this glorious, we aren’t really focused on the numbers, but I always want to be as open as possible with my cooking community. Here is a general estimate for one slice of this decadent white chocolate dessert. Please remember that these figures are just a guide—they change depending on the exact brand of white chocolate or creamy sour cream you use!
- Serving Size: 1 slice
- Calories: 450
- Sugar: 35g
- Fat: 30g
We’re using real ingredients here, so enjoy it with peace of mind. Every slice of this ultimate white chocolate cheesecake recipe is a delicious moment worth savoring!
Share Your Homemade White Chocolate Cheesecake Experience
Now that you have the secrets for an incredibly creamy, crack-free white chocolate cheesecake, I truly hope you give it a try! There is nothing that warms my heart more than hearing from you about a dessert that brought joy to your table. If you bake this, please come back here and leave me a star rating—it helps other bakers find reliable recipes! We love to see your beautiful creations, so feel free to share photos or tag me if you post them online. If you need to reach out with specific questions about chilling or garnishes, you can always find my direct contact form right here.
Keep baking with love, friends! And if you want one more inspirational idea for presentation, take a look at what others are doing with their showstopper cheesecakes.
PrintUltimate Creamy White Chocolate Cheesecake (No Water Bath Needed)
You can make this showstopper white chocolate cheesecake that is unbelievably creamy and rich without needing a water bath. This recipe delivers a restaurant-quality dessert perfect for any celebration.
- Prep Time: 25 min
- Cook Time: 65 min
- Total Time: 7 hours 30 min
- Yield: 12 servings 1x
- Category: Dessert
- Method: Baking
- Cuisine: American
- Diet: Vegetarian
Ingredients
- 1 1/2 cups graham cracker crumbs
- 1/3 cup granulated sugar (for crust)
- 6 tablespoons unsalted butter, melted
- 3 (8 ounce) packages cream cheese, softened
- 1 1/2 cups white chocolate chips, melted and slightly cooled
- 1 1/4 cups granulated sugar (for filling)
- 1 teaspoon vanilla extract
- 1/4 teaspoon salt
- 3 large eggs
- 1/2 cup sour cream
- For Topping (Optional): White chocolate ganache or fresh raspberries
Instructions
- Preheat your oven to 325 degrees Fahrenheit. Wrap the outside bottom of a 9-inch springform pan tightly with heavy-duty aluminum foil.
- Prepare the crust: Mix the graham cracker crumbs, 1/3 cup sugar, and melted butter in a bowl until combined. Press the mixture firmly into the bottom of the prepared springform pan. Bake for 10 minutes. Let the crust cool while you prepare the filling.
- Melt the white chocolate chips gently using a double boiler or short bursts in the microwave. Set aside to cool slightly.
- Beat the softened cream cheese in a large bowl with an electric mixer until smooth. Scrape down the sides of the bowl.
- Gradually beat in the 1 1/4 cups sugar, vanilla extract, and salt until fully incorporated.
- Beat in the melted white chocolate until the mixture is smooth.
- Add the eggs one at a time, mixing on low speed just until each egg is incorporated. Do not overmix once the eggs are added.
- Mix in the sour cream until just combined.
- Pour the filling over the cooled crust. Gently tap the pan on the counter a few times to release any large air bubbles.
- Bake for 55 to 65 minutes. The edges should look set, but the center 2 inches should still have a slight wobble.
- Turn off the oven, prop the oven door open slightly (about 2 inches), and let the cheesecake cool inside the oven for 1 hour. This slow cooling helps prevent cracks.
- Remove the cheesecake from the oven and let it cool completely on a wire rack.
- Once cool, cover the pan loosely and refrigerate for at least 6 hours, or preferably overnight, before serving.
- Before serving, top with ganache or fresh raspberries if desired. Run a thin knife around the edge before releasing the springform side.
Notes
- For the creamiest texture, make sure your cream cheese is fully softened to room temperature before starting.
- If you choose to use a raspberry swirl, mix 1/2 cup of raspberry puree into 1/4 of the cheesecake batter before pouring it into the crust, then gently swirl it on top.
- This recipe avoids the water bath by cooling the cheesecake slowly inside the turned-off oven.
Nutrition
- Serving Size: 1 slice
- Calories: 450
- Sugar: 35g
- Sodium: 250mg
- Fat: 30g
- Saturated Fat: 18g
- Unsaturated Fat: 12g
- Trans Fat: 0.5g
- Carbohydrates: 40g
- Fiber: 1g
- Protein: 8g
- Cholesterol: 100mg