
Oh, let’s talk about the absolute crown jewel of any dessert: the frosting! You can have a slightly dry cake or a cookie that isn’t quite golden, but if the topping isn’t right, the whole thing feels a bit empty, doesn’t it? That’s why you need a recipe you can depend on, every single time. I’m sharing my very best homemade cream cheese frosting that I perfected over years—it’s smooth, wonderfully tangy, and you won’t believe how well it holds its shape for piping. My mother always taught me that a good foundation matters, whether it’s in life or in creating the perfect buttercream, and this recipe proves it. This is truly the Best Ever Cream Cheese Frosting That Holds Its Shape, perfect for everything! If you’re already thinking about what to put this dreamy topping on, you absolutely must check out my classic carrot cake recipe; they’re a match made in heaven.
- Why This Cream Cheese Frosting Recipe Works Every Time
- Gathering Ingredients for Your Best Cream Cheese Frosting
- Step-by-Step Homemade Icing Tutorial for Perfect Cream Cheese Frosting
- Expert Tips for the Smoothest Cream Cheese Frosting
- Versatility: Using Your Tangy Frosting for Cake and More
- Flavor Variations for Your Cream Cheese Frosting Recipe
- Storage and Make-Ahead Tips for Homemade Cream Cheese Frosting
- Frequently Asked Questions About Cream Cheese Frosting
- Estimated Nutritional Data for This Cream Cheese Frosting
Why This Cream Cheese Frosting Recipe Works Every Time
It seems like everyone struggles with runny or lumpy frosting, and honestly, I get tired of wasting ingredients trying to fix a mess! This recipe is my standard because it just delivers that perfect balance of creamy sweetness with just the right amount of tang you want in a red velvet frosting recipe. It’s a no-fail choice for your holiday baking!
- It balances richness and tang beautifully so it never tastes like pure sugar.
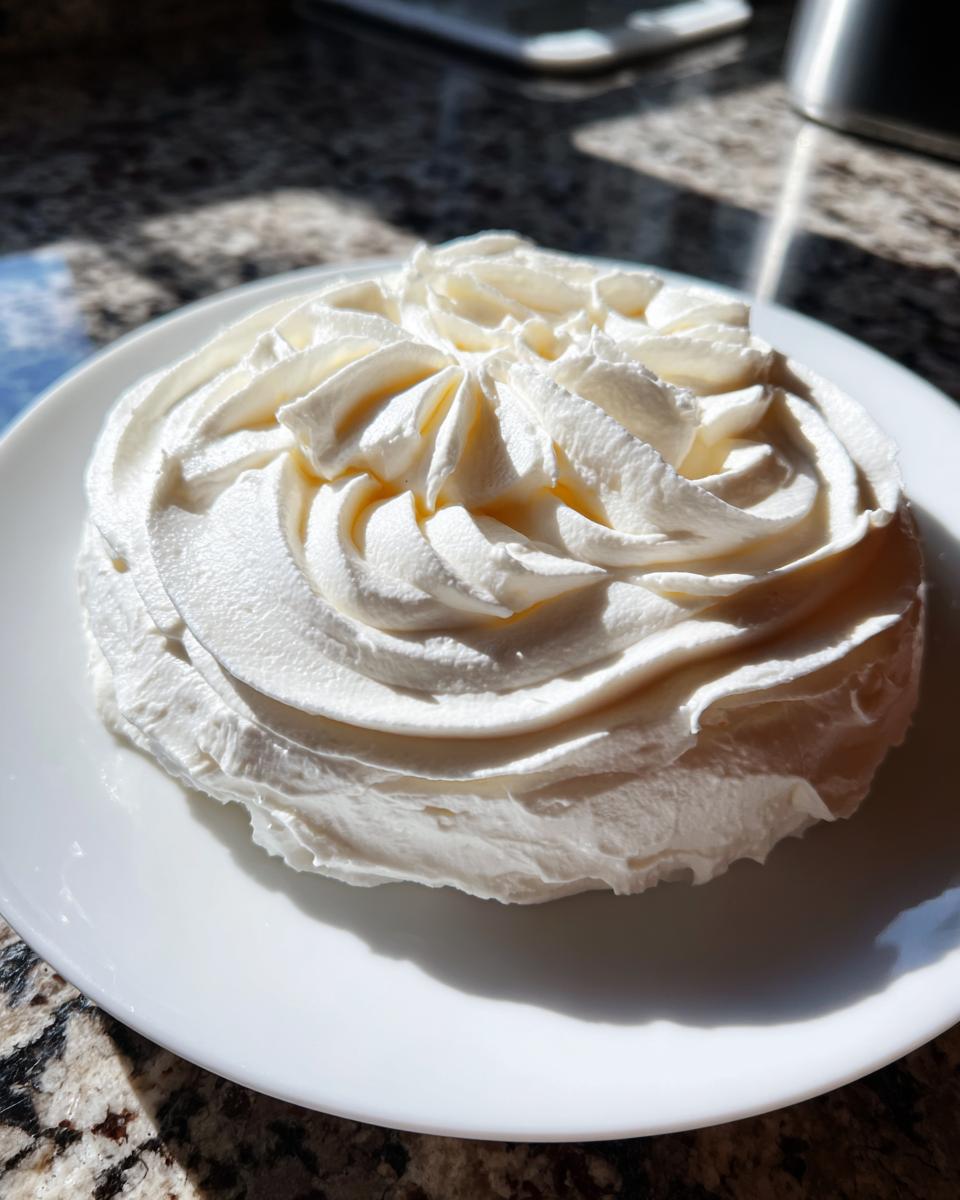
- The structure allows it to spread thick on cinnamon rolls or hold sharp edges when piping.
Achieving Smooth and Creamy Frosting Texture
If you want truly smooth and creamy frosting, the temperature of your dairy is everything! I learned this the hard way when my mother caught me trying to mix cold cream cheese into butter—it made for the lumpist frosting you’ve ever seen. You simply must let the butter and the cream cheese sit out until they are truly soft, room temperature soft. Don’t rush this part; it sets up the whole beautiful texture.
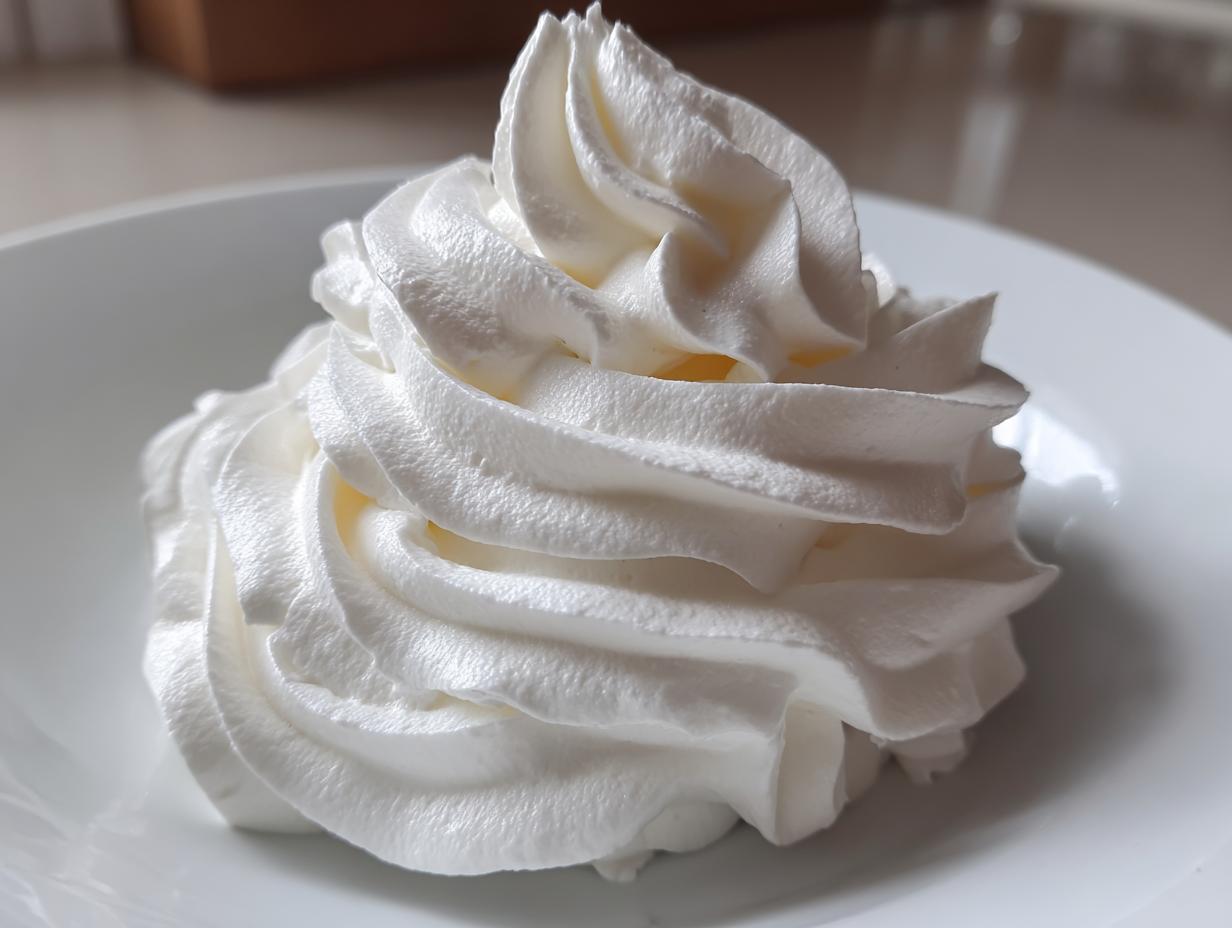
The Secret to Piping Cream Cheese Frosting That Holds Its Shape
Stability is key, especially if you need to decorate. Sure, you can mix it until it’s just combined, but for true piping cream cheese frosting results, you need air! After the sugar is in, turn that mixer up to medium-high and let it go for a solid three to four minutes. That whipping process incorporates all that air, creating what we call stiff peaks. That’s what keeps your beautiful swirls from melting down the side of your cake.
Gathering Ingredients for Your Best Cream Cheese Frosting
Alright, let’s get our foundational items ready. To guarantee this is a no fail frosting recipe, we need precision here, just like making a good batch of vanilla cupcakes. Remember what I said about temperature? Make sure your butter and cream cheese are truly soft—not melted, just yielding. Also, please, please sift that powdered sugar! It saves so much trouble later.
- 1 cup (2 sticks) unsalted butter, softened to room temperature
- 8 ounces full-fat cream cheese, softened to room temperature
- 4 cups powdered sugar, sifted
- 1 teaspoon pure vanilla extract
- 1/4 teaspoon salt
Step-by-Step Homemade Icing Tutorial for Perfect Cream Cheese Frosting
Now that we have our perfectly tempered ingredients ready, let’s mix! This process moves quickly, so have everything measured out before you start your mixer. I find that using a stand mixer with the paddle attachment is best for this, similar to how I beat the butter for my pound cakes years ago. We want a stable, beautiful end product, perfect for spreading thick over my cinnamon roll cheesecake!
Creaming Butter and Cream Cheese
First things first, in your mixer bowl goes that softened butter and the room-temperature cream cheese. You need to beat these two together on medium speed. We aren’t just combining them; we are aiming for a texture that is completely smooth and beautifully creamy. Set a timer for about two minutes to make sure you get there. Once it looks unified, stop the machine and grab your spatula! You must scrape down the sides and the bottom of the bowl thoroughly. If you skip the scraping, you end up with little pockets of unmixed fat, and that’s just messy.
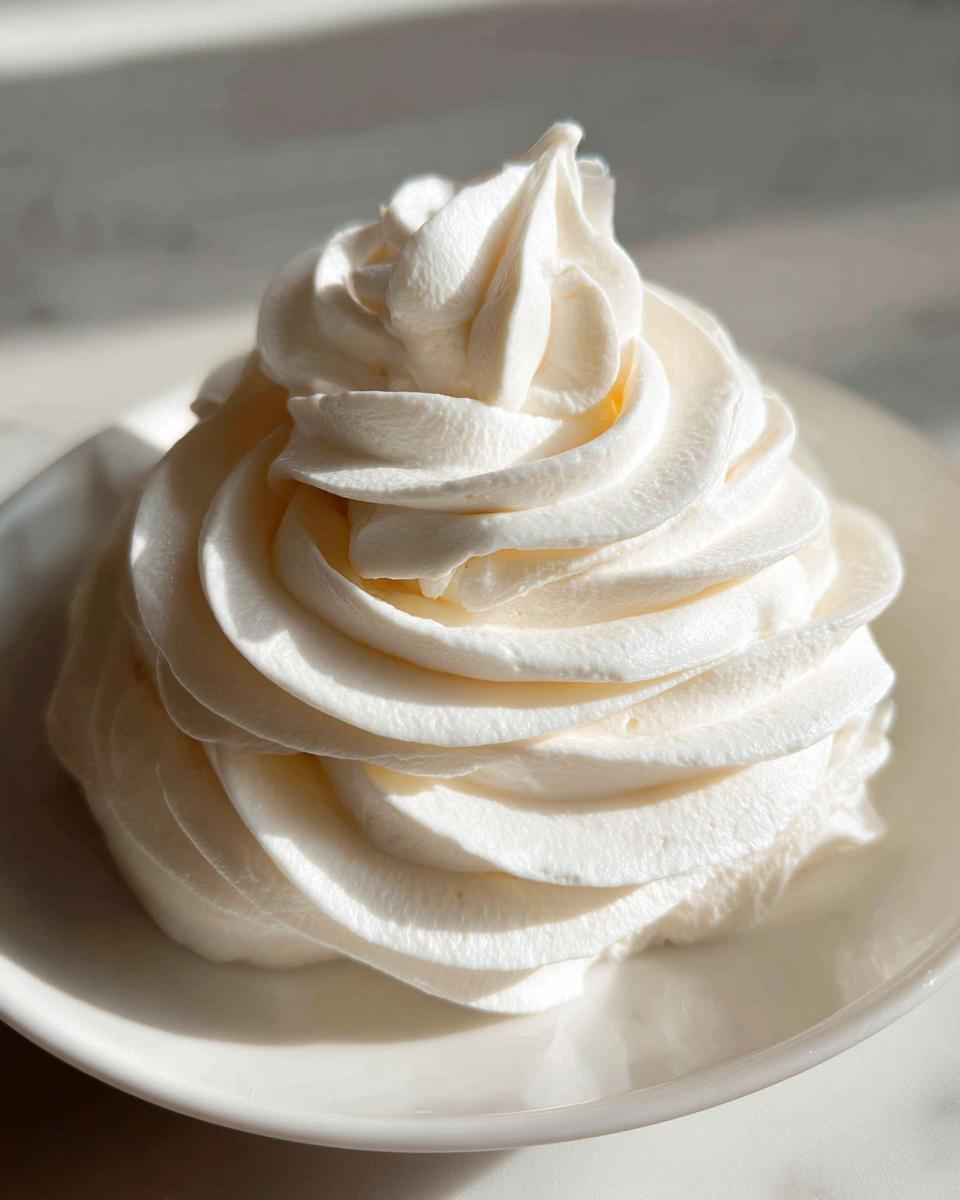
Incorporating Powdered Sugar and Flavoring
This is where we have to slow down and be careful, or you’re going to have a white mess all over your kitchen! With the mixer running on low speed, you need to add that sifted powdered sugar one cup at a time. Low speed is critical here so you don’t create a sugar cloud that coats everything in sight. Once the sugar is incorporated—and I mean *just* incorporated—toss in your vanilla and your salt. Now, for the magic that creates that fluffy cake topping: increase your speed to medium-high! Let it whip happily for three to four full minutes. This whipping develops the structure you need for beautiful piping.
Expert Tips for the Smoothest Cream Cheese Frosting
When I was teaching third grade, I always told my students that asking questions means you’re learning, and baking is no different! If you follow the temperature rules, your cream cheese frosting should be lump-free, but I have two golden rules I swear by. First, before you even turn the mixer on, make sure that butter and cream cheese aren’t just somewhat soft—they need to be pliable. Cold spots lead directly to lumps, and nobody wants those!
Second, sift your powdered sugar. Every single time, folks! It looks like extra work, but it breaks up any clumps the measuring process caused and instantly makes your final product lighter and fluffier. This is the secret to a truly uniform texture, much like making sure my peanut butter blossoms are perfectly textured. Trust me; these simple setups make the difference between good frosting and the best you’ve ever had.
Versatility: Using Your Tangy Frosting for Cake and More
This isn’t just a topping for one kind of dessert, no way! This tangy frosting for cake is truly the workhorse of my recipe book. If you’ve made a batch, you better make sure it gets used everywhere important! It’s absolutely divine slathered thickly on warm, sticky-sweet cinnamon rolls. You know those cozy weekend mornings? This is the flavor that makes them special.
Of course, it’s the perfect pair for a rich red velvet dessert—it’s what makes that classic combination sing. And if you’re ever making my moist carrot cake, I expect nothing less than this on top! For my grandkids, I even use a thinner version, almost like a glaze, over my cinnamon roll apple pie. If you need a filling for anything involving cinnamon, like the center of my King Cake roll, this recipe holds up beautifully.
Flavor Variations for Your Cream Cheese Frosting Recipe
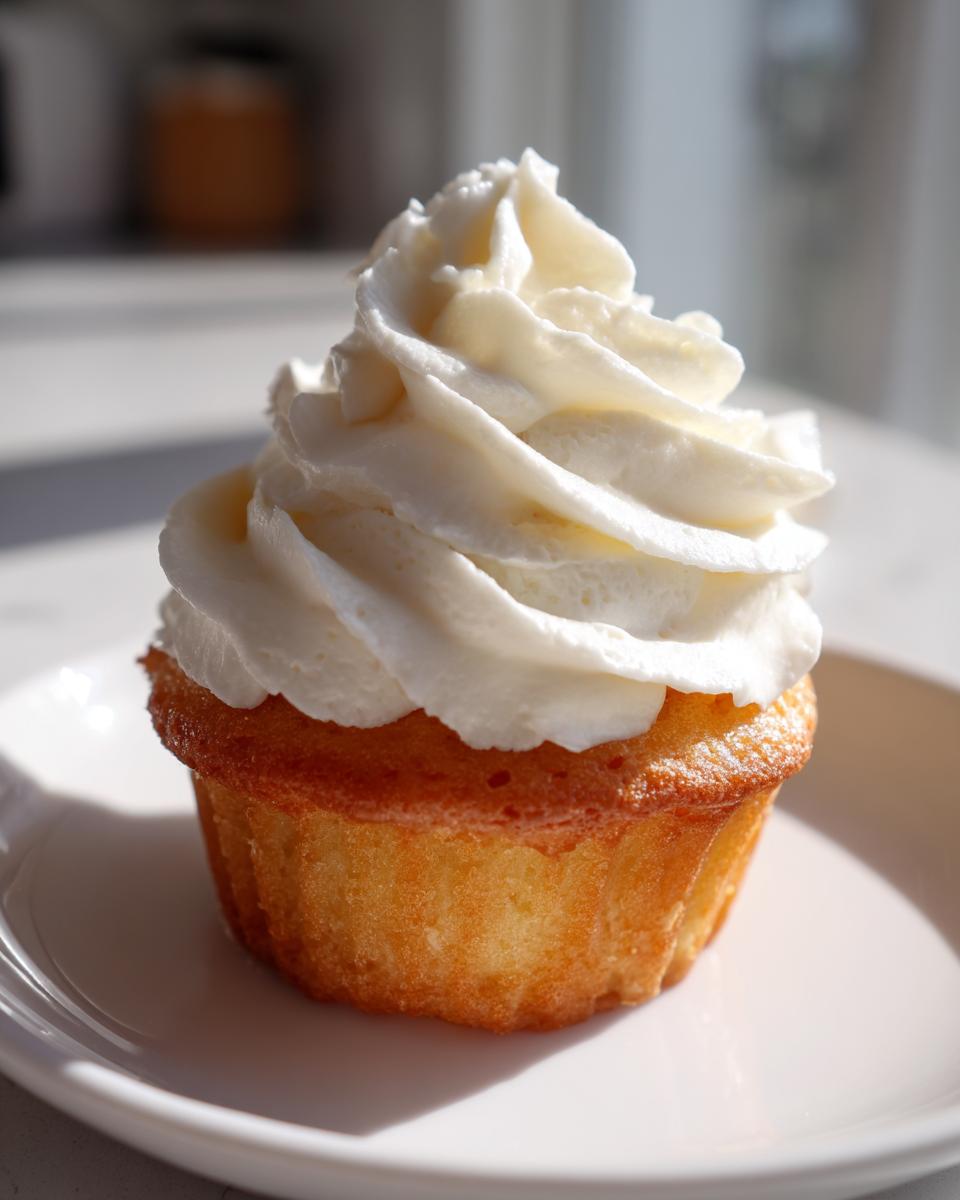
Part of the joy of having a dependable cream cheese frosting recipe is knowing you can tweak it! You don’t always want the classic flavor, and that’s okay. The beauty of this base is how easy it is to jazz up. For a sunshine flavor, especially lovely on a light vanilla cake, try adding the zest of one fresh lemon right along with the vanilla extract. That little bit of citrus really brightens everything up.
If you’re feeling cozy, especially in the fall, swapping out half the powdered sugar for pure maple extract and a dash more salt makes for an incredible maple version. Or, if you just want to go straight for decadence, a little melted, cooled dark chocolate folded in makes a wonderful chocolate frosting. My chocolate covered cherries deserve nothing less than a rich topping!
Storage and Make-Ahead Tips for Homemade Cream Cheese Frosting
I always tell folks that baking is easier when you spread the work out! You can certainly make this frosting ahead of time—it’s such a lifesaver before a busy day of decorating. Keep any leftovers sealed tight in an airtight container in the refrigerator for up to five days. Don’t worry if it stiffens up! When you’re ready to use it again, just let it sit on the counter for about 30 minutes to warm up a little.
Then, pop it back into the mixer with the paddle attachment, and give it a quick beat on medium speed for a minute or two until it’s magically smooth and creamy again. If it still seems a touch stiff, a teaspoon of milk will loosen it right up. This makes getting my applesauce baked goods ready so much easier!
Frequently Asked Questions About Cream Cheese Frosting
What if my cream cheese frosting is too runny when I try to pipe it?
Oh, this is the most common little kitchen disaster! If your frosting seems too soft, don’t panic and don’t add more sugar yet, or it’ll turn gritty. The best fix is chilling. Cover the bowl and pop it in the refrigerator for about 15 to 20 minutes. That little bit of cooling time usually firms up the fats enough so you can beat it again and get those sturdy peaks you need for piping cream cheese frosting. If it’s still soft after chilling, you can add just another quarter cup of sifted powdered sugar.
Can I make this recipe using low-fat cream cheese or margarine?
I strongly advise against it if you want that bakery-style result! For the best flavor and stability, stick to the full-fat cream cheese and real butter. Lower fat versions have more water content, and that water will make your frosting loose and weep after a while. This recipe relies on the high fat content for that rich, decadent texture, so full-fat ingredients are worth it!
Can I whip up this easy homemade frosting without a stand mixer?
Absolutely, you can! Back when I was first learning, we only had hand tools, and I made plenty of frosting for my mother’s cakes! You’ll just need a sturdy large bowl and a good electric hand mixer. The main difference is that you’ll need to beat the butter and cream cheese for a little bit longer to get them totally smooth. And remember that crucial final whipping step? Give that hand mixer plenty of time to create that light, fluffy cake topping.
Can this tangy frosting for cake be made ahead of time?
Yes, and knowing how to do that is a lifesaver! You can make your cream cheese frosting recipe up to three days ahead and keep it tightly sealed in the fridge. Just remember the re-beating step! When you take it out, let it come to room temperature—about an hour on the counter—and then whip it again until it’s smooth. This brings back all that fluffiness you love. I often make a double batch for my zucchini bread and freeze half!
Estimated Nutritional Data for This Cream Cheese Frosting
As a home cook, I rely on packaging, not lab tests, so please treat these numbers as good estimates based on standard ingredient calculations. This data helps me keep track during holiday baking! This information is based on a serving size of 1/4 cup of the finished frosting.
- Serving Size: 1/4 cup
- Calories: 380
- Sugar: 45g
- Sodium: 110mg
- Fat: 23g
- Saturated Fat: 14g
- Carbohydrates: 46g
- Protein: 2g
Remember, this is an estimate for the frosting alone, so the final numbers on your dessert will change depending on how much you generously spread on your carrot cake!
PrintThe Best Homemade Cream Cheese Frosting That Holds Its Shape

Make this reliable, smooth, and tangy cream cheese frosting. It whips up quickly and holds its shape perfectly for piping on cakes, cinnamon rolls, and red velvet desserts.
- Prep Time: 10 min
- Cook Time: 0 min
- Total Time: 10 min
- Yield: About 3 cups 1x
- Category: Dessert Topping
- Method: Mixing
- Cuisine: American
- Diet: Vegetarian
Ingredients
- 1 cup (2 sticks) unsalted butter, softened to room temperature
- 8 ounces full-fat cream cheese, softened to room temperature
- 4 cups powdered sugar, sifted
- 1 teaspoon pure vanilla extract
- 1/4 teaspoon salt
Instructions
- Place the softened butter and softened cream cheese into the bowl of a stand mixer fitted with the paddle attachment. Beat them together on medium speed until the mixture is completely smooth and creamy, about 2 minutes. Scrape down the sides of the bowl.
- Reduce the mixer speed to low. Gradually add the sifted powdered sugar, one cup at a time, mixing until just combined after each addition.
- Add the vanilla extract and salt. Increase the mixer speed to medium-high and beat for 3 to 4 minutes until the frosting is light, fluffy, and holds stiff peaks. This whipping time is key for stability.
- If the frosting seems too soft for piping, chill it in the refrigerator for 15 to 20 minutes before using. If it is too stiff, add 1 teaspoon of milk or heavy cream and beat briefly.
Notes
- For the smoothest, lump-free frosting, make sure your butter and cream cheese are truly at room temperature. Cold ingredients cause lumps.
- Sift your powdered sugar before adding it to the mixture. This prevents lumps and helps create a lighter texture.
- This frosting is excellent for piping onto carrot cake or spreading thickly on cinnamon rolls.
- To make a lemon variation, add 1 teaspoon of fresh lemon zest when you add the vanilla extract.
Nutrition
- Serving Size: 1/4 cup
- Calories: 380
- Sugar: 45g
- Sodium: 110mg
- Fat: 23g
- Saturated Fat: 14g
- Unsaturated Fat: 9g
- Trans Fat: 0.5g
- Carbohydrates: 46g
- Fiber: 0g
- Protein: 2g
- Cholesterol: 70mg