
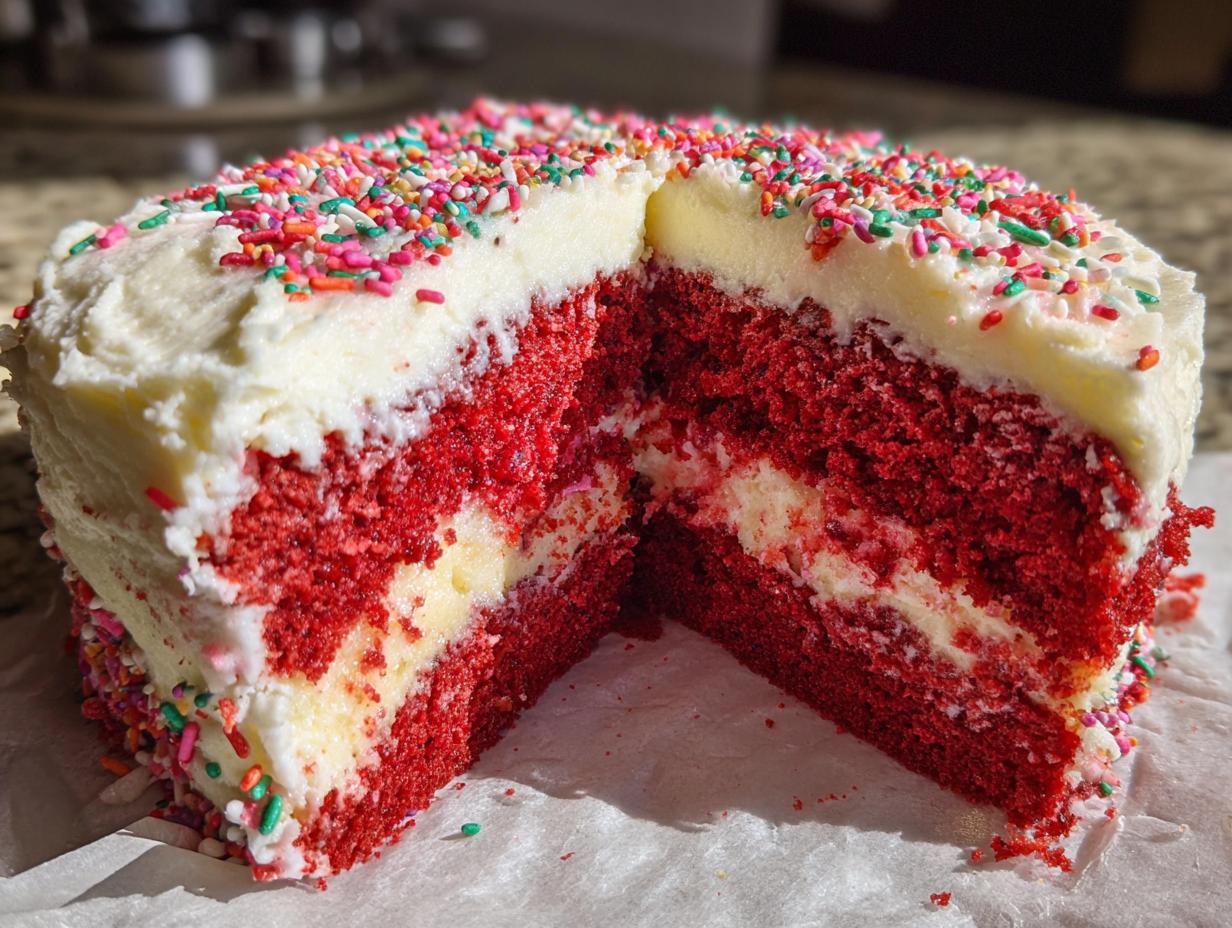
Oh, you know those desserts that just melt in your mouth? The ones that look impressive for a big gathering but don’t require you to spend all day fussing? That’s exactly what we’re tackling today! If you’ve ever wanted that show-stopping, deep red color paired with absolute, unbeatable moisture, you’ve landed in the right spot. This ultra-moist red velvet poke cake proves that you don’t need complicated churning or tons of fussy layering to get incredible results.
I’ve taken my decades of teaching experience and boiled this down to the simplest method, even using a store-bought box mix as our wonderful starting point. The secret, my friends, is in the poking and the soaking. We’re going to flood that warm cake with a sweet, rich liquid that guarantees a velvety texture right down to the last crumb. Trust me, this recipe makes the perfect, dependable centerpiece for your next party or holiday celebration.
- Why This Ultra-Moist Red Velvet Poke Cake is a Celebration Staple
- Gathering Ingredients for Your Red Velvet Poke Cake
- The Easy Poke Cake Tutorial: Step-by-Step Instructions
- Tips for the Best Moist Red Velvet Cake Recipe Results
- Storage and Make Ahead for Your Red Velvet Dessert Ideas
- Variations: Customizing Your Red Velvet Poke Cake
- Frequently Asked Questions About Making a Red Velvet Poke Cake
- Estimated Nutritional Values for Red Velvet Poke Cake
- Share Your Red Velvet Poke Cake Creations
Why This Ultra-Moist Red Velvet Poke Cake is a Celebration Staple
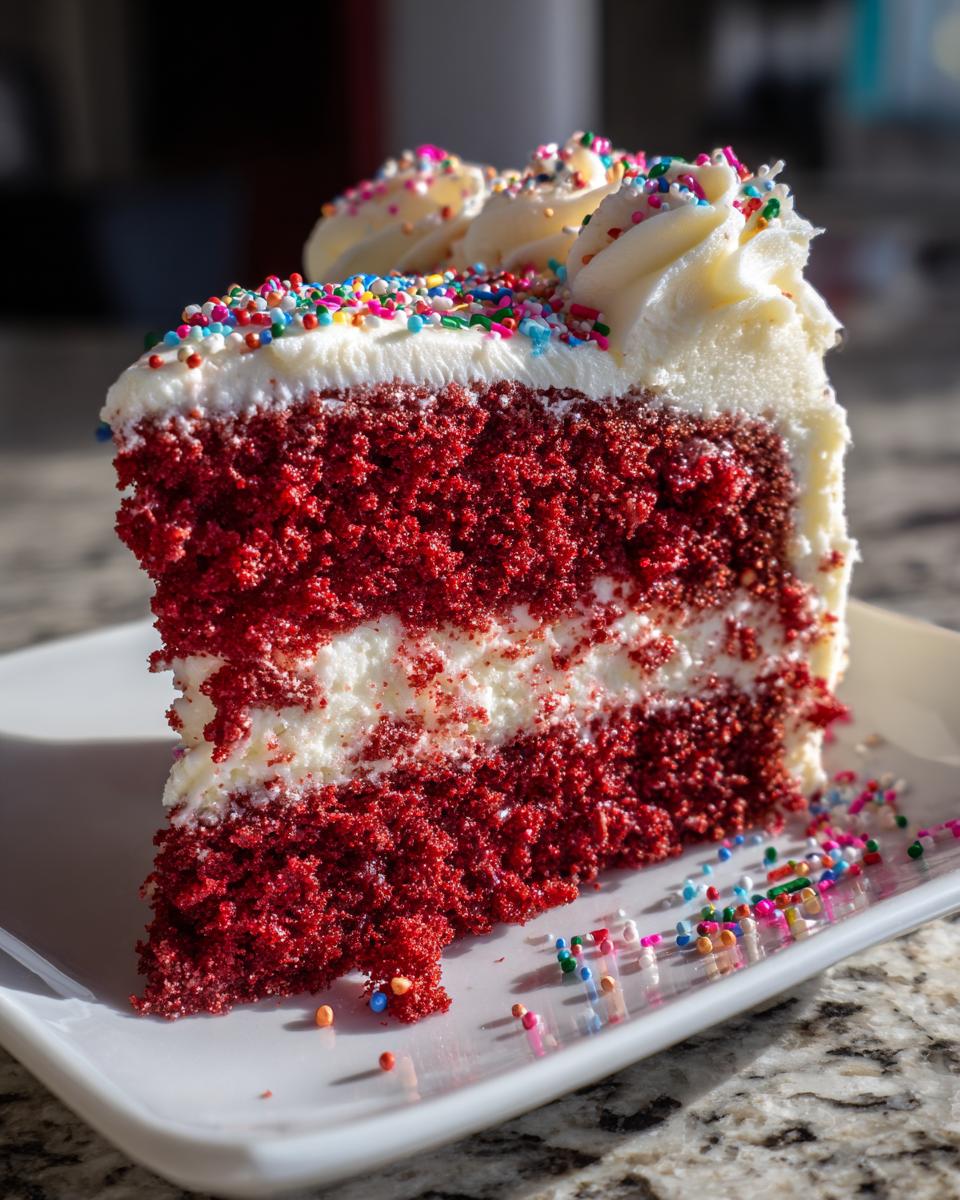
I simply had to share this one because it solves so many problems for us home cooks. It looks beautiful, and honestly, it’s almost foolproof! If you’re hunting for the best moist red velvet cake recipe that always gets rave reviews, this is it.
- It delivers that deep, rich color you expect from red velvet without any fuss.
- The soaking process guarantees it stays incredibly moist for days, making it a fantastic simple dessert for parties.
- We use a shortcut with the cake mix, meaning less time measuring dry goods and more time enjoying the process.
- The combination of the sweet filling and tangy frosting is just heavenly! You can find my favorite stable frosting right here: my tested cream cheese frosting recipe.
Gathering Ingredients for Your Red Velvet Poke Cake
Now, you know I love a good shortcut, and using a quality cake mix is how we keep this recipe fast and dependable! But the real magic that turns this into an ultra-moist dream dessert is what we add after it comes out of the oven. That can of sweetened condensed milk is not optional, trust me; it sinks right down into those holes we make and ensures every bite is creamy indulgence. It’s the backbone of achieving that perfect texture for your red velvet poke cake.
Gather everything up before you even preheat that oven. Getting organized upfront is one of my biggest teaching tips for stress-free baking! If you need a substitute vanilla flavor for a different kind of frosting someday, I have a wonderful vanilla buttercream recipe, but for this particular topping, we stick to what works best.
Ingredients for the Red Velvet Poke Cake Base and Filling
Here is what you’ll need for the cake itself and the filling that drenches it:
- 1 box red velvet cake mix (plus ingredients listed on the box—usually eggs, oil, and water)
- 1 (14 ounce) can sweetened condensed milk
- 1 (3.4 ounce) package instant vanilla pudding mix
- 2 cups cold milk (for the pudding)
- 1 tub (8 ounces) whipped topping, thawed
Ingredients for the Cream Cheese Frosting for Poke Cake
For the topping, we want that classic tang to cut through all that sweetness. This is the required cream cheese frosting for poke cake that tastes just right! If you need my specific instructions for a really sturdy frosting, you can check out my very best cream cheese frosting recipe, but for this particular topping, you’ll just need:
- 8 ounces cream cheese, softened (make sure this is nice and soft!)
- 1/2 cup powdered sugar
- 1 teaspoon vanilla extract
- Red or white sprinkles for garnish
The Easy Poke Cake Tutorial: Step-by-Step Instructions
Now we get to the fun part—the transformation! This is where we turn a standard cake into the spectacular, ultra-moist dessert everyone asks about. This easy poke cake tutorial is all about timing. If you follow these steps for how to make poke cake, you’ll never have a dry slice again. Don’t forget to check out this similar technique in my condensed milk cake for another simple winner!
Baking and Poking the Red Velvet Poke Cake
First things first, bake your red velvet cake mix right in your 9×13 inch pan, following the box directions exactly. You want that beautiful, puffy top. Once it comes out of the oven, you must resist the urge to frost it immediately! Let it cool for just about 10 minutes. This slight cooling makes the cake sturdy enough to hold all our delicious soaking liquid. Grab the back end of a sturdy wooden spoon handle—that’s my favorite tool for this—and start poking holes all over that surface. Make them deep, but please, don’t poke all the way through to the bottom of the pan!
Adding the Poke Cake with Sweetened Condensed Milk Filling
This is the step that makes people gasp! While the cake is still warm, slowly drizzle that entire can of sweetened condensed milk right over the top. It’s amazing how it greedily sinks into every single hole you made. Spread it around a bit so you get good coverage, and then let it sit for a moment. Next, prepare your instant vanilla pudding with the cold milk until it thickens up nicely—think soft-serve consistency, not runny! Pour that pudding evenly over the top of the sweet milk layer. Now, the cake needs a short chill—about 30 minutes—to let that pudding firm up inside the cake structure.
Preparing and Applying the Cream Cheese Frosting for Red Velvet Poke Cake
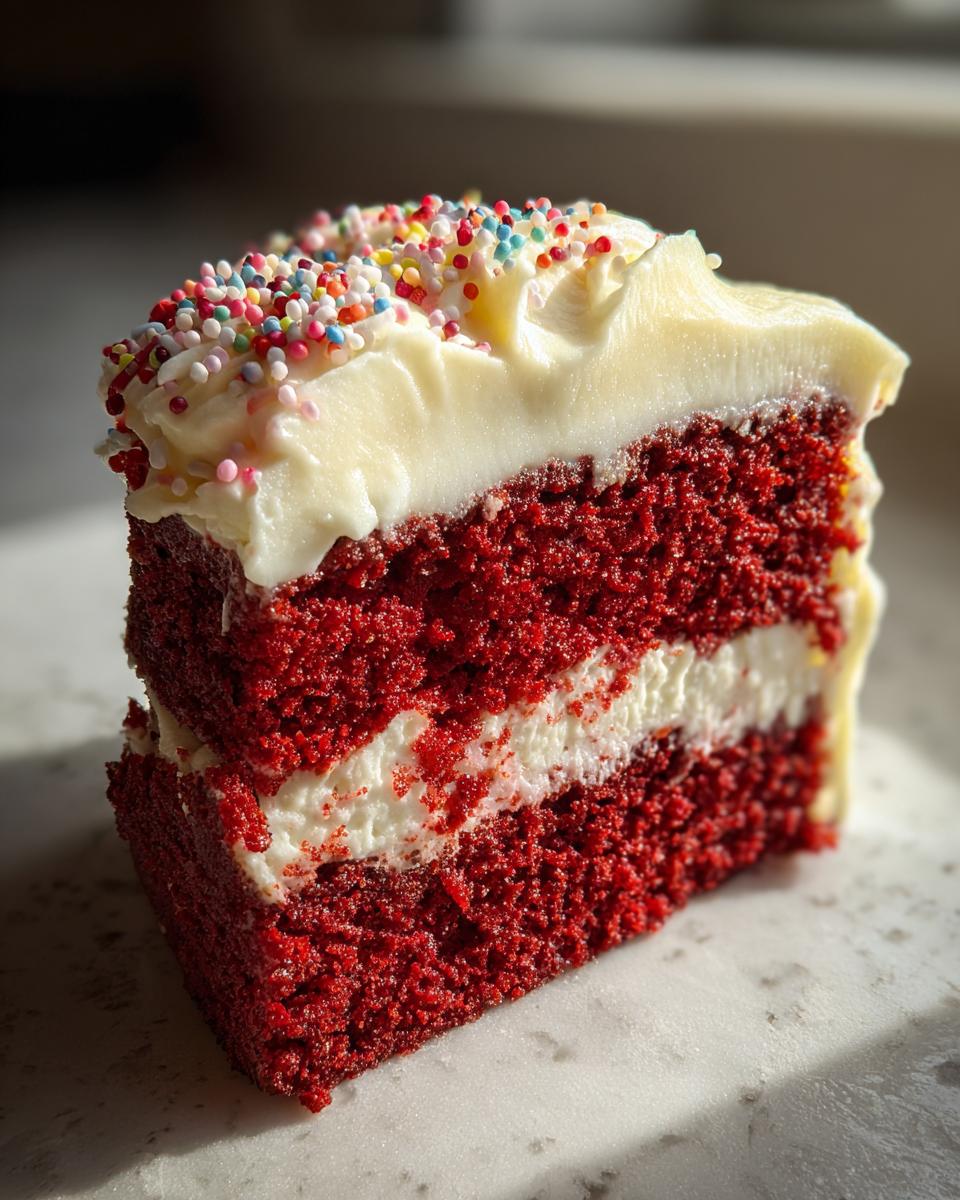
Once the pudding has set, it’s time for the crowning glory. While it’s chilling, beat your softened cream cheese with the powdered sugar and vanilla until it’s smooth as silk. No lumps allowed! Once the pudding layer is firm to the touch, gently spread that lovely cream cheese frosting all over the top. Carla’s Tip: Make sure your frosting is room temperature soft before mixing, or you’ll end up with tiny cream cheese chunks! Finally, scatter those festive sprinkles on top. For the absolute best texture, cover the whole thing and pop it back into the fridge for at least one hour before serving. This allows everything to marry beautifully. If you want to see a great final result, check out photos from someone who made this red velvet poke cake recipe!
Tips for the Best Moist Red Velvet Cake Recipe Results
My goal in sharing these recipes, just like when I taught third grade, is making sure you succeed! Even when we use a wonderful shortcut like a boxed mix for this red velvet poke cake, a few little tricks separate a good cake from a glorious one.
First, let’s talk about that amazing cake mix poke cake hack. Box mixes dry out faster if you mess with their ratios, so I always stick to exactly what the box says for the batter—no sneaking in extra egg whites or anything! The moisture comes later from the soaking, remember?
Second, remember that cream cheese for the frosting has to be truly soft. If it’s cold, you’ll end up fighting lumps, which ruins the smooth texture we want! I usually leave it out on the counter while the cake is baking. And lastly, don’t skimp on the chilling time after frosting. That hour in the fridge lets the pudding set inside the cake layers perfectly. It’s worth the wait, I promise! For more tips on making other dishes creamy and quick, check out how I handle my creamy enchiladas sometimes.
Storage and Make Ahead for Your Red Velvet Dessert Ideas
I love putting together make ahead holiday desserts, and I’m happy to report this one is perfect for planning ahead! Because we have all that creamy pudding and cream cheese frosting, this red velvet poke cake definitely needs to live in the refrigerator. Don’t even think about leaving it on the counter overnight—that cream cheese frosting won’t hold up for long!
The wonderful thing about this cake is that it actually tastes better a day later; the sweet milk and pudding have more time to soak deep into that velvety cake, making it even more delicious than when you first put it together. You can cover it tightly with plastic wrap or a lid and keep it chilled for up to three full days. If you are looking for other great make-ahead options, you might want to look at my secrets for my brownie refrigerator cake!
Variations: Customizing Your Red Velvet Poke Cake
I truly believe a recipe should adapt to what you have on hand, or just what you, personally, prefer! If you happen to have a tub of Cool Whip in the freezer, don’t stress about making the full cream cheese frosting. You can absolutely swap that out for a simple cool whip red velvet poke cake topping.
Just make sure that whipped topping is thawed completely before you spread it on—we want fluffy, not icy! Also, feel free to experiment with the pudding layer. If you want to lean into a slightly richer flavor profile, try using instant chocolate pudding instead of vanilla. That slight cocoa punch against the red velvet is truly delicious. This cake is so forgiving, which is why it’s one of my favorite red velvet dessert ideas for when company drops by unexpectedly!
Frequently Asked Questions About Making a Red Velvet Poke Cake
I know sometimes the instructions make sense until you go to put your apron on, and suddenly you have a hundred little questions! I lived through those moments teaching my own students, so let’s clear up a few things about getting this red velvet poke cake just right.
Can I use a homemade red velvet cake instead of a mix for this poke cake?
Absolutely, you can! If you have a favorite moist red velvet cake recipe from scratch, please use it! This recipe is built around the ease and dependability of that boxed mix, which is part of the cake mix poke cake hack goodness, but a lovely homemade cake will work beautifully too. Just make sure that when you bake it, it’s still warm when you start poking those holes so it soaks up all that wonderful sweetened condensed milk.
What are the best poke cake fillings besides pudding?
That instant pudding, mixed with the milk, acts like a sponge when it hits that warm cake, which is why I rely on it for the absolute ultimate moisture! However, if you’re feeling adventurous, you can certainly try using melted chocolate—maybe a jar of good quality hot fudge—or even a thin caramel sauce poured over the milk soak. Just remember, the pudding helps solidify that moisture layer inside the cake before the frosting goes on.
How do I make this a festive red velvet treat for holidays?
Oh, making this a festive red velvet treat is my favorite part! If you’re doing this for Christmas, use alternating red and green sprinkles, or maybe just classic white ones that look like snow! For Valentine’s Day, red and pink hearts are just darling. When folks come over for parties lately, I always serve a slice alongside a nice, spicy mug of hot cider. It just makes the whole experience feel complete!
If you’re looking for other recipes that help streamline your kitchen time, I have some tips on making my Hollandaise sauce that might interest you!
Estimated Nutritional Values for Red Velvet Poke Cake
Now, you know that when you’re using cake mix, pudding, and sweetened condensed milk, this isn’t exactly a light side salad! I always like to give you an idea of what’s in a generous slice so you can plan accordingly. Please remember that these numbers are my best estimate based on standard product assumptions—they can shift depending on the exact brands you grab at the store. If you are watching macros closely, you might want to skip the frosting! Here’s a general breakdown for one serving:
- Serving Size: 1 slice
- Calories: 410
- Sugar: 45g
- Fat: 18g
- Protein: 5g
Share Your Red Velvet Poke Cake Creations
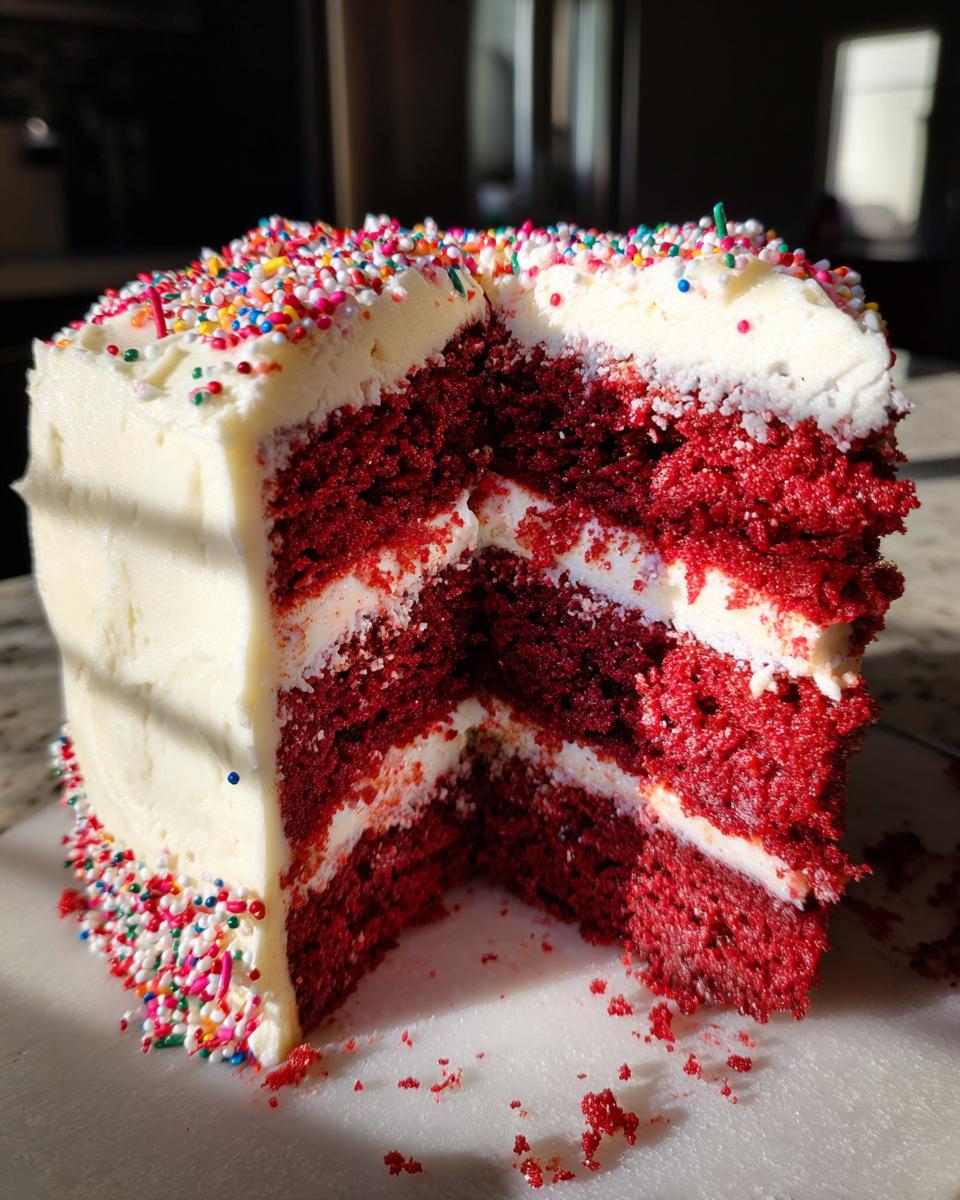
That’s it! You’ve made the ultimate, impossibly moist, show-stopping red velvet poke cake. Isn’t it glorious? Now, I absolutely love hearing back from you all when you try one of my tried-and-true recipes. Whether it’s your first time making any kind of poke cake or you’ve done this a dozen times, I want to know how it turned out for you!
Did you stick with the cream cheese topping, or did you try a variation? Did your cake slice cleanly after the extended chill time? Please take a moment to scroll down, leave a comment below, and let me know how that sweetened condensed milk worked its magic in your kitchen. If you managed to snap a picture of your beautiful creation, especially if you made it for a holiday gathering, I’d love to see it! You can reach out to me directly through my contact page if you prefer sharing privately.
Remember, every time you bake one of these simple, comforting recipes, you’re adding a little more warmth and love to someone’s day. Happy baking, everyone!
PrintUltra-Moist Red Velvet Poke Cake with Cream Cheese Frosting

Make this ultra-moist red velvet poke cake using a simple cake mix base. Poking the warm cake allows it to soak up sweetened condensed milk, guaranteeing a rich, creamy texture perfect for any celebration.
- Prep Time: 20 min
- Cook Time: 35 min
- Total Time: 1 hour 55 min
- Yield: 12 servings 1x
- Category: Dessert
- Method: Baking and Chilling
- Cuisine: American
- Diet: Vegetarian
Ingredients
- 1 box red velvet cake mix (plus ingredients listed on the box)
- 1 (14 ounce) can sweetened condensed milk
- 1 (3.4 ounce) package instant vanilla pudding mix
- 2 cups cold milk
- 1 tub (8 ounces) whipped topping, thawed
- 8 ounces cream cheese, softened
- 1/2 cup powdered sugar
- 1 teaspoon vanilla extract
- Red or white sprinkles for garnish
Instructions
- Prepare and bake the red velvet cake mix in a 9×13 inch baking pan according to the package directions.
- Once the cake is baked, let it cool for about 10 minutes on a wire rack.
- Use the handle of a wooden spoon or a thick straw to poke holes evenly across the entire surface of the warm cake. Make the holes deep but do not pierce the bottom of the pan.
- Slowly pour the entire can of sweetened condensed milk evenly over the top of the cake, allowing the milk to seep into the holes. Set the cake aside.
- In a medium bowl, prepare the instant vanilla pudding mix by whisking it with 2 cups of cold milk until the mixture is smooth and slightly thickened.
- Pour the pudding mixture over the cake, spreading it gently to cover the surface and ensuring it fills the poked holes.
- Refrigerate the cake for at least 30 minutes to allow the pudding layer to set inside the cake.
- While the cake chills, prepare the cream cheese frosting. In a separate bowl, beat the softened cream cheese, powdered sugar, and vanilla extract together until the mixture is smooth and creamy.
- Spread the cream cheese frosting evenly over the chilled cake.
- Garnish the top with red or white sprinkles before serving. Chill for at least 1 hour before slicing for the best flavor and texture.
Notes
- For an extra festive look, use this recipe for your Christmas red velvet poke cake or Valentine’s Day dessert.
- If you prefer a lighter topping, substitute the cream cheese frosting with Cool Whip.
- This cake is excellent made ahead of time; it keeps well covered in the refrigerator for up to three days.
Nutrition
- Serving Size: 1 slice
- Calories: 410
- Sugar: 45g
- Sodium: 350mg
- Fat: 18g
- Saturated Fat: 10g
- Unsaturated Fat: 8g
- Trans Fat: 0.5g
- Carbohydrates: 60g
- Fiber: 1g
- Protein: 5g
- Cholesterol: 45mg