
Oh, have you ever looked at a cake and thought, “It just needs that perfect, glossy finish”? That beautiful, smooth sauce poured over the top that just screams homemade goodness! But it can be tricky, especially with white chocolate. Whether you need a thick layer to frost, a silky topping that just drips down the sides, or even a creamy center for a homemade candy, having a dependable recipe is essential. That’s why I’m so excited to share exactly how I make my very simple, very dependable white chocolate ganache. I’ve refined this process over many years—teaching second graders taught me patience, and that patience matters in the kitchen! This guide will make sure your efforts result in something beautiful, maybe even something like my White Chocolate Raspberry Cookies.
- Why This Homemade White Chocolate Ganache Recipe Works
- Ingredients for Perfect White Chocolate Ganache
- Step-by-Step Instructions for Making White Chocolate Ganache
- Mastering the White Chocolate Cream Ratio for Different Uses
- Tips for Success When Making White Chocolate Ganache
- Using Your White Chocolate Drip Icing and Topping
- Whipping White Chocolate Ganache for Frosting
- Storage and Reheating White Chocolate Ganache
- Common Questions About Making White Chocolate Ganache
- Sharing Your Delicious White Chocolate Creations
Why This Homemade White Chocolate Ganache Recipe Works
I’ve tested many methods over the years, and honestly, this ratio is the one I always come back to. It’s straightforward, uses just two main ingredients, and it truly delivers that melt-in-your-mouth texture. Nobody wants a grainy mess when they are hoping for a luscious coating!
- It creates a stunningly smooth white chocolate sauce without needing any fancy equipment—no tempering involved here!
- The ratio is adjustable, giving you both an easy white chocolate coating or a firm white chocolate truffle filling depending on how long you let it cool.
- It’s incredibly dependable, which means you can use it over showstopper bakes like my creamy White Chocolate Cheesecake with confidence.
Ingredients for Perfect White Chocolate Ganache
When it comes to a high-quality coating, the ingredients really do shine through. You only need a few things here, but the quality matters immensely. I always recommend using the best white chocolate you can find because it doesn’t have a lot of weird stabilizers that can interfere later on.
- Ten ounces of high-quality white chocolate—this must be chopped into small, uniform pieces so it melts evenly. Chips work in a pinch, but chopping a bar is better!
- Five ounces of heavy cream—and this is important, make sure it has at least 35% milk fat. That higher fat content is what gives us that beautiful body.
- One teaspoon of vanilla extract, if you fancy that extra hint of flavor.
Step-by-Step Instructions for Making White Chocolate Ganache
Now, don’t let those instructions look intimidating! Really, this whole process happens so quickly you’ll be shocked. We are essentially using the heat from the cream to gently dissolve the chocolate, creating one beautifully unified sauce. If you follow these steps exactly, you’ll have a perfect emulsion every single time, just like I do when I’m making my Easy White Chocolate Fudge.
Preparing the Chocolate and Heating the Cream
First things first, make sure your ten ounces of white chocolate are chopped small and evenly. This is crucial for melt time! Next, pour your heavy cream into a small pot. Heat that cream over medium heat until you see just the tiniest little bubbles forming around the edge—that’s right on the verge of simmering, not a rolling boil—then take it right off the stove. Add your vanilla now, if you’re using it.
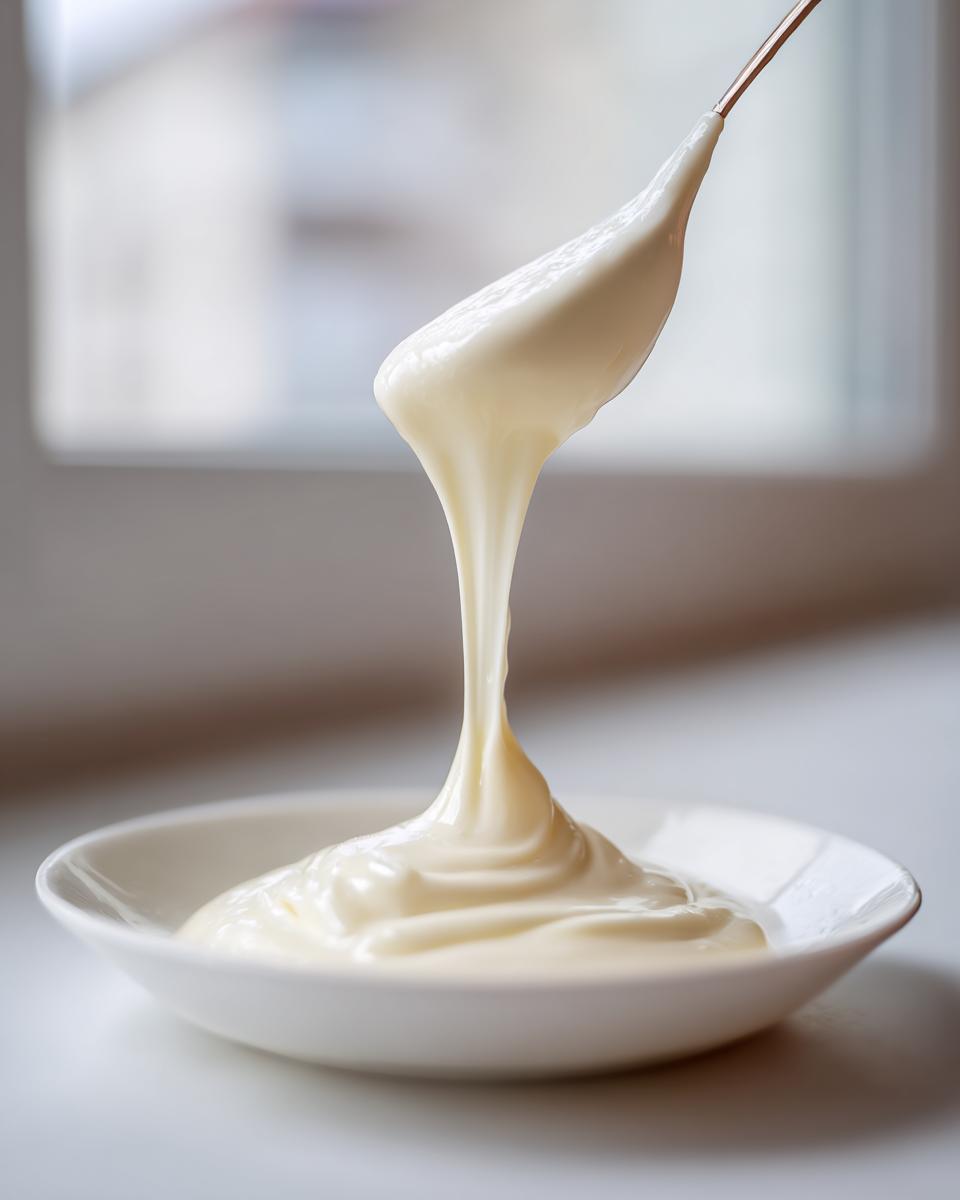
Achieving a Smooth White Chocolate Ganache Emulsion
Pour that hot cream right over all your chopped chocolate in the bowl. Now, step away for five full minutes. Don’t touch it! That quiet time allows the trapped heat to do the hard work. When you come back, grab a whisk and start stirring very, very gently, starting right in the middle and working your way out slowly. We do not want bubbles! We are aiming for a glossy, unified mixture—that glossy sheen is the sign of a perfect emulsion and the exact white chocolate glaze consistency you want for a nice pour. Keep going until there are no specks left.
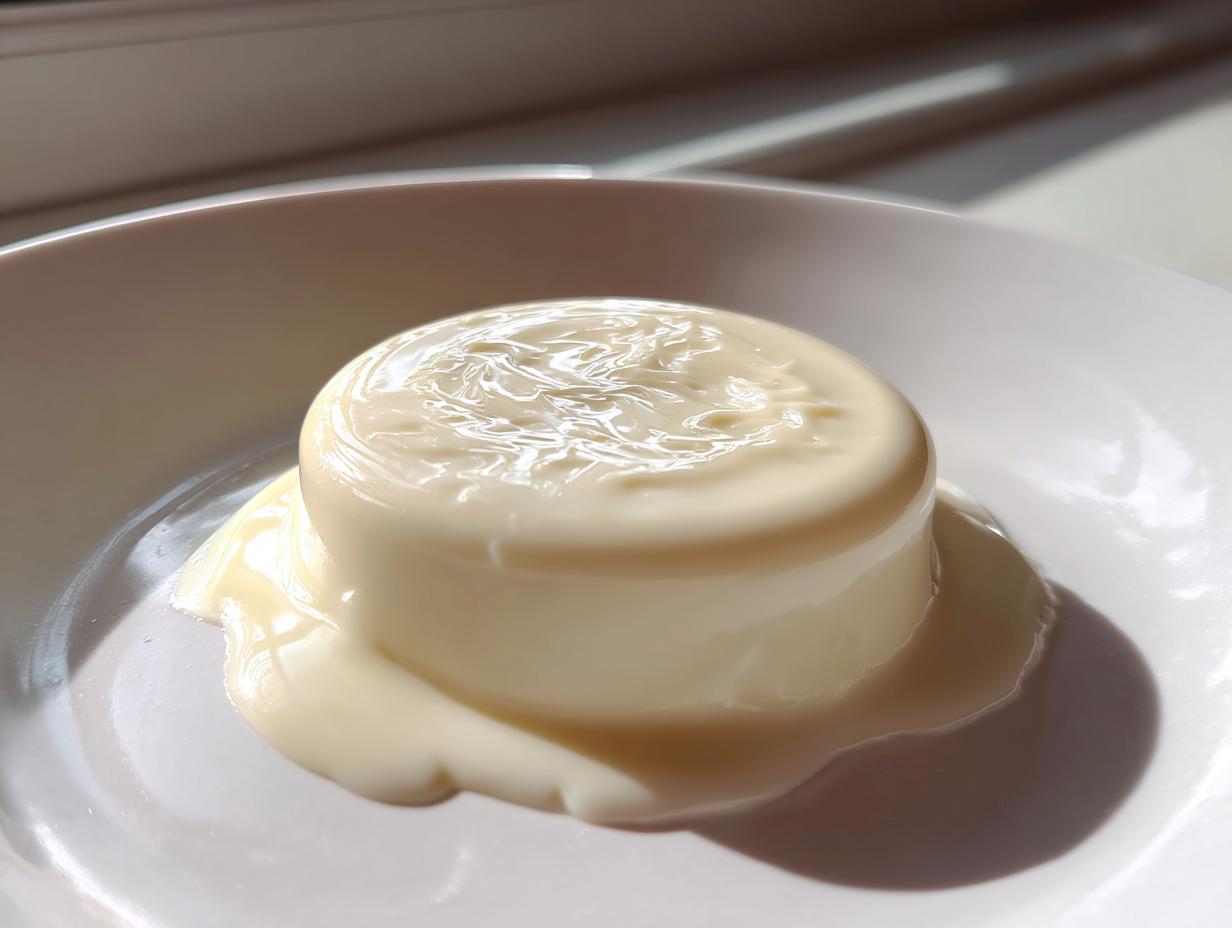
Cooling and Adjusting White Chocolate Ganache Consistency
Once it’s silky smooth, you need to decide what you’re using it for. If you want a quick pour or a thin white chocolate topping, just let it cool on the counter for about an hour, stirring every so often. But if you need a thick, firm consistency for a white chocolate truffle filling or covering a cake, cover that bowl and pop it in the fridge. Check it every half hour so you can stir it down and keep the chilling even.
Mastering the White Chocolate Cream Ratio for Different Uses
This is where the magic really comes down to simple math, and it makes all the difference! If you want to use this same base recipe for multiple things, you just adjust the amount of cream you pour over the chocolate. For anything that needs to be firm—like making a gorgeous white chocolate truffle filling or a sturdy stable white chocolate ganache for piping on top of a cake—you stick close to a 2 parts chocolate to 1 part cream ratio. That means more chocolate, which sets up beautifully.
But let’s say you want that soft, flowing look, like when you’re making a lovely cake covering, or perhaps you need a simple white chocolate glaze recipe that just runs nicely. For that, you want less chocolate, pulling that ratio closer to 1.5 parts chocolate to 1 part cream. It stays softer longer. It’s so handy to have just one basic recipe that can transform like that. It’s perfect when I’m getting ready to fill my Cookie Butter Cheesecake Cups!
Tips for Success When Making White Chocolate Ganache
Making this at home gives you such a leg up over store-bought stuff, and honestly, I think that’s why people call this a no fail white chocolate glaze recipe. A lot of my confidence comes from avoiding tempering altogether—this melting method is so much kinder to those of us who don’t have professional setups! But even the simplest recipe needs good ingredients to really sing.
Choosing the Best White Chocolate for Ganache
For the absolute best results, go for white chocolate couverture if you can find it; it has higher cocoa butter content. Those standard baking chips sometimes just don’t melt as smoothly for us home cooks.
Troubleshooting Seized White Chocolate Ganache
Now, sometimes, even with the best intentions, your mixture might look a little stiff or slightly grainy—that’s seizing! Don’t panic. Just stir in a tiny teaspoon of warm water or a neutral oil slowly, and it should smooth right back out, becoming that glossy texture we love.
If you ever want to practice making a lovely fluffy topping to go on my easy vanilla buttercream frosting, this base is perfect. A little bit of patience with the temperature is all it ever takes!
Using Your White Chocolate Drip Icing and Topping
Once your white chocolate ganache has cooled down just a little—and I mean *just* a little—it’s ready to sing! This is the moment where you turn that smooth sauce into the star of the show: the perfect white chocolate drip icing. The secret here is temperature control, just like Grandma taught me with her spiced cakes. You can’t pour it straight off the stove, or it runs right off the cake and pools messily on the plate!
You want it cooled enough that when you use a spoon to encourage it over the edge of your cake, it slowly drips down but stops nicely about halfway down the side, giving you those beautiful, distinct lines. This thicker consistency is what makes it such a reliable white chocolate topping for anything you finish—cupcakes, cookies, or a full cake.
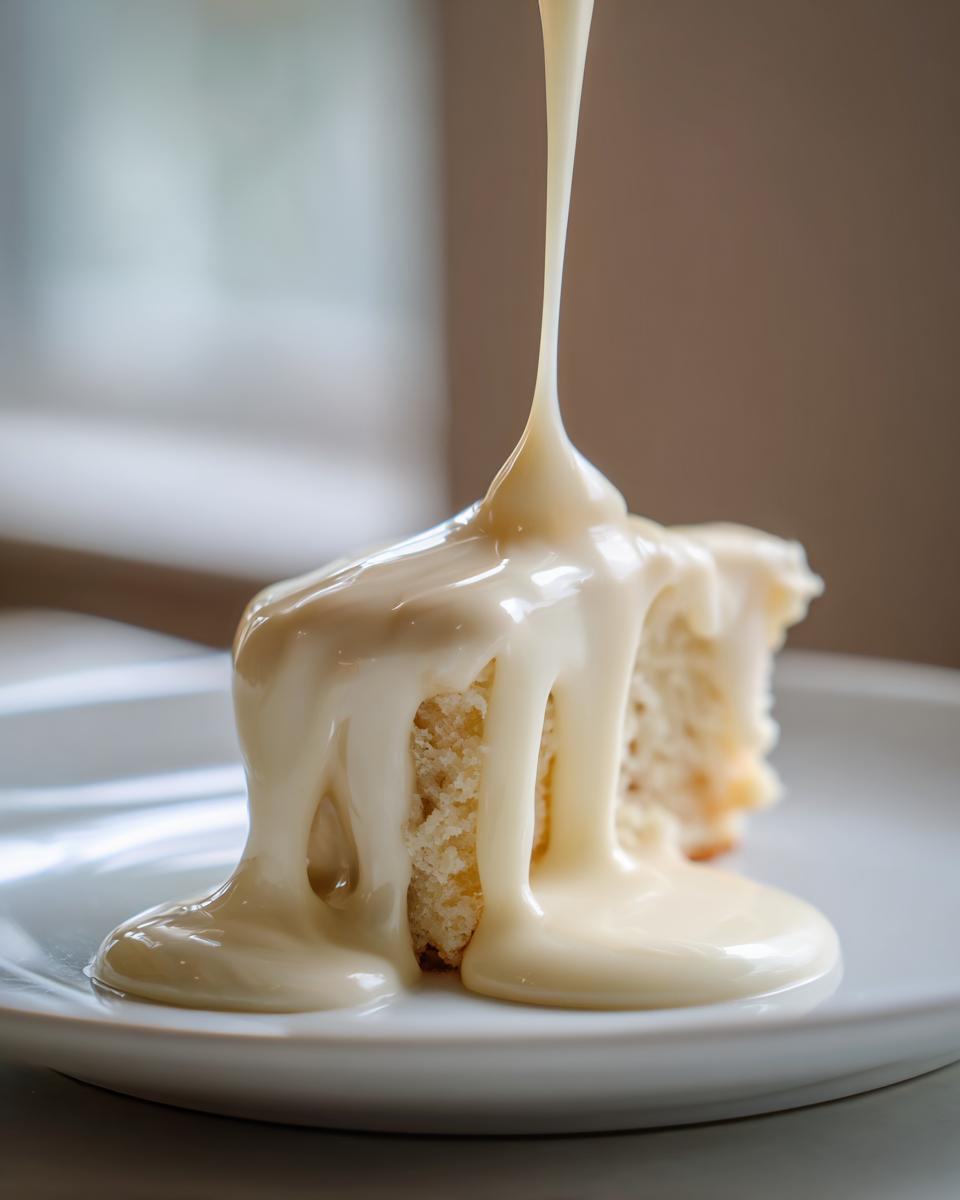
If you’ve made my Moist Vanilla Cupcakes, this white chocolate drizzle makes them look like they came straight from a fancy bakery. Just let the ganache rest on the counter until it feels slightly warm to the touch but still flows easily off the spoon. Trust me, patience during this cooling stage prevents a runny disaster!
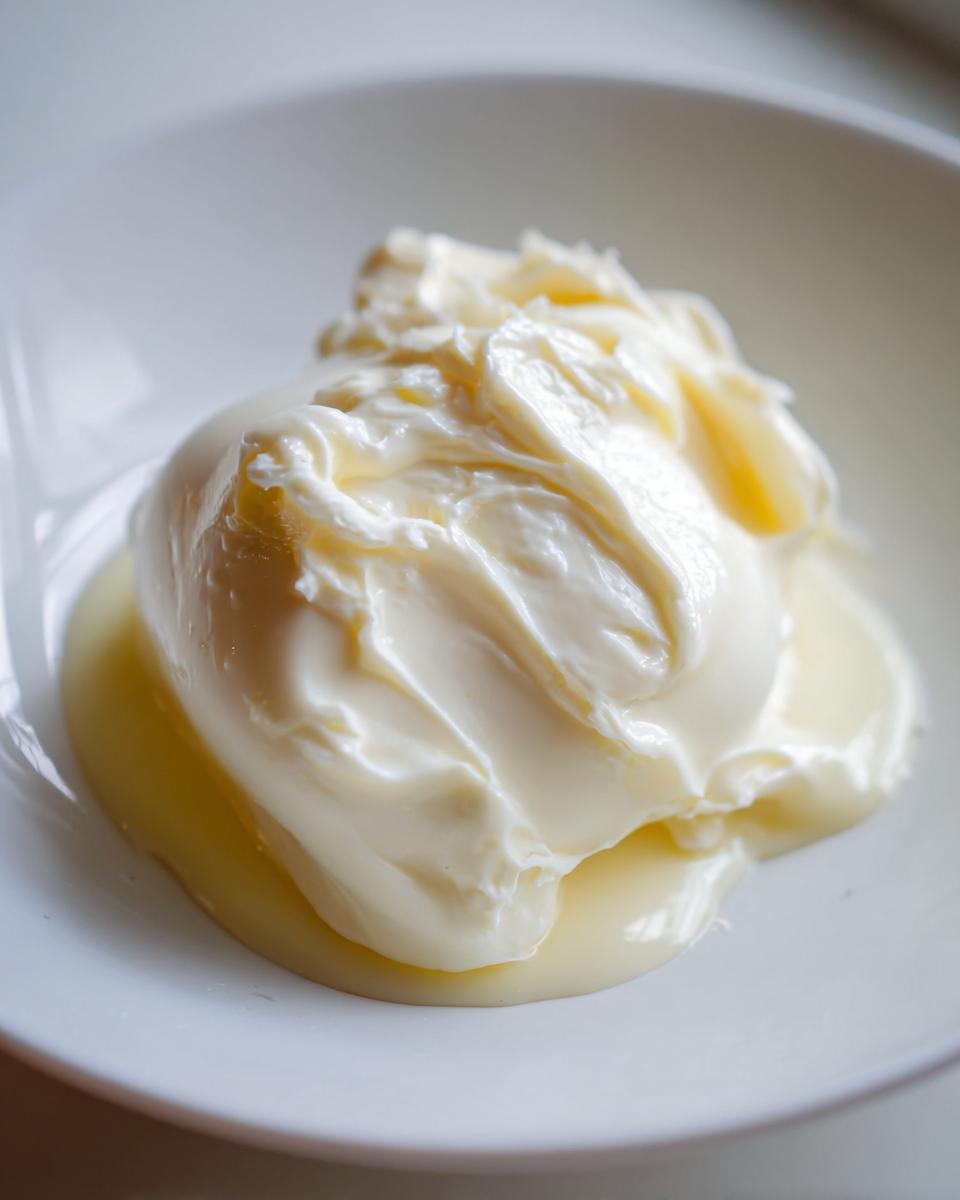
Whipping White Chocolate Ganache for Frosting
Now, if you want something lighter than a glaze—maybe you need a beautiful, fluffy spread for cupcakes or piping borders—we need to turn this lovely sauce into a proper frosting. This step is fantastic because it gives you a gorgeous, rich flavor without the stiffness of a pure butter icing. But you absolutely can’t rush it! You have to let that ganache cool down completely. I mean totally gone stiff in the fridge, usually for a few hours.
Once it’s firm to the touch, take it out and put it into your stand mixer. Beat it just like you would a regular buttercream. It will soften up quickly, incorporating air and turning pale. This results in a gorgeous, stable white chocolate ganache for piping that holds its shape beautifully on my fluffy vanilla buttercream or any decorated treat!
Storage and Reheating White Chocolate Ganache
The great news is that this lovely mixture keeps very well! If you have leftovers, just cover the bowl tightly—plastic wrap pressed right onto the surface is best to prevent a skin from forming—and pop it into the refrigerator. It should last well for a week, maybe even longer. When you need it again, don’t stress about getting it too warm too fast.
To bring it back to life, reheat it very gently. A few short bursts in the microwave, stirring well between each one, or placing the bowl over a pot of simmering water (a double boiler) works wonders. Just heat until it’s pourable again; over-heating can break that beautiful emulsion we worked so hard to create!
Common Questions About Making White Chocolate Ganache
If you’re reading this now, chances are you’ve got a batch chilling or maybe you’re troubleshooting a little bump in the road. That’s perfectly fine! I learned a long time ago teaching young ones that expecting perfection right away just isn’t realistic—practice and little tweaks are what get us to that delicious goal. Addressing these common snags is part of what makes this recipe so reliable when you use it for things like my Easy Chocolate Fudge.
Can I use milk instead of heavy cream in white chocolate ganache?
Oh, I wouldn’t recommend it, dear. Heavy cream is absolutely necessary here because of that high fat content we talked about. If you swap in regular milk, you just don’t have enough fat to stabilize all that sugar and cocoa butter in the white chocolate. What you end up with is a very thin, unstable sauce that might even separate on you. It won’t hold up for dipping cookies or glazing a cake; it’ll just run right off.
How long does homemade white chocolate ganache take to set?
That really depends on how firm you need that white chocolate ganache to be! If you’re just making a thin glaze or a gentle drip, leaving it on the counter at cool room temperature for about 30 to 60 minutes is usually plenty of time before it thickens up enough to hold its shape beautifully. If you need it firm for a white chocolate truffle filling that holds its shape when rolled, you’ll definitely want to pop it in the fridge for a few hours, maybe stirring it every thirty minutes so it chills evenly.

What is the best way to flavor my white chocolate truffle filling?
White chocolate has such a delicate flavor, so you have to be gentle with your additions, or you risk breaking that lovely emulsion! For the best results in your white chocolate truffle filling, I always stick to clear extracts like almond or maybe a touch of lemon extract stirred in right at the end after everything is glossy. If you want to use zest, use just a tiny amount of super-fine zest, maybe from a lemon or orange, mixed in with the chocolate before the cream goes on top. Keep the volume of any liquid flavoring very low!
Sharing Your Delicious White Chocolate Creations
Well, there you have it! We’ve gone from simple cream and chocolate to a stunning, reliable sauce. I truly hope this detailed guide takes the guesswork out of making beautiful desserts, whether you used it as a glaze or as a filling for your holiday treats. My greatest joy in teaching, whether in the classroom or right here in my kitchen, is seeing others succeed with confidence.
Now I have a big favor to ask, and I truly hope you’ll oblige! If this recipe brought the shine and flavor you were hoping for, please come back and leave me a little rating right here on the recipe card. It helps other home cooks—just like you—find dependable goodness!
And please, if you made something spectacular—a drip cake, beautiful truffles, or maybe you coated one of my fluffy cupcakes with this gorgeous white chocolate ganache—I want to see it! Tag me on social media or share a picture. If you have any questions at all about the ratios or the cooling process, don’t hesitate to pop down to the comments below. I check the comments daily, and nothing makes me happier than helping you smooth out those last little kitchen questions. You can always reach out directly through the contact page too, if you prefer.
Happy baking, everyone. I can’t wait to see what you create!
PrintSimple White Chocolate Ganache for Drip and Filling
Learn how to make a smooth, stable white chocolate ganache using a simple ratio, perfect for cake covering, dripping, or truffle centers.
- Prep Time: 5 min
- Cook Time: 5 min
- Total Time: 10 min
- Yield: About 1.5 cups 1x
- Category: Dessert Component
- Method: No-Cook/Melting
- Cuisine: American
- Diet: Vegetarian
Ingredients
- 10 ounces high-quality white chocolate (chopped or chips)
- 5 ounces heavy cream (at least 35% milk fat)
- 1 teaspoon vanilla extract (optional)
Instructions
- Chop the white chocolate into small, uniform pieces and place them in a heatproof bowl.
- Pour the heavy cream into a small saucepan. Heat the cream over medium heat until it just begins to simmer around the edges. Do not let it boil rapidly.
- Remove the cream from the heat immediately. If using, stir in the vanilla extract.
- Pour the hot cream directly over the chopped white chocolate. Let the mixture sit undisturbed for 5 minutes to allow the heat to melt the chocolate fully.
- After 5 minutes, gently whisk the mixture starting from the center and moving outward in small circles until the mixture is completely smooth and emulsified. Avoid incorporating too much air.
- If the ganache appears slightly separated or grainy, continue whisking slowly until it comes together into a glossy emulsion.
- For a glaze or drip consistency, let the ganache cool at room temperature for about 30 to 60 minutes, stirring occasionally.
- For a firm filling or piping consistency, cover the bowl and chill the ganache in the refrigerator for 2 to 4 hours, stirring every 30 minutes until it reaches the desired thickness.
Notes
- Use good quality white chocolate couverture for the best flavor and texture; lower quality chocolate may contain stabilizers that prevent smooth emulsification.
- If your ganache seizes (becomes grainy or stiff), try stirring in one teaspoon of warm water or neutral oil until it smooths out.
- The ratio of 2 parts chocolate to 1 part cream creates a firm ganache suitable for truffles. For a softer glaze, use a 1.5 to 1 ratio.
- If you plan to whip the ganache for frosting, chill it completely until firm, then beat it with an electric mixer until light and fluffy.
Nutrition
- Serving Size: 2 tablespoons
- Calories: 250
- Sugar: 20
- Sodium: 25
- Fat: 18
- Saturated Fat: 11
- Unsaturated Fat: 7
- Trans Fat: 0.5
- Carbohydrates: 22
- Fiber: 0
- Protein: 3
- Cholesterol: 60