
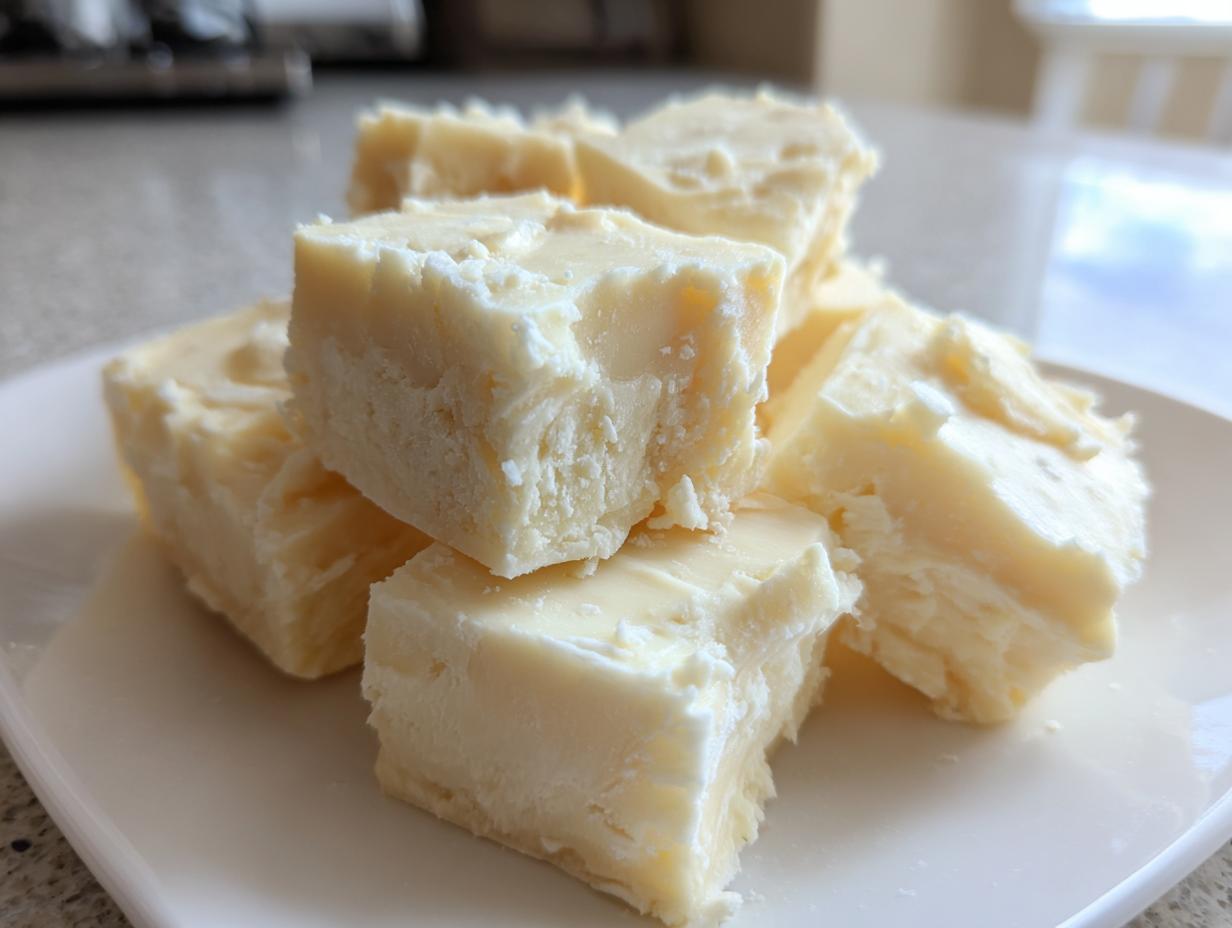
Oh, I just love making homemade candy! There’s something so special about creating a delightful, rich treat that tastes completely indulgent without needing a massive kitchen production. If you’re looking for something that screams decadence but takes almost no effort, you’ve hit the jackpot today. We’re making what I call the Easiest 3-Ingredient No-Bake White Chocolate Fudge. Because I taught elementary school for thirty years, I’ve learned exactly how to break things down step-by-step so everyone—yes, even you—can get this perfect white chocolate fudge on the first try. Trust me, this recipe is foolproof, quick, and delivers that incredible melt-in-your-mouth quality every single time! Be sure to visit my About Page to learn more about my journey!
- Why This Easy White Chocolate Fudge Recipe Works So Well
- Gathering Ingredients for Your Simple Homemade White Candy
- Equipment Needed for Quick White Chocolate Squares
- How to Prepare Your No Bake White Chocolate Fudge
- Making Festive White Fudge Ideas with Mix-ins
- Storing Your Melt in Your Mouth Fudge Recipe
- Frequently Asked Questions About White Chocolate Fudge
- Nutritional Estimate for This Creamy White Chocolate Dessert
- Share Your Holiday White Chocolate Treat Experience
Why This Easy White Chocolate Fudge Recipe Works So Well
I stand by this recipe because it checks every box a home cook needs! When you need a quick dessert, but you want it to taste like you spent hours fussing over it, this formula is the answer. It’s such a reliable no bake white chocolate fudge.
- It’s incredibly fast—we’re talking minutes of actual work.
- It uses just three main ingredients, so you don’t need a fully stocked pantry.
- It creates that dreamy, smooth, melt in your mouth fudge recipe standard.
You can find even more simple sweets on my main Dessert Recipes page!
Achieving the Best White Chocolate Fudge Texture
Traditional fudge requires constant stirring and often a candy thermometer, which is just fussy! We skip all that. The secret here is the stability of sweetened condensed milk mixed with melted chocolate chips. This combination naturally creates the best white chocolate fudge texture—creamy, dense, and perfectly smooth without any sugar graininess.
Gathering Ingredients for Your Simple Homemade White Candy
When a recipe only has a few steps, the quality of those ingredients really matters, doesn’t it? Since we aren’t using a ton of ingredients to make this simple homemade white candy, make sure you’re grabbing the best you can find. I’ve laid out exactly what you need below, but don’t worry too much if you already have some of these things on hand!
- 1 (14 ounce) can sweetened condensed milk—and please make sure this is at room temperature!
- 3 cups white chocolate chips—I stress using good quality chips here, not wafers.
- 1 teaspoon vanilla extract
- Optional Mix-in: About 1/2 cup of dried cranberries OR 1/2 cup of chopped nuts.
Ingredient Notes and Substitution Ideas for White Chocolate Fudge
This is where we talk about the little details that make all the difference in getting that perfect, creamy batch of white chocolate fudge. You absolutely must use sweetened condensed milk that is at room temperature or slightly warmed. If it’s too cold straight out of the fridge, it can shock the chocolate and cause seizing—and nobody wants that grainy texture!
Also, use fresh white chocolate chips if you can. Sometimes those bags that have been sitting in the pantry since last Christmas aren’t as smooth when melted. The vanilla is crucial because white chocolate is mild, and the vanilla really helps boost that sweetness.
Now for the fun part, the mix-ins! If you want to switch things up for a holiday treat, try folding in 1/2 cup of crushed peppermint candies for a bright, festive flavor. Or, if you’re feeling decadent, gently swirl in some soft caramel sauce after you pour the base mixture into the pan. That makes a wonderful caramel swirl fudge recipe!
Equipment Needed for Quick White Chocolate Squares
Before you even think about melting that chocolate, let’s make sure your station is ready to go! Because this is such a fast, no-bake recipe, you don’t have much time once the melted chocolate meets the milk, so setting up beforehand is key. Having everything ready means you can easily manage your microwaving and mixing to get those perfect quick white chocolate squares.
You won’t need much, which is the beauty of it! But here’s the toolkit I use every time:
- An 8×8 inch baking pan. This gives you those nice, thick squares.
- Parchment paper. This is non-negotiable! You need the overhang so you can lift the whole block out later. Don’t skip this!
- A large, microwave-safe bowl for melting the chips.
- A sturdy rubber spatula for mixing and spreading.
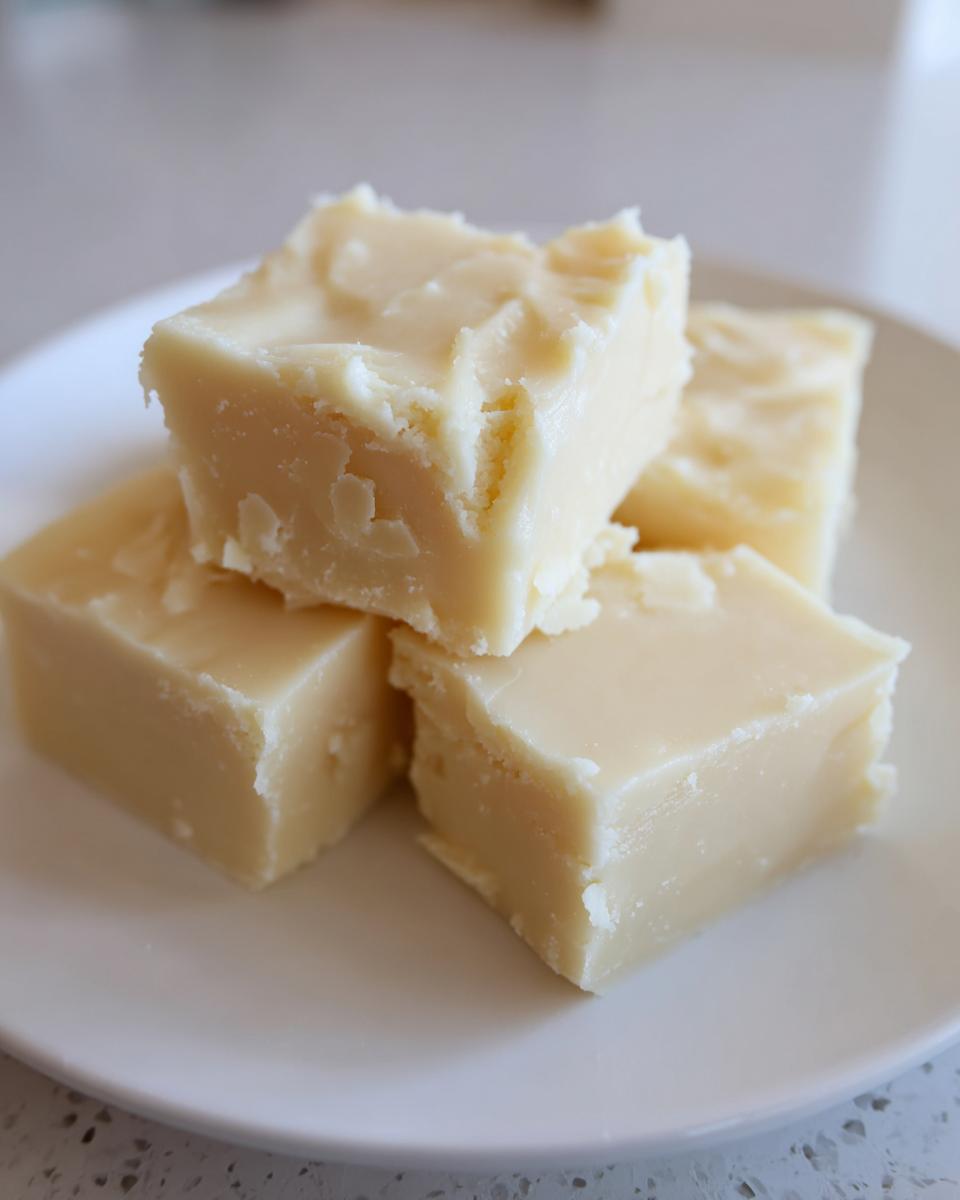
How to Prepare Your No Bake White Chocolate Fudge
Alright, let’s get down to business! Since this is a no bake white chocolate fudge recipe, the real “cooking” happens in the microwave, which means speed is important, but so is patience. You need to work quickly once the milk is added, but you must move slowly when melting those chips.
First things first: prep that pan! Line your 8×8 pan with parchment paper, making sure you have an overhang on the sides. Those flaps are your handles later, so let them hang out over the edge. Lightly grease the paper if you want extra security, but usually, parchment does the trick. You can see how I prep pans for my no-bake protein bars—I use the exact same paper trick here!
Next, get those 3 cups of white chocolate chips into your microwave-safe bowl. Microwave them in 30-second bursts. The key here is stirring aggressively between each blast! Don’t just pop it in for two full minutes; you’ll burn it. Keep stirring until it looks almost smooth, then just use the residual heat to finish melting.
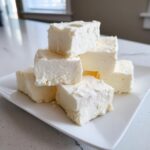
Once you have that beautiful, shiny sauce, quickly stir in your room temperature condensed milk and the vanilla until everything is perfectly uniform and smooth. If you’re adding any of those wonderful optional mix-ins we talked about—like cranberries—fold them in gently right at the end. Pour it all into your prepared pan and smooth the top with your spatula. Then, we chill! Into the fridge it goes for at least 2 or 3 hours until it’s completely firm and ready to slice into those gorgeous squares.
Preventing Seizing: A Condensed Milk Fudge Tutorial Tip
Seizing is the bogeyman of all microwave fudge makers, but I promise, it’s easy to avoid! I know I mentioned it before, but this is the most critical step in this condensed milk fudge tutorial. Chocolate hates sudden temperature changes. If you add cold condensed milk to warm white chocolate, the milk’s moisture causes the cocoa solids to clump up instantly, leaving you with grainy, stiff sludge instead of creamy goodness.
So, remember my teaching trick: always bring your condensed milk out about an hour before you start, or microwave it for about 10 seconds right before you use it. Give it a quick stir to ensure it’s warm, not hot. When you mix it into those melted chips, use a slow, gentle folding motion. We are combining, not whipping! This respect for temperature keeps our fudge silky smooth every single time.
Making Festive White Fudge Ideas with Mix-ins
Now that you have the base recipe down—that beautiful, creamy foundation for amazing white chocolate fudge—it’s time to get creative! This is where we turn a great easy white chocolate fudge recipe into something truly show-stopping for holidays or celebrations. Adding a little something extra is so simple, but it makes such a difference in the presentation and the flavor complexity.
Remember, since this fudge sets up quickly because of how we mix it, you need to have your mix-ins ready to go right when the chocolate and milk are combined. You don’t want to stand around debating flavors when the mixture is cooling!
For those tangy pops of color, dried cranberries are just wonderful. They give you that tart counterpoint that cuts through the sweetness. If you are using cranberries or chopped nuts, gently fold them in with your spatula *after* the milk and vanilla are incorporated but *before* you pour the mixture into the pan. That way they are evenly distributed throughout the fudge.
If you want something really luxurious, consider a caramel swirl for spectacular festive white fudge ideas. To do this, pour about two-thirds of the fudge mixture into your prepared pan. Then, drizzle spoonfuls of soft, room-temperature caramel sauce over the top. Pour the remaining fudge over that, and then take a butter knife and gently drag it through the layers just once or twice to create ribbons—don’t over-swirl, or you’ll just end up with brown fudge!
For a wonderful holiday flair, you can use crushed peppermint candies, just like I do in my famous Peppermint Bark recipe! You can find some inspiration for cranberry variations over at Yum Savor, too. These little additions take your candy from “simple homemade white candy” to “gourmet gift in minutes!”
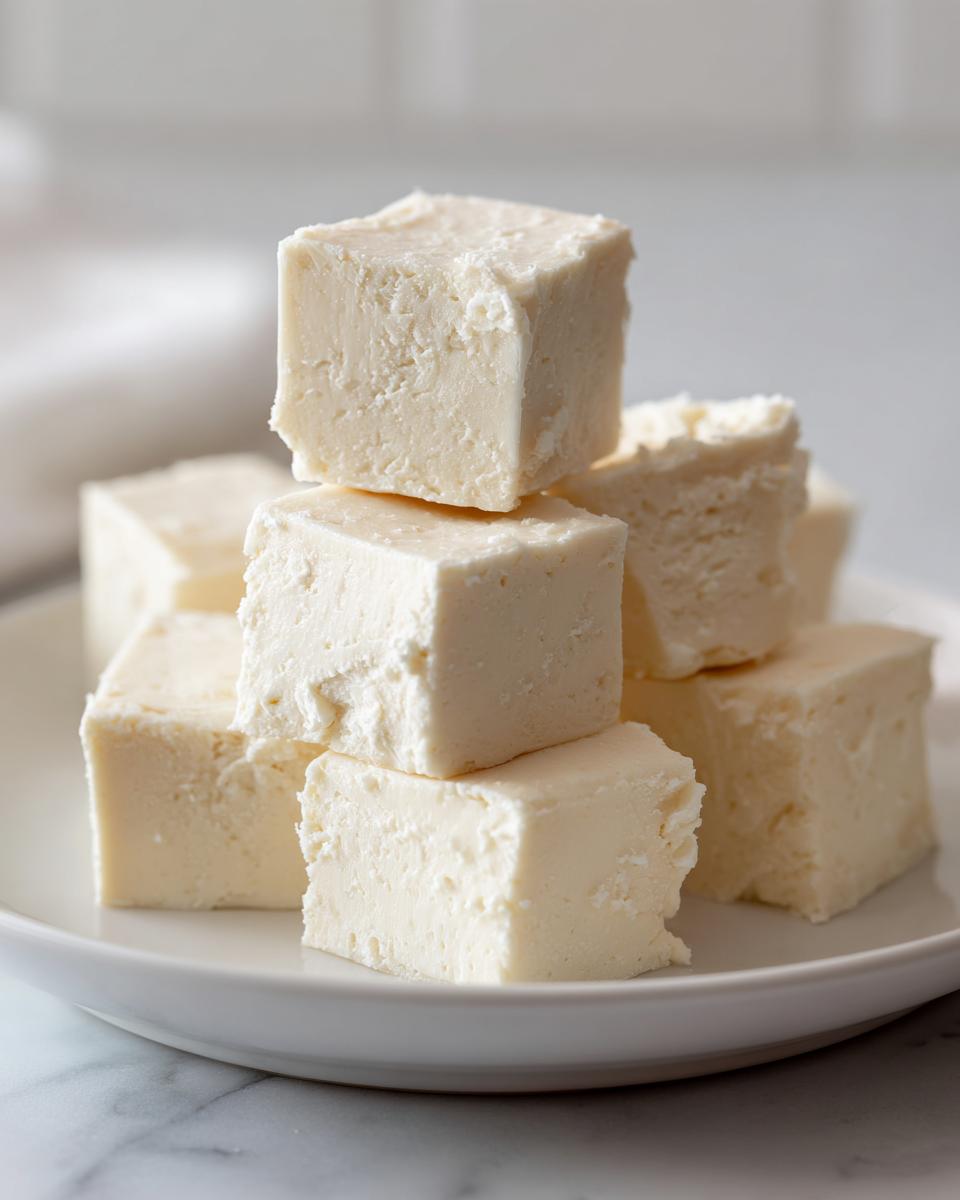
Storing Your Melt in Your Mouth Fudge Recipe
Once you’ve managed to cut up this magnificent batch of melt in your mouth fudge recipe—and trust me, it’s hard not to sample every square as you cut—the next question is how to keep it perfect! Luckily, fudge is one of the easiest candies to store, which is why it’s perfect for making ahead of time for parties or for packaging up as thoughtful gifts.
Because this fudge is no-bake and relies on the stability of the chocolate and condensed milk, it holds up beautifully. We want to give these squares a nice, cool, dry place to rest. You should always store your fudge in an airtight container. I usually grab a sturdy container and line the bottom with a small piece of wax paper or parchment paper.

If you’re planning on keeping it on the counter for a short while—say, a few days for easy snacking—a cool pantry works fine. However, for the best texture, especially if you’ve added mix-ins like raspberries or caramel that might soften slightly, the refrigerator is your friend. It keeps things firm and fresh. When you store it in the fridge, it lasts quite well, usually up to three weeks!
If you are packaging this white chocolate fudge up for gifting, which I highly recommend doing for the holidays or Valentine’s Day, slice the pieces neatly first. You can layer them slightly in a decorative tin or small box, making sure you place wax paper between the layers so they don’t stick together. No need to wrap each square individually unless you’re shipping them, but keeping them sealed tight away from strong odors is key!
Frequently Asked Questions About White Chocolate Fudge
I know when you’re trying a new white chocolate fudge recipe, you often have a few little questions bubbling up, especially when trying to make something quick. I’ve gathered the ones I hear most often from my grandkids and former students! Hopefully, these quick tips help you feel super confident before you even turn on the microwave.
Can I make this a 2 ingredient white fudge recipe?
That’s a popular question because you see “2 ingredient fudge” advertised everywhere! Technically speaking, yes, you can skip the vanilla extract and the optional mix-ins, and you will still have a perfectly fine candy base using just the chocolate chips and the condensed milk. That’s what makes it the “easiest” base!
However, if you want that truly superior, **creamy white chocolate dessert** flavor—the one that tastes special enough for gifting—I truly urge you to keep the vanilla in there. The vanilla wakes up the flavor of the white chocolate so it doesn’t taste flat. For me, that little extra step makes the difference between “okay” and “wow!”
What is the secret to how to make white fudge without seizing?
Oh, let’s talk about seizing one more time, because it’s the number one thing that sends cooks running from making any kind of chocolate confection! Mastering **how to make white fudge without seizing** all comes down to temperature discipline. White chocolate is very delicate—it has cocoa butter, but none of that bitter cocoa solids that help temper darker chocolate.
The absolute key, which I stressed when we discussed the ingredient notes, is ensuring your condensed milk isn’t ice-cold when it hits your melted chips. If you are using the microwave method for your microwave white fudge, melt the chocolate slowly and gently, and then incorporate that room-temperature milk gently. You are just marrying them together; you are not cooking them further!
If you didn’t bring your milk out ahead of time, just pop that can into a bowl of warm (not hot!) water for five minutes. It will warm it up just enough to introduce it smoothly to the warm chocolate, guaranteeing you that beautiful, silky consistency we are aiming for every time. You can find lots more tips on gentle blending over at my post about homemade chocolate pudding!
Nutritional Estimate for This Creamy White Chocolate Dessert
Now, just because we are making a delightfully fast and simple homemade candy doesn’t mean we should completely ignore the facts, does it? After all, this gorgeous, creamy batch of white chocolate fudge is certainly a special treat, not an everyday staple!
I always want to be upfront with my cooking community. The nutritional breakdown I provided in the recipe card above is based *only* on the three main ingredients—the white chocolate chips, the sweetened condensed milk, and the vanilla extract. Those numbers are simply an estimate to give you a general idea.
If you decide to turn this into a cranberry white chocolate fudge or if you swirl in that lovely caramel sauce, those additions will change the final count, of course. Plus, different brands of white chocolate chips have different fats and sugars, so it will vary slightly! For the most accurate information, you’d need to check the labels on the specific products you used in your own kitchen.
Think of those numbers as a helpful guideline for planning a wonderful, sweet indulgence, especially when you’re preparing a beautiful holiday white chocolate treat for friends and family!
Share Your Holiday White Chocolate Treat Experience
That’s it, friends! Now you have the absolute easiest, most foolproof recipe for decadent white chocolate fudge. I truly hope you take a moment to try this out.
It’s my favorite thing to pull together when I need a batch of homemade candy for unexpected houseguests or when I’m finalizing gifts for the children’s teachers near Christmas time. Seeing that creamy, gorgeous slab set up in the fridge just makes me happy!
Once you whip up this wonderfully creamy dessert, please hop back here and let me know what you thought! Leave me a star rating right here on the recipe card so others know just how reliable this is. And I’d love to hear what glorious addition you decided on—were you a raspberry swirl fan, or did the classic cranberry win out?
Don’t be shy about sharing your beautiful results! If you have a question or just want to say hello after making your holiday white chocolate treat, you can always reach out to me via my Contact Page. Happy dipping, decorating, and most importantly, happy sharing!
PrintEasiest 3-Ingredient No-Bake White Chocolate Fudge
Make creamy, melt-in-your-mouth white chocolate fudge using only three simple ingredients. This no-bake recipe is quick, reliable, and perfect for gifting or holiday treats.
- Prep Time: 10 min
- Cook Time: 2 min
- Total Time: 2 hours 12 min
- Yield: About 36 squares 1x
- Category: Dessert
- Method: No-Bake
- Cuisine: American
- Diet: Vegetarian
Ingredients
- 1 (14 ounce) can sweetened condensed milk, room temperature
- 3 cups white chocolate chips, good quality
- 1 teaspoon vanilla extract
- Optional Mix-in: 1/2 cup dried cranberries or 1/2 cup chopped nuts
Instructions
- Prepare an 8×8 inch baking pan by lining it with parchment paper, leaving an overhang on the sides for easy removal. Lightly grease the paper if desired.
- Place the white chocolate chips in a microwave-safe bowl.
- Microwave the white chocolate chips in 30-second intervals, stirring well after each interval, until the chips are mostly melted. Continue stirring until the mixture is completely smooth. Be careful not to overheat the chocolate, as this can cause seizing.
- Stir the room temperature sweetened condensed milk and vanilla extract into the melted white chocolate until fully combined and smooth.
- If you are adding cranberries or nuts, gently fold them into the fudge mixture now.
- Pour the fudge mixture into the prepared pan and spread it evenly using a spatula.
- Refrigerate the fudge for at least 2 to 3 hours, or until firm enough to slice.
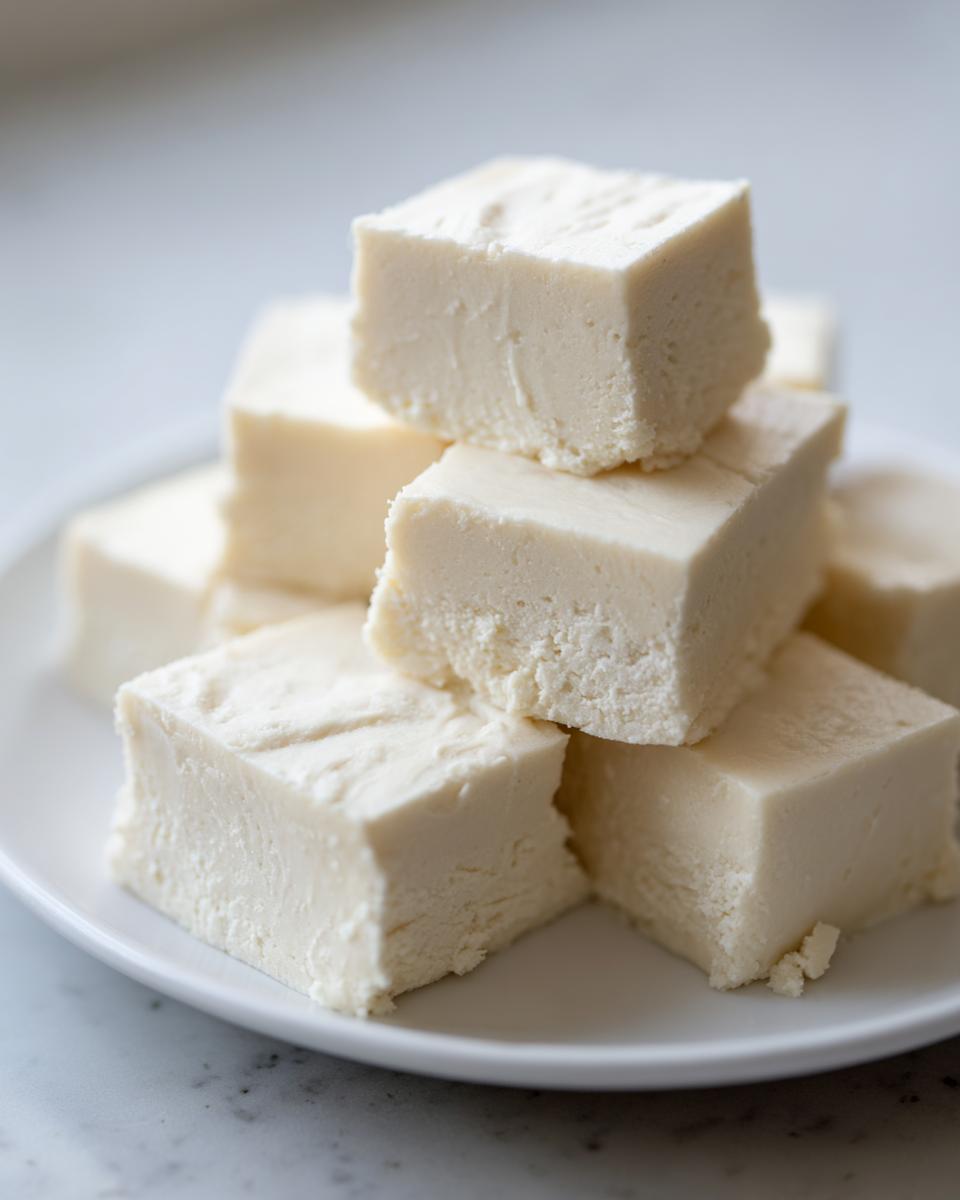
- Use the parchment paper overhang to lift the fudge from the pan. Place it on a cutting board and cut it into 1-inch squares.
- Store the white chocolate fudge in an airtight container in the refrigerator.
Notes
- For the best texture and to prevent seizing, make sure your sweetened condensed milk is at room temperature or slightly warmed. Cold milk can cause the chocolate to seize.
- Use fresh white chocolate chips. Older chips may contain stabilizers that prevent smooth melting.
- If you prefer a different flavor, substitute the optional mix-ins with 1/2 cup of crushed peppermint candies for a festive white chocolate peppermint fudge, or swirl in 1/4 cup of soft caramel sauce before chilling.
- This simple homemade white candy is excellent for gifting when cut into neat squares and placed in small boxes.
Nutrition
- Serving Size: 1 square
- Calories: 145
- Sugar: 18g
- Sodium: 45mg
- Fat: 7g
- Saturated Fat: 4g
- Unsaturated Fat: 3g
- Trans Fat: 0g
- Carbohydrates: 20g
- Fiber: 0g
- Protein: 2g
- Cholesterol: 10mg