
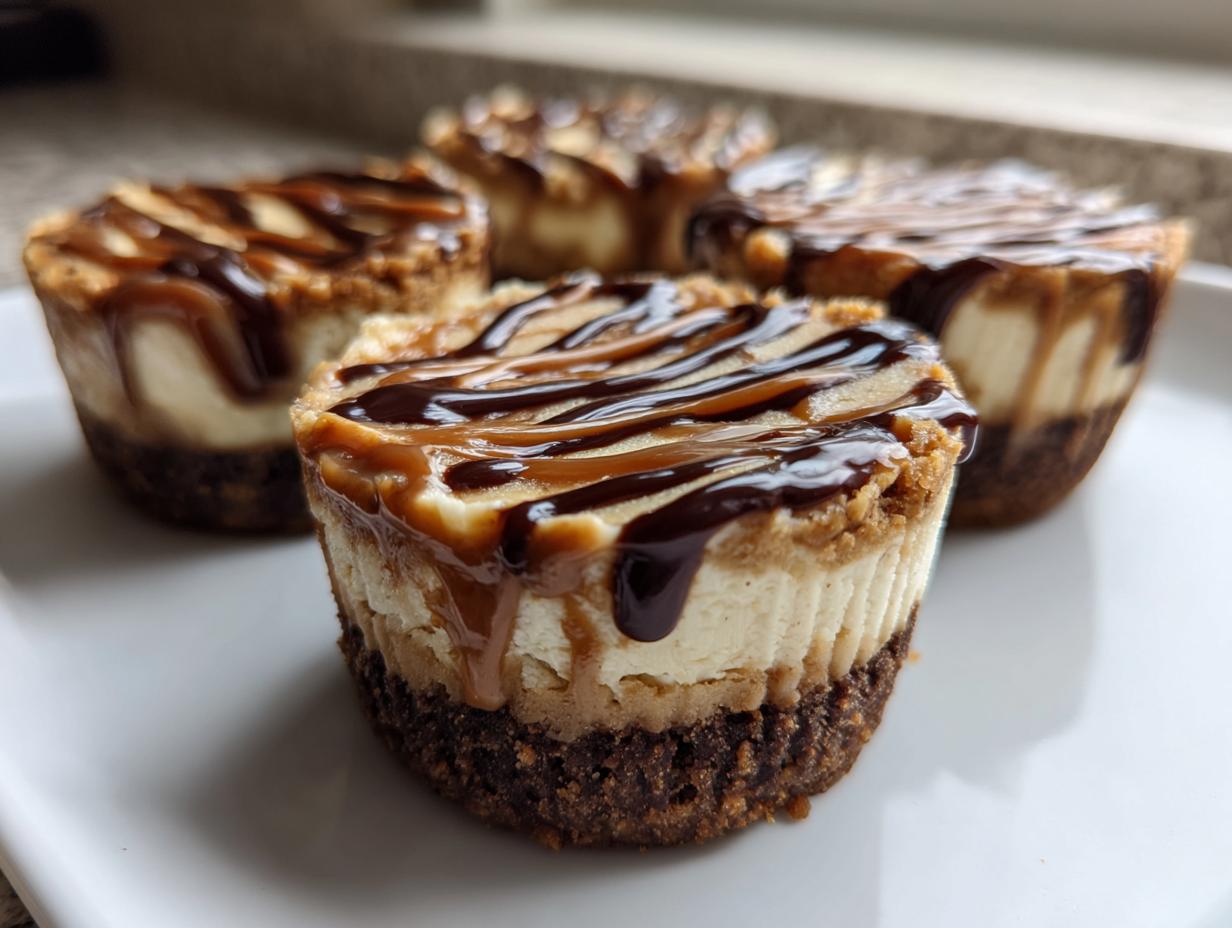
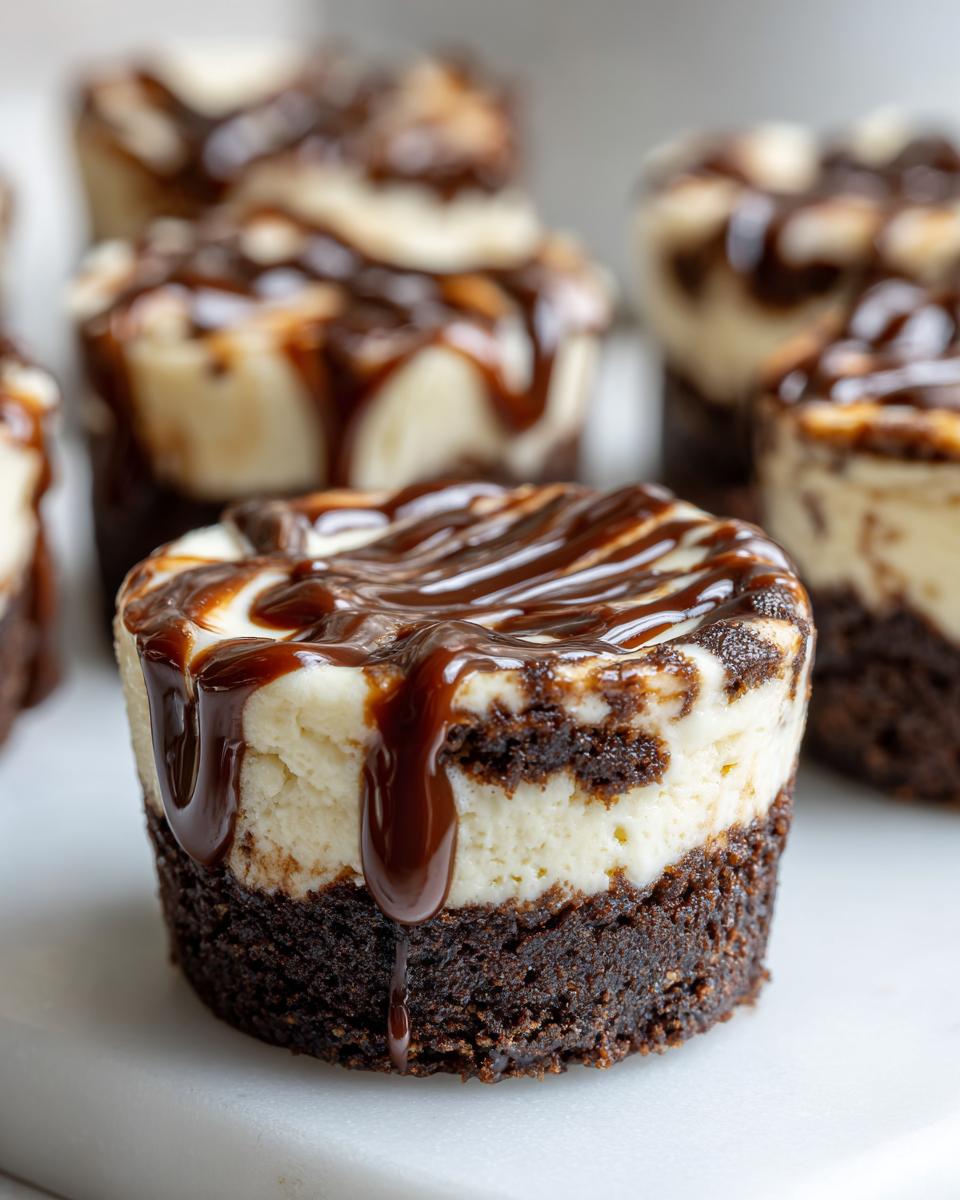
When you need a dessert that looks like you spent all afternoon fussing over it but actually took less than twenty minutes of active time, you need a dependable, no-bake option in your back pocket. That’s exactly what these cookie butter cheesecake cups are for me! My years of teaching taught me that the best approach is often the simplest one, and these little cups prove it. They offer that rich, dreamy texture everyone craves from cheesecake, paired with the warm spice of cookie butter. If you loved my guide for easy no-bake mini cheesecake recipe, you’ll adore these even more. They are absolutely perfect for setting out before guests arrive for a party or just for a quiet treat after dinner. Trust me, these creamy delights are quickly going to become the most requested item on your dessert rotation.
- Why You Will Love These No Bake Cookie Butter Cheesecake Cups
- Gathering Ingredients for Your Cookie Butter Cheesecake Cups
- Step-by-Step Instructions for Perfect Cookie Butter Cheesecake Cups
- Tips for Success Making Your Cookie Butter Cheesecake Cups
- Ingredient Notes and Substitutions for Cookie Butter Cheesecake Cups
- Serving Suggestions for Your Cookie Butter Dessert Cups
- Storage and Make Ahead Tips for Cookie Butter Cheesecake Cups
- Frequently Asked Questions About No Bake Cheesecake Cups
- Share Your Creamy Cheesecake in a Cup Creations
Why You Will Love These No Bake Cookie Butter Cheesecake Cups
When I first tried combining cookie butter with a classic no-bake filling, I knew I had struck gold. These **cookie butter dessert cups** are more than just good; they solve so many dessert dilemmas! Here’s why these need to be on your menu soon:
- Truly No-Bake Magic: We skip the oven entirely! This means less heat in the kitchen and a much quicker path from mixing bowl to serving plate. It’s the ultimate simple no oven dessert.
- Perfect Individual Portions: Serving desserts is so much cleaner when everything is pre-portioned. These are fantastic **easy individual desserts** that look elegant in small glasses or ramekins, making cleanup a breeze.
- Unforgettable Creaminess: That texture you dream about? It’s here. Whipping the heavy cream separately and folding it in creates a wonderfully light yet profoundly **creamy cheesecake in a cup** filling that melts in your mouth.
- Flavor Bomb Alert: The sweet, slightly spiced complexity of the cookie butter cuts through the tang of the cream cheese beautifully. It’s an addictive blend that always gets rave reviews at church gatherings or family dinners.
- Make-Ahead Marvel: You can whip these up the day before your event, making entertaining much less stressful. They just get better as they mingle in the fridge! I often pair these with other easy appetizers and snacks so everything is ready early.
Gathering Ingredients for Your Cookie Butter Cheesecake Cups
I always tell my grandkids that success in baking starts right here, with knowing exactly what you need. For these easy **no bake cheesecake cups**, the ingredients are straightforward, but the prep matters! We need to make sure the fat in your cream cheese is properly softened, and your heavy cream is ice cold for whipping. Keeping things organized keeps the process stress-free, just like my directions for holding shape cream cheese frosting. Here’s the shopping list for our simple, satisfying treat:
For the Crunchy Cookie Crust
- 1 1/2 cups finely crushed Biscoff cookies (That’s about 25 cookies, give or take!)
- 6 tablespoons unsalted butter, melted
For the Creamy Cheesecake Filling
- 8 ounces cream cheese, make sure this is softened!
- 1/2 cup powdered sugar
- 1 teaspoon vanilla extract
- 1/2 cup heavy whipping cream, this must be cold from the fridge
- 1/2 cup cookie butter (like Biscoff spread), plus some extra for drizzling later
Step-by-Step Instructions for Perfect Cookie Butter Cheesecake Cups
Now, let’s put these lovely ingredients to work! Because this is a no-bake recipe, time management is mostly about chilling, which is the easy part. We are aiming for those beautiful layers and a texture so right it’s unbelievable. Just follow these simple steps, and you’ll have stunning individual servings ready in no time. If you’ve made my easy no-bake mini cheesecake recipe before, you’ll recognize the rhythm here!
Preparing the Cookie Base
First up is our foundation. In a small bowl, mix those finely crushed cookies with the melted butter until everything looks like damp sand—you want it all moistened evenly. Then, divide this crumb mixture carefully among your eight individual cups or ramekins. I use the back of a small spoon or the bottom of a clean shot glass to press it down firmly. This pressing creates a sturdy crust that won’t crumble when you dig in later. Once pressed, pop these into the refrigerator immediately while you focus on that creamy center.
Whipping the Creamy Filling
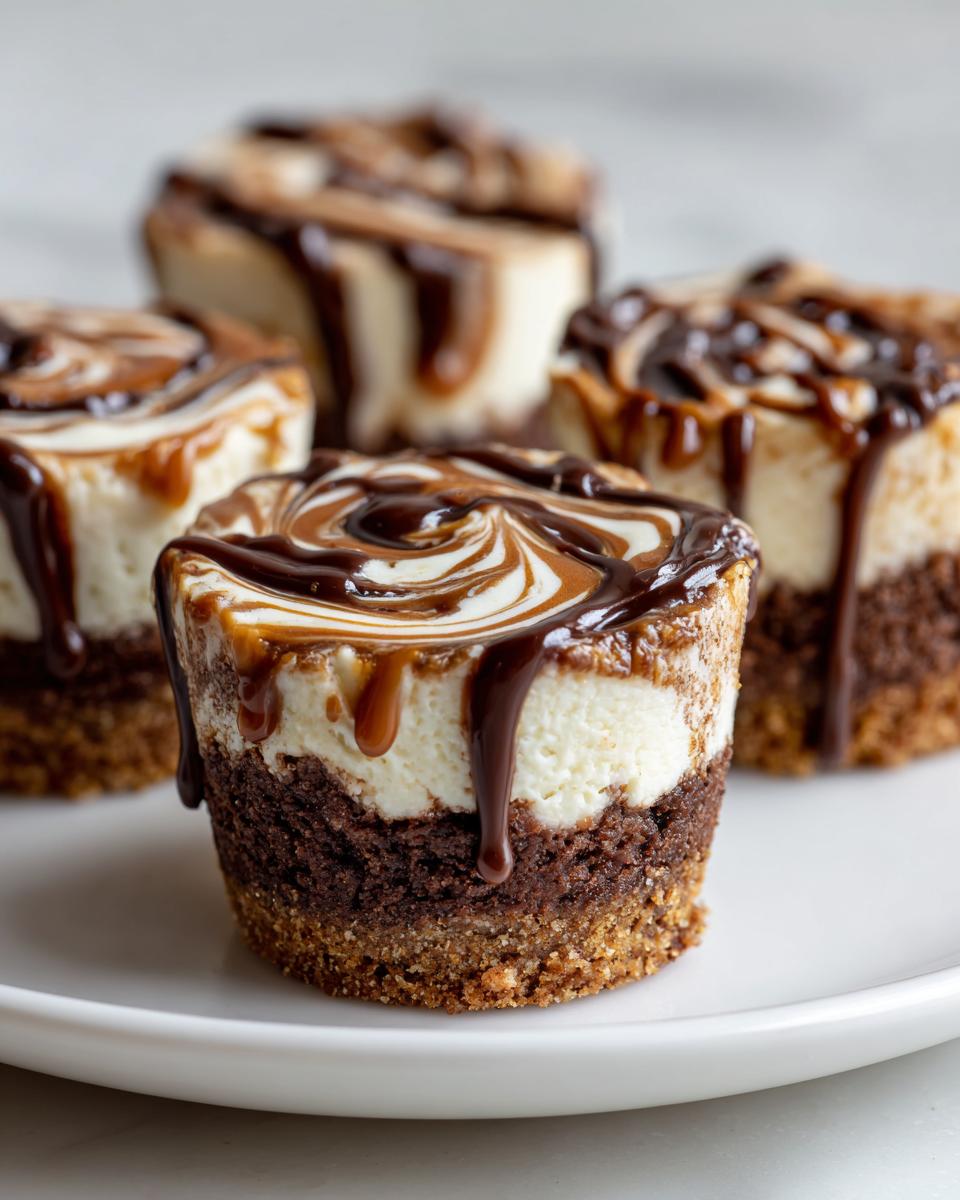
This is where the air comes in! In one bowl, beat your softened cream cheese until it’s silky smooth; add in your powdered sugar and vanilla and beat again until there are absolutely no lumps. In a separate, clean, and cold bowl, whip the cold heavy cream until you get those lovely medium peaks—it should hold its shape but still look soft. Now, gently fold that whipped cream into the cream cheese mixture. Take your time folding; we don’t want to deflate all that gorgeous air we just whipped in! Finally, gently fold in that half-cup of cookie butter. Don’t stir it hard! A few light turns are enough to create a pretty swirl, which adds character to these irresistible cream cakes.
Assembling and Chilling the Cookie Butter Cheesecake Cups
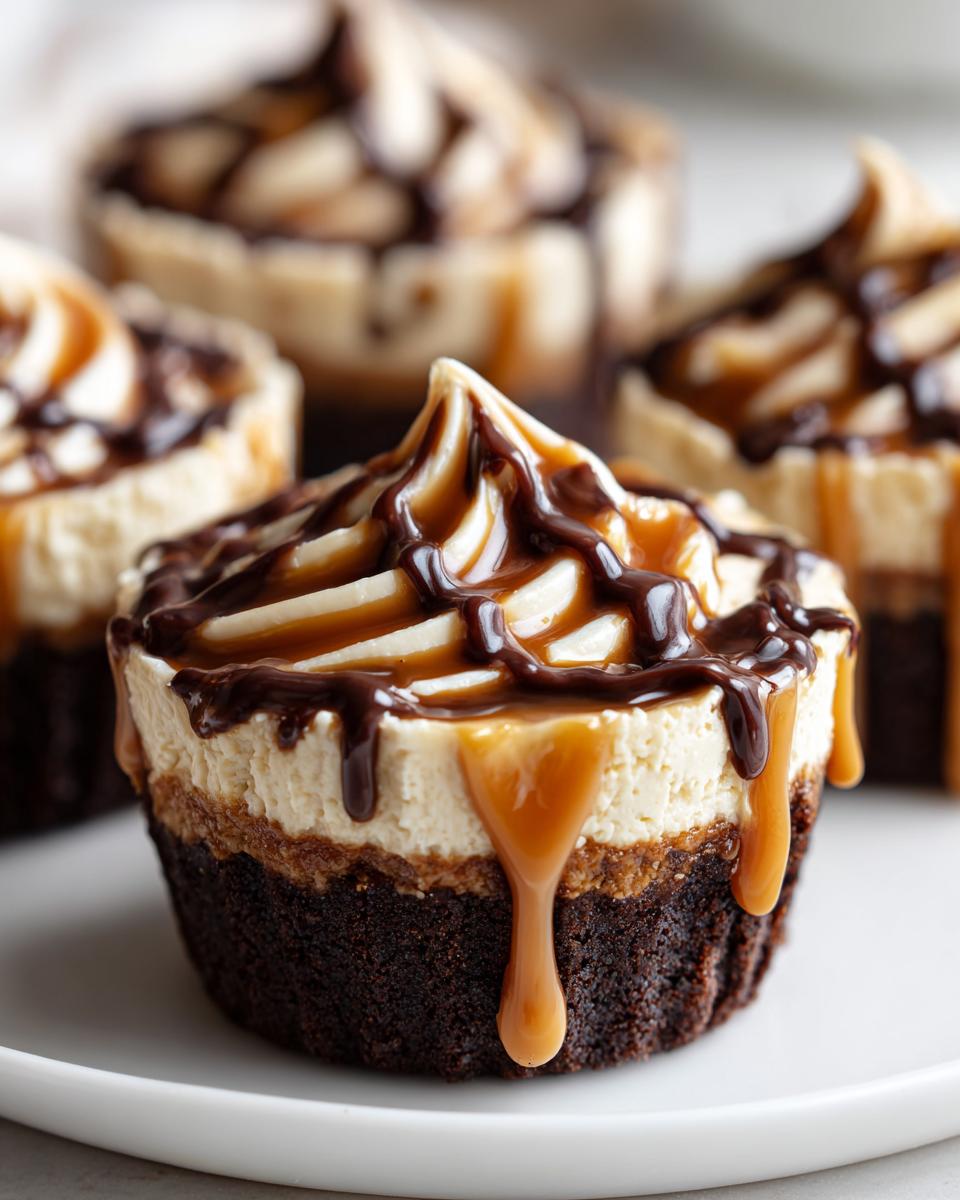
With your bases chilled and your filling ready, it’s time to assemble! Spoon or pipe that creamy, swirled filling right over your crusts in each cup. Smooth the tops down gently. Now comes the hardest part: waiting! These **cookie butter cheesecake cups** need at least 4 hours in the refrigerator to firm up properly. If you can wait overnight, even better; they set up beautifully. Once they are totally firm, warm up a small spoonful of extra cookie butter until it’s runny, drizzle it over the top, and serve these beauties!
Tips for Success Making Your Cookie Butter Cheesecake Cups
Because these are no-bake, the temperature of your ingredients does all the heavy lifting to get that perfect set. Don’t try to rush the softening of the cream cheese! If it’s too cold, you’ll end up with tiny, stubborn lumps, and we want smooth, velvety texture in these **mini cookie butter cheesecakes**. You’ll find similar lessons about temperature control apply when making my recipe for best soft chewy peanut butter blossom recipe.
Conversely, make sure your heavy cream is genuinely cold from the fridge. If it’s even slightly lukewarm, it won’t whip up to the volume needed to give our filling that airy lift. Remember, we are trying to achieve **sweet and tangy treats**, and that means incorporating air for lightness without losing structure.
My biggest piece of advice here focuses on the folding stage. When you combine the whipped cream with the cream cheese mix, use a spatula and cut down the middle, then sweep up the side—don’t stir vigorously! Think of it like folding laundry; you want to combine gently. Overmixing deflates the cream, resulting in a dense, heavy filling instead of the light structure we are aiming for. If you follow this, your cups will set up perfectly every time.
Ingredient Notes and Substitutions for Cookie Butter Cheesecake Cups
When people ask me about cookie butter, they often wonder if they *must* use the fancy European kind. You certainly don’t have to! While many folks shop for Biscoff to get that signature spiced flavor we love, any high-quality speculoos spread will work wonders here. You are looking for that unique, deep caramelized spice flavor. If you can’t find any spread, grab a jar from somewhere like this lovely recipe mentioned it, but know that the flavor profile might shift slightly.
As for the crust, I went with Biscoff again for that continuous flavor theme, but feel free to change it up! If you need an alternative, graham crackers are always a reliable base. You might also try simple vanilla wafers if you have some sitting around. Just remember, no matter what you choose, it needs to be crushed very fine—almost dusty—so it presses into a solid layer for your easy hollandaise sauce recipe blender equivalent of crust stability!
Serving Suggestions for Your Cookie Butter Dessert Cups
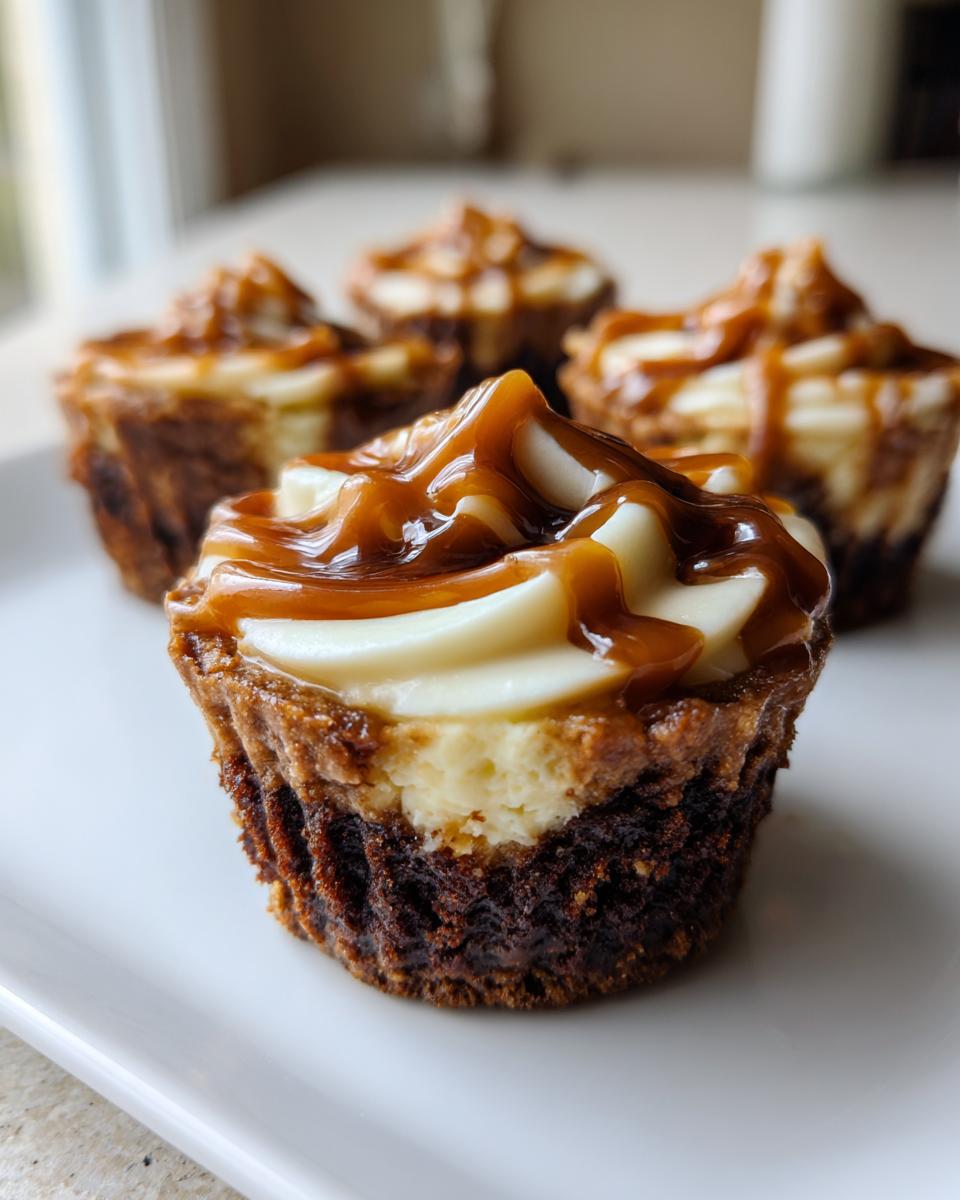
Presentation is everything when you are serving something delightful like these **cookie butter dessert cups**! Since they are already in their own little serving dish, they instantly look elegant and thoughtful. For parties, I like to arrange them on a simple white platter. A tiny sliver of a whole Biscoff cookie placed right on top of the drizzle looks so professional—it’s such a small touch that makes a big difference.
If you’re feeling fancy, you can sprinkle a tiny pinch of sea salt on top along with the drizzle; that hint of salt really pops against the sweetness. These are truly **crowd pleaser desserts**! For a nice contrast, serve them alongside something slightly tart. Maybe after enjoying these rich **layered dessert cups**, you offer fresh raspberries or a light coffee.
They look wonderful next to something savory too, like my easy creamy corn dip if you are doing a full spread. Honestly, a little dish of these is all you need to make any gathering feel special. You can always see lovely ways to serve them over at Melissa’s recipes for more inspiration!
Storage and Make Ahead Tips for Cookie Butter Cheesecake Cups
This is one of my favorite parts about this recipe: they are truly built for busy cooks like us! These **cookie butter cheesecake cups** are fantastic as a **make ahead dessert cups** option. You can assemble them completely, right up to the drizzle, and pop them in the fridge. I find they taste best if they chill for at least 4 hours, but if you chill them overnight—like I often do for weekend baking—the crust firms up just perfectly.
They hold up beautifully in an airtight container in the refrigerator for three to four days, which is great for leftovers! You know how I love my brownie refrigerator cake? These act similarly, getting denser and richer as they sit. While you *can* freeze them, I really don’t recommend it for the best texture. The texture of the whipped cream filling changes slightly when it thaws, and we want that creamy dreaminess intact!
Frequently Asked Questions About No Bake Cheesecake Cups
It’s natural to have a few questions when you try a new recipe, especially one you’re making for a crowd! I’ve gathered the most common things people ask me about setting these up as **easy individual desserts**. Don’t worry if baking without an oven feels unfamiliar; these **simple no oven desserts** are surprisingly forgiving. If you are looking for more general no-bake pointers, make sure to check out my post on the Biscoff cheesecake easy no bake recipe for more foundational tips!
Can I use a different cookie for the crust in these cookie butter cheesecake cups?
Oh, absolutely! While I adore the spicy warmth of a Biscoff crust in these **cookie butter cheesecake cups**, you should use what makes you happy. Graham crackers are a classic swap, and they work perfectly if you crush them finely and mix them well with the butter. If you happen to have shortbread cookies, those make a wonderful, rich base too! Just make sure whatever you choose is crushed quite finely so it packs down tightly and gives you that nice, dependable bottom layer.
How long do these individual serving cheesecake cups need to set?
This is crucial advice for any no-bake treat! You need patience here, my friends. I recommend a minimum of 4 hours in the refrigerator. That gives the cream cheese filling just enough time to firm up around the air pockets we folded in earlier. However, if you are making these for a party the next day—which I highly suggest—letting them chill overnight is even better. They become firmer, more flavorful, and the **Biscoff cheesecake recipe** really seems to deepen overnight. They are worth the wait!
Is this Biscoff Cheesecake Recipe suitable for making ahead of time?
Yes, yes, and yes! This is exactly why I love this **Biscoff cheesecake recipe** for entertaining. You can assemble the entire thing, cups and crust and filling, the day before your event. They hold up wonderfully and actually benefit from that extra chilling time. The only thing I suggest holding back until just before serving is that final drizzle of melted cookie butter, as it can set up a little hard when refrigerated for too long. Otherwise, assemble them early and enjoy your stress-free party!
Share Your Creamy Cheesecake in a Cup Creations
Now the best part! You’ve made the dessert, and I know they look amazing. When I share a recipe like these easy **cookie butter cheesecake cups**, it makes my day to hear how they turned out for you and your family. Did the swirl look perfect? Did your guests devour them instantly?
Please take a moment, when you get a chance, to leave me a star rating right down below. Those ratings help other home cooks, just like you, find dependable recipes they can trust. I also love seeing pictures of your creations! We have a wonderful community here on Cooking by Carla, and sharing makes the baking so much more fun.
If you want to see what other folks have been making, especially other simple, satisfying desserts, you can always pop over and check out the lovely ideas shared at Quick Dessert for Parties collections. Don’t forget to tag me if you share photos online—I always double-tap a delicious-looking dessert! I hope these **creamy cheesecake in a cup** treats bring as much joy to your table as my easy creamy chicken enchiladas do to ours on a Tuesday night. Happy baking (or rather, happy *no-baking*!).
PrintEasy No-Bake Cookie Butter Cheesecake Cups
Make these simple, creamy cookie butter cheesecake cups without turning on your oven. They feature a crunchy cookie crust, rich filling, and are perfect for parties or individual treats.
- Prep Time: 20 min
- Cook Time: 0 min
- Total Time: 4 hr 20 min
- Yield: 8 servings 1x
- Category: Dessert
- Method: No Bake
- Cuisine: American
- Diet: Vegetarian
Ingredients
- 1 1/2 cups finely crushed Biscoff cookies (about 25 cookies)
- 6 tablespoons unsalted butter, melted
- 8 ounces cream cheese, softened
- 1/2 cup powdered sugar
- 1 teaspoon vanilla extract
- 1/2 cup heavy whipping cream, cold
- 1/2 cup cookie butter (like Biscoff spread), plus extra for drizzling
Instructions
- Prepare the crust: Combine the crushed cookies and melted butter in a small bowl. Mix until the crumbs are evenly moistened.
- Divide the crust mixture evenly among 8 small dessert cups or ramekins. Press the mixture down gently to form a base. Place the cups in the refrigerator while you prepare the filling.
- Make the cheesecake filling: In a medium bowl, beat the softened cream cheese, powdered sugar, and vanilla extract until smooth.
- In a separate bowl, whip the cold heavy cream until medium peaks form. Gently fold the whipped cream into the cream cheese mixture until just combined.
- Gently fold in 1/2 cup of cookie butter into the cream cheese mixture until swirled but mostly incorporated. Do not overmix if you want a marbled look.
- Spoon or pipe the cheesecake filling over the chilled crusts in each cup.
- Chill the cups in the refrigerator for at least 4 hours, or until firm.
- Before serving, warm a small amount of extra cookie butter slightly so it is easily pourable. Drizzle the melted cookie butter over the top of each cheesecake cup.
Notes
- You can use graham crackers instead of Biscoff cookies for the crust if you prefer a different flavor base.
- For a firmer texture, chill the cups overnight.
- These individual serving cheesecake desserts are excellent for make-ahead preparation for gatherings.
Nutrition
- Serving Size: 1 cup
- Calories: 380
- Sugar: 28g
- Sodium: 210mg
- Fat: 26g
- Saturated Fat: 15g
- Unsaturated Fat: 11g
- Trans Fat: 0.5g
- Carbohydrates: 33g
- Fiber: 1g
- Protein: 5g
- Cholesterol: 75mg