
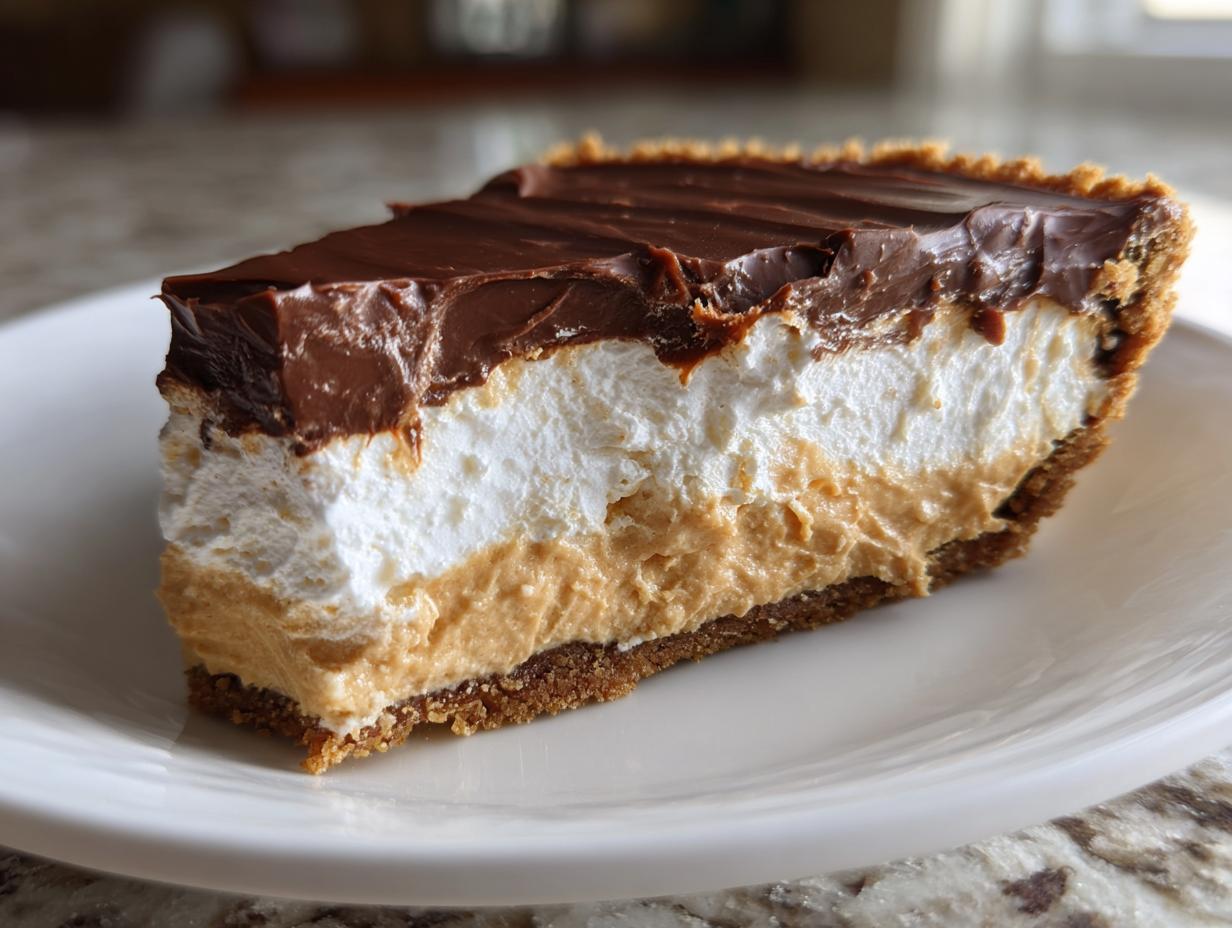
If you’re anything like me, sometimes the oven just needs a break, especially when it’s hot outside or when you just need a quick, impressive fix for a sweet tooth. That’s why I love leaning into my trusty collection of no bake dessert recipes. And let me tell you, nothing beats the pure joy of slicing into the ultimate, creamy peanut butter pie. It’s rich, it’s cool, and it tastes like pure comfort. As a grandmother and former teacher, I’ve learned that the best recipes are the ones that work every single time, and this pie is my go-to for guaranteed success! If you also adore that melt-in-your-mouth feel, you might want to check out my recipe for ultimate creamy white chocolate cheesecake, too.
- Why This Is the Best Creamy Peanut Butter Pie Recipe
- Gathering Ingredients for Your Peanut Butter Pie
- How to Make the Ultimate Easy Peanut Butter Pie
- Tips for the Perfect Creamy Peanut Butter Pie
- Storing Your Make Ahead Peanut Butter Pie Recipes
- Frequently Asked Questions About This Peanut Butter Pie
- Estimated Nutritional Data for a Slice of Peanut Butter Pie
- Share Your Experience Making This Classic Peanut Butter Pie
Why This Is the Best Creamy Peanut Butter Pie Recipe
I have tried a few different versions over the years, but nothing quite compares to the lusciousness of this one. The secret is getting that perfect velvety peanut butter filling that is rich but still manages to feel light once it sets up in the fridge. This pie is designed to be absolutely reliable, which is why it makes my list of favorite make ahead pie recipes. You won’t believe how simple it is, especially since we skip the oven entirely!

I’ve included some other incredibly easy recipes you might love, like these cookie butter cheesecake cups, but this pie stands out for its simplicity.
A True No Bake Dessert Recipe
There is no pre-baking, no springform pan gymnastics—just mixing, pressing, and chilling. If you need no bake dessert recipes that deliver maximum flavor with minimum fuss, this is it. Trust me, you can count on this to be ready when you need it. You can even cheat and use your favorite store-bought crust if you’re really in a pinch, though my simple crust recipe is worth the five minutes of effort!
Perfect for Potluck Desserts and Gatherings
This is the pie that disappears first at any gathering, whether it’s a summer picnic or the Thanksgiving table. Because it’s a no-bake, it travels beautifully, which is essential when taking food to the church hall or a neighbor’s house. It’s one of my favorite potluck desserts because everyone—and I mean everyone—loves it. It’s so dependable, making it a fantastic choice for any large holiday gathering you might be planning.
If you want to see how another great food blogger handles this classic, this recipe also looks lovely: easy no-bake peanut butter pie.
Gathering Ingredients for Your Peanut Butter Pie
The beauty of this pie, especially since it’s a no-bake recipe, is that the ingredients are simple pantry staples. You likely have most things right now! Just make sure you have your mixing bowls ready. If you’re looking for other uses for peanut butter, take a peek at my favorite peanut brittle recipe for a crunchy treat!
For the Graham Cracker Crust Pie Base
We start with the foundation. You’ll need 1 1/2 cups of graham cracker crumbs, 1/4 cup of bright white granulated sugar, and 6 tablespoons of unsalted butter, which must be fully melted. Mix these together well, and remember that the key is to press the mixture firmly into the bottom and up the sides of your 9-inch pie plate. If you prefer chocolate, you can easily swap this out for about 2 cups of finely crushed Oreo cookies instead for a different take on the graham cracker crust pie base!
For the Velvety Peanut Butter Filling
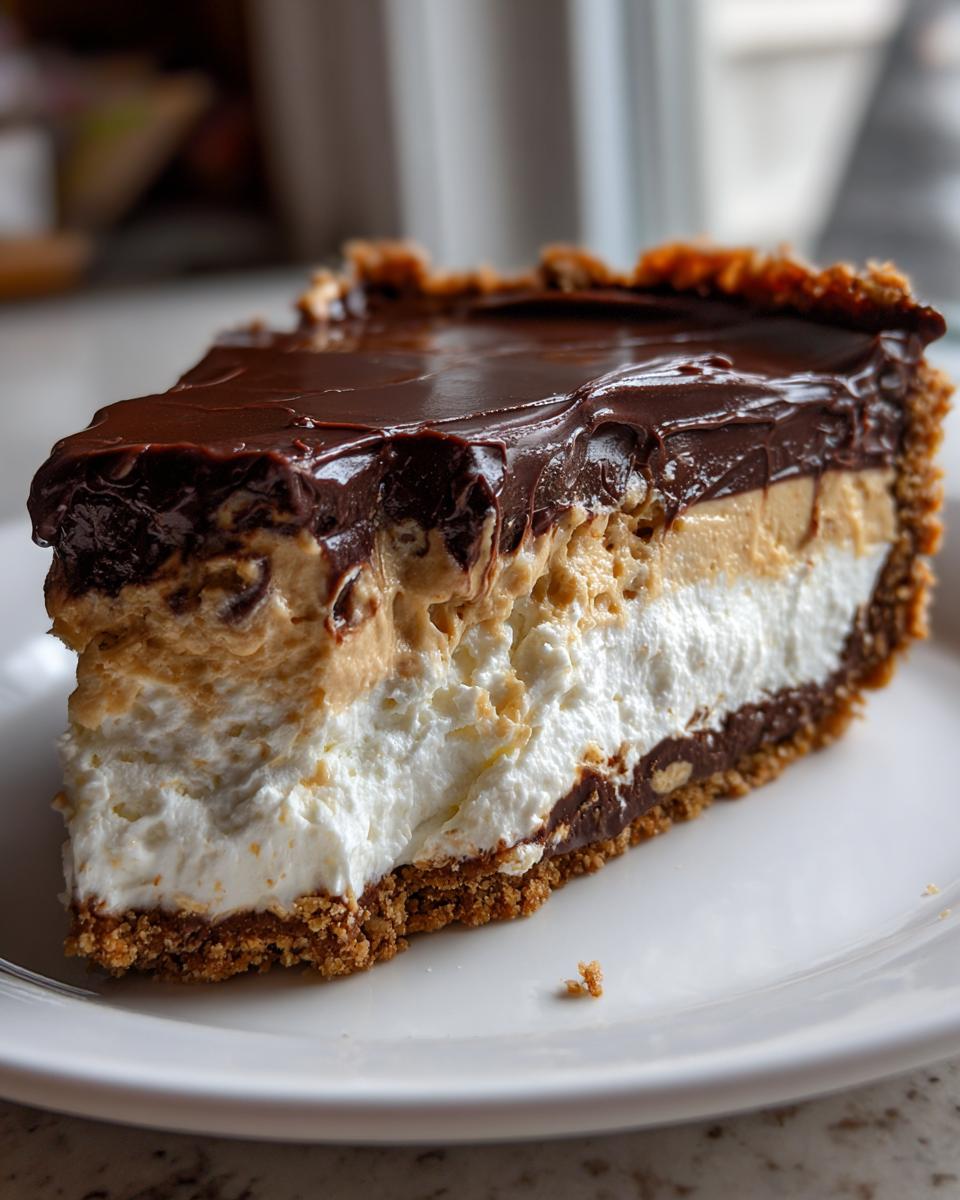
This is where the magic happens for that velvety peanut butter filling! You absolutely need one full 8-ounce package of cream cheese, and it must be softened—take it out of the fridge early! Then, you’ll grab 1 cup of creamy peanut butter, 1 1/2 cups of powdered sugar, and 1 teaspoon of vanilla. Lastly, ensure you have 1 (12 ounce) container frozen whipped topping, thawed, and divided. It’s important to keep that topping separate because we use it in two different steps!
For the Chocolate Ganache Topping
For the topping, keep it straightforward. We use just 1/2 cup of semi-sweet chocolate chips and 1/4 cup of heavy cream to melt down into that shiny, glossy layer. It really makes this a beautiful chocolate peanut butter pie.
How to Make the Ultimate Easy Peanut Butter Pie
Now that we have all our components ready—the crust mix cooling and the dairy softened—it’s time to bring this dream pie together. Remember, since this is a no-bake recipe, patience during the chilling stages is the most important part of the process. You can even check out my favorite easy Christmas poke cake recipe while you wait for things to firm up!
Assembling and Chilling the Graham Cracker Crust
This is Step 1, and it sets the stage. Take your crumb mixture—the one with the melted butter—and press it down into your 9-inch pie plate. I mean really press it! Use the bottom of a measuring cup to get it nice and compact on the bottom, and push it up the sides to form a solid shell. Once it’s packed tight, toss that plate right into the freezer. It needs to be good and cold before the filling touches it.
Creating the Creamy Peanut Butter Filling
Next up, the filling! Grab your electric mixer. Your very first job is to get that softened cream cheese totally smooth on its own. Then, add in your cup of creamy peanut butter and beat until they are completely combined. Step three is crucial: gradually add the powdered sugar and vanilla. Beat it until you can see that gorgeous, smooth, velvety peanut butter filling starting to form. Finally, gently fold in about one cup of the thawed whipped topping. You want streaks gone, but don’t whip air out of it!
Finishing the Filling and Setting the Peanut Butter Pie
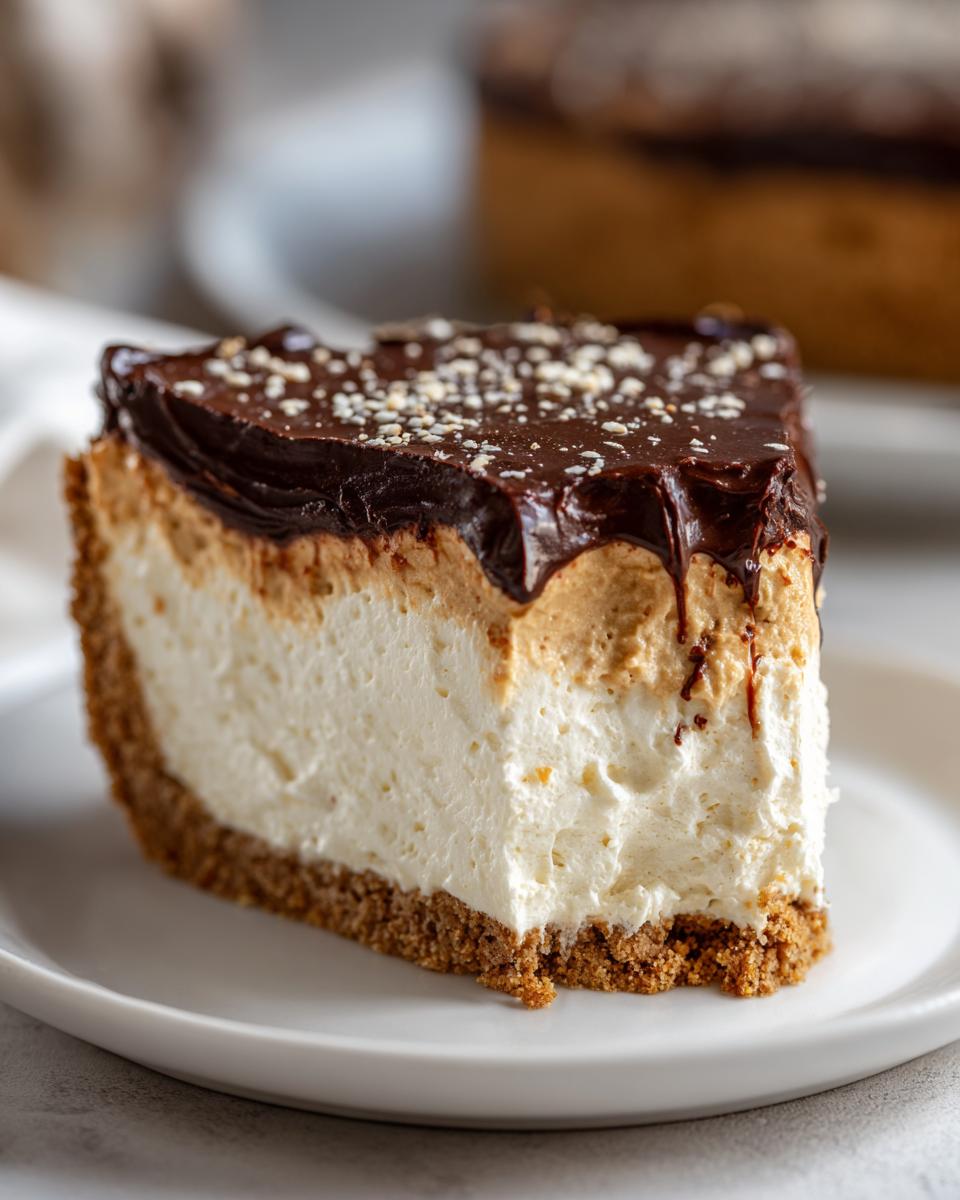
Take your chilled crust out of the freezer. Spoon that beautiful filling right into the shell and use a spatula to smooth the top layer nice and even. Then, take the last half-cup of whipped topping you kept aside and gently spread that over the top—a little rustic swirl is just fine! Cover it loosely with plastic wrap and move it to the refrigerator. We need at least 4 hours in there, but honestly, if you can wait until the next day like I suggest for make ahead pie recipes, you’ll thank me when you slice it.
Preparing and Applying the Chocolate Ganache
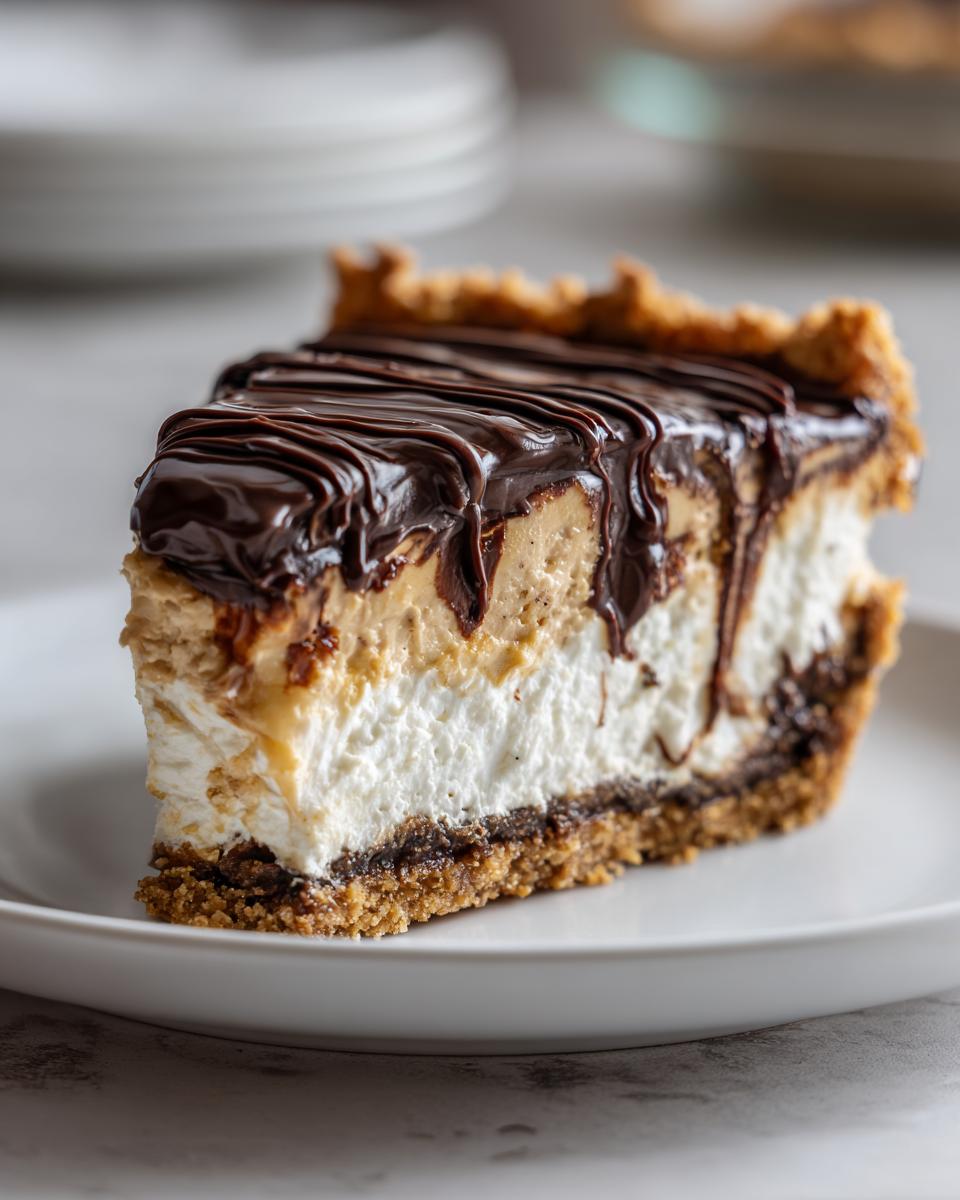
Once the pie is firm, we make the chocolate topping from Steps 7 through 9. Heat your heavy cream right on the stovetop until it just starts to bubble around the edges. Pour that hot cream right over your chocolate chips in a separate bowl and don’t touch it for five whole minutes! Seriously, walk away. Then, whisk it until it’s shiny and smooth. Let that glossy ganache cool on the counter for about 10 minutes so it thickens up just a touch. If you pour it on too hot, it runs right off! Drizzle it prettily over the chilled pie, and pop it back in the fridge for 30 more minutes to make sure that chocolate sets up nicely before slicing. You can see how I do this step beautifully in this no bake peanut butter pie guide!
Tips for the Perfect Creamy Peanut Butter Pie
Even though this is an easy peanut butter pie, a few little secrets make the difference between a good pie and the absolute best peanut butter pie around. Since we aren’t baking, we rely entirely on temperature and technique to get that perfect slice every time. Don’t forget to check out my tips for making frosting that holds its shape, because texture is everything!
Ingredient Notes and Substitutions for this Peanut Butter Pie
Let’s talk ingredients for a minute. The biggest variable here is your peanut butter. I always use creamy because we are aiming for that ultra-smooth, velvety peanut butter filling. If you use crunchy, yes, it will still taste great, but it won’t have that signature melt-in-your-mouth texture. Also, please, please, please use cream cheese that is actually room temperature soft. If it’s even a little cold, you’ll get lumps when you start mixing, and that ruins the creaminess.
On the chocolate topping, if you find yourself craving a deeper, almost bittersweet chocolate flavor, you can absolutely adjust the ganache ratio. For a much richer topping, I’ve used a 1:1 ratio of chocolate chips to heavy cream, like they mention in this no-bake peanut butter pie with chocolate ganache tutorial. It thickens up beautifully and adds a nice contrast to the sweet filling.
Achieving a Quick Peanut Butter Dessert Set Time
We all want that perfect slice right away, but waiting four hours can feel like forever! If you’re trying to make this a quick peanut butter dessert for a surprise dinner, try using a metal pie plate instead of glass or ceramic. Metal conducts the cold much faster, helping the crust and the filling firm up more rapidly. You can sometimes shave 30 minutes off your chilling time that way.
Also, when you press that filling into the crust, make sure you take the time to make the surface as smooth as possible before adding that final layer of whipped topping. If you have thick spots or bubbles, those areas will take longer to chill down and set properly. Even thickness equals faster, more even setting across the whole pie!
Storing Your Make Ahead Peanut Butter Pie Recipes
One of the best things about this dessert is how well it holds up! Since it is one of my favorite make ahead pie recipes, I often have one ready to go in the fridge before any big event. You absolutely must keep this pie covered tightly in the refrigerator. I usually use plastic wrap, but make sure the wrap doesn’t actually touch the chocolate ganache topping, or you’ll pull off a messy spot when you unwrap it!
If you don’t have plastic wrap sticking to the sides of your pie dish, you can use an overturned large bowl or even clip a piece of aluminum foil loosely over the top.
Kept cool and covered, this pie stays wonderfully fresh for about three days. If you happen to have leftovers after that, the quality does start to fade a bit, but three days is a great window for leftovers! If you’re looking for another wonderful make-ahead option that doesn’t need chilling, you might enjoy this easy festive champagne punch recipe.
Frequently Asked Questions About This Peanut Butter Pie
I always get questions when I bring this pie to family events, so let’s clear up anything you might be wondering before you start mixing. You want this to be perfect, and I’m here to help you succeed!
Can I use crunchy peanut butter in this easy peanut butter pie?
Oh, absolutely you can! If you prefer a little texture, crunchy peanut butter works just fine. Just know that it will change the mouthfeel from the signature velvety peanut butter filling we are aiming for. It will be slightly more substantial, but the flavor will be just as wonderful!
How long does this no bake dessert need to chill?
The recipe calls for a minimum of 4 hours, and that’s just to make sure it holds its shape when you lift the first slice. You can get away with that if you’re in a real hurry! But if you can manage it, letting the peanut butter pie chill in the refrigerator overnight is honestly the gold standard. It makes the filling incredibly firm and easy to cut cleanly.
What is the best crust alternative for this recipe?
If you’re out of graham crackers, or just really love chocolate, swapping out the crust couldn’t be easier. You can use about 2 cups of finely crushed Oreo cookies instead for the base. That instantly turns it into a gorgeous chocolate peanut butter pie variation, and it’s just as firm when chilled!
If you’re looking for more decadent possibilities, you might enjoy the instructions over on my hot fudge pie recipe sometime!
Estimated Nutritional Data for a Slice of Peanut Butter Pie
Now, I know talking about nutrition when you’re eating something this delicious feels a little silly, but I always like to give you an idea of what’s in that beautiful slice of peanut butter pie you’re enjoying.
Remember that since this is a homemade recipe that can change based on the brand of peanut butter or the amount of drizzle you use, these numbers are just helpful starting points. Think of them as estimates based on the exact amounts listed in our recipe card.
- Serving Size: 1 slice
- Calories: About 450 calories
- Total Fat: Around 28 grams
- Total Carbohydrates: Roughly 45 grams
- Protein: About 9 grams
- Sugar: This one clocks in around 35 grams
Again, this is for one generous slice, and frankly, one slice is usually more than enough because this pie is rich! If you wanted something lighter but still creamy, you might want to look at my recipe for ultimate creamy white chocolate cheesecake sometime, though nothing beats the classic peanut butter flavor!
Share Your Experience Making This Classic Peanut Butter Pie
Well, now that you have the secrets to my ultimate, creamy peanut butter pie, I truly hope you give it a try! When you pull that glossy chocolate topping out of the fridge and slice into that perfect, no-bake layer, it just sings, doesn’t it?
I put so much heart into making sure this recipe works for every home cook, whether you’re baking for the first time or you’re a seasoned hand in the kitchen. So, once you’ve made it, I’d just love to hear from you! If you have a moment, please come back down to the comments below and leave a rating for this easy peanut butter pie. Stars, of course, are always wonderful!
Did you use the traditional graham cracker crust, or did you try the Oreo alternative? Did you stick to the simple whipped topping layer, or did you drizzle on that rich ganache? Every single variation you try helps another cook feel confident stepping into the kitchen. I read every single note you leave me!
Knowing that I helped bring a delicious, stress-free dessert to your family table is the whole reason I started this little project. If you’re curious about my journey and why I share these simple, comforting recipes, you can always read more about me over on my About Page.
Happy baking—or, well, happy chilling!
PrintUltimate Easy No-Bake Creamy Peanut Butter Pie with Chocolate Ganache
Make this ultra-creamy, no-bake peanut butter pie with a buttery graham cracker crust. It sets perfectly and is an easy dessert for any gathering.
- Prep Time: 20 min
- Cook Time: 0 min
- Total Time: 4 hr 20 min
- Yield: 8 servings 1x
- Category: Dessert
- Method: No-Bake
- Cuisine: American
- Diet: Vegetarian
Ingredients
- 1 1/2 cups graham cracker crumbs
- 1/4 cup granulated sugar
- 6 tablespoons unsalted butter, melted
- 1 (8 ounce) package cream cheese, softened
- 1 cup creamy peanut butter
- 1 1/2 cups powdered sugar
- 1 teaspoon vanilla extract
- 1 (12 ounce) container frozen whipped topping, thawed, divided
- 1/2 cup semi-sweet chocolate chips (for ganache)
- 1/4 cup heavy cream (for ganache)
Instructions
- Prepare the crust: In a medium bowl, mix the graham cracker crumbs, 1/4 cup granulated sugar, and melted butter until combined. Press the mixture firmly into the bottom and up the sides of a 9-inch pie plate. Place the crust in the freezer while you prepare the filling.
- Make the filling: In a large bowl, beat the softened cream cheese with an electric mixer until smooth. Add the peanut butter and beat until fully combined.
- Gradually beat in the powdered sugar and vanilla extract until the mixture is smooth and creamy.
- Gently fold in 1 cup of the thawed whipped topping until no streaks remain. Do not overmix.
- Spoon the peanut butter filling evenly into the chilled graham cracker crust. Smooth the top with a spatula.
- Spread the remaining 1/2 cup of whipped topping over the peanut butter layer. Cover the pie loosely with plastic wrap and chill in the refrigerator for at least 4 hours, or until firm.
- Prepare the chocolate ganache: Place the chocolate chips in a small, heatproof bowl. Heat the heavy cream in a small saucepan over medium heat until it just begins to simmer. Pour the hot cream over the chocolate chips. Let it sit undisturbed for 5 minutes.
- Whisk the chocolate and cream together until the mixture is smooth and glossy. Let the ganache cool slightly, about 10 minutes, until it thickens enough to spread without running off the pie.
- Pour or drizzle the cooled ganache over the chilled pie. Return the pie to the refrigerator for another 30 minutes to allow the ganache to set before slicing and serving.
Notes
- For an Oreo crust, substitute 2 cups of finely crushed Oreo cookies (filling included) for the graham cracker crumbs.
- If you want a richer chocolate topping, use a 1:1 ratio of chocolate chips to heavy cream for the ganache.
- This is a great make-ahead pie; it holds well in the refrigerator for up to three days.
Nutrition
- Serving Size: 1 slice
- Calories: 450
- Sugar: 35g
- Sodium: 250mg
- Fat: 28g
- Saturated Fat: 10g
- Unsaturated Fat: 18g
- Trans Fat: 0g
- Carbohydrates: 45g
- Fiber: 2g
- Protein: 9g
- Cholesterol: 35mg