
Oh, the holidays! Don’t we all feel that little squeeze of panic when the family gathering schedule gets tighter and tighter? You want something dazzling on the table, but honestly, who has time for fussy layers or complicated techniques? That’s exactly why I rely on this recipe year after year. This christmas poke cake is pure genius—it starts with a box mix, but the result looks like you spent all day fussing over it. I’ve learned over my thirty years of teaching and watching my own grandkids grow up that the best holiday food is the stuff that brings smiles without stress. This bright, moist, red and green Jello cake always wins the crowd, and I promise, it’s so simple even you have time for it!
- Why This Christmas Poke Cake Is Your New Favorite Holiday Dessert
- Gather Your Ingredients for the Christmas Poke Cake
- Step-by-Step Instructions to Make the Perfect Christmas Poke Cake
- Tips for the Best Ever Christmas Poke Cake
- Making Your Christmas Poke Cake Ahead of Time
- Serving Suggestions for This Festive Holiday Dessert
- Variations on the Classic Christmas Poke Cake
- Storing Leftovers of Your Christmas Poke Cake
- Frequently Asked Questions About This Holiday Dessert
- Share Your Holiday Baking Success
Why This Christmas Poke Cake Is Your New Favorite Holiday Dessert
When the holiday schedule heats up, you need desserts that work hard for you. This isn’t just another one of those run-of-the-mill Easy Christmas Cake Recipes; this one is a showstopper that requires almost zero fuss. Trust me, this is the definition of No Fuss Christmas Sweets.
Festive Red and Green Layers
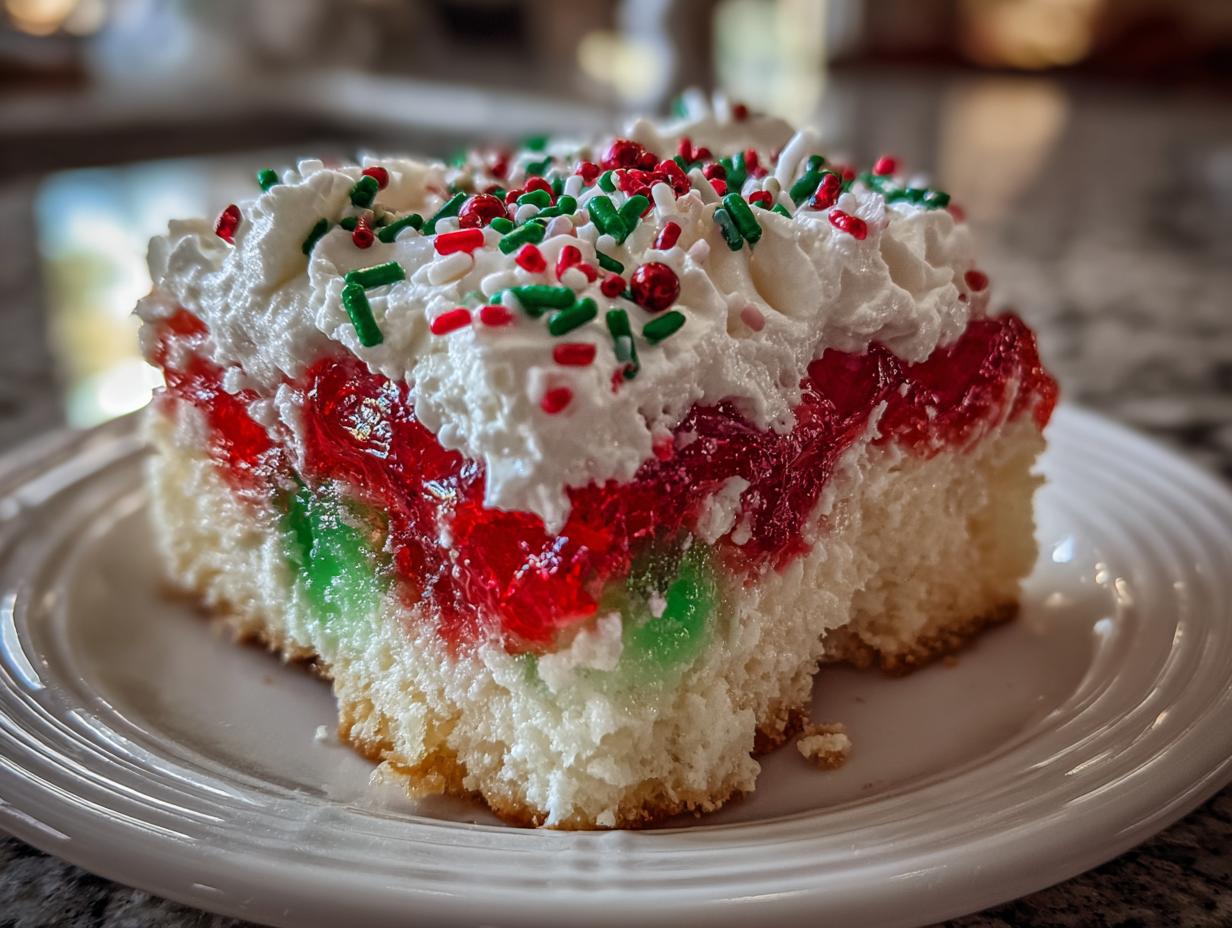
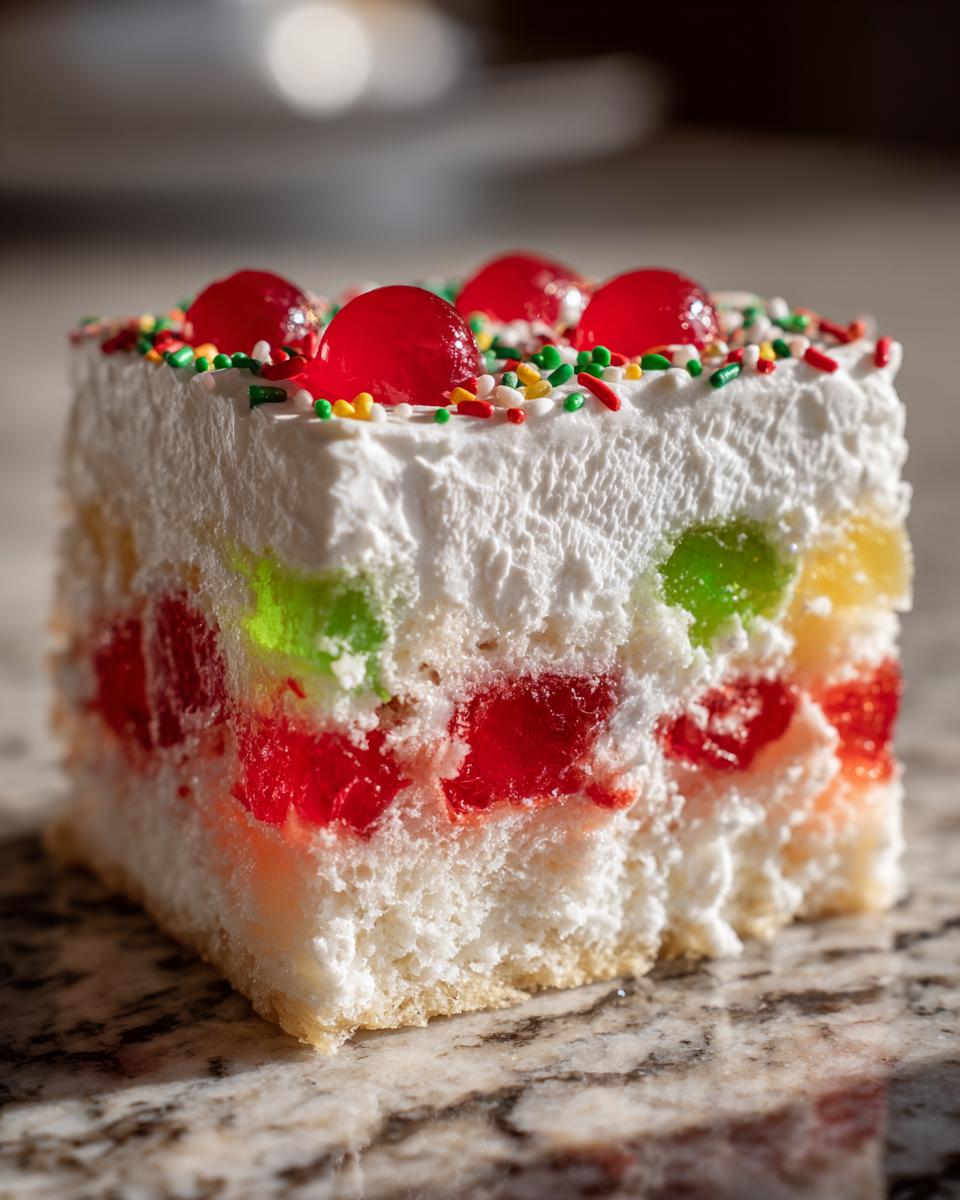
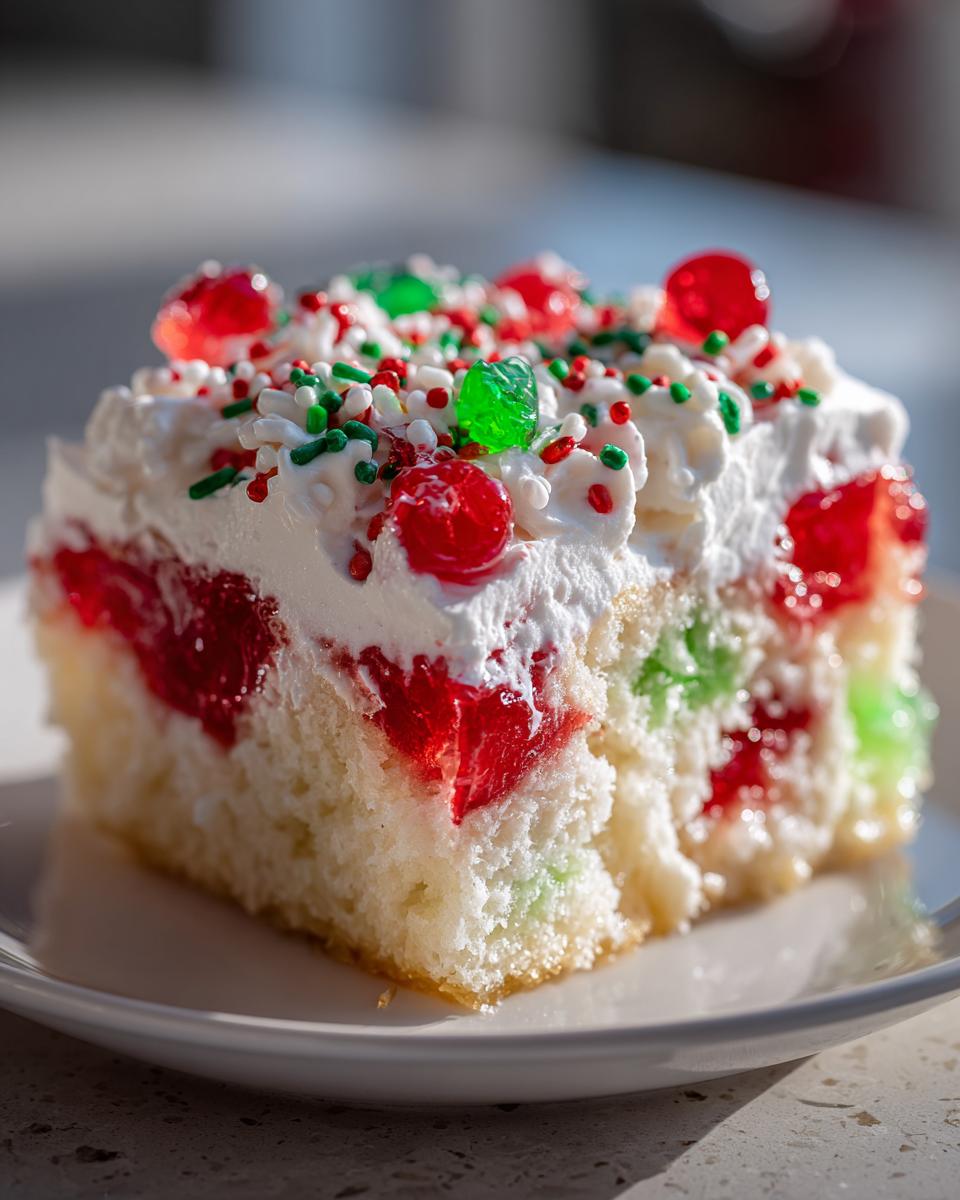
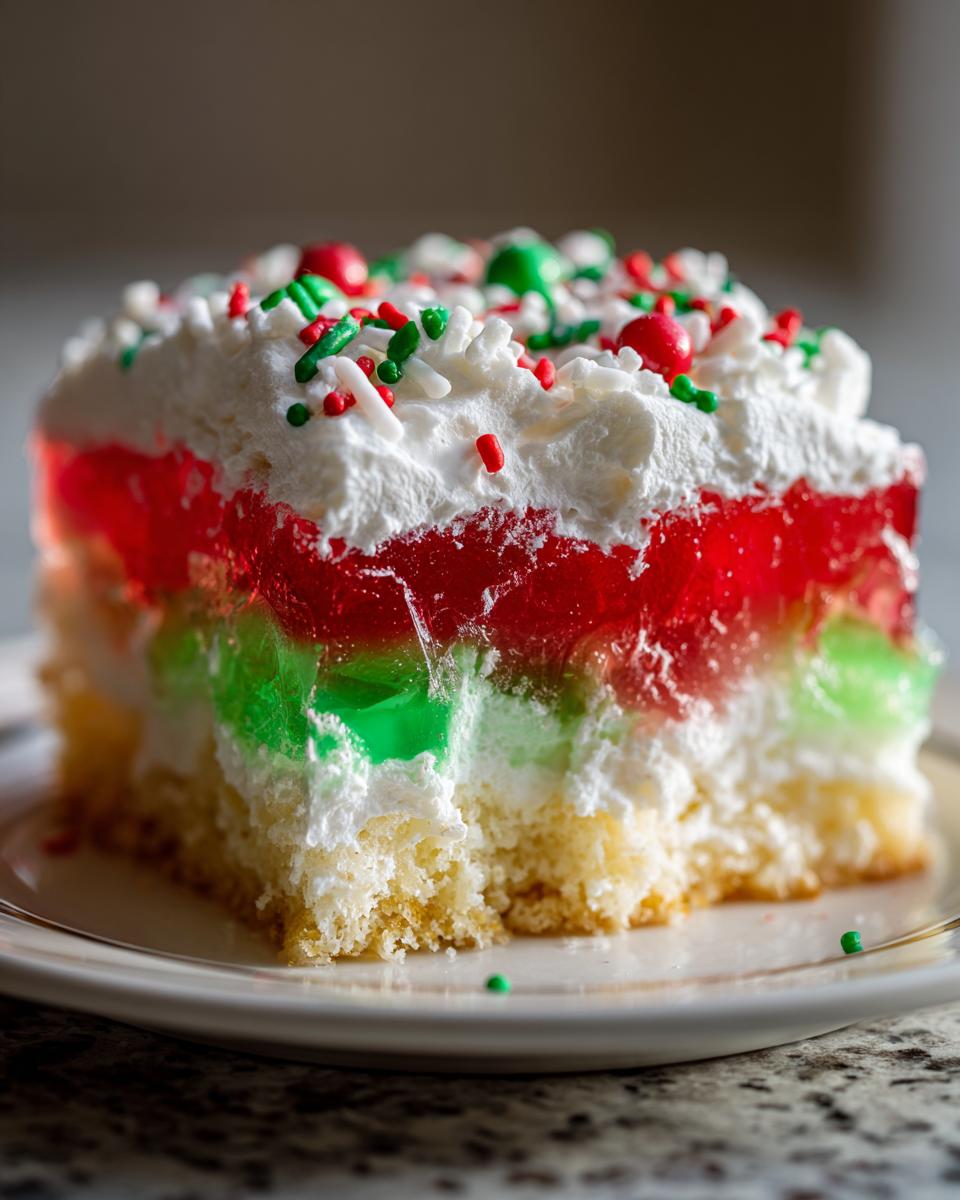
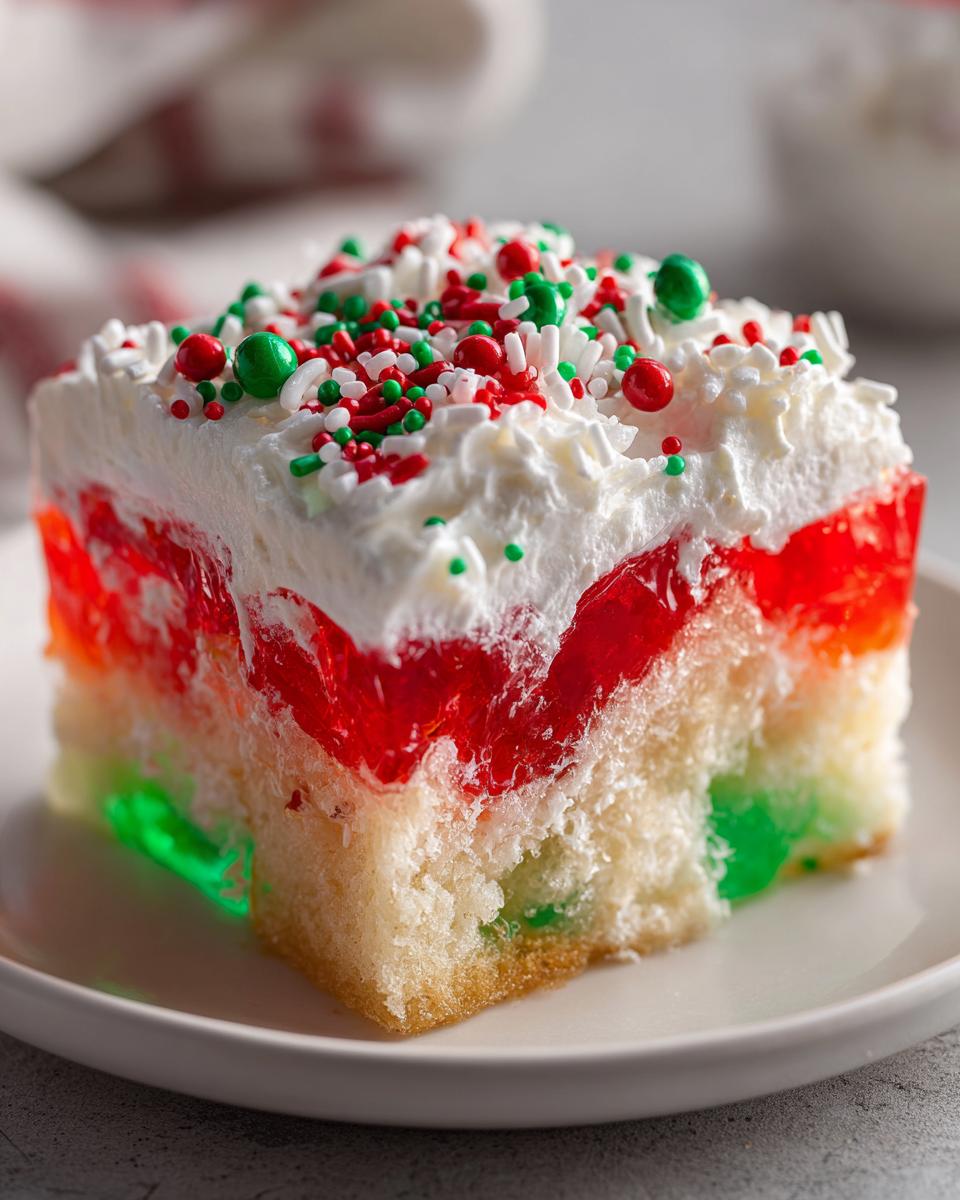
The look of this cake is what stops guests in their tracks! Because we use red and green Jello, you get those beautiful, vibrant colors naturally. It instantly looks like something special, perfect for the centerpiece of your table.
Incredibly Moist Texture
You know how some cakes turn dry by the time you try to serve them? Not this one. The Jello soaks deep into every crevice, guaranteeing that you get amazing, juicy results. If you’re looking for the best Moist Poke Cake Ideas, this is it!
Simple Assembly for Busy Cooks
We start with a simple cake mix, which saves us precious time we’d rather spend wrapping presents or setting the table. Using helpers like that is just smart kitchen management!
A True ‘Made in Minutes’ Holiday Treat
When I say minimal time, I mean the actual hands-on time here is incredibly short. Even factoring in that chilling time needed for the Jello to set, this remains a fantastic Quick Holiday Sheet Cake option.
Gather Your Ingredients for the Christmas Poke Cake
Alright, let’s get our supplies together! The key to keeping this special treat easy is using some reliable shortcuts. Don’t you worry about making frosting from scratch here; we’re using the power of Jello and whipped topping to keep things quick and moist. Make sure everything is measured out before you start mixing—I always find that helps prevent those little oops moments when things get busy!
For the Cake Base
Since this is a sheet cake meant for easy transport to a party, we use a plain white mix. It gives us that beautiful pale backdrop for our festive red and green color explosion.
- 1 box white cake mix (plus all the ingredients the box tells you to add, usually eggs, oil, and water).
For the Festive Jello Filling
This is where the magic happens, folks! I always use the little boxes of gelatin because they dissolve so perfectly. Remember, we are dissolving this stuff in hot water, but we are *not* cooking it on the stove after that.
- 3 ounces red gelatin (like Jello)
- 3 ounces green gelatin (like Jello)
- 1 cup boiling water (divided—1/2 cup for each color)
- 1 cup cold water (divided—1/4 cup for each color)
For the Creamy Whipped Topping
We need something sturdy to hold up on the fridge overnight, so we stabilize our whipped cream with a little powdered sugar and vanilla. If you happen to have my recipe for homemade vanilla buttercream, you could certainly use that, but the whipped topping version here keeps it super light which pairs nicely with the Jello.
- 1 tub (8 ounces) frozen whipped topping, fully thawed
- 1/2 cup heavy cream
- 2 tablespoons powdered sugar
- 1 teaspoon vanilla extract
- Christmas sprinkles for topping!
Step-by-Step Instructions to Make the Perfect Christmas Poke Cake
Okay, deep breath! This part sounds like a lot of steps, but I promise you, it’s just a series of very easy ‘wait-and-pour’ actions. We are going to infuse this cake with so much flavor and moisture that everyone will ask for the recipe. Just follow along, and don’t rush the cooling steps—that’s my biggest piece of advice!
Baking and Initial Cooling
First things first, preheat your oven according to the cake mix box instructions and get that batter mixed up. Bake your white cake in your 9×13 pan until a toothpick comes out clean. You want it baked well, but not dry! Once it’s done, let it sit right there in the pan for just 15 minutes. That warmth right before it cools completely is the perfect time to start poking.
Preparing the Red and Green Gelatin Fillings
While that cake is cooling down a touch, let’s tackle the Jello. This is critical: In two separate bowls, dissolve the red gelatin in its half-cup of boiling water, and do the same for the green Jello. Then, stir in the cold water for each. Now, this is important: set both bowls aside on the counter. They must cool down to room temperature before we pour them, or they might melt the cake structure we just built!
Poking and First Infusion (Red Layer)
Once the cake has its initial 15-minute rest, grab the handle of a wooden spoon—or really sturdy fork—and start poking. I like spacing holes about one inch apart, making sure I poke all the way down to the bottom of the cake. Next, slowly and evenly pour the *room temperature* red gelatin over the entire top. Let the cake chill completely, usually about an hour, so that layer can start setting up.
Second Infusion and Chilling (Green Layer)
After the red layer has firmed up a bit, we do the exact same thing! Poke all over again, making sure you are hitting those deep channels. Pour the green gelatin evenly over the top. Now, this is where patience comes in. You need to cover the whole thing and let it chill in the fridge for a minimum of 4 hours. Honestly, making this recipe the day before is always best so the jelly sets firm.
Creating the Final Whipped Topping
Once completely chilled, we whip up that topping! Use a mixer to beat the heavy cream, powdered sugar, and vanilla until you get nice stiff peaks. Then, gently fold in that thawed whipped topping. Don’t overmix this part, or you’ll deflate all that lovely air! Spread this fluffy cream evenly over your set Jello layers and top with ALL the festive sprinkles you can find. If you prefer a richer topping, you could always adapt my cream cheese frosting recipe, but the lightness here pairs beautifully with the Jello!
Tips for the Best Ever Christmas Poke Cake
Now that you have the basic steps down, let me share a few tricks I’ve picked up over the years making this for potlucks and Christmas Eve parties. Every great recipe can be made even better with a little know-how, right? We want those festive colors to pop, and we certainly don’t want a soggy mess!
Achieving Bright, Clear Colors
This is crucial for that amazing red and green look! Remember when we mixed the Jello with the hot water and then added the cold water? You *must* let that mixture cool completely—down to room temperature—before you pour it onto the cake. If it’s too hot, it will just melt your beautiful white cake base into mush. If it’s too cold, it won’t flow deep enough into those poked holes. You want it cool enough that it looks like thick liquid, not yet jiggly, so it sinks down in, bringing that vibrant color with it. Think of it like pouring slightly warm maple syrup instead of just using cold syrup straight from the fridge.
Troubleshooting Poking Depth
Don’t just jab aimlessly! The depth matters because we want the Jello liquid to travel all the way to the bottom of the 9×13 pan. I’ve found the best tool is actually the handle end of a wooden spoon. It’s sturdy, it’s rounded, and it creates a nice, clean tunnel without tearing the cake structure too much. If you use the pointed end of a fork, you risk creating little ragged edges that let the Jello bleed out sideways into the cake instead of sinking straight down. Poke vertically, with intention, all the way through to the bottom pan about every inch. This ensures a sweet surprise in every single bite, not just on top!
If you are looking for other great methods to elevate your holiday cooking—maybe something savory for once—take a peek at how I whip up my easy Hollandaise sauce. It’s all about having reliable techniques in your back pocket!
And if you want to see how another wonderful baker approaches this same fun dessert, check out the details on this Christmas Poke Cake recipe online. Sometimes seeing something one more way helps it click!
Making Your Christmas Poke Cake Ahead of Time
You know, one of the greatest gifts you can give yourself during the holidays is actually preparing things the day before you need them. This christmas poke cake is honestly even better when it sits for a while, making it one of my favorite Make Ahead Holiday Cake options.
Because we are dealing with Jello, which needs time to set up firmly, baking this cake the afternoon before works perfectly. I recommend getting it fully assembled—cake, Jello, and the whipped topping—at least four hours before you plan to serve it. That way, everything is perfectly chilled and set.
The key to success when making it ahead is the covering method. Don’t just cover it tightly with plastic wrap right away, especially if you put the topping on. The whipped topping can get moisture, leading to that dreaded “weeping” look. What I do is place toothpicks or small pieces of dry spaghetti sticking up all over the top of the whipped cream before I wrap it.
This creates a little tent, keeping the plastic wrap from touching the delicate topping. This simple trick prevents sticking and keeps the topping fluffy and fresh. I can usually store this beautiful cake wrapped tightly in the fridge for up to two days before serving, but honestly, it tastes best on day one or day two morning. If you love the idea of preparing things the night before, you should check out my recipe for overnight French toast casserole—it saves so much time on Christmas morning!
Serving Suggestions for This Festive Holiday Dessert
When you bring this vibrant christmas poke cake to a gathering, you want the whole table to look festive, don’t you? Because this dessert is so sweet, fruity, and rich with cream, it pairs wonderfully with something contrasting. This makes it a fantastic choice for any Christmas Potluck Desserts!
Presentation is half the battle at the holidays, and this cake does most of the work for you with those glorious red and green layers peeking through. You don’t need much else!
- For Simplicity: Just a small dollop of extra whipped cream on the side if someone wants more! That’s it. Seriously, this cake stands perfectly well on its own as the star of the show.
- For Contrast: If you’re serving coffee after dinner, the sweetness of the Jello is nicely cut by a strong, dark brew. Or, if you’re looking for a festive adult beverage to serve alongside, try my recipe for the peppermint espresso martini—the rich coffee notes are a lovely counterpoint to the sweet vanilla and fruit flavors in the cake.
- For a Holiday Buffet: Since this is a sheet cake, it slices easily, making it perfect for an assembly line of desserts. I like to place it on a nice white platter, surrounded by some fresh green sprigs (like rosemary, just for looks—don’t let it touch the food!) to really emphasize that red and green theme just before serving.
Remember, Carla’s philosophy is all about ease. Don’t stress about serving accompaniments; this Festive Holiday Dessert is designed to be the easiest thing on your table!
Variations on the Classic Christmas Poke Cake
Now, I know the Jello version is my favorite way to get those bright holiday colors, but once you master the poke technique, you can swap things up to keep things interesting year after year! Having a few easy swaps in your back pocket is what good home cooking is all about. It’s about using what you have and keeping the flavors fun and exciting for the family.
Peppermint Chocolate Poke Cake Variation
If your family loves a richer, deeper dessert flavor over the fruity Jello tang, this is a wonderful switch for a winter treat. Instead of starting with that white cake mix, grab a good quality chocolate cake mix! It gives you this beautiful dark base.
For the filling, you can use clear peppermint gelatin if you can find it, but honestly, I often skip the colored Jello entirely here. Instead, I prepare the cake as usual, but before pouring anything, I mix a tablespoon of peppermint extract right into the cold water amount needed for the box directions. Then, when I poke the warm cake, I pour that minty liquid down deep. Top it with a chocolate whipped cream topping instead of the vanilla, and you have a gorgeous Peppermint Chocolate Poke Cake that feels totally sophisticated!
If you are exploring other minty treats, you must try the double chocolate peppermint cookies I shared last year; they pair perfectly with a slice of this cake!
Using Pudding Instead of Jello
Some folks just aren’t fans of the slightly jiggly texture that the gelatin creates, even after chilling. That’s totally fine! If you want something intensely creamy and dense, especially if you’re worried about keeping it cold before serving, we can swap out the Jello for instant pudding. This leans right into the idea of having a wonderfully Moist Pudding Filled Cake.
For this variation, you would bake the cake and poke it exactly as usual. Instead of mixing the Jello, you prepare two small boxes (3 ounces each) of instant vanilla or white chocolate pudding according to their directions—which usually means mixing the pudding powder with cold milk. After the first poke, pour one flavor down deep. Chill it until that layer is firm, poke again, and pour the second flavor.
This version will be a little less vibrant in color, but it’s incredibly rich and creamy underneath that whipped topping. For another easy swap that brings deep holiday flavor, check out this chocolate peppermint poke cake recipe online—they do a lovely job incorporating those deeper flavors!
Storing Leftovers of Your Christmas Poke Cake
One of the best things about a Jello-based cake, much like my make-ahead casserole recipes, is that it keeps beautifully! Since the Jello locks moisture right into the crumb, this christmas poke cake stays wonderfully moist for days. But you definitely need to handle the storage correctly, especially because of that creamy topping.
You must keep this dessert refrigerated 100% of the time. That gelatin layer needs that cold temperature to stay firm and prevent any “weeping” or softening. Seal it up tight! I always use that trick I mentioned earlier: stick a few pieces of dry spaghetti sticking up around the edges of the cake pan before you place the plastic wrap over the top. This keeps the wrap from flattening your pretty topping and keeps the fridge smells out.
I find this cake tastes best within the first 48 hours. It is perfectly safe for up to 4 days in the fridge, but honestly, the texture of the whipped topping starts to change after day three. And please, don’t even think about reheating this! It’s a chilled dessert, meant to be cool and refreshing alongside those heavy holiday meals. If you want something warm, that’s when you pull out a nice batch of cookies!
Frequently Asked Questions About This Holiday Dessert
It’s natural to have questions when you’re trying a new recipe for a big holiday meal! I’ve gathered a few things folks ask me most often about turning this simple mix into a festive masterpiece. Getting these little details right is what separates a good dessert from the one everyone talks about!
Can I use a different size pan for this Christmas Poke Cake?
Yes, absolutely! Since this recipe uses a standard white cake mix, we’re aiming for a standard 9×13 inch baking time and thickness. If you use a slightly smaller pan, say an 8×8 inch square pan, that batter is going to be much thicker. You’ll need to add a good 5 to 10 minutes onto the baking time, and you might have to poke a little deeper, too. On the flip side, if you happen to make this an even bigger dessert tray, like a half-sheet pan, you’ll need to bake it shorter—maybe 25 minutes—since the cake layer is so thin. I haven’t tried cupcakes with this yet, but for those, you’d bake for about 18 minutes, just be sure to only pour Jello into the top half of the cupcake liner space!
What is the best way to get clean holes in the cake?
This tip is crucial for texture and color distribution! The absolute best time to poke those deep holes is when the cake has cooled for that initial 15 minutes. It’s warm enough that the cake is still tender and hasn’t fully set its structure, but cool enough that it won’t just crumble apart when you press into it. I mentioned using the blunt end of a wooden spoon handle earlier, and I stand by that! It makes a nice, clean well for the liquid to flow into. Don’t use anything sharp, or you risk tearing the bottom of the cake, which causes the Jello to leak out the sides instead of staying tucked inside where it belongs.
Is this considered one of the best Christmas Dessert Centerpieces?
Oh, I certainly think so! When you’ve got all those other heavy holiday favorites—the roasts, the rich casseroles—you need a dessert that looks like pure celebration, and this cake delivers that visual punch. Because our focus is on those bright red and green colors from the Jello, it looks stunning sitting right in the middle of the dessert spread. It’s certainly one of my favorite Christmas Dessert Centerpieces because it’s festive without needing elaborate piping or shaping. The sprinkles on top finish that look off perfectly!
If you’re interested in other easy, reliable casseroles that you can prepare ahead of time—maybe something savory to balance out the sweets later—you should check out my recipe for easy creamy chicken enchiladas. It’s another one of my go-to make-ahead meals!
And if you want to see a beautiful alternative that uses winter flavors, I saw a lovely take on this concept using cake mix that you might enjoy comparing yours to, over at this Red Velvet version!
Share Your Holiday Baking Success
Now that you’ve made this simple, dazzling christmas poke cake, I truly hope it brought an extra layer of joy—and far less stress—to your holiday table! These are the kinds of Family Favorite Christmas Treats that stick with folks long after the celebration is over, and it all starts with you trying the recipe.
I would absolutely love to hear how it turned out for you! Did your family prefer the Jello over the pudding variation? Did the red and green layers look bright under your holiday lights? Please tap those stars below and leave me a comment telling me about your experience. Getting feedback from you helps me know that these simple, sweet recipes are working for your real-life busy schedules!
If you snapped a picture of your colorful, moist slice, please share it! Tag me online so I can see your beautiful work. No matter what you’re serving up this season, remember that baking with love is the most important ingredient. If you need some easy savory ideas to balance out all this delicious sugar, check out my roundup of easy appetizers and snacks!
PrintEasy Christmas Jello Poke Cake

Make this ultra-moist Christmas Jello Poke Cake for a festive, colorful dessert that is simple to prepare for your holiday gatherings. This recipe uses red and green Jello for a fun holiday look.
- Prep Time: 25 min
- Cook Time: 35 min
- Total Time: 5 hours 40 min
- Yield: 12 servings 1x
- Category: Dessert
- Method: Baking and Chilling
- Cuisine: American
- Diet: Vegetarian
Ingredients
- 1 box white cake mix (plus ingredients listed on box for preparation)
- 1 cup boiling water
- 3 ounces red gelatin (like Jello)
- 3 ounces green gelatin (like Jello)
- 1 cup cold water (divided)
- 1 tub (8 ounces) frozen whipped topping, thawed
- 1/2 cup heavy cream
- 2 tablespoons powdered sugar
- 1 teaspoon vanilla extract
- Christmas sprinkles for topping
Instructions
- Prepare the white cake according to the package directions using a 9×13 inch baking pan. Bake until a toothpick inserted in the center comes out clean. Let the cake cool in the pan for 15 minutes.
- While the cake cools, prepare the gelatin. In two separate bowls, dissolve the red gelatin in 1/2 cup boiling water in the first bowl, and the green gelatin in 1/2 cup boiling water in the second bowl.
- Stir 1/4 cup cold water into the red gelatin mixture, and 1/4 cup cold water into the green gelatin mixture. Set both bowls aside to cool to room temperature, about 30 minutes. Do not let them set.
- Use the handle of a wooden spoon or a large fork to poke holes all over the top of the warm cake, spacing the holes about 1 inch apart. Poke all the way through to the bottom of the cake.
- Carefully pour the red gelatin mixture evenly over the entire surface of the cake, allowing it to soak into the holes. Let the cake cool completely, about 1 hour.
- Once the cake is cool, repeat the poking process over the red gelatin layer. Pour the green gelatin mixture evenly over the cake. Cover the cake and chill in the refrigerator for at least 4 hours, or until the gelatin is fully set.
- Prepare the topping: In a medium bowl, beat the heavy cream, powdered sugar, and vanilla extract until stiff peaks form. Fold in the thawed whipped topping gently.
- Spread the whipped topping mixture evenly over the chilled, set cake. Sprinkle generously with Christmas sprinkles before serving.
Notes
- For the brightest colors, use the Jello right after it cools to room temperature, before it starts to thicken too much.
- You can make this cake a day ahead of time; the chilling time is necessary for the gelatin to set properly.
- If you want a richer filling, substitute the cold water in the gelatin step with cold clear soda like lemon-lime for extra flavor.
Nutrition
- Serving Size: 1 slice
- Calories: 350
- Sugar: 45g
- Sodium: 310mg
- Fat: 15g
- Saturated Fat: 8g
- Unsaturated Fat: 7g
- Trans Fat: 0.5g
- Carbohydrates: 55g
- Fiber: 1g
- Protein: 4g
- Cholesterol: 25mg