
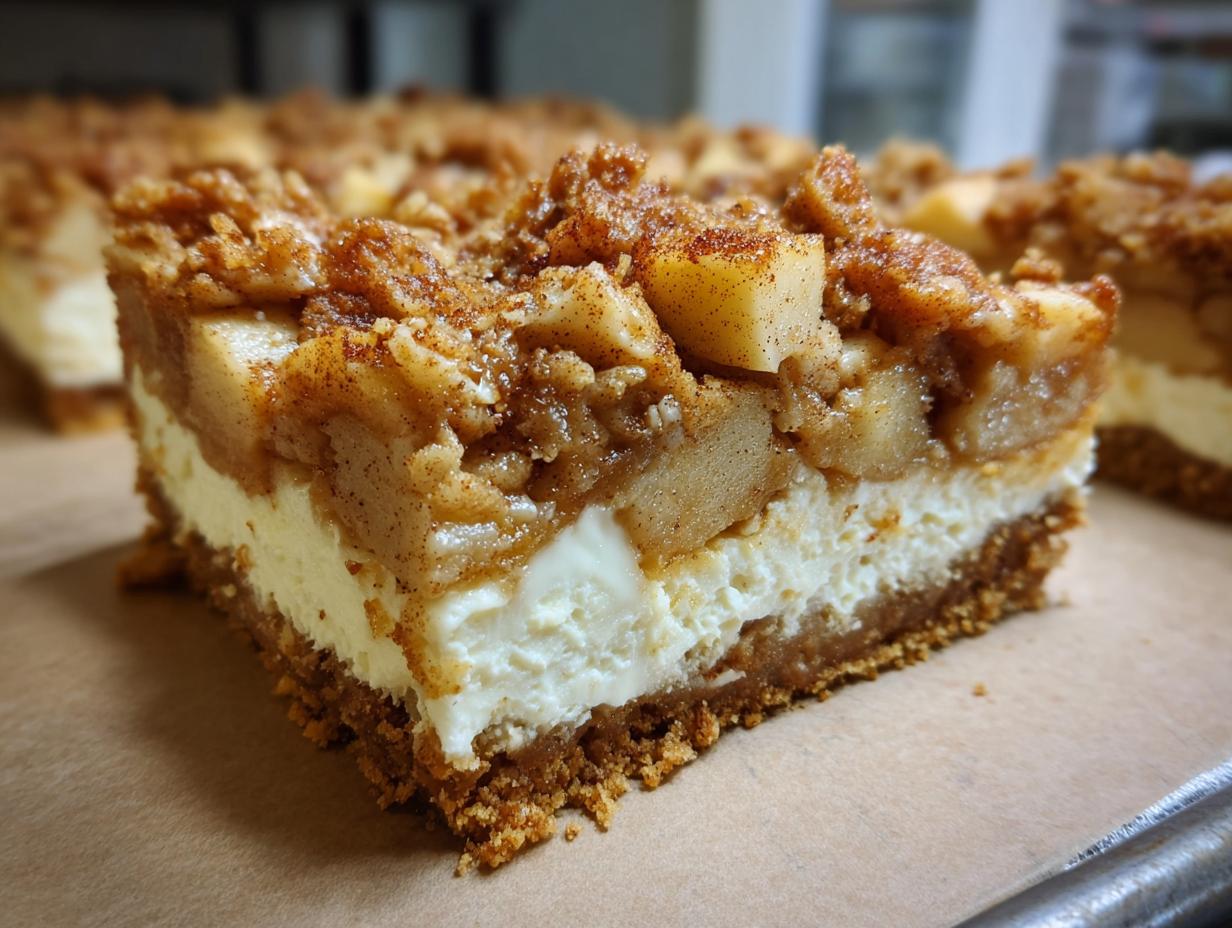
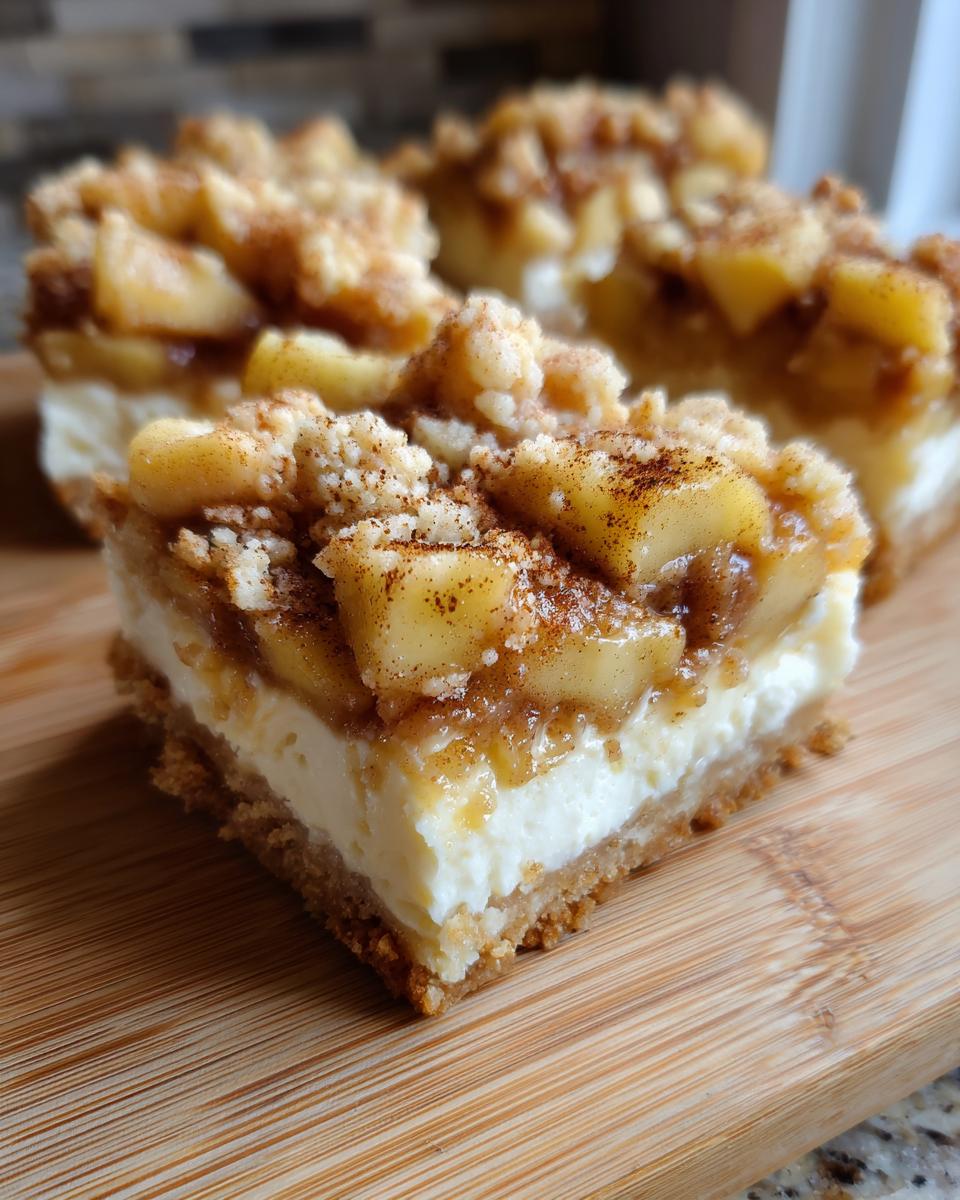
Oh my goodness, when those first crisp days of fall roll around, my mind immediately goes to apples and warm spices. There is just nothing that beats that feeling of comfort, right? That’s why I’m so excited to share this recipe with you today. We are making what I like to call my absolutely dependable loopy whisk gluten free apple cheesecake bars. Trust me, they are the best gluten free cheesecake bars I’ve ever tested. Baking these reminds me of my grandkids visiting; they always know the house smells like a celebration when I pull out the apples, and they can count on these treats being perfect every single time, no gluten worries attached. If you’re looking for a perfectly balanced flavor to serve alongside something festive, you have to check out my best holiday sangria recipe for parties!
- Why You Will Love These Loopy Whisk Gluten Free Apple Cheesecake Bars
- Equipment Needed for Loopy Whisk Gluten Free Apple Cheesecake Bars
- Ingredients for the Perfect Loopy Whisk Gluten Free Apple Cheesecake Bars
- Step-by-Step Instructions for Baked Apple Cheesecake Bars
- Tips for the Best Loopy Whisk Gluten Free Apple Cheesecake Bars
- Variations for Your Gluten Free Apple Bake Recipe
- Storage and Make-Ahead for Your Homemade Gluten Free Apple Bars
- Frequently Asked Questions About Cheesecake Bars No Gluten
- Nutritional Estimates for Loopy Whisk Gluten Free Apple Cheesecake Bars
Why You Will Love These Loopy Whisk Gluten Free Apple Cheesecake Bars
I know that baking without gluten can sometimes feel like walking a tightrope, but I promise these bars take all the guesswork out! They are my absolute favorite among all my fall gluten free dessert bars because they deliver on texture every time. Here’s the quick rundown on why they’re going straight to the top of your baking list:
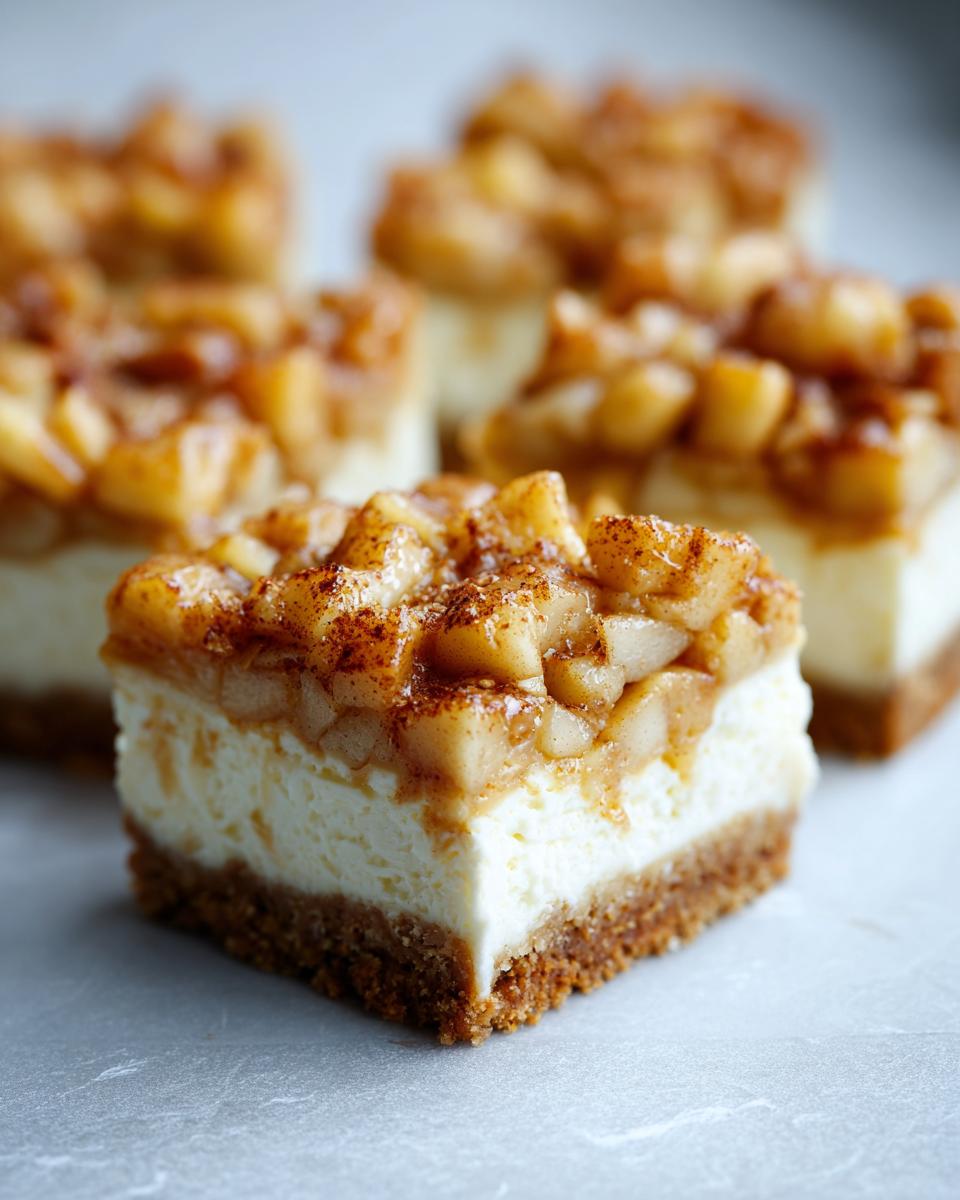
- They taste like the classic, comforting dessert you remember—rich cheesecake, spiced apples, and a buttery crust!
- These are truly some of the best gluten free cheesecake bars you will ever make.
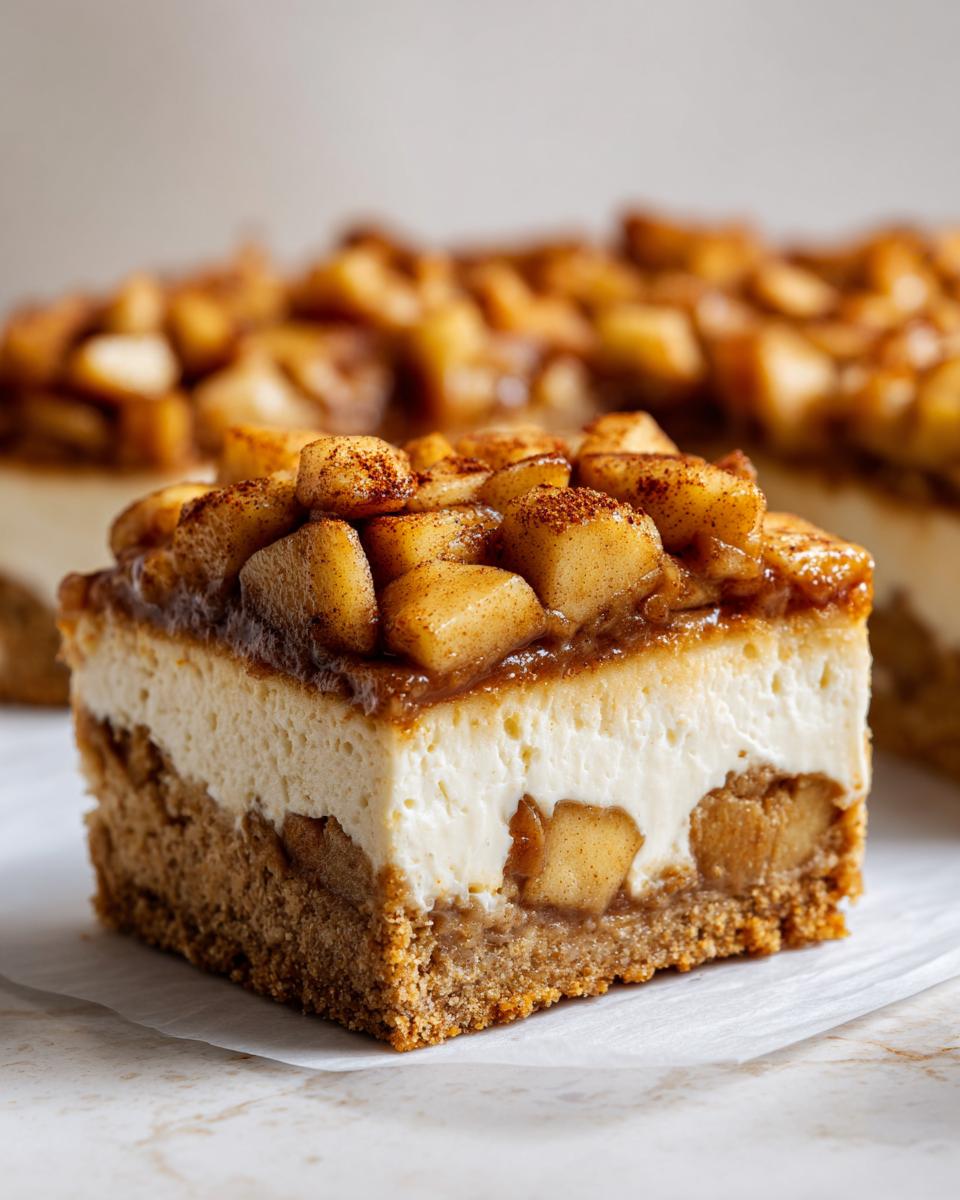
- The texture contrast is just divine: creamy filling against that slightly chewy, crunchy crumble topping.
- Because they are celiac safe, everyone at the gathering can enjoy them without worry.
If you love a stunning, fuss-free dessert, check out my recipe for easy Christmas poke cake recipe for another holiday favorite!
Equipment Needed for Loopy Whisk Gluten Free Apple Cheesecake Bars
When I bake something special, especially a layered bar like this, having the right tools makes all the difference. These aren’t complicated tools, but they are essentials for getting that perfect structure. You don’t want to be searching for a knife when you need to cut in the butter!
For these delicious bars, you’ll want to have these items ready to go. It keeps the process smooth, which is vital when you’re working with gluten free ingredients:
- An 8×8 inch baking pan. This size gives you the perfect thickness for both crust and filling.
- Parchment paper! This is non-negotiable for easy removal later on. Make sure you leave an overhang on two sides so you can lift the whole thing out gracefully.
- An electric mixer or a very sturdy hand with a pastry blender for making that crumb base.
- A pastry blender or just your clean hands for combining the cold butter into the flour mixture.
- A small bowl for tossing your apples with the spices, and a medium bowl for the crust.
Having everything mapped out beforehand is how we keep things easy around here. If you’re looking for other streamlined recipes that save time in the kitchen, you should take a look at my easy sheet pan mini meatloaf muffins!
Ingredients for the Perfect Loopy Whisk Gluten Free Apple Cheesecake Bars
Gathering the right ingredients is that first crucial step, especially when baking without gluten! We need a fantastic base, a luxurious filling, and apples that hold their shape. Don’t even think about substituting the flour blend here—you really need a good quality, reliable gluten free all-purpose blend that already has xanthan gum in it. That binder is our best friend in these bars. If you want a peek at another fantastic creamy recipe, check out my white chocolate cheesecake ultimate creamy recipe!
For the Crust and Crumble Topping
This mixture pulls double duty! We press two-thirds down for the base and save the rest for a sprinkle on top. It gets beautifully buttery and crisp.
- 1 1/2 cups gluten free all purpose flour blend (make sure it has xanthan gum!)
- 1/2 cup packed light brown sugar (the molasses flavor is key here)
- 1/4 teaspoon salt
- 1/2 cup (1 stick) cold unsalted butter, cut into cubes
For the Creamy Cheesecake Layer
This is where the smooth, tangy heart of the bar comes from. Remember, the cream cheese has to be fully softened, or you will end up with lumps, and nobody wants a lumpy cheesecake layer!
- 8 ounces cream cheese, fully softened
- 1/2 cup granulated sugar
- 1 large egg
- 1 teaspoon vanilla extract
For the Spiced Apple Layer
I love using Honeycrisp for a little sweetness, but if you like a bit of tartness that cuts through the richness, Granny Smith apples are just wonderful in this apple spice dessert bars recipe. They bake up tender but don’t turn to complete mush.
- 2 medium apples (like Honeycrisp or Granny Smith), peeled, cored, and diced
- 1 tablespoon lemon juice (keeps them bright!)
- 1 teaspoon ground cinnamon
- 1/4 teaspoon ground nutmeg
Step-by-Step Instructions for Baked Apple Cheesecake Bars
Following these directions closely is how we ensure these are the best gluten free cheesecake bars on the block! Baking relies on a little bit of patience, especially with that crust. If you love easy holiday treats that look fancy, you might want to bookmark my Christmas sugar cookie bars recipe for later!
Preparing the Pan and Crust
First things first, let’s get the oven ready! Preheat that oven to 350°F (175°C) right away. Next, take your 8×8 inch baking pan and line it completely with parchment paper. Remember what I said about the overhang? I like to leave enough paper sticking up over two opposite sides so I can grab those ‘handles’ later. In a medium bowl, whisk together your gluten free flour blend, brown sugar, and salt. Now, use a pastry blender—or just your clean fingertips—to cut in the cold butter cubes until the whole thing looks like nice, coarse crumbs. Press about two-thirds of this beautiful crumb mixture evenly into the bottom of your lined pan. Set the remaining one-third aside for the topping; don’t snack on too much of it!
Baking the Crust and Making the Cheesecake Filling
Toss that crust into the preheated oven for exactly 12 minutes. We just want it to set up a little bit. While that’s happening, we move onto the filling. In a separate bowl, grab your electric mixer because we need everything smooth here. Beat the softened cream cheese and granulated sugar together until there are absolutely no sugar granules left and the mix is velvety. Then, mix in your egg and vanilla extract—but listen to me closely here: just mix it until it’s combined. If you overmix the cheesecake part, it gets filled with too much air and can crack later! We want a dense-but-creamy texture for these simple apple cheesecake squares.
Assembling and Baking the Loopy Whisk Gluten Free Apple Cheesecake Bars
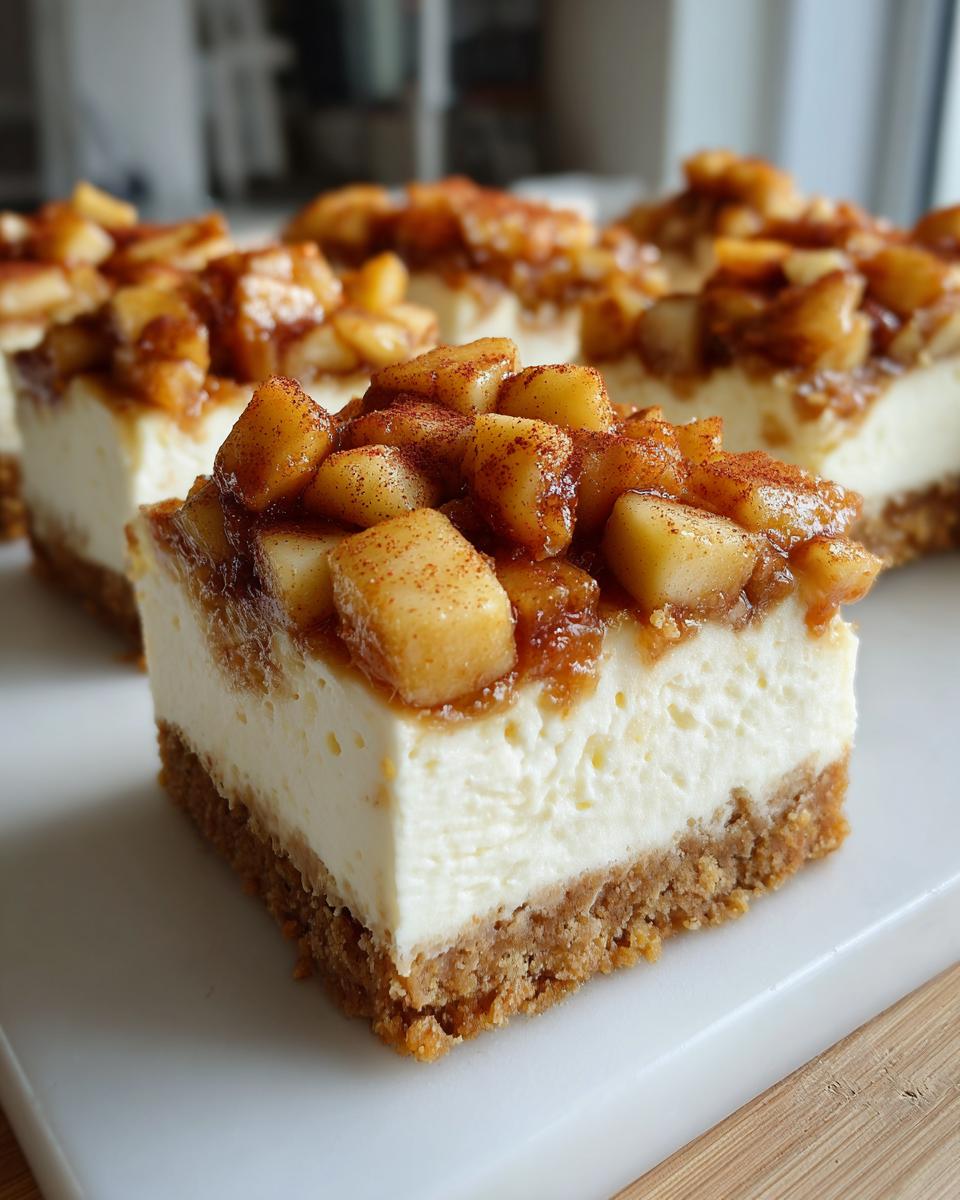
Pull that crust out after its 12 minutes and let it cool slightly on a rack. Now, gently pour that smooth cheesecake filling over the warm crust and spread it out evenly. For the apples, mix those diced chunks with the lemon juice, cinnamon, and nutmeg right in that little bowl. Sprinkle those seasoned apples evenly over the cream cheese layer—this is what makes it a true celiac safe apple cheesecake recipe. Finally, scatter that reserved crumb mixture evenly over the apples. Bake the whole assembly for 35 to 40 minutes. You know they are nearly done when the edges look lightly golden brown. If you notice just a *tiny* bit of jiggle right in the very center when you gently nudge the pan, that’s perfect. That means they’ll set up beautifully cool.
Chilling and Serving These Gluten Free Apple Dessert Bars
This is the hardest part, but you simply cannot skip it! Let the bars cool down completely right there in the pan on the wire rack. If you try to slice them warm, the cheesecake layer will just squish everywhere, and you won’t get those beautiful defined squares. Once they are fully cooled to room temperature, cover the pan loosely and move them into the refrigerator. You must chill these beauties for a minimum of 2 hours before you even *think* about cutting them. Keeping these fantastic gluten free apple dessert bars cold before slicing ensures every piece comes out clean and perfect. Then, use those parchment paper handles to lift the entire block out, and slice away!
Tips for the Best Loopy Whisk Gluten Free Apple Cheesecake Bars
I’ve learned a few things over the years, especially when dealing with gluten-free baking. These bars are so reliable, but a couple of small details can take them from good to absolutely unforgettable. These little pointers are what make these some of the best, most easy gluten free bar recipes around, because they work!
My biggest tip, and I cannot stress this enough for anyone baking gluten free desserts, is about the flour blend. You really need a quality 1:1 gluten free all-purpose flour blend that already includes a binder like xanthan gum. If you use one that doesn’t, your crust and crumble will be sandy and fall apart when you try to lift it. If you want a wonderful creamy topping for other desserts, you should certainly look into my guide for the best cream cheese frosting recipe holds shape.
Now, let’s talk about chilling. I actually have a funny story about this. When my daughter was little, she was so excited about these bars that she insisted we cut one warm right out of the pan because she was tired of waiting. Well, I gave in, and we carved out a tiny, messy square. It was still tasty, mind you, but it collapsed completely into a delicious, gooey mess. It was more like an apple-cheesecake soup than a bar! Lesson learned: you absolutely, positively must let these chill for those two hours minimum. That cold time lets the cream cheese set up properly and firms up the crust so you get those gorgeous, clean cuts.
Also, ensure your butter for the crust is truly cold—like freezer-cold, but still cut-able cubes. Cold fat hitting the dry ingredients prevents the crust from getting heavy, which is important for contrast against that rich filling!
Variations for Your Gluten Free Apple Bake Recipe
Part of the joy of cooking, especially when you have a reliable base recipe like this, is playing around a little bit! While these loopy whisk gluten free apple cheesecake bars are wonderful exactly as written, sometimes you want to give a recipe a little twist to keep things interesting for your family. I always encourage home cooks to trust their instincts—Carla certainly did when she first started experimenting!
If you’re serving these apple spice dessert bars to a crowd that loves texture, I have a few simple ideas that are easy to incorporate without messing up that perfect gluten free structure.
First, nuts! A handful of chopped walnuts or pecans stirred into the reserved topping mixture before you sprinkle it over the apples adds a lovely crunch and depth of flavor. They toast up beautifully in the oven, and honestly, nuts always feel a little bit holiday-ish, don’t they?
Secondly, let’s talk apples again. While I suggested Granny Smith or Honeycrisp, if you have access to a sweeter apple like Fuji, go for it! If you use a sweeter apple, you might consider adding just a tiny squeeze more lemon juice to keep that tartness that cuts through the richness of the cheesecake. Or, try using a mix of both tart and sweet apples for a complex flavor profile.
Now, for the variation that truly elevates these to an indulgence: caramel! This adds a little complexity, but wow, is it worth it. Right after you sprinkle that final layer of crumble topping over the apples, drizzle about a third of a cup of good quality caramel sauce over the top. Don’t drown it, just little ribbons will do. Since the cheesecake layer underneath handles the moisture, the caramel bakes down beautifully, blending with the spices. It makes them even more impressive for entertaining. Speaking of warm fruit desserts, if you happen to have some ripe pears on hand, you absolutely must try my recipe for easy brown sugar cinnamon pear crisp!
Remember, these bars are extremely forgiving because of that sturdy crust underneath. Just make sure you still chill them thoroughly after baking, no matter how fancy you make the topping!
Storage and Make-Ahead for Your Homemade Gluten Free Apple Bars
One of the things I cherish most about bar recipes like this is that they are just as good—if not better—the next day. This makes them absolutely perfect for getting ahead of the game when you’re planning a big meal or holiday get-together. You don’t need to worry about these homemade gluten free apple bars drying out overnight, which is a huge relief when you’re balancing a whole menu.
When it comes to refrigeration, the key is keeping them covered tight. Once these bars have chilled completely and you’ve sliced them into those beautiful squares, arrange them in a single layer in an airtight container. If you have to stack them, place a piece of wax paper or parchment between the layers. They’ll stay wonderfully fresh in the refrigerator for about four to five days. The slight chill just seems to make the cheesecake layer even firmer and the flavors meld together nicely!
And yes, you absolutely can freeze them! I often make a double batch in the late fall so I have easy, ready-made desserts for unexpected guests. After you have sliced the bars, lay them out on a baking sheet lined with parchment paper and freeze them until they are solid—maybe an hour or two. Once they’re hard little bricks, transfer them to a heavy-duty freezer bag. They freeze beautifully for up to three months. When you decide it’s time to enjoy them, just pull out as many as you need!
If you are serving them straight from the fridge or freezer, I always suggest letting them sit on the counter for about 30 minutes before serving, just so the crust softens up slightly from that deep chill. If you are truly desperate to eat them sooner, you can zap an individual square in the microwave for about 10 seconds, but honestly, the texture is best close to room temperature or slightly cool. Speaking of easy entertaining, if you are looking for some quick snacks while everyone waits for these wonderful bars to finish setting up, take a peek at my collection of easy appetizers and snacks!
Frequently Asked Questions About Cheesecake Bars No Gluten
It’s normal to have questions when you’re tackling a layered bar recipe, especially when ensuring it’s completely celiac safe! Gluten free baking sometimes needs a little extra explanation, but I’m here to help you get it perfect. These are the questions I always get when I bring these bars to gatherings. If you are looking for even more sweet ideas to try out, you can always browse my full list of the best dessert recipes here!
Can I just skip chilling the bars before cutting them?
Oh, friend, I really, really advise against it! I learned this the hard way when my little one rushed me years ago. If you skip chilling, the cream cheese layer will be too soft, and when you try to slice these into your beautiful simple apple cheesecake squares, the whole thing will smear. Plus, the crust won’t hold up its structure. You must chill them in the fridge for at least two hours after they cool completely to room temperature. That cold hardens the filling just enough so you get those clean, perfect edges every time.
Do I have to use gluten free all-purpose flour specifically, or can I use almond flour?
This is a very important question when we talk about cheesecake bars no gluten! You really need to stick to a good quality gluten free all-purpose flour blend for the crust and the crumble topping. Almond flour or coconut flour simply won’t bind the way the 1:1 blend does when mixed with butter and brown sugar; these recipes rely on that structure. Using almond flour here will make your crust too crumbly and greasy, and it probably won’t bake up right. Stick with the blend specified for the best outcome in these easy gluten free bar recipes.
What is the absolute best apple variety for these fall gluten free dessert bars?
I like a mix, honestly! The best flavor comes from balancing sweetness and tartness so the apple doesn’t get lost against that rich cheesecake. I recommend using Granny Smith if your family likes a tang—they hold their shape wonderfully. If you prefer a sweeter profile, Honeycrisp is fantastic, as I mentioned earlier. If you use a very sweet apple, perhaps add a tiny bit more lemon juice to keep that necessary acidic balance against the richness of the cheesecake; it makes the resulting apple spice dessert bars so much better!
Why is the crust only partially baked before adding the filling?
That initial 12-minute bake sets the crust enough so it doesn’t get completely soggy once the wet cheesecake filling goes on top. If you pour liquid filling over raw, unbaked crumbs, the bottom layer absorbs too much moisture and ends up gummy instead of crisp. A quick pre-bake seals those fats and sugars just enough so you get that wonderful textural contrast we all love in a good bar recipe!
Nutritional Estimates for Loopy Whisk Gluten Free Apple Cheesecake Bars
Now, I always tell my grandkids that treats like these aren’t meant to be health food, but they certainly taste like heaven! When calculating nutrition for homemade recipes, remember that your specific ingredients—especially the brand of gluten free flour blend you choose—will slightly change the final numbers. These estimates are based across 16 generous servings, which is how I usually cut them for a crowd.
Think of these numbers as a good guideline for your gluten free apple dessert bars, not an exact science. If you use a lower fat cream cheese or less brown sugar, your mileage may vary!
- Serving Size: 1 bar
- Calories: 240
- Fat: 14g
- Saturated Fat: 8g
- Trans Fat: 0g
- Carbohydrates: 26g
- Fiber: 1g
- Sugar: 18g
- Protein: 4g
- Cholesterol: 45mg
Even with the sugar, keep in mind that these are wonderful for sharing at gatherings, and a balanced diet means enjoying delicious, comforting food like these holiday gluten free apple dessert bars once in a while! If you want to read more about my philosophy on cooking and bringing joy to the kitchen, you can always check out my About page.
PrintGluten Free Apple Cheesecake Bars
Make these comforting gluten free apple cheesecake bars. This recipe provides a simple, reliable method for a classic fall dessert that tastes like home.
- Prep Time: 20 min
- Cook Time: 45 min
- Total Time: 65 min
- Yield: 16 servings 1x
- Category: Dessert
- Method: Baking
- Cuisine: American
- Diet: Gluten Free
Ingredients
- 1 1/2 cups gluten free all-purpose flour blend
- 1/2 cup packed light brown sugar
- 1/4 teaspoon salt
- 1/2 cup (1 stick) cold unsalted butter, cut into cubes
- 8 ounces cream cheese, softened
- 1/2 cup granulated sugar
- 1 large egg
- 1 teaspoon vanilla extract
- 2 medium apples (like Honeycrisp or Granny Smith), peeled, cored, and diced
- 1 tablespoon lemon juice
- 1 teaspoon ground cinnamon
- 1/4 teaspoon ground nutmeg
Instructions
- Preheat your oven to 350°F (175°C). Line an 8×8 inch baking pan with parchment paper, leaving an overhang on two sides for easy removal.
- Prepare the crust: In a medium bowl, combine the gluten free all-purpose flour blend, brown sugar, and salt. Cut in the cold butter using a pastry blender or your fingers until the mixture resembles coarse crumbs.
- Press two-thirds of the crumb mixture evenly into the bottom of the prepared pan to form the crust. Reserve the remaining one-third for the topping.
- Bake the crust for 12 minutes. Remove from the oven and set aside while you prepare the filling.
- Prepare the cheesecake layer: In a separate bowl, beat the softened cream cheese and granulated sugar with an electric mixer until smooth. Beat in the egg and vanilla extract until just combined. Do not overmix.
- Pour the cream cheese mixture evenly over the partially baked crust.
- Prepare the apple topping: In a small bowl, toss the diced apples with lemon juice, cinnamon, and nutmeg. Sprinkle the seasoned apples evenly over the cheesecake layer.
- Sprinkle the reserved one-third of the crumb mixture over the apples.
- Bake for 35 to 40 minutes, or until the edges are lightly golden and the center is mostly set. A slight jiggle in the very center is fine.
- Let the bars cool completely in the pan on a wire rack. Once cool, chill in the refrigerator for at least 2 hours before lifting out using the parchment overhang and cutting into squares.
Notes
- For the best texture, use a good quality gluten free all-purpose flour blend that contains xanthan gum.
- If you prefer a softer apple texture, you can microwave the diced apples with the spices for 1 minute before sprinkling them on top.
- Chill the bars thoroughly before slicing; this prevents the cheesecake layer from smearing.
Nutrition
- Serving Size: 1 bar
- Calories: 240
- Sugar: 18
- Sodium: 120
- Fat: 14
- Saturated Fat: 8
- Unsaturated Fat: 6
- Trans Fat: 0
- Carbohydrates: 26
- Fiber: 1
- Protein: 4
- Cholesterol: 45