
Oh, my dears, there is just nothing quite like the aroma of something warm baking when the air gets crisp outside. It just pulls you right into the kitchen, doesn’t it? When I think of autumn baking, my mind always goes straight to fruit crisps, and today I’m sharing my go-to: the Easy Brown Sugar Cinnamon Pear Crisp. This recipe is truly my favorite kind of baking—delicious, made with simple ingredients, and nearly foolproof. If you’re looking for a dependable, comforting pear crisp that really tastes like home, this is it!
As a former teacher and now a grandmother who knows her way around a dependable recipe, I promise you this version cuts down on fuss without ever sacrificing flavor. We keep things straightforward here at Cooking by Carla, preferring comforting classics over anything too fussy.
- Why This Easy Pear Crisp Recipe is a Kitchen Staple
- Gathering Ingredients for Your Homemade Pear Crisp
- How to Prepare the Best Pear Crisp
- Tips for the Most Delicious Pear Crisp Success
- Variations on the Classic Pear Crisp
- Serving Suggestions for Your Warm Spiced Pears Dessert
- Storage and Reheating Instructions for Leftover Pear Crisp
- Frequently Asked Questions About Making Pear Crisp
- Share Your Homemade Pear Crisp Creations
Why This Easy Pear Crisp Recipe is a Kitchen Staple
Honestly, this is the definition of a quick pear dessert. When I was teaching, my evenings were packed, and coming home wanting to bake something special—but not something that took all night—was common. This easy pear crisp recipe always delivered beautifully. It’s one of those wonderful comfort food recipes that just wraps you up like a warm blanket. It gets me thinking about my favorite simple weeknight dinners because it’s almost as fast!
I especially love bringing this out when we have the grandchildren over unexpectedly. Peaches or berries can be tricky depending on the season, but pears are usually reliable. Plus, it comes together faster than most pies, meaning I can get it in the oven quickly while we catch up. It’s dependable, and that’s what matters most in my kitchen!
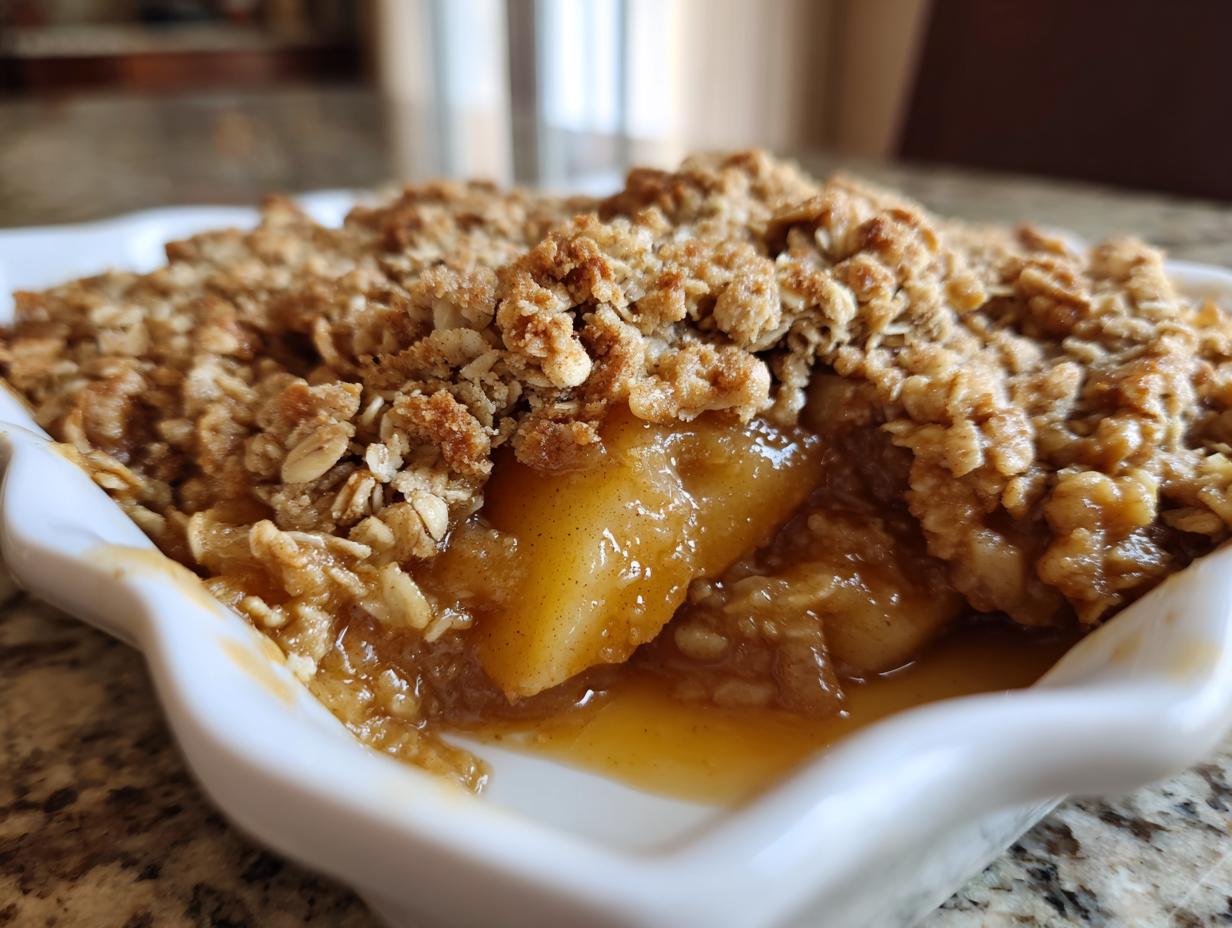
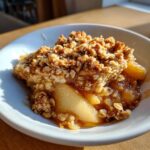
Perfect Textures: Warm Pears Meet Buttery Oat Crisp Topping
The main draw here is the texture, hands down. You get these incredibly tender, spiced pears that melt in your mouth underneath that glorious topping. We use plenty of brown sugar cinnamon in the base, which makes the pears wonderfully sweet and rich. Then, you have that robust, crumbly, buttery oat crisp topping. That crunch right against the soft fruit? That contrast is what makes a crisp absolutely irresistible. It truly becomes the best crumble topping you’ve ever made.
Gathering Ingredients for Your Homemade Pear Crisp
You know, the beauty of a good, honest dessert like this is that you probably have most of what you need right there in your pantry already. Cooking by Carla is all about making delicious food accessible, so we aren’t tracking down exotic spices here! For this pear crisp, everything is about simple balance—the sweet fruit, the warm cinnamon, and that gorgeous, rich topping. I always keep my lists very clear because I don’t want anyone stressing over a missing ingredient when they’re ready to bake.
The key, as always, is quality where it counts, especially the butter. Make sure it’s good quality, properly cold, and cut up into those little cubes before you start mixing the topping. That cold butter is what gives you that gorgeous, flaky texture!
For the Warm Spiced Pears Filling
We need our fruit to be soft but not mushy when it comes out of the oven. I always look for pears that give just a little when pressed gently—that’s how you know they’re ready to shine in this bake.
- 6 medium ripe pears, peeled, cored, and sliced (It should look like about 6 cups worth when you have them all sliced.)
- 1/4 cup granulated sugar
- 1 tablespoon lemon juice (This keeps the pears from browning too fast!)
- 1 teaspoon ground cinnamon
- 1/4 teaspoon ground nutmeg
For the Buttery Oat Crisp Topping Dessert
This topping section is where we build that comforting crunch. Those rolled oats mixed with brown sugar bake up beautifully to create the best crumble topping imaginable. Just be sure that butter is staying nice and cold!
- 1/2 cup all-purpose flour
- 1/2 cup packed brown sugar (Don’t scoop it; press it right into the cup!)
- 1/2 cup old-fashioned rolled oats
- 1/4 teaspoon salt
- 1/2 cup (1 stick) cold unsalted butter, cut into small pieces
How to Prepare the Best Pear Crisp
Now that we have everything ready, let’s talk about assembly! Making this simple fruit crisp is a joy because the steps flow so logically. We mix, we crumble, we bake. That’s it! You’ll find this method consistently yields that perfect bubbling fruit and that gorgeous golden crust every single time. Remember, the secret to a great crisp is patience in small steps, not complicated techniques.
As I always tell my grandkids when they’re learning simple baking recipes: pay attention right before it goes into the oven, because that’s where you set up success!
Step 1: Preparing the Oven and Fruit for Your Pear Crisp
First things first, let’s get the heat going. We want a medium-hot oven for this bake, so preheat it to 375 degrees Fahrenheit. While that warms up, grab your 8×8 inch baking dish—or a nice pie plate if that’s what you have handy—and just lightly grease it. Nothing fancy required here.
Next, tackle the pears. Put all those beautiful peeled and sliced pears right into a big bowl. Now, let’s season them up! Toss them gently but thoroughly with that granulated sugar, the tablespoon of lemon juice (which really brightens things up!), the cinnamon, and the nutmeg. You want every slice coated so you get that wonderful warmth in every bite of your cinnamon pear crisp. Once they are shining and coated, spread them evenly into your prepared dish.
Step 2: Creating the Perfect Buttery Oat Crisp Topping
This is the most important part for texture! In a separate bowl, whisk together all your topper dry ingredients: the flour, the brown sugar, the rolled oats, and that little bit of salt. Whisking them first ensures the flavors are evenly distributed, so you don’t end up with a pocket of plain flour later.
Now, introduce that cold butter. Take those small pieces of cold unsalted butter and drop them right into the dry mix. You want to use your pastry blender, or if you’re feeling rustic, just your fingertips work wonderfully! You are cutting that butter into the flour mixture until it looks like coarse crumbs. And please, listen to me on this: stop when it looks like rough cornmeal with some pea-sized butter clumps still visible. If you overmix, that butter melts, and you get a dense, sandy topping instead of a crunchy, glorious one. We want that coarse texture!
Once the topping looks right, sprinkle it evenly all over the spiced pears in the dish. Don’t press it down; let it fall lightly across the fruit layer.
Step 3: Baking and Resting the Pear Crisp
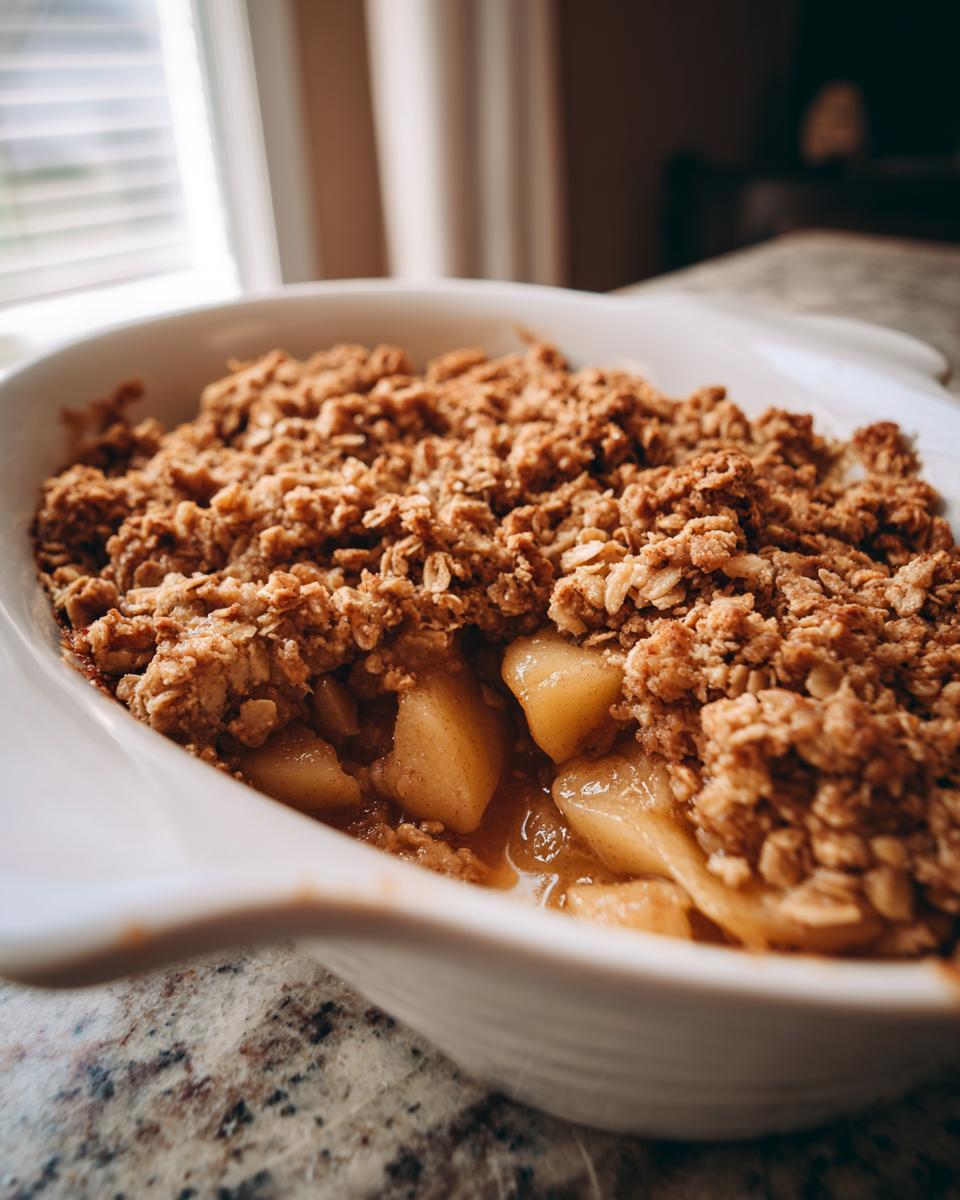
Time for the oven! Place your dish in the 375°F oven and let it do its magic for about 35 to 45 minutes. You’ll know it’s done by two things: the topping should be a lovely golden brown color, and you should see the delicious fruit mixture bubbling up enthusiastically around the edges of the pan. That bubbling means the sugar has caramelized and the pears are perfectly tender!
This next step is non-negotiable, so try not to cheat! When you pull that hot pear crisp out, you must let it rest on the counter or a wire rack for a good 15 minutes. If you cut into it right away, all that glorious, syrupy filling will run out, and the texture won’t set up right. Those fifteen minutes let the syrup thicken just enough so that spoonful you take is perfect, holding everything together beautifully.
Tips for the Most Delicious Pear Crisp Success
When you’ve made a dish as many times as I’ve made this pear crisp, you pick up a few little tricks along the way to make sure it ends up the absolute best pear crisp possible. It’s these small details that move a recipe from good to something you tell your friends about! Most of my best tips revolve around two things: texture and timing.
Getting the fruit just right, and keeping that topping from getting soggy, are my main goals every time. Since this is such a treasured best dessert recipe in our family now, I want everyone to have success keeping that oat topping dessert wonderfully crunchy.
Choosing and Preparing Your Pears
The ripeness factor is huge here. You want pears that are firm but yielding—think Bosc or Anjou pears, which hold their shape beautifully when baked. If you use pears that are too soft, you’ll end up with more of a sweet mush than distinct slices. Don’t worry about peeling them if you’re in a hurry, but peeling really helps them absorb those lovely cinnamon and nutmeg flavors evenly.
Also, make sure you toss those slices with the lemon juice right away. That little bit of acidity not only balances the sweetness from the brown sugar but also protects the lovely pale color of the fruit so they look appetizing when they bubble up.
Keeping That Oat Topping Crunchy
The eternal battle with any crisp or crumble is avoiding a gummy topping. My trick here is twofold. First, as I mentioned earlier, make absolutely sure that butter is cut in while it’s frigidly cold. Second, try not to stir the topping mixture once you’ve sprinkled it over the fruit. Disturbing it encourages the sugar and flour to dissolve the butter too quickly, leading to sogginess.
If you find your topping is browning too quickly before the pears are fully tender, you can loosely tent the dish with a sheet of aluminum foil for the last 10 minutes of baking. This shields the crunch while allowing the fruit underneath to finish softening up nicely.
Serving Temperature Matters
I know it’s tempting to dig in while it’s piping hot, but please honor that 15-minute rest period. That short break allows the cooked sugars and juices to settle and thicken up. If you serve it piping hot, every spoonful will be runny. Wait a bit, and you get that perfect, gooey-but-sturdy serving that spoons up beautifully onto a plate.

Variations on the Classic Pear Crisp
Now, while this Easy Brown Sugar Cinnamon Pear Crisp is wonderful just as written, I know you like to put your own stamp on things! That’s what home baking is all about. Having a reliable base recipe means you can easily adapt it based on what you have on hand or what the season calls for. If I don’t have enough pears, which happens, I just start mixing and matching the fruit!
For instance, if you want a bit more tartness to cut through the sweetness, try making an Apple Pear Crisp Recipe. Just substitute half of your pears with firm apples—Granny Smith work beautifully. Since apples take a little longer to soften than pears, you might add them five minutes early to the baking dish before topping them.
Another really popular option, especially around the holidays, is a Cranberry Pear Crisp. Just toss in about half a cup of dried cranberries with your pears before seasoning them up. They plump up so nicely in the oven! Or, if you want extra crunch and that nutty flavor that pairs so well with fall fruit, add 1/2 cup of chopped walnuts or pecans right into your oat topping mixture. If you want to see a lovely version that uses cranberries, you can check out this recipe for rustic cranberry pear crisp for inspiration!
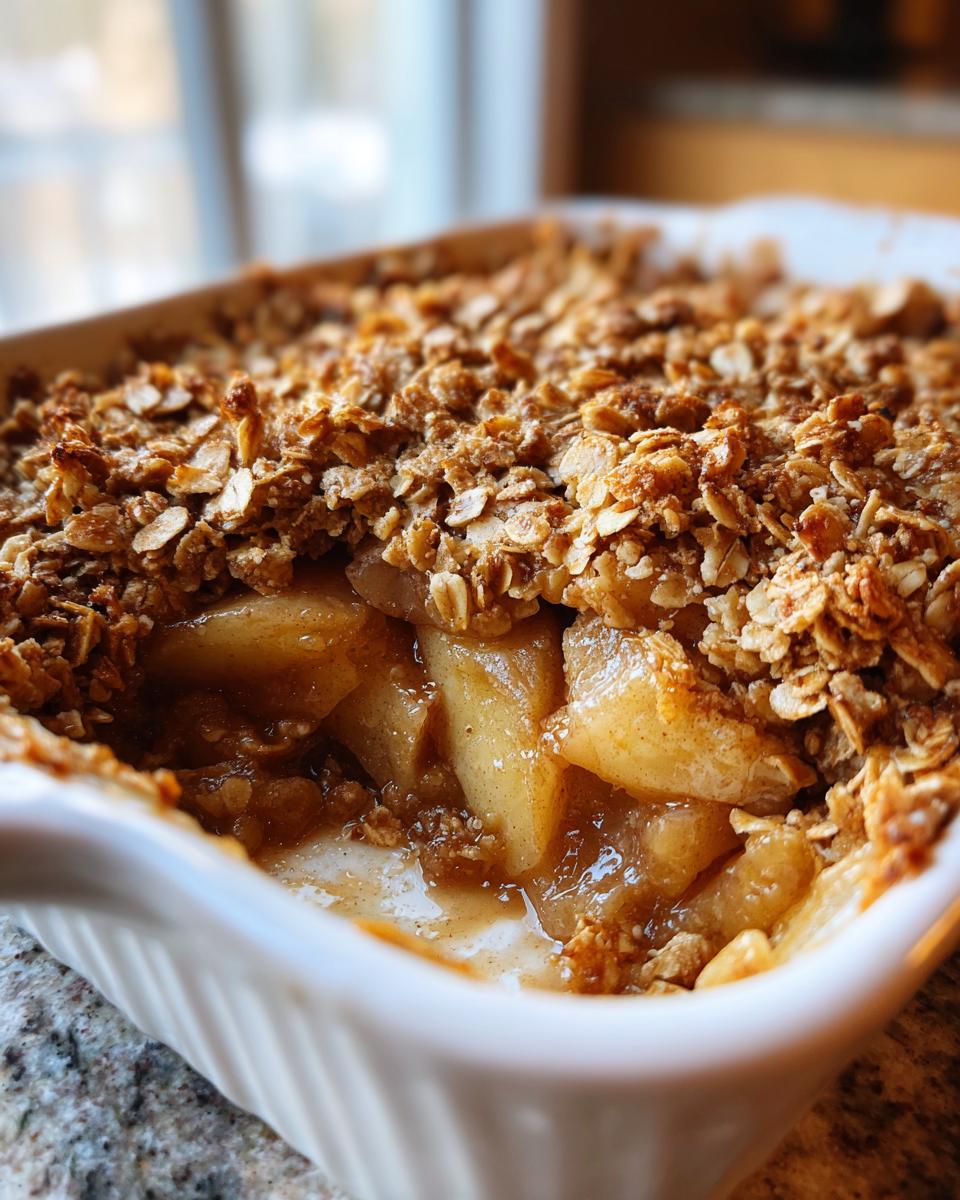
Serving Suggestions for Your Warm Spiced Pears Dessert
This beautiful, warm fruit bake tastes heavenly all by itself, but let’s be honest, a perfect rustic pear dessert is just begging for a topping! Since this is one of our favorite cozy fall desserts, I always serve it warm. The absolute classic pairing is a big scoop of good vanilla ice cream melting right into the bubbly fruit. If you aren’t an ice cream person, a drizzle of heavy cream or even some thick crème fraîche really complements the brown sugar and cinnamon beautifully. It makes every spoonful feel extra special!
Storage and Reheating Instructions for Leftover Pear Crisp
Oh, saving leftovers from a good bake is half the fun, isn’t it? Rarely do we have much left of this dessert, but when we do, it’s a real treat the next day for breakfast sometimes! Don’t worry about your topping getting a little soft overnight—that’s just what happens when you seal up warmth and moisture.
When you are ready to store any remaining crisp, the first thing you need to do is let it cool completely to room temperature. Trying to seal up a warm dessert traps condensation, and that’s the villain that ruins any crisp topping!
Once cooled, cover the entire baking dish tightly with plastic wrap or foil. If you transferred it to a standard container, just make sure the lid seals well. It will keep beautifully on the counter for a day, but for longer storage, pop it into the refrigerator. It’s generally good for about three to four days tucked away in the chilly spot.
Bringing Back the Crunch for Reheating
When you want to enjoy those warm spiced pears again, you absolutely need to bring back that crunchy texture. Microwaving is usually a no-go for crisp toppings because the moisture inside steams the oats, turning them soft. That’s not what we want!
The absolute best way to refresh this baked fruit dessert is back in the oven. Preheat your oven—or even just a toaster oven if you are only reheating a small sliver—to about 350 degrees Fahrenheit. Place your portion onto an oven-safe plate or a small sheet of foil.
Bake it for about 8 to 10 minutes. You’ll know it’s ready when you see the fruit bubbling slightly at the edges again. That quick blast of dry heat sucks the moisture right out of the topping, making it crisp up beautifully, just like it came out of the oven the first time. Pair it with a little splash of cold cream, and you won’t even know it’s a leftover!
Frequently Asked Questions About Making Pear Crisp
It’s wonderful that you’re diving into making this dessert! I always find that when people try a new fruit crisp recipe, they have a few common questions about getting the fruit texture just right, or how to manage that topping. I’ve gathered up the main things folks ask me about this pear crisp to make sure your experience is wonderful from the first try. Getting it right elevates it from a good dessert to one of those truly memorable comfort food recipes.
What kind of pears work best for this Easy Pear Crisp Recipe?
This is such an important question when you’re working with fruit! For this Easy Pear Crisp Recipe, you really want pears that are firm but definitely ripe. If they are too hard, they won’t soften enough during baking. If they are too soft right out of the bag, they just turn to liquid, and we don’t want that!
My go-to choices are Bosc or Anjou. They have a naturally lovely sweet flavor and they hold their shape so well when exposed to heat. Try to avoid the super soft pears you might use for eating out of hand. You want them ripe enough to smell sweet, but firm enough that when you slice them, they still look like distinct slices before they go into the dish.
Can I make the oat topping ahead of time for this Baked Fruit Dessert?
You absolutely can prep components ahead of time, which is great if you’re making this as a quick pear dessert for guests! However, you need to be careful with wet ingredients like the butter.
What I suggest is mixing up all the dry ingredients for the topping—the flour, oats, brown sugar, and salt—and storing them together in a sealed container on the counter or in the pantry. Then, keep the cold butter cut into those small pieces completely separate, maybe in a small Ziploc bag in the fridge.
When you are ready to bake, you just toss the cold butter into the dry mix and cut it in with your fingers. If you try to make the whole crumb mixture ahead of time, that butter warms up, and you lose that fantastic crumble texture!
How do I make sure my pear crisp topping is extra crunchy?
We all want that shatteringly crisp topping, don’t we? Getting the perfect crunch comes down to temperature and moisture control. First, make sure that butter is as ice cold as possible when you cut it in—this creates those little pockets of fat that steam and separate the crumb during baking, leading to a crispier result.
Second, consider the pears themselves. Since we are using brown sugar in the base fruit mixture, which is quite moist, sometimes that sugar starts drawing moisture out early. If you found your pears were exceptionally juicy, try reducing the brown sugar in the topping by just a tablespoon or two. Less moisture in the topping mix means the oats have a better chance of staying crisp rather than steaming. And remember what I said about resting the crisp after it comes out of the oven? That rest is key to letting the melted butter firm up again!
Share Your Homemade Pear Crisp Creations
Now that you have the recipe for what I truly believe is the best pear crisp—simple, warm, and totally comforting—I hope you’ll give it a try next time you need a sweet, easy bake!
I pour so much of my heart into these recipes, hoping they bring a little bit of that simple, homey joy to your table, just like they do mine. If you try this dessert with pears, please don’t keep it a secret!
I absolutely love hearing from you all. If you happen to bake this up, take a picture and share it with me! You can always tag me on social media or send a note directly through my Contact page. Knowing that these recipes—born in my Midwest kitchen—are making memories at your family tables means the world to me.
And once you’ve given it a bake, if you could leave a rating and a quick comment below, that helps other cooks feel confident trying it out too. Happy baking, and enjoy every warm, crunchy bite!
PrintEasy Brown Sugar Cinnamon Pear Crisp with Buttery Oat Topping
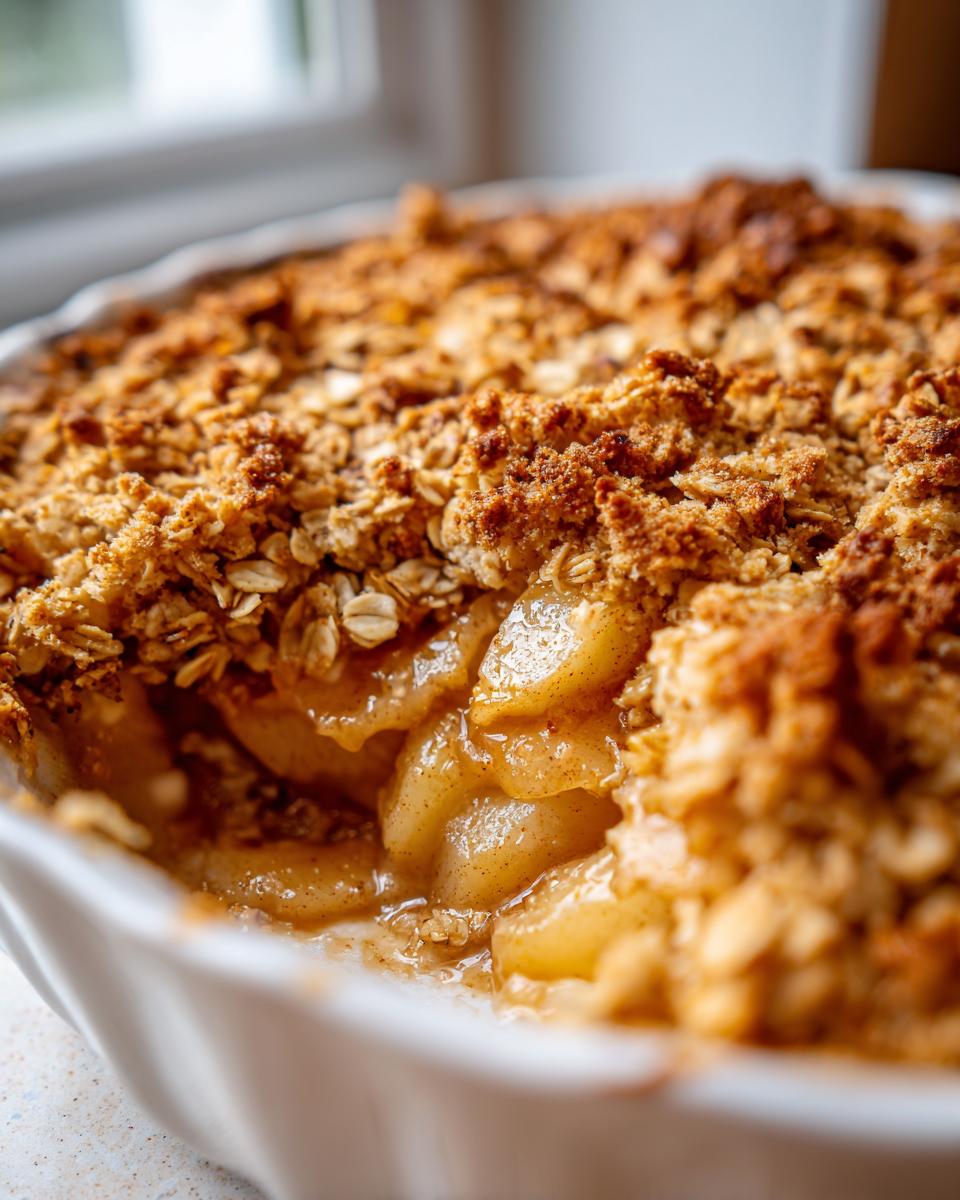
Make this simple pear crisp featuring tender, spiced pears beneath a crunchy, buttery oat topping. It is a comforting dessert perfect for fall evenings.
- Prep Time: 15 min
- Cook Time: 40 min
- Total Time: 55 min
- Yield: 6 servings 1x
- Category: Dessert
- Method: Baking
- Cuisine: American
- Diet: Vegetarian
Ingredients
- 6 medium ripe pears, peeled, cored, and sliced (about 6 cups)
- 1/4 cup granulated sugar
- 1 tablespoon lemon juice
- 1 teaspoon ground cinnamon
- 1/4 teaspoon ground nutmeg
- 1/2 cup all-purpose flour
- 1/2 cup packed brown sugar
- 1/2 cup old-fashioned rolled oats
- 1/4 teaspoon salt
- 1/2 cup (1 stick) cold unsalted butter, cut into small pieces
Instructions
- Preheat your oven to 375 degrees Fahrenheit. Lightly grease an 8×8 inch baking dish or a similar-sized pie plate.
- In a large bowl, combine the sliced pears, granulated sugar, lemon juice, cinnamon, and nutmeg. Toss gently to coat the pears evenly.
- Pour the spiced pear mixture into the prepared baking dish and spread it into an even layer.
- In a separate medium bowl, prepare the topping. Combine the flour, brown sugar, rolled oats, and salt. Whisk these dry ingredients together.
- Cut the cold butter pieces into the dry mixture using a pastry blender or your fingertips until the mixture resembles coarse crumbs. Do not overmix; you want some pea-sized clumps of butter remaining.
- Sprinkle the oat topping evenly over the pears in the baking dish.
- Bake for 35 to 45 minutes, or until the topping is golden brown and the fruit filling is bubbling around the edges.
- Remove the pear crisp from the oven and let it cool on a wire rack for at least 15 minutes before serving.
Notes
- For a variation, you can substitute half of the pears with apples or add 1/2 cup of dried cranberries to the fruit filling for extra tartness.
- If you like a crunchier topping, add 1/2 cup of chopped walnuts or pecans to the oat mixture before sprinkling it over the fruit.
- Serve this warm pear crisp with a scoop of vanilla ice cream or a drizzle of heavy cream.
Nutrition
- Serving Size: 1 serving
- Calories: 350
- Sugar: 30g
- Sodium: 120mg
- Fat: 18g
- Saturated Fat: 11g
- Unsaturated Fat: 7g
- Trans Fat: 0g
- Carbohydrates: 48g
- Fiber: 5g
- Protein: 4g
- Cholesterol: 45mg