
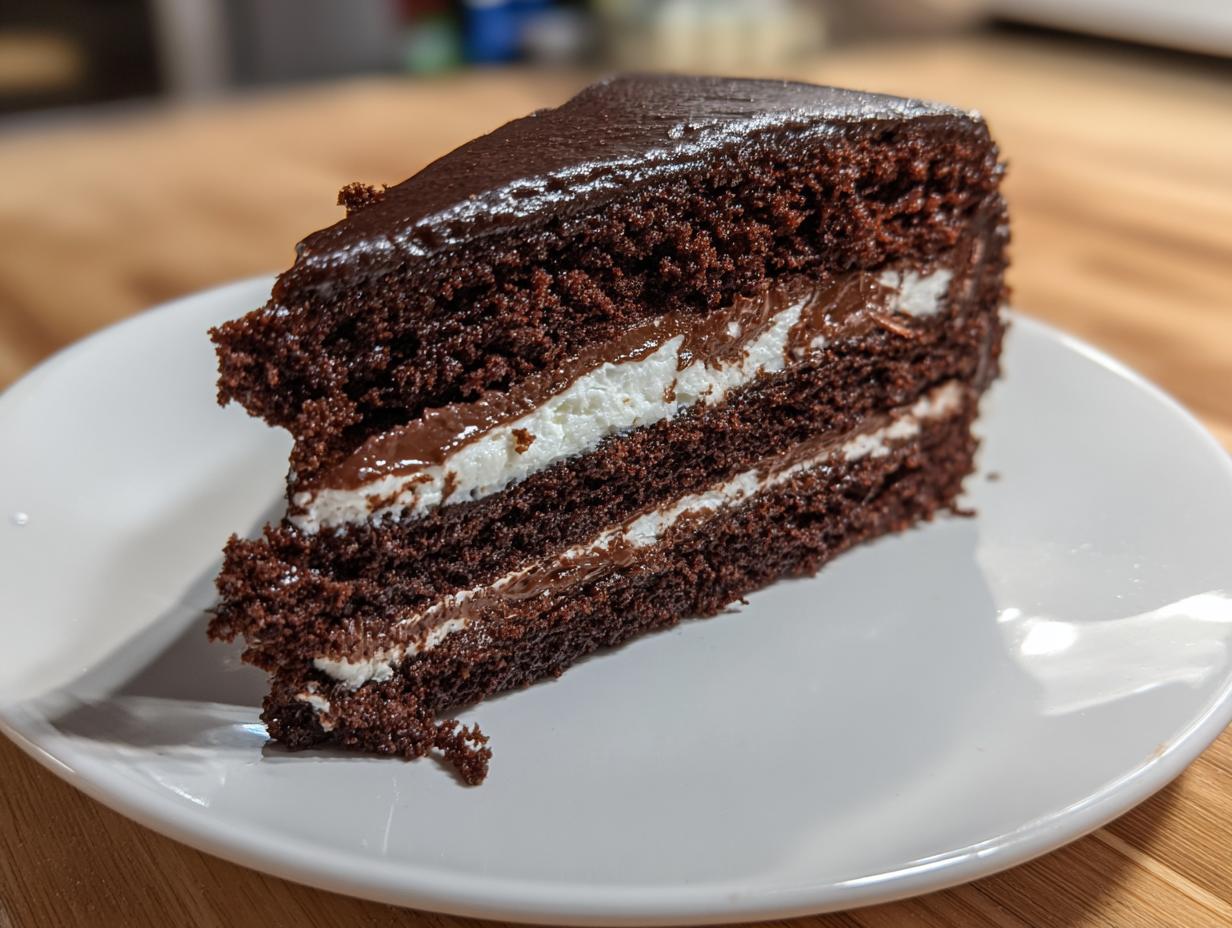
When you’re building a truly memorable layer cake, the filling is just as important as the cake layers themselves. People often focus only on the frosting, but I’ve learned in my years teaching and baking that a quality filling provides structure, moisture, and that surprising burst of flavor. That’s why I want to share my foolproof, straightforward **chocolate ganache filling for cake** recipe with you today. There’s no need for complicated double boilers or counting ounces! As a former teacher, I believe in giving clear, reliable steps so you can feel completely confident stepping up to that mixing bowl. This rich, creamy version tastes like the best part of a fancy dessert, yet it’s wonderfully dependable for your everyday celebrations. Next time you make something decadent, maybe try it with my favorite Chocolate Raspberry Cake!
- Why This Chocolate Ganache Filling for Cake is a Home Baker Favorite
- Essential Ingredients for Your Chocolate Ganache Filling for Cake
- How to Make Ganache for Cake Layers: Step-by-Step Instructions
- Tips for Stabilized Chocolate Ganache for Layer Cake Success
- Variations on This Rich Chocolate Filling Recipe
- Serving Suggestions for Your Creamy Chocolate Cake Filling
- Storage and Make-Ahead Tips for Chocolate Ganache Filling for Cake
- Frequently Asked Questions About Making Ganache for Cake Layers
- Estimating Nutrition for Your Homemade Chocolate Ganache Filling
- Share Your Perfect Chocolate Ganache Filling Creations
Why This Chocolate Ganache Filling for Cake is a Home Baker Favorite
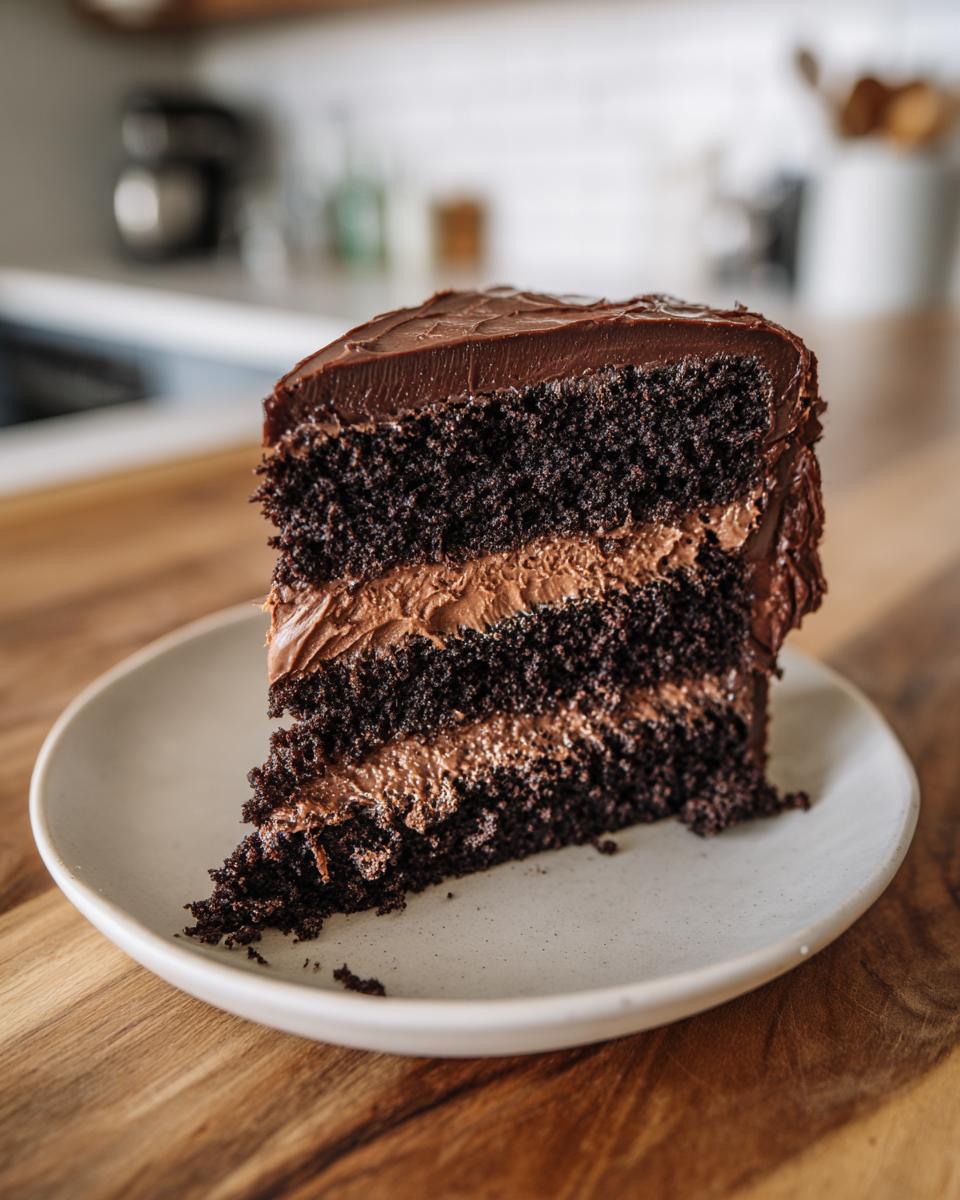
This is the recipe I turn to when I need a filling that behaves itself, whether I’m making a simple two-layer birthday cake or something a bit taller. It hits that sweet spot between being incredibly rich and actually being functional for stacking. When you’re looking for the best **chocolate ganache filling for cake**, dependable texture is key!
- It sets up beautifully without becoming brittle.
- It’s simple enough that I never panic about it splitting.
- It offers a huge flavor payoff for very little work.
Reliable Texture for Layer Cakes
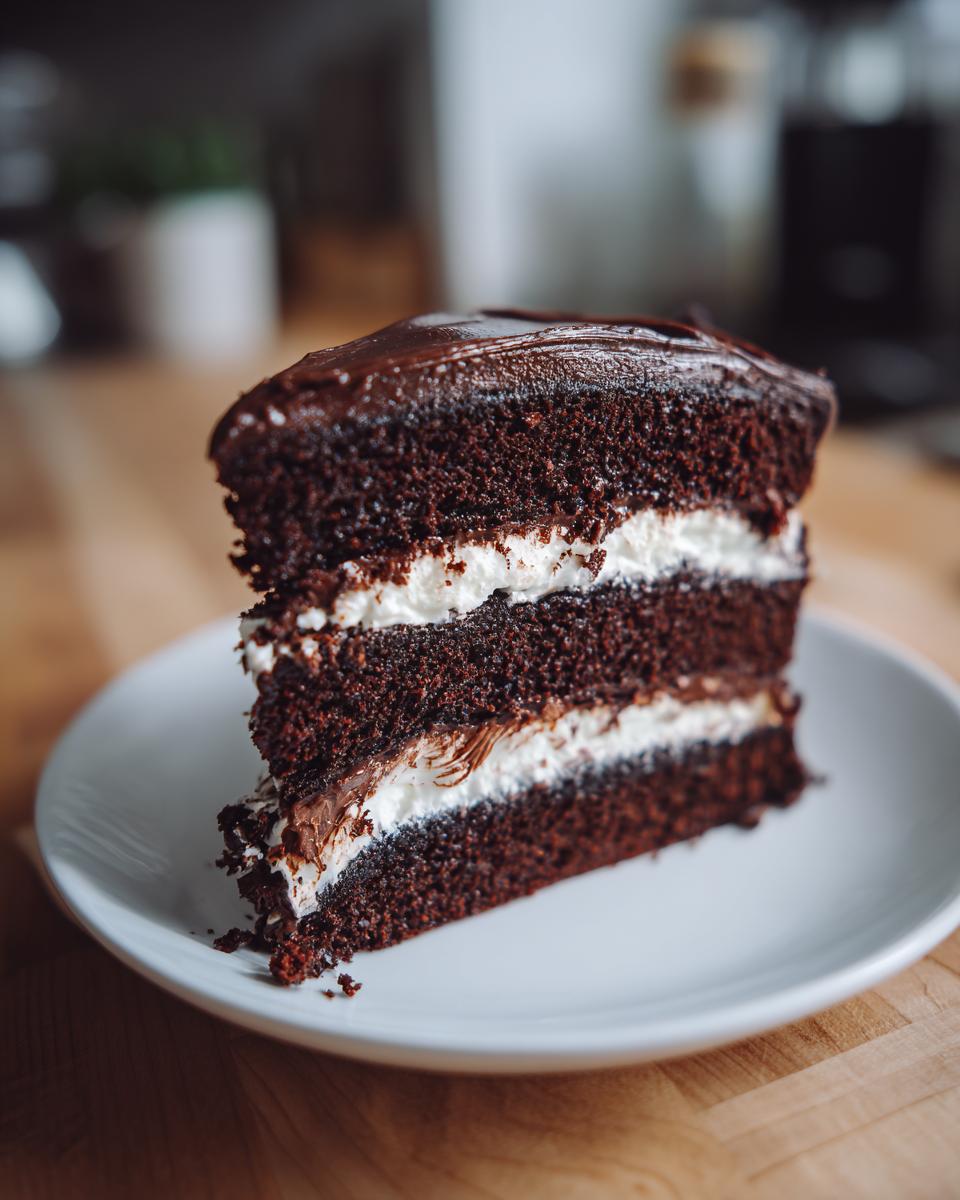
You don’t want filling oozing out the sides when the cake gets warm, do you? Nope! This ratio settles into a wonderful, soft-but-sturdy spread—almost like a very thick, fudgy frosting. While recipes focusing strictly on the best ratio chocolate ganache filling by weight can sometimes get too hard, mine keeps that lovely creaminess while still supporting the layers above it.
Rich Flavor Profile
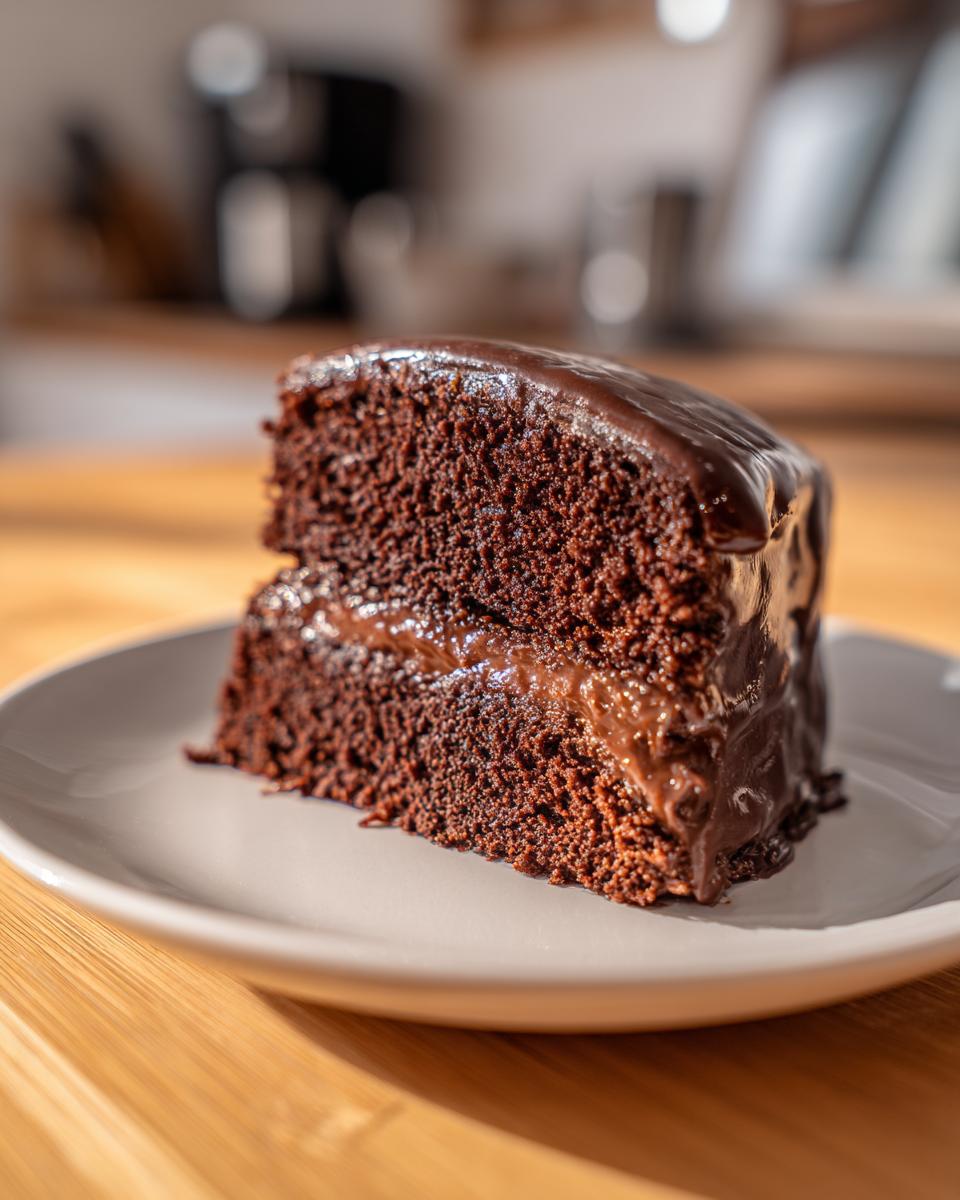
If you want that deep, luxurious chocolate taste without being sickly sweet like some icings, this is your answer. We use semi-sweet or dark chocolate for body, ensuring the filling tastes primarily of real chocolate. I always choose a nice quality bar because, honestly, when you have so few ingredients, each one needs to sing!
Essential Ingredients for Your Chocolate Ganache Filling for Cake
When making the chocolate ganache filling for cake, I don’t believe in skimping. Since there are only four main components here, the quality really shines through. If you want that deep, classic flavor, make sure you buy chocolate you’d genuinely enjoy eating by itself! Here is exactly what you’ll need for a perfect batch suitable for an 8-inch layer cake. Remember, chilling this mixture afterward is what gets us where we need to be. Don’t forget to check out my recipe for a moist and easy chocolate cake to go with this filling!
- 12 ounces (340g) of good quality chocolate—I prefer semi-sweet or dark, finely chopped
- 1 cup (240ml) of heavy whipping cream
- 2 tablespoons of unsalted butter, softened to room temperature (this is optional, but I highly recommend it!)
- 1 teaspoon of pure vanilla extract
Ingredient Notes and Substitutions for Chocolate Cake Layer Filling Recipe
The chocolate choice really impacts the final taste. If you want a super dark, slightly intense filling, go for 60% cocoa or higher. For something richer and softer, stick to good quality semi-sweet chips or bars. If you skip the optional butter, you might notice your ganache sets up slightly firmer—the butter adds wonderful insurance against a hard filling. And please, use real vanilla extract! It seems small, but vanilla is what separates homemade delicious from just plain good.
How to Make Ganache for Cake Layers: Step-by-Step Instructions
Alright friends, we’ve gathered our gorgeous ingredients; now comes the easy part—the magic! Making a perfect **chocolate ganache filling for cake** is mostly about patience during the melting and mixing stages. I learned early on that rushing this process is the quickest way to get grainy chocolate, and wow, nobody wants that disappointment. Just follow these steps precisely, and you’ll have a glossy, irresistible filling ready in no time. While you wait for the cream to heat, you can explore my tricks for easy homemade chocolate syrup.
Achieving the Perfect Emulsion
First, get your cream hot—just simmering at the edges, never a rolling boil. Pour that hot cream right over your finely chopped chocolate. This is crucial: After pouring, you must let it sit completely still for five whole minutes. This resting period lets the heat do the hard work without you even touching it! Then, start stirring slowly, right from the center, widening your circle little by little. This slow motion is what creates that perfect, smooth emulsion. You shouldn’t see any streaks, just beautiful, glossy chocolate.
Setting the Consistency for Your Chocolate Ganache Filling for Cake
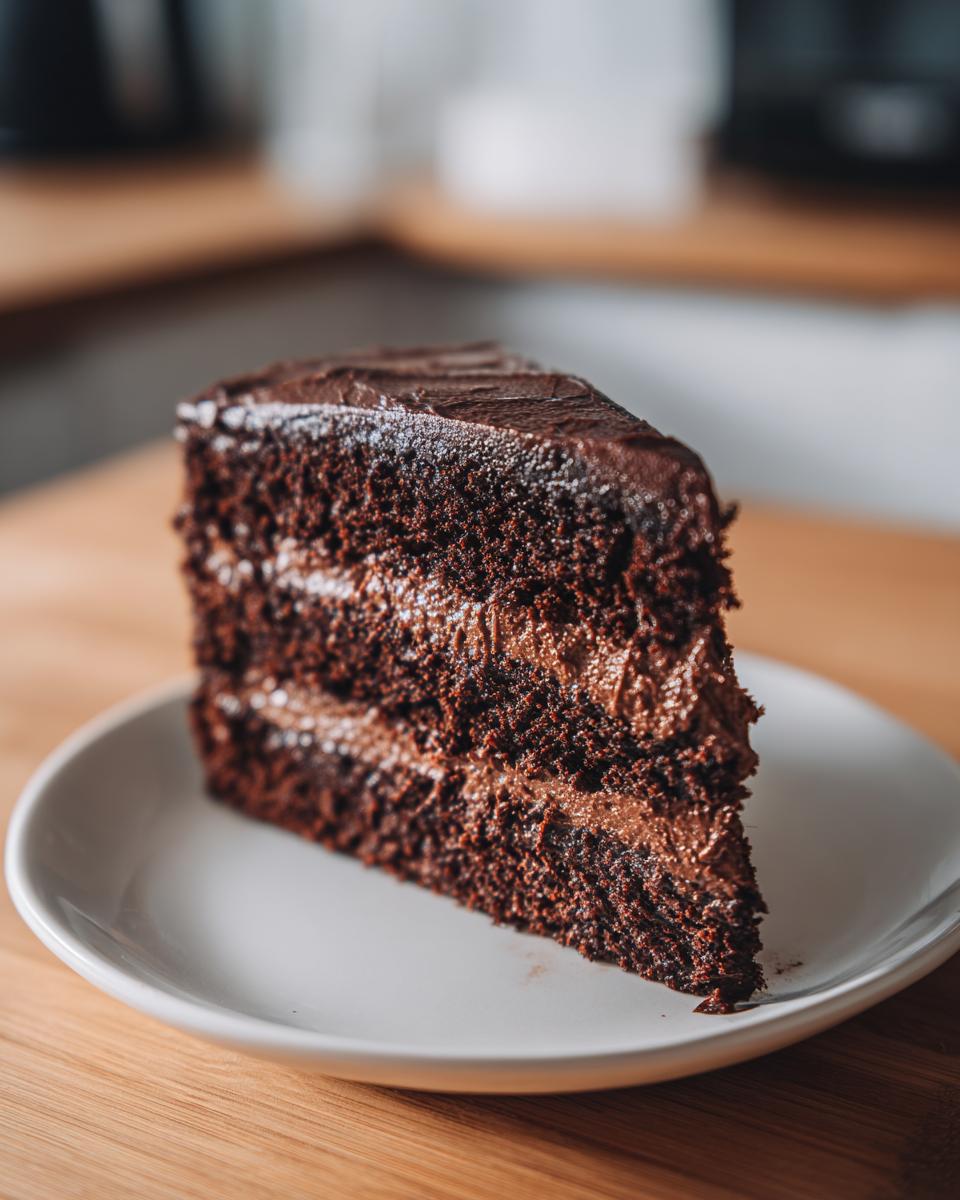
Once it’s smooth, we decide what kind of filling we want. For a standard filling that you can easily spread between your chocolate cake layers, just let the bowl sit on the counter for an hour or two. Stir it every 20 minutes or so. You’re aiming for a texture like peanut butter—thick enough to hold its shape but soft enough to spread nicely. If you need an extra-firm **chocolate ganache filling for cake**, pop it in the fridge for about 30 minutes, then use an electric mixer to whip it for 2 minutes until it lightens up and becomes airy!
Tips for Stabilized Chocolate Ganache for Layer Cake Success
Now that you know the basic **chocolate ganache filling for cake** recipe, let’s talk about making it rock-solid stable, especially in a warm kitchen or if you’re stacking a very tall cake. If you want that really firm set, you need to adjust your starting ratio! Remember those guidelines I kept mentioning? For the stiffest filling, measure by weight: use two parts dark chocolate for every one part cream. Setting it in the fridge helps, of course, but adjusting that initial ratio gives you a much stronger base. You might even want to check out how I make my buttercream frosting—it certainly holds its shape!
Troubleshooting Separated Ganache
Sometimes, even when you think you’ve followed every rule, the ganache looks oily or separated. Don’t panic; just breathe! If your mixture looks broken, you need a tiny bit of extra warm liquid to bring it back into line. Whisk in one tablespoon of warm water or milk vigorously. It should come right back together into that gorgeous, glossy finish.
Variations on This Rich Chocolate Filling Recipe
This base recipe for a creamy chocolate cake filling is fantastic all on its own, but sometimes you just need to shake things up a little! I love experimenting with subtle twists. Want a deeper, grown-up layer cake? Add about a teaspoon of instant espresso powder right in with the chocolate before you pour the hot cream over it. The coffee really deepens the chocolate flavor—it’s magic! Another easy trick is swapping out that vanilla extract for a teaspoon of good quality peppermint extract for a holiday treat. I even use a spoonful of dark rum sometimes for a truly decadent chocolate cupcake pairing!
Serving Suggestions for Your Creamy Chocolate Cake Filling
This rich chocolate filling really shines when set against flavors that complement its depth. It’s absolutely heavenly paired with a classic yellow cake—the bright vanilla flavor plays beautifully against the dark chocolate. Of course, it’s the ultimate choice for a deeply satisfying Red Velvet Cake, offering a richer counterpoint to the cocoa notes. It even works well with spice cakes, lending a sophisticated fudginess to those warmer flavors. It’s truly versatile!
Storage and Make-Ahead Tips for Chocolate Ganache Filling for Cake
One of the best things about making this **chocolate ganache filling for cake** ahead of time is that it actually gets better! If you make it the day before, cover the bowl tightly with plastic wrap, ensuring the wrap touches the surface of the ganache to prevent a skin from forming. You can keep that filling happily in the fridge for up to four days. The trick, though, is bringing it back to room temperature before spreading.
When you pull it out, it will be quite firm—that’s normal! Let it sit on the counter for about an hour, stirring every 15 minutes until it reaches that soft, spreadable stage again. Trust me, patience here means a much smoother frosting experience for your layers!
Frequently Asked Questions About Making Ganache for Cake Layers
It’s natural to have questions when you venture into making your own fillings, and I’m happy to clear things up! I’ve gathered some of the questions I hear most often from folks just getting started with this wonderful recipe. Don’t worry if you’ve never done this before; we’ll get this right together! You can find more tips on decadent desserts when you look at my creamy cheesecake recipe.
Can I use this chocolate ganache filling for cake as a drip?
This batch is formulated to be a wonderfully spreadable filling, so if you pour it straight over your cake, it will likely set up too thick and look a bit chunky. For a beautiful, smooth drip that flows just right, you need a thinner consistency—what most bakers call a pouring ganache. To adapt this recipe for a drip, add an extra tablespoon or two of hot cream until it flows easily off a spoon.
How do I ensure my ganache is pipeable chocolate filling?
That’s a great question if you want to add borders or rosettes! To get that stiff, **pipeable chocolate filling** texture, you need to chill the ganache until it’s quite firm—maybe about 45 minutes in the fridge. Then, you whip it with your electric mixer on medium-high speed until it lightens in color and holds stiff peaks. It will feel almost like a light, fluffy mousse.
Estimating Nutrition for Your Homemade Chocolate Ganache Filling
Now, I know many of you watch what you eat, and that’s perfectly smart! I always say knowing what’s in your food is part of being a good cook. Please remember that since we’re using professional chocolate and heavy cream, these numbers are just educated guesses based on the ingredients listed. This is an estimate for one serving, assuming you get 8 lovely servings out of the whole batch.
- Calories: Approximately 350
- Total Fat: Around 28g
- Carbohydrates: About 28g
- Protein: About 6g
- Sugar: Roughly 25g
Share Your Perfect Chocolate Ganache Filling Creations
I just love seeing the beautiful cakes you all create using my recipes! If you managed to make this fantastic **chocolate ganache filling for cake**, please leave me a star rating below. And if you have a moment, send me a picture of your finished dessert—I’d be thrilled to know it brought some homemade joy to your table, perhaps paired with my easy Christmas poke cake!
PrintRich Chocolate Ganache Filling for Layer Cakes
This recipe provides instructions for making a rich, creamy chocolate ganache perfect for using as a stable filling between cake layers.
- Prep Time: 10 min
- Cook Time: 5 min
- Total Time: 75 min
- Yield: Enough filling for one 2-layer 8-inch cake
- Category: Dessert Component
- Method: No-Bake/Melting
- Cuisine: American
- Diet: Vegetarian
Ingredients
- 12 ounces (340g) high-quality semi-sweet or dark chocolate, finely chopped
- 1 cup (240ml) heavy whipping cream
- 2 tablespoons unsalted butter, room temperature (optional, for extra richness)
- 1 teaspoon pure vanilla extract
Instructions
- Place the finely chopped chocolate into a medium, heat-safe bowl.
- Pour the heavy whipping cream into a small saucepan. Heat the cream over medium heat until it just begins to simmer around the edges. Do not let it boil rapidly.
- Remove the hot cream from the heat and immediately pour it over the chopped chocolate in the bowl.
- Let the mixture stand undisturbed for 5 minutes to allow the heat to melt the chocolate completely.
- Add the room temperature butter, if using, and the vanilla extract to the bowl.
- Begin stirring slowly from the center of the bowl, gradually widening your circles until the mixture is completely smooth and glossy. This process emulsifies the ganache.
- For a standard cake filling, allow the ganache to cool and thicken at room temperature for 1 to 2 hours, stirring occasionally, until it reaches a spreadable consistency similar to peanut butter.
- If you need a firmer filling or a whipped texture, chill the ganache for 30 minutes, then use an electric mixer to whip it until light and fluffy.
- Spread the cooled ganache evenly between your cake layers.
Notes
- For a stable chocolate ganache for layer cake, use a ratio of 1 part cream to 2 parts chocolate by weight for a firmer set. This recipe uses a slightly higher cream ratio for a creamier filling.
- If the ganache separates (looks oily), add one tablespoon of warm water or milk and whisk vigorously until it comes back together.
- If you need to make the ganache firmer faster, chill it in the refrigerator, but stir it every 15 minutes to prevent hard edges from forming.
Nutrition
- Serving Size: 1/8 of recipe
- Calories: 350
- Sugar: 25
- Sodium: 15
- Fat: 28
- Saturated Fat: 17
- Unsaturated Fat: 11
- Trans Fat: 0.5
- Carbohydrates: 28
- Fiber: 3
- Protein: 6
- Cholesterol: 90