
Sometimes, you just hit that wall where the only thing that will fix the day is chocolate—rich, deep, fudgy chocolate. But who wants to heat up the oven when it’s already busy, or maybe you just don’t have the energy for a whole baking project? That’s exactly why I perfected my **brownie refrigerator cake** recipe. This isn’t your ordinary dessert; it’s a magnificent, layered showstopper that requires zero baking effort once those brownies are done. As a former teacher and now as a grandmother who loves easy entertaining, I promise you that the instructions here are clear enough for everyone. This decadent, make-ahead layered dessert comes together quickly and sets up beautifully in the fridge, making it my go-to for potlucks and last-minute sweet cravings!
- Why This Brownie Refrigerator Cake is Your New Favorite Make Ahead Desserts
- Ingredients for Your Creamy Brownie Refrigerator Cake
- How to Assemble the Decadent Brownie Refrigerator Cake
- Tips for the Best Brownie Refrigerator Cake Success
- Storage and Reheating Instructions for Your Brownie Refrigerator Cake
- Serving Suggestions for This Layered Chocolate Dessert
- Frequently Asked Questions About the No Bake Brownie Cake
- Estimated Nutritional Data for One Serving of Brownie Refrigerator Cake
- Share Your Brownie Refrigerator Cake Creations
Why This Brownie Refrigerator Cake is Your New Favorite Make Ahead Desserts
Honestly, this recipe is a lifesaver when company drops by unexpectedly. I’ve put my whole heart into making sure this brownie refrigerator cake delivers maximum decadence for minimum effort. When you’re looking for Easy Refrigerator Desserts that truly wow people, this is the ticket.
- It’s absolutely perfect for a potluck; you bake the brownies once, and then the fridge takes over!
- It uses simple, approachable ingredients that always result in a success.
- It is, without a doubt, one of the best Crowd Pleasing Desserts I have ever made. If you love my famous salad recipe, you’ll adore how easy this is to prepare for a gathering.
Zero Oven Time for Your Brownie Refrigerator Cake
Once those initial brownies are cooled—and you must let them cool!—the whole assembly process relies on cold air. This means you keep your kitchen nice and cool, which is fantastic in the summer. It’s the ultimate convenience; you build it, hide it, and forget about it until dessert time.
Building the Perfect Layered Chocolate Dessert
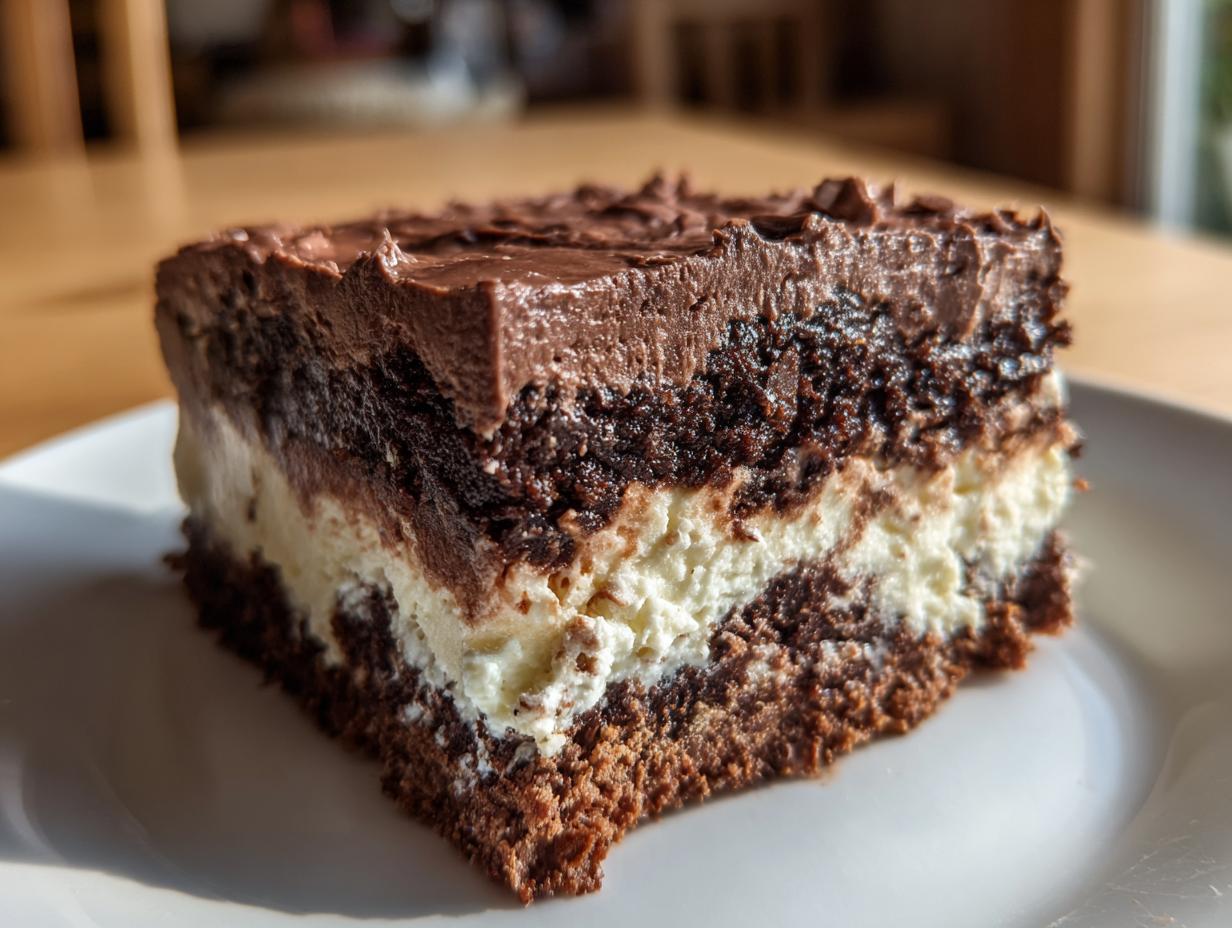
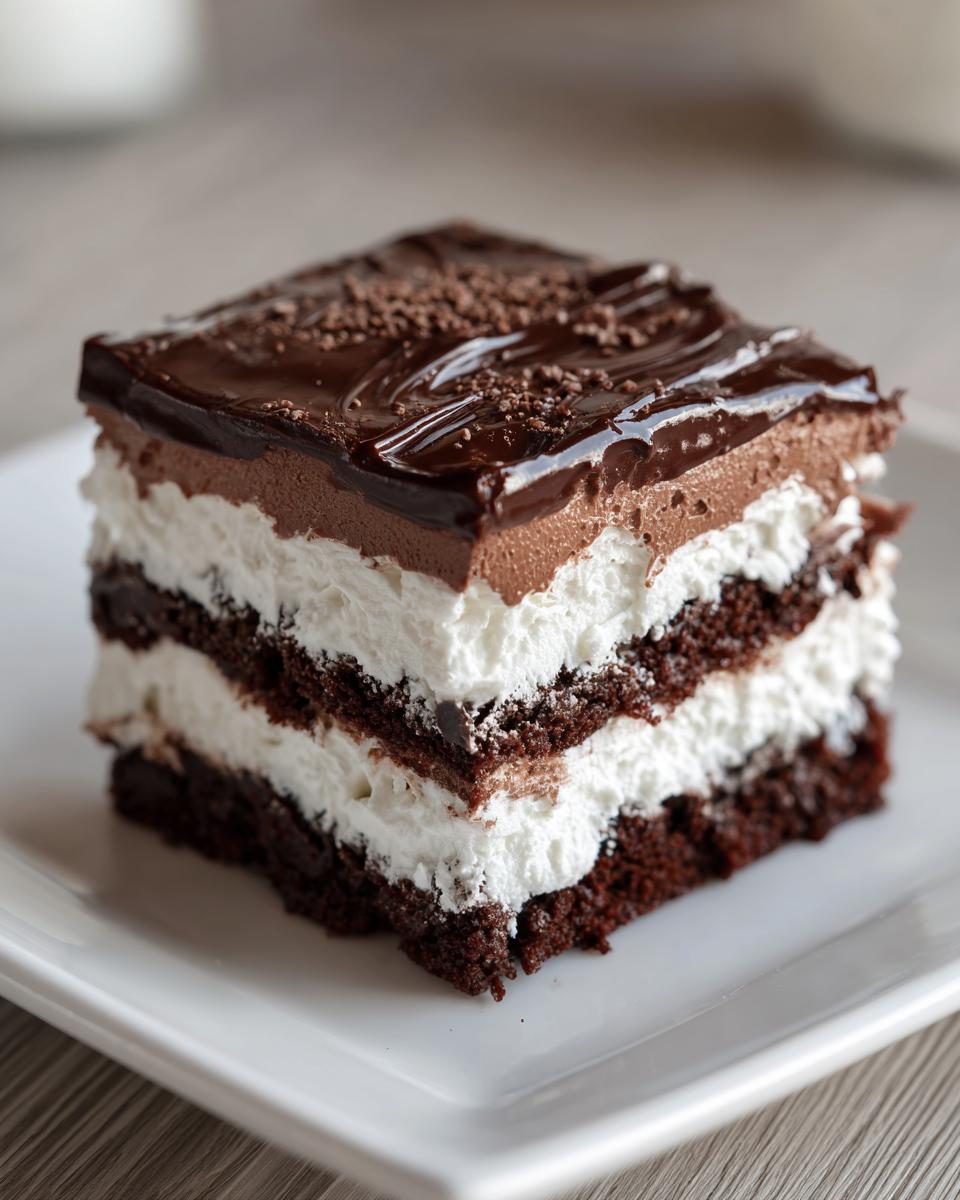
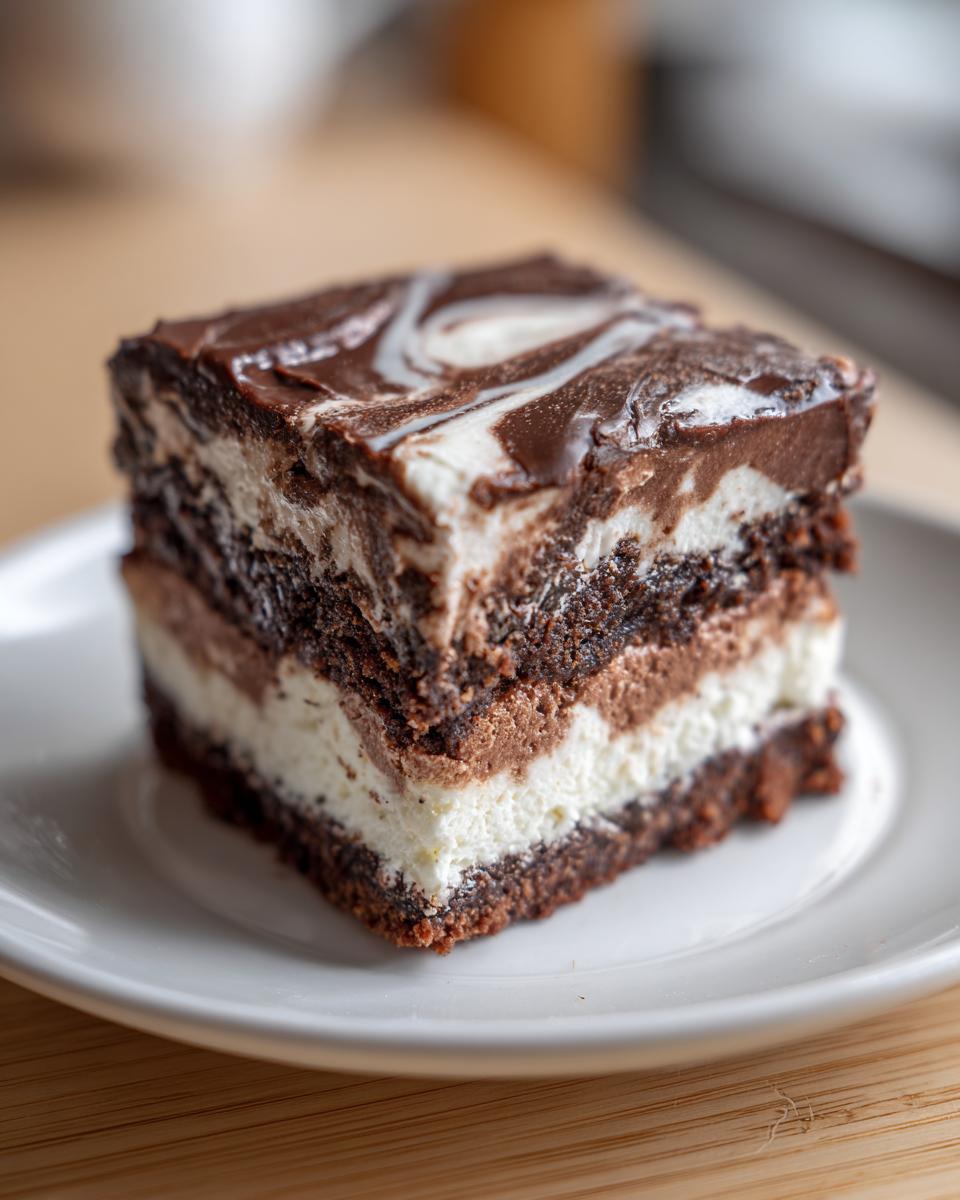
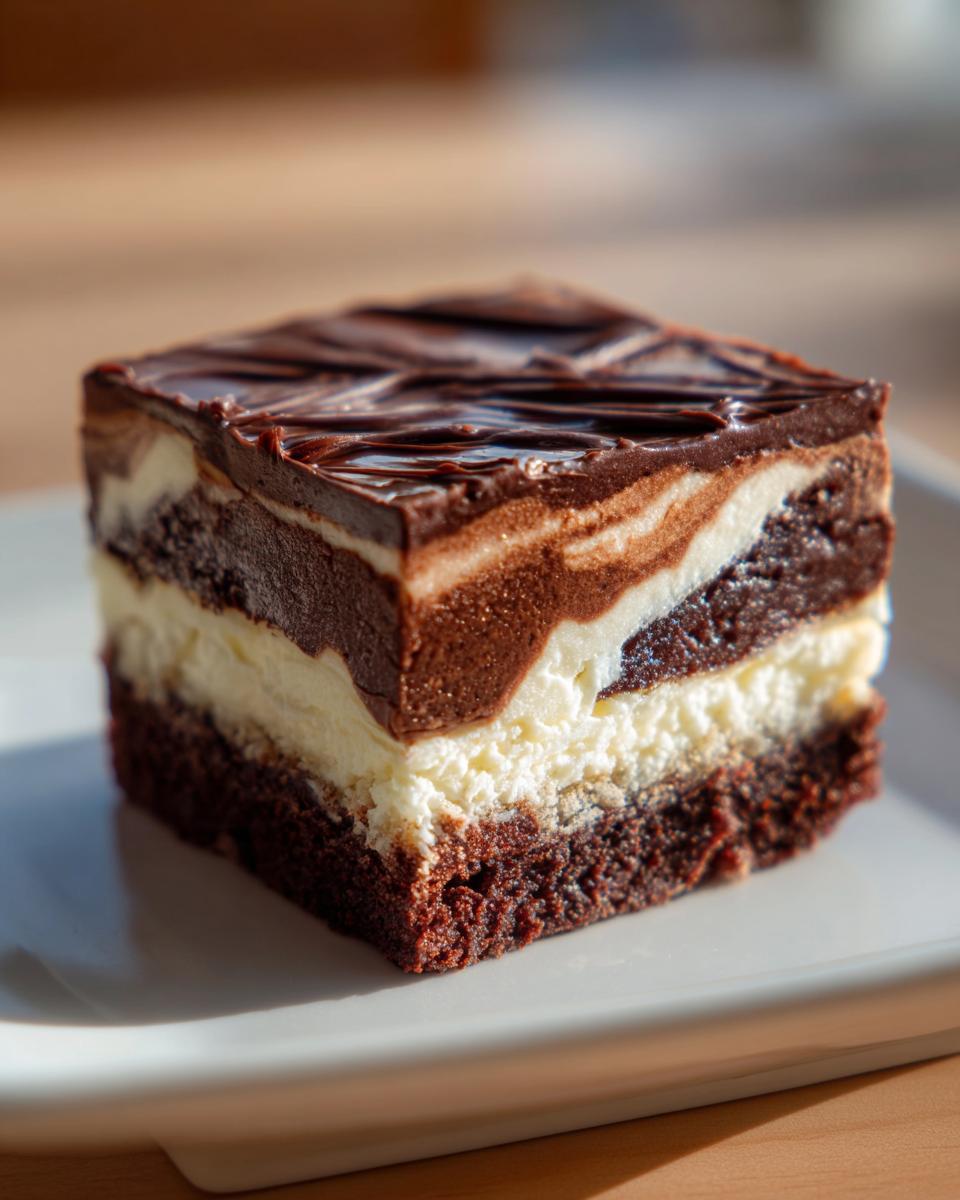
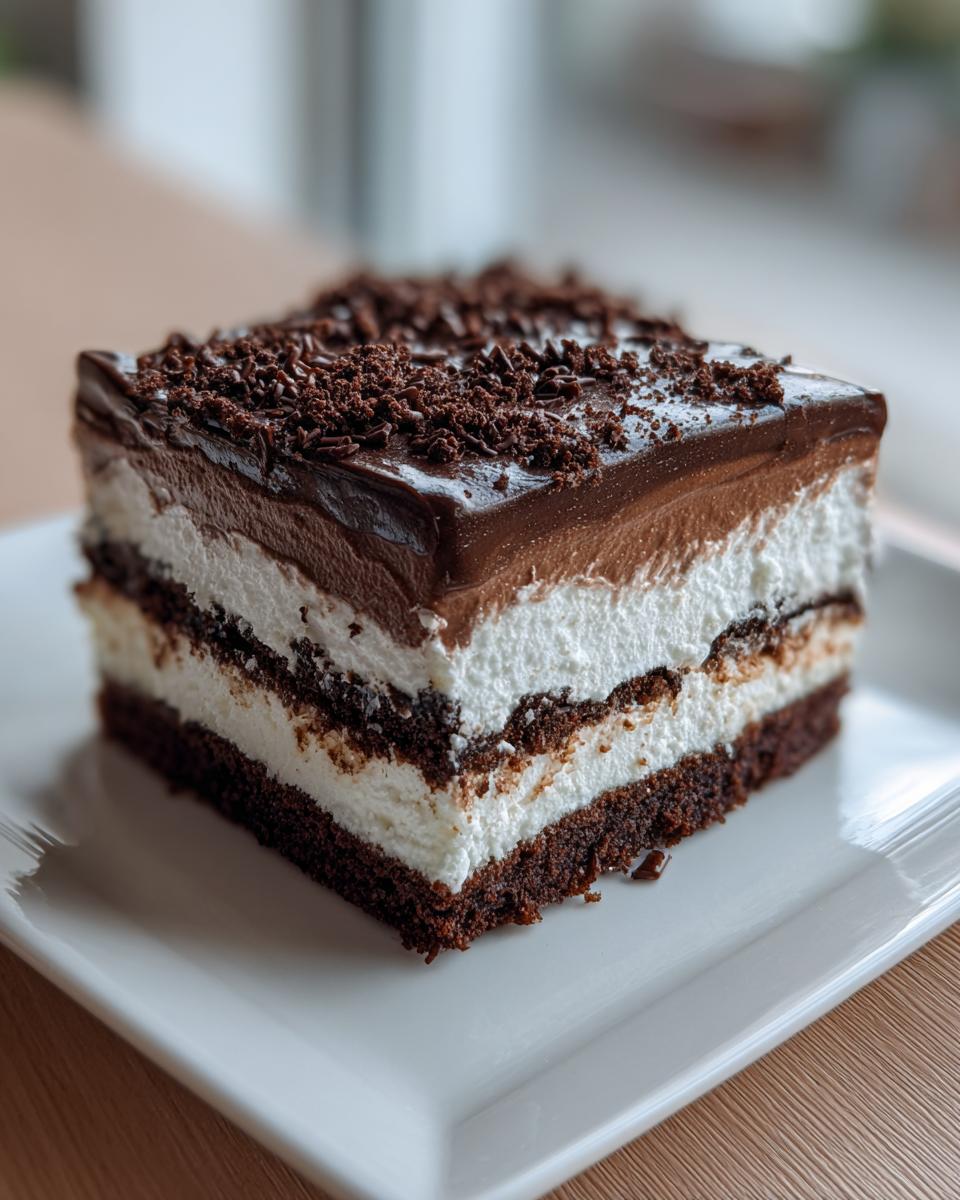
What I love most is the contrast in the layers. You get that dense, fudgy base, followed by a cloud of creamy tang from the cream cheese, and then it’s all mellowed out by the lighter, cool chocolate pudding layer. It just looks beautiful when you cut into it!
Ingredients for Your Creamy Brownie Refrigerator Cake
When you look at this list, you might think, “Carla, that looks like a lot,” but trust me, these are all simple, store-bought items coming together to make magic! The secret to making this the Best Brownie Layer Cake is starting with a really good, fudgy brownie base. I always suggest aiming for the fudgiest mix you can find, or if you truly want No Oven Desserts, grabbing a box of already fudgy, pre-made brownie squares works beautifully!
- 1 box (18.3 ounces) fudge brownie mix, prepared according to package directions for fudgy brownies (or about 18-22 pre-baked fudgy squares)
- 8 ounces full-fat cream cheese, softened until it’s really smooshy in the bowl
- 1 cup powdered sugar, sifted if it’s lumpy!
- 1 teaspoon pure vanilla extract
- 1 container (8 ounces) frozen whipped topping, fully thawed in the fridge
- 1 package (3.9 ounces) instant chocolate pudding mix (this is important!)
- 2 cups very cold milk (whole milk works best here)
- 1 cup cold heavy cream, straight from the fridge
- Chocolate shavings, just for that pretty finish
If you love decadent chocolate flavors, be sure to check out my recipe for chocolate-covered cherries; it uses that same depth of chocolate flavor!
Ingredient Notes and Substitutions for the Brownie Refrigerator Cake
Remember, for a true ‘make-ahead dessert’ that holds its structure, we have to be a little specific. You absolutely can cheat and use store-bought brownies if you want to skip baking entirely—just make sure they are the dense, fudgy kind, not the cakey ones. Also, we use instant pudding mix, not cook-and-serve, because we need it to thicken up quickly in the cold milk. Finally, whipping the heavy cream separately and folding it into the pudding layer gives us a much more stable Creamy Brownie Dessert than just using the tub of whipped topping alone.
How to Assemble the Decadent Brownie Refrigerator Cake
Alright, here is where the building starts! Don’t worry, it’s just like playing with layers of delicious building blocks. Because we rely on those textures setting up perfectly, timing your brownie cooling and making sure your dairy is adequately cold is the key to a successful brownie refrigerator cake. You’ll be amazed at how easy it is to arrange the pieces for this beautiful Layered Chocolate Dessert.
Preparing the Brownie Base for Your Brownie Refrigerator Cake
First, you need those brownies ready. Whether you baked them or bought them, they *must* be completely cool. I bake mine for an extra few minutes just to ensure they lean toward a fudgy texture rather than a cakey one—we are building dessert layers here, not sponges! Once cooled, slice them evenly in that 9×13 pan size you baked them in. If they are even slightly warm, they will melt the lovely cream cheese layer we put on next.
Creating the Cream Cheese and Pudding Layers
For the first layer, you need that cream cheese beaten until it’s absolutely silky smooth with the sugar and vanilla—no lumps allowed! Then, gently fold in half of your whipped topping. We fold carefully so we don’t deflate the air we just beat in. Meanwhile, whisk your pudding mix and cold milk until it starts thickening like a dream. Then, whip your heavy cream separately until soft peaks form, and carefully fold that light pudding into the cream. This folding step is what makes the filling so light and airy—it prevents that dense, heavy feeling and gives us that perfect creamy brownie dessert feel.
Chilling: The Secret to a Perfect Brownie Refrigerator Cake
Once everything is layered exactly as the recipe states, you need to cover it tightly. Now, step away! This brownie refrigerator cake needs a minimum of six hours to chill, but trust me from years of experience, overnight is always better. This resting time is absolutely crucial; it allows the pudding and cream cheese layers to firm up just enough so that when you pull your first cold slice, everything holds together perfectly. It turns it into a true, stable Icebox Cake! If you are looking for other great make-ahead options, checking out my recipe for homemade applesauce shows you how much I value prep-ahead cooking!
Tips for the Best Brownie Refrigerator Cake Success
As a grandmother who’s served this cake at countless gatherings, I have a few little tricks up my sleeve to make sure your brownie refrigerator cake looks as professional as it tastes. Remember, presentation matters, especially when you’re showing off a make ahead dessert!
The very first tip for success is all about the pan preparation. Don’t just grease and flour! Line your 9×13 pan with plastic wrap before you put anything in it, leaving a good overhang on the two long sides. This overhang acts as handles later, allowing you to lift the entire chilled cake out onto a cutting board in one beautiful piece. This makes the slicing process infinitely easier.
Speaking of slicing—this is crucial for that clean look. You cannot use a regular knife once, slice, and move on! For the cleanest possible serving of this cold chocolate treat, use a long, sharp knife. Dip the knife deep into a tall glass of hot water before you make a single cut. Slice the piece, lift it out, and then wipe the knife completely clean on a paper towel before dipping it back into the hot water for the next slice. This little trick keeps the layers distinct and beautiful.
If you are planning on making this for a special occasion, I highly recommend double-checking that you used real heavy cream for whipping along with the pudding mix. It provides the staying power that makes this a true crowd pleasing dessert. For other impressive yet simple ideas, you might also love my recipe for gourmet chocolate covered strawberries!
Storage and Reheating Instructions for Your Brownie Refrigerator Cake
Because this brownie refrigerator cake relies on all those creamy, cool layers setting up just right, we are definitely serving it cold! Do not even think about trying to reheat this one; the texture of the whipped topping and pudding layers will just turn soupy, and that’s a crying shame for such a gorgeous dessert.
Once assembled, you must keep it tightly covered with plastic wrap. I always use that overhang I told you about earlier! Stored properly in the fridge, this sturdy make ahead dessert holds up beautifully for three to four days. That’s why it’s such a fantastic choice for a weekend party; you can make it on Thursday, and it’s still perfect for Sunday dinner. If you are storing anything else in the fridge that might have a strong smell, make sure it’s sealed well, or your cold chocolate treat might pick up a funny flavor!
If you are into making things ahead of time but want something savory, you absolutely must try my recipe for easy refrigerator pickles. They last even longer than this cake!
Serving Suggestions for This Layered Chocolate Dessert
Since this layered chocolate dessert is incredibly rich and decadent, you don’t need many bells and whistles to serve it! The chocolate shavings we garnish it with really do a wonderful job of making it look finished, but sometimes I like to add just a tiny dollop of extra whipped cream on the side of the plate. It looks lovely contrasting against the dark layers.
For a drink pairing, keep it simple. A strong black coffee or a fresh glass of cold milk cuts through the richness perfectly, balancing out all that chocolate and cream cheese. If you are serving this after a big meal, I like to have a bright, acidic little something on hand, like a chilled glass of sparkling water with lemon. If you are looking for a great savory dip to serve before dessert, check out my recipe for the best homemade cocktail sauce!
Frequently Asked Questions About the No Bake Brownie Cake
It’s normal to have questions when you’re trying a new favorite, especially when you want to ensure it turns out perfect for a party! I’ve gathered a few things people often ask me about this simple, yet impressive, No Bake Brownie Cake.
Can I skip baking the brownies entirely for this brownie refrigerator cake?
Oh, absolutely! If you want to keep things strictly to No Oven Desserts, go right ahead. The brilliance of this recipe is its flexibility. You can totally substitute the baked brownies with a box of good quality, pre-made fudgy brownie squares. Just make sure you cut those store-bought ones into uniform shapes so your layers stand up nice and straight!
How firm will the layers be in this Fudgy Brownie Icebox Cake?
That’s where the chilling magic comes in! Since this is an icebox style cake, it won’t set up hard like a dense cheesecake, and that’s by design! When it’s perfectly set after chilling overnight, it should be completely sliceable. The filling layers will be soft, creamy, and almost mousse-like, mingling beautifully with those soft, fudgy brownie squares. It’s meant to melt gently in your mouth!
What is the best way to cut clean slices of this Easy Refrigerator Dessert?
This is the same trick I use for every layered dessert, and it makes all the difference! You need a large, sharp knife. First, fill a tall glass pitcher with very hot water. Dip your knife deep into that hot water, pull it out, and wipe the blade completely dry with a paper towel. Make your cut. Then, you repeat that process—hot water, wipe clean—for every single slice you take. It prevents the pudding and cream cheese layers from dragging and gives you that beautiful, clean look.
If you are looking for another fun, easy make-ahead recipe that doesn’t require the stovetop or oven, try my zucchini pizza bites; they are surprisingly simple!
Estimated Nutritional Data for One Serving of Brownie Refrigerator Cake
Now, I always feel it’s important to be upfront about what we’re eating, even when it’s a spectacular treat like this brownie refrigerator cake! Please keep in mind that since this recipe uses both a boxed mix and various dairy components, these numbers are my best estimates based on standard ingredient brands and how I prepare it. If you swap out whole milk for skim or use a different brownie mix, your numbers will shift a bit.
Here is what one generous slice of this quick chilled chocolate cake generally looks like:
- Serving Size: 1 slice
- Calories: 410
- Sugar: 35g
- Sodium: 280mg
- Fat: 22g
- Saturated Fat: 11g
- Carbohydrates: 50g
- Protein: 5g
If you are looking for ways to get a little extra nutrition into your day without sacrificing flavor, I’ve got a wonderful recipe for high-protein egg bites that are fantastic for quick breakfasts!
Share Your Brownie Refrigerator Cake Creations
I truly hope this recipe brings as much joy to your table as it does to mine. Cooking by Carla is all about building community, and I love hearing from you! If you made this decadent treat, please leave a rating right here on the post. Better yet, if you snapped a picture of your gorgeous brownie refrigerator cake layers, send it over via my contact page so I can share your success!
PrintDecadent No-Bake Brownie Refrigerator Cake
Make this rich, layered brownie refrigerator cake. It requires no oven time and uses simple ingredients like fudgy brownies, cream cheese, and pudding for a crowd-pleasing, make-ahead dessert.
- Prep Time: 25 min
- Cook Time: 35 min
- Total Time: 38 hours 0 minutes
- Yield: 12 servings 1x
- Category: Dessert
- Method: Chilling
- Cuisine: American
- Diet: Vegetarian
Ingredients
- 1 box (18.3 ounces) fudge brownie mix, prepared according to package directions for fudgy brownies
- 8 ounces cream cheese, softened
- 1 cup powdered sugar
- 1 teaspoon vanilla extract
- 1 container (8 ounces) frozen whipped topping, thawed
- 1 package (3.9 ounces) instant chocolate pudding mix
- 2 cups cold milk
- 1 cup cold heavy cream
- Chocolate shavings, for garnish
Instructions
- Prepare the brownie mix according to package directions, aiming for a fudgy texture. Bake in a 9×13 inch pan. Let the brownies cool completely, then cut them into uniform squares.
- In a medium bowl, beat the softened cream cheese, powdered sugar, and vanilla extract until the mixture is smooth and creamy. Gently fold in half of the thawed whipped topping until just combined. Set this cream cheese layer aside.
- In a separate bowl, whisk together the instant chocolate pudding mix and the cold milk until the mixture thickens, about 2 minutes. Let it stand for 5 minutes.
- In a large bowl, beat the cold heavy cream until soft peaks form. Gently fold the thickened chocolate pudding into the whipped cream until fully incorporated.
- To assemble the brownie refrigerator cake, line a 9×13 inch baking dish with plastic wrap, leaving an overhang. Arrange half of the cooled brownie squares in a single layer on the bottom of the dish.
- Spread the cream cheese mixture evenly over the first layer of brownies.
- Top the cream cheese layer with the remaining brownie squares.
- Carefully spread the chocolate pudding and whipped cream mixture over the second layer of brownies.
- Cover the dish tightly with plastic wrap and chill in the refrigerator for at least 6 hours, or preferably overnight, to allow the layers to set.
- Before serving this easy refrigerator dessert, remove the plastic wrap overhang, top with the remaining whipped topping, and sprinkle with chocolate shavings. Slice and serve cold.
Notes
- For a quicker assembly, you can use store-bought fudgy brownies instead of baking your own.
- If you want a firmer cheesecake layer, add 1/4 cup of softened cream cheese to the pudding mixture before folding in the whipped cream.
- This make-ahead dessert tastes best when chilled for a full 12 hours.
Nutrition
- Serving Size: 1 slice
- Calories: 410
- Sugar: 35g
- Sodium: 280mg
- Fat: 22g
- Saturated Fat: 11g
- Unsaturated Fat: 11g
- Trans Fat: 0.5g
- Carbohydrates: 50g
- Fiber: 2g
- Protein: 5g
- Cholesterol: 35mg