
Every home cook needs that one reliable, totally unforgettable appetizer hiding in their back pocket. You know, the one that brings smiles and maybe a few knowing glances from folks who remember parties long ago? Well, get ready, because I’m finally sharing my go-to hanky panky recipe. After thirty years of teaching clarity in the classroom, I promise this recipe for these cheesy meat bites is straightforward and dependable—just like my best lemon bars!
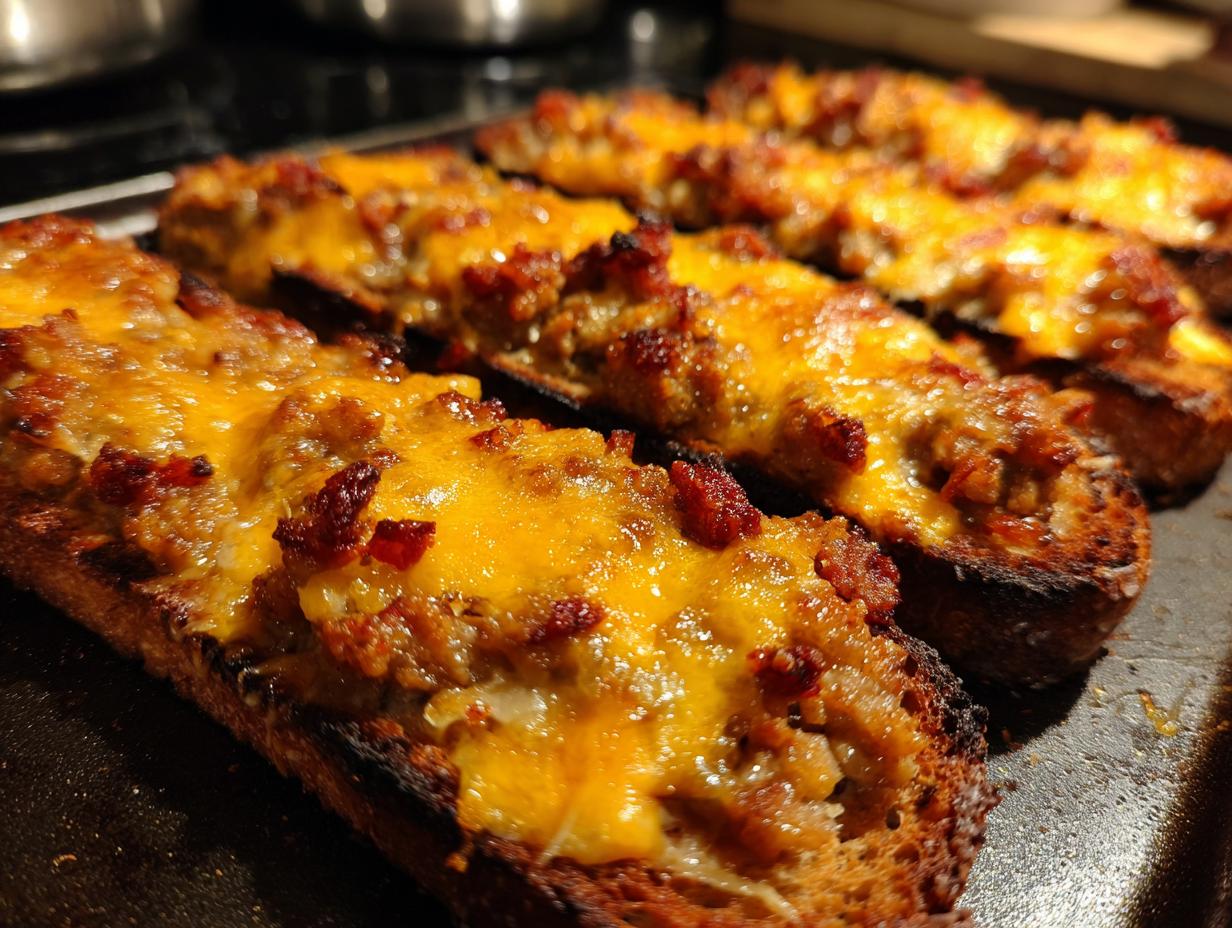
This isn’t just any snack; it’s the ultimate, easy, classic recipe that keeps people coming back for more. We’re talking savory, perfectly seasoned meat mixed with rich, gooey cheese, all toasted crisp on bread. Trust me, these comforting, nostalgic bites will vanish the second you set them out at your next gathering.
- Why This Classic Hanky Panky Recipe is Your New Favorite Party Snack
- Essential Ingredients for the Perfect Hanky Panky Recipe
- Step-by-Step Instructions for the Hanky Panky Recipe
- Tips for Success with Your Hanky Panky Appetizers
- Make-Ahead and Storage for Your Hanky Panky Recipe
- Serving Suggestions for this Easy Game Day Appetizer
- Frequently Asked Questions About the Hanky Panky Recipe
- Approximate Nutritional Overview for Hanky Panky Appetizers
- Share Your Experience Making This Classic Potluck Finger Food
Why This Classic Hanky Panky Recipe is Your New Favorite Party Snack
I have seen so many complicated, fussy appetizers come and go over the years. Honestly, I just don’t have time for recipes that require seven different whisks and a trip to a specialty market! What I need—and what you need for your gatherings—is something reliable, easy, and that tastes like home. That’s why this recipe is a true winner among my collection of easy party snacks.
These little gems really hit that sweet spot of being amazing Retro Party Snacks. They bring back all the nostalgia without any of the actual work. They are pure, unadulterated comfort food, which is exactly where my cooking philosophy stays!
Quick Prep for Maximum Party Time
When you’re planning a big spread for the holidays or the big game, every minute counts. You’ll be thrilled to know the entire process—from browning the meat to setting them out of the oven—takes less than 30 minutes total. Seriously! That’s practically instant gratification!
Nostalgic Comfort in Every Cheesy Meat Bite
There is something deeply comforting about this combination. It’s savory, it’s warm, and that melted cheese just screams good times. These Cheesy Meat Bites are truly Crowd Pleasing Snacks because they are so familiar. They taste like a Sunday afternoon, even if you make them on a Tuesday night!
Essential Ingredients for the Perfect Hanky Panky Recipe
When I develop a recipe for you, I want it to work perfectly the first time you try it. That means using the right ingredients and making sure you know exactly how to treat them before they even hit the skillet. For this wonderful version of the hanky panky recipe, simplicity is key, but the quality of the few components really matters.
You assemble this topping using standard pantry items, but you’ll need to have your cream cheese softened ahead of time so it melts beautifully with the meat. Remember, we’re aiming for smooth, not lumpy! Before we get to the exact measurements, let’s talk about making smart swaps.
Ingredient Notes and Substitutions for Your Hanky Panky Appetizers
The traditional formula here really shines, but I know our pantries aren’t all identical! For the meat, I usually stick to bulk pork sausage because of the flavor it brings, but ground beef works just fine—just make sure you completely drain every last drop of fat after browning. Nobody wants greasy appetizers!
Now, the cheese. The recipe calls for sharp cheddar, and trust me, sharp is the way to go here; it cuts through the richness of the cream cheese perfectly. If you see people using Velveeta in other versions, that’s fine for extra melt, but I stick to sharp cheddar for that classic punch. And for the base, pumpernickel or rye bread is traditional; it gives us that great texture and slightly earthy counterpoint to the cheesy mixture. If you run out, sturdy crackers work in a pinch, but they bake much faster, so keep a close eye on them!
Step-by-Step Instructions for the Hanky Panky Recipe
Now that we have our components ready, let’s conquer the assembly! This process, from start to finish, is what makes the hanky panky recipe so beloved by busy folks like us. We need patience for two quick steps: getting that filling perfect and making sure the bread gets just the right amount of toasty brown. If you need more simple snack ideas, check out my list of easy appetizers and snacks!
Remember, clarity is my middle name from my teaching days, so follow these steps closely, and you’ll have the best party spread on the block in under 30 minutes!
Preparing the Cheesy Meat Filling
First things first, preheat your oven to 350 degrees Fahrenheit and get your baking sheet ready. In a skillet, you need to cook that sausage or beef thoroughly until it’s totally browned. This next part is critical for texture: you must drain off every bit of grease. I mean every drop! Pouring that fat out ensures your topping stays creamy, not oily.
Return the drained meat to the pan over low heat. Now, toss in your softened cream cheese, the shredded cheddar, Worcestershire sauce, and all those little seasonings—onion powder, garlic powder, pepper, and salt. Stir constantly, moving everything around until that mixture is utterly smooth and all the cheese has completely melted into a gorgeous, gooey topping. That’s the magic right there!
Assembly and Baking the Baked Cheesy Bites
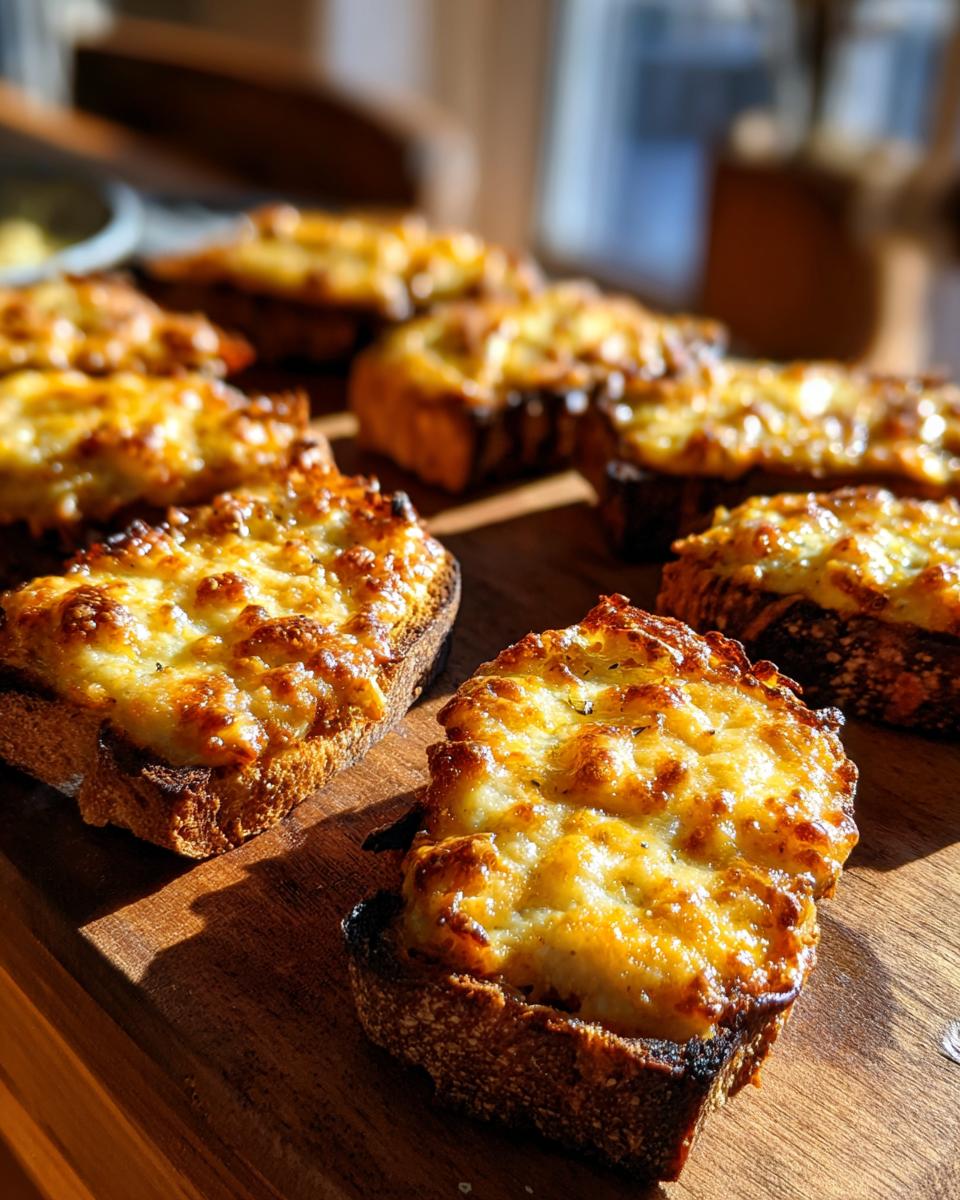
Once the filling is velvety smooth, arrange your bread slices—I prefer the little rye ones—in a single layer on that prepared sheet. Use a spoon to dollop the cheesy meat mixture right onto the center of each slice, spreading it out just a bit so it covers the surface nicely. Don’t pile it too high, or it might run off! If you’re curious about how others tackle these treats, you can see other takes on this appetizer recipe.
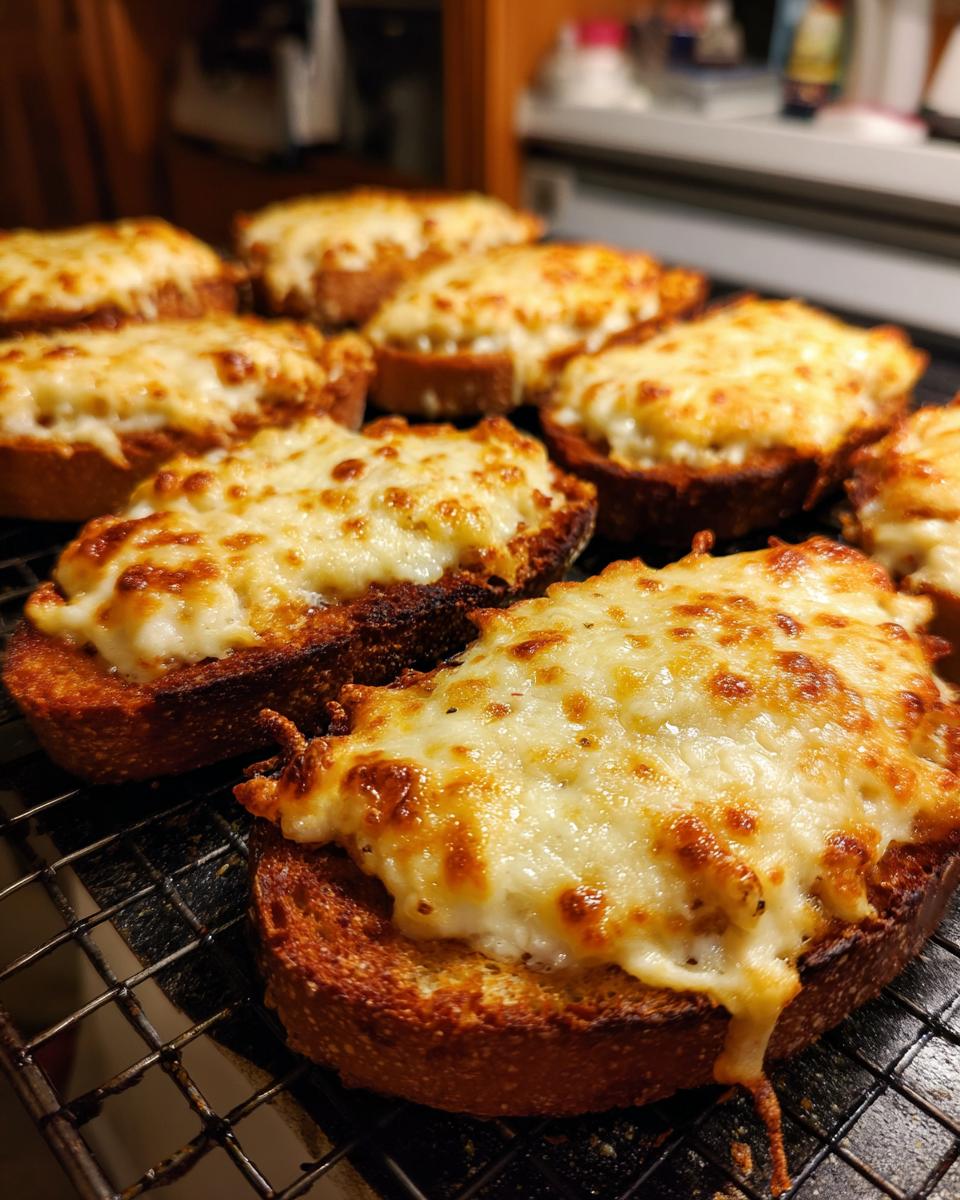
Pop the whole sheet into your preheated 350°F oven. We are baking these for just 10 to 12 minutes. You are looking for two things: the edges of the bread should be nicely toasted, and the topping needs to be hot all the way through and beautifully bubbly. These perfect Baked Cheesy Bites are best served right away while they are warm!
Tips for Success with Your Hanky Panky Appetizers
When something is this simple, sometimes the little details make all the difference between a good snack and the one people ask for every year! Since I’ve been making these since before I started teaching elementary school, I’ve learned a trick or two about keeping things perfect for serving.
The absolute biggest challenge with anything served on bread, like our wonderful Appetizer on Rye Bread, is sogginess. We want that toasty crisp edge, not limp bread! The key here is twofold: make sure you drain every last bit of fat and grease from your meat before you mix in the cheese. If there’s any oil left pooled in the pan, it will soak right down into the bread, and we don’t want that.
Secondly, keep an eye on your oven temperature. 350 degrees is perfect, but remember that the topping is pre-cooked meat and cheese—we are really just heating it through and crisping the bread. If you overbake them, the cheese gets a little hard, and you lose that beautiful creamy texture we are aiming for. Don’t let them bake a minute past when the bread edges start to look golden brown!
Also, always use room-temperature cream cheese. This seems tiny, but cold cream cheese won’t incorporate smoothly with the warm meat and melted cheddar. It leaves little cheese chunks instead of that velvety river of glorious flavor. A minute or two of patience letting that cheese soften pays off big time in the final presentation. If you’re looking for more dependable recipes that never fail, feel free to browse my other collection of party snacks.
Make-Ahead and Storage for Your Hanky Panky Recipe
When you’re hosting, the fewer things you have to juggle right before guests arrive, the better! I learned this early on when managing a classroom full of excited third-graders—prep work is your best friend. The great news about this hanky panky recipe is that the cheesy meat filling is one of the best things you can make ahead of time.
You can absolutely prepare the entire meat and cheese mixture—the cooked sausage, all the cheeses, and the spices—and store it covered tightly in the refrigerator for up to two full days before your party. Isn’t that a relief? This lets you focus on setting the table or maybe just grabbing a cup of coffee the day of the event!
When it’s time to serve, you can’t spread cold filling onto cold bread and expect good results. Take the mixture out of the fridge about an hour before you plan to assemble. Gently reheat it on the stovetop over very low heat, stirring it often until it loosens up and gets creamy again. Once it’s warm and smooth, you can proceed immediately with topping the bread slices as directed in the main steps.
Now, if you want to assemble them *before* baking, you can do that too! Place the topped bread on your baking sheet, cover it loosely with plastic wrap, and keep it chilled for up to 12 hours. When you pull them out to bake, you might need to add just 5 more minutes to the bake time since they are starting colder. Just watch those edges to make sure you get that perfect crisp on your Appetizer on Rye Bread!
Serving Suggestions for this Easy Game Day Appetizer
Because these little bites are so delightfully rich, savory, and cheesy, they pair best with accompaniments that offer a little brightness or crunch to balance them out. When I plan my holiday spread or my setup for a big Saturday game, I always make sure to balance the heavy textures of the Hanky Panky Appetizers with these simple pairings.
If you’re planning a full spread for your next watch party, remember you can find tons of other ideas for dips and finger foods right here on my site, like my collection of easy appetizers to round out the plate!
Since these are the star of the show as an Easy Game Day Appetizer, here are the things that go perfectly beside them:
- Something Crisp and Cool: A big bowl of crunchy celery sticks, carrots, or bell pepper strips is essential. They give your guests a nice, cool snap between those warm, savory bites.
- A Bright Pickle Element: Small cornichons or dill pickle spears are fantastic. That sharp, vinegary tang completely cuts through the richness of the cheese and sausage in the best way possible.
- Lighter Dips: If you are serving other snacks, keep the dips light. Think about a fresh spinach dip, maybe a bright Greek yogurt-based dip, or even a simple salsa. You don’t want another heavy cheese dip competing with these beauties!
If you happen to be using those slightly larger slices of bread, they make a great base for just a tiny bit of something extra on top right before serving. Think about topping them with a fresh sprinkle of chopped chives or a dash of hot sauce. For a fun twist, some folks like to serve a side of tangy mustard dip, reminding me of the flavors mentioned over on this game day favorite. Whatever you do, serve them warm, and they disappear fast!
Frequently Asked Questions About the Hanky Panky Recipe
It’s natural to have questions when trying a classic recipe for the first time, especially one that has been loved for so many years! I try to keep things straightforward here in my kitchen, but sometimes we need a little extra guidance to make sure our favorite Retro Party Snacks turn out just right. Here are a few things I hear often from folks who are making these for the first time.
Can I use Velveeta instead of shredded Cheddar in this hanky panky recipe?
Oh, that’s a great question about the cheese! You absolutely can use Velveeta if you prefer that ultra-melty texture—it certainly makes for a smoother sauce. However, the recipe calls for sharp cheddar for a reason: that sharper flavor keeps the rich sausage and cream cheese mixture from tasting too heavy or “flat.” If you use Velveeta, you’ll get a slightly sweeter, smoother topping, but you might miss that wonderful tang that sharp cheddar provides for these Cheesy Meat Bites.
What is the best bread to use for these Sausage and Cream Cheese Dip on Bread appetizers?
You are right on target asking about the base! The recipe calls for pumpernickel or rye slices, and I highly recommend starting there. The density of rye or pumpernickel stands up beautifully to the heavy cheese topping without getting instantly soggy, which is crucial for good Appetizer on Rye Bread! If you can’t find those, a sturdy, firm slice of French bread works, or even whole wheat bread if you toast it just a touch longer before topping it. For me, skip the soft crackers; they just fall apart under the weight of the topping!
Can I freeze the hanky panky mixture before baking?
Yes, you certainly can freeze the meat and cheese topping! This is a fantastic tip for saving time when planning big holiday meals. Once you have cooked the meat, drained it, and mixed in all the cheese and seasonings until smooth, let the mixture cool completely. Transfer it to an airtight freezer bag or container. It keeps beautifully for about two months in the freezer.
When you’re ready to use it, thaw it in the refrigerator overnight. Then, gently reheat it on the stovetop over low heat, stirring constantly until it’s smooth and pliable again, just like when you first made it. Once warm, you can spread it onto your bread slices and bake as usual to create those perfect Baked Cheesy Bites!
Approximate Nutritional Overview for Hanky Panky Appetizers
When we’re feeding a crowd, especially during holidays or big tailgate weekends, I know some of you are trying to keep track of what everyone is enjoying. While this recipe is definitely rooted in comfort and flavor—not strictly counting calories!—I always like to give you a rough idea of what’s in these delicious Hanky Panky Appetizers.
Keep in mind, these figures are exactly what the name implies: approximate! They are based on the standard ingredients I listed, using a typical serving amount of one appetizer made with pork sausage and pumpernickel bread. The final numbers might shift a little depending on how much fat you drain off or the specific brand of cheese you pick up.
Here’s a quick look at what you can generally expect per appetizer:
- Calories: Around 180 per bite
- Fat: Approximately 14 grams
- Protein: About 9 grams
- Carbohydrates: Roughly 4 grams
Since they are so rich and savory, most folks stop after two or three, which is perfect because they are such great Crowd Pleasing Snacks! If you are looking to lighten these up, your best bet is ensuring you drain every bit of grease after cooking the meat, as that makes the biggest difference in the final fat content.
Share Your Experience Making This Classic Potluck Finger Food
Now that you have the tried-and-true method for my favorite party staple, I genuinely hope you try this hanky panky recipe out the next time you need something quick, cheesy, and guaranteed to please!
These little bites are just the kind of dependable, comforting dishes my mother always brought to community gatherings, and seeing them on a platter always makes me think of those wonderful days. They are the definition of a Classic Potluck Finger Food because they travel well, reheat easily, and always disappear first!
I’d absolutely love to hear all about your experience! Did your family prefer the sausage or the ground beef? Were the edges perfectly toasted? Please take a moment and leave a star rating right here on the recipe card. Your feedback helps guide other home cooks exactly like you.
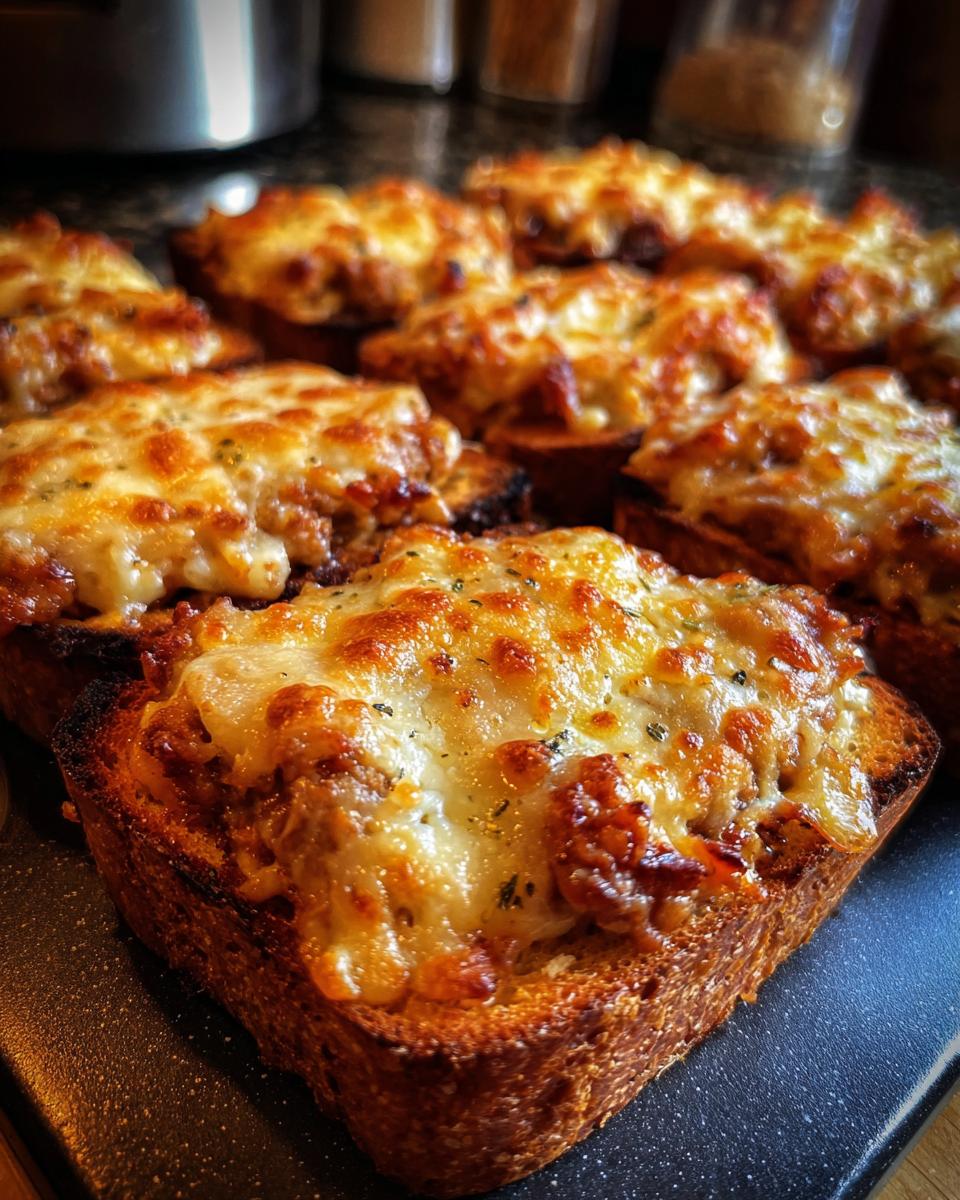
If you snapped a photo of your tray of these golden, cheesy appetizers ready for game day or a holiday event, please share it! You can tag me on social media or send a message using my contact page. Knowing that my recipes are bringing simple joy and good food to your gatherings is the biggest reward for me. Happy cooking, friends, and I hope your next party is a huge success!
PrintThe Ultimate Classic Hanky Panky Appetizer Recipe: Nostalgic, Cheesy, and Party-Perfect

Make this classic Hanky Panky recipe, a nostalgic party snack loaded with savory sausage, creamy cheese, and served on toasted bread. This easy finger food is a guaranteed crowd-pleaser for game days or holidays.
- Prep Time: 15 min
- Cook Time: 12 min
- Total Time: 27 min
- Yield: 24 appetizers 1x
- Category: Appetizer
- Method: Baking
- Cuisine: American
- Diet: Vegetarian
Ingredients
- 1 pound bulk pork sausage or ground beef
- 1 (8 ounce) package cream cheese, softened
- 1 cup shredded sharp cheddar cheese
- 1 teaspoon Worcestershire sauce
- 1/2 teaspoon onion powder
- 1/4 teaspoon garlic powder
- 1/4 teaspoon black pepper
- 1/4 teaspoon salt
- 1 package pumpernickel or rye bread slices (about 24 slices)
Instructions
- Preheat your oven to 350 degrees Fahrenheit. Lightly grease a baking sheet.
- In a large skillet over medium heat, cook the sausage or ground beef until fully browned. Drain off all the grease completely.
- Return the cooked meat to the skillet. Reduce the heat to low.
- Add the softened cream cheese, cheddar cheese, Worcestershire sauce, onion powder, garlic powder, black pepper, and salt to the meat. Stir constantly until all the cheese is melted and the mixture is smooth and well combined. This is your cheesy meat filling.
- Place the bread slices in a single layer on the prepared baking sheet.
- Spoon an equal amount of the cheesy meat mixture onto the center of each bread slice. Spread the mixture evenly to cover the bread surface.
- Bake for 10 to 12 minutes, or until the edges of the bread are lightly toasted and the topping is hot and bubbly.
- Serve these hot, cheesy meat bites immediately as a perfect party snack.
Notes
- For a slightly different flavor, substitute half the sausage with ground ham.
- You can use small cocktail rye bread for smaller appetizers, adjusting the topping amount per slice.
- If you do not have pumpernickel bread, use firm white bread or even sturdy crackers, but watch the baking time closely so they do not burn.
- Prepare the meat and cheese mixture ahead of time and store it covered in the refrigerator for up to two days. Reheat gently before spreading on the bread.
Nutrition
- Serving Size: 1 appetizer
- Calories: 180
- Sugar: 1
- Sodium: 350
- Fat: 14
- Saturated Fat: 6
- Unsaturated Fat: 8
- Trans Fat: 0
- Carbohydrates: 4
- Fiber: 0
- Protein: 9
- Cholesterol: 40