
Oh, if you’re like me, when the weather starts getting warm, my heart instantly starts craving something bright and zesty! Forget heavy chocolate for a minute; we need sunshine baked into a square, and I have just the thing. Meet my recipe for what I call The Ultimate Fudgy and Zesty Lemon Brownies with Sweet Tangy Glaze. Getting that perfect marriage between a rich, chewy bite and that pop of tartness is everything! Making these amazing Lemon Brownies truly feels like bottling up the best part of spring. I just adore sharing these with my grandchildren when they come over for an afternoon treat.

We are going totally from scratch here because I simply won’t have it any other way. You’ll find these are far superior to any cake mix shortcut I’ve ever tried. Plus, with just one bowl for the base, they come together so quickly, which is always a win in my busy kitchen. If you need another citrus fix while you’re here, you simply must try my Soft and Buttery Lemon Scones for breakfast!
- Why These Are The Ultimate Lemon Brownies (Texture & Flavor)
- Gathering Ingredients for Your Lemon Brownies
- Step-by-Step Instructions for Homemade Lemon Brownies
- Creating the Tangy Lemon Glaze for Your Lemon Brownies
- Tips for Success with Bright Lemon Sweets
- Serving Suggestions for Refreshing Lemon Dessert
- Storage and Make-Ahead Tips for Lemon Brownies
- Frequently Asked Questions About Lemon Brownies
- Sharing Your Ultimate Lemon Brownie Recipe
Why These Are The Ultimate Lemon Brownies (Texture & Flavor)
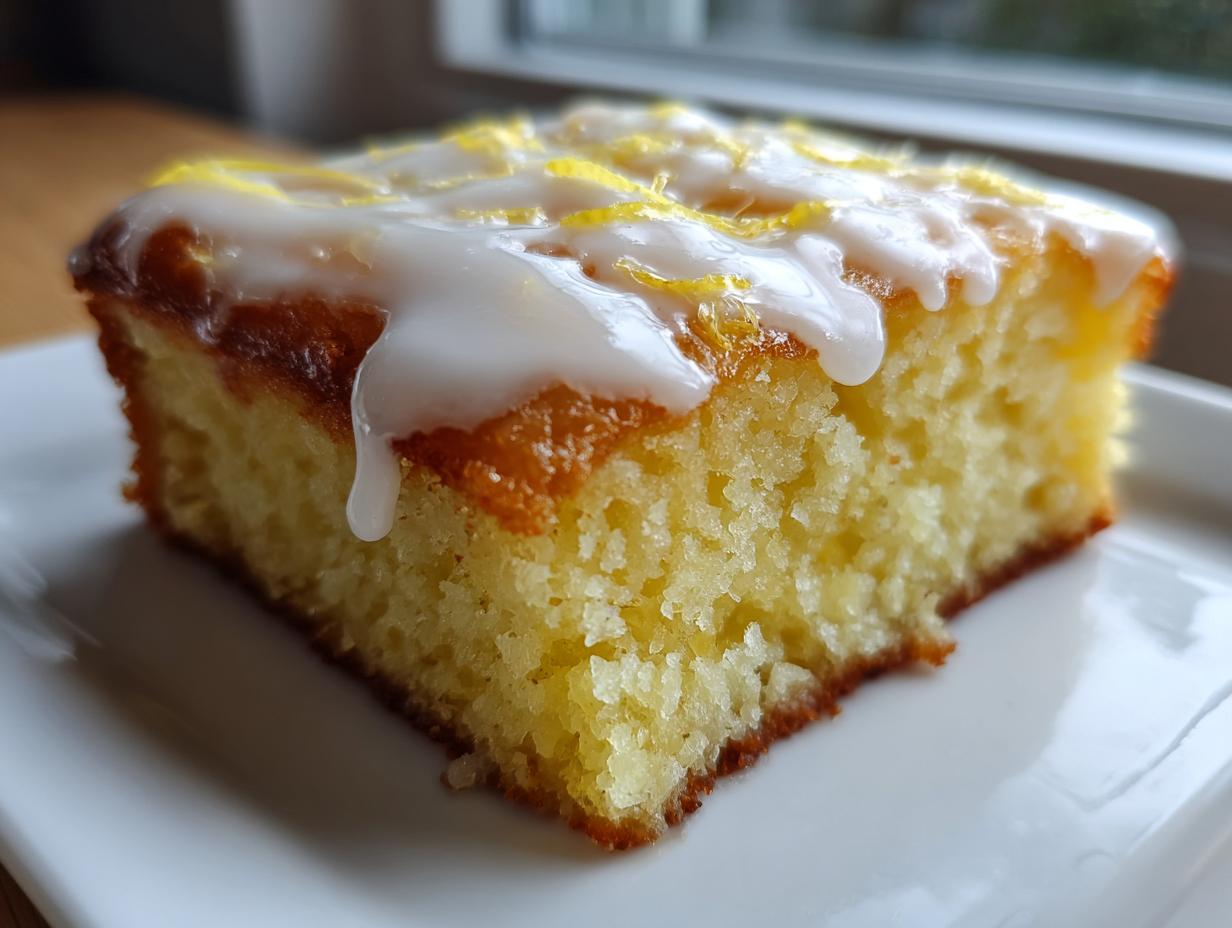
What makes these Lemon Brownies stand out when you have so many options out there? Well, dear friends, it’s all about that careful texture balance. We aren’t aiming for cakey here! We want something rich, dense, and wonderfully chewy. These are definitely what I consider my best Fudgy Citrus Bars. The bright, zesty flavor really punches through without making your mouth pucker, resulting in what I happily call Moist Lemon Squares.
It’s this combination—the brightness of fresh lemon juice balanced by that deep, satisfying chewiness—that makes people ask for the recipe every single time I serve them. If you want a taste of sunshine, this is how you get it.
Achieving That Perfect Fudgy and Chewy Lemon Brownies Texture
The secret to that incredible fudgy texture lies right up front in the mixing. We use melted butter combined with our sugar *before* we add the eggs. This high fat-to-flour ratio is what keeps these bars from rising too much and becoming dry like a cake. When you whisk that melted butter into the sugar, you are setting the foundation for a dense, rich square.
Trust me on this; don’t try to substitute that melted butter with softened butter, or you’ll end up with something closer to a blondie. We want that buttery chewiness, and beating it just right ensures we get it every time. For other dependable moist recipes, take a peek at my Easy Moist Lemon Loaf!
Gathering Ingredients for Your Lemon Brownies
Now that we know what texture we are aiming for, let’s talk about what you need to pull these wonderful Lemon Brownies together. Remember, quality ingredients make all the difference, especially when we are trying to capture that bright citrus punch.
Here is exactly what you need for a perfect 8×8 pan of these squares:
- 1 cup (2 sticks) unsalted butter, melted
- 2 cups granulated sugar
- 4 large eggs
- 1 teaspoon vanilla extract
- 1 cup all-purpose flour
- 1 teaspoon baking powder
- 1/2 teaspoon salt
- Zest of 2 large lemons
- 1/4 cup fresh lemon juice
- 1/4 cup lemon pudding mix (dry, instant)
- 1 cup powdered sugar (for glaze)
- 2 tablespoons fresh lemon juice (for glaze)
Ingredient Notes and Substitutions for Lemon Brownies
I want to be very clear about a couple of items here because they are crucial for this specific flavor profile. First thing: you must use fresh lemon juice for both the batter and the glaze. Bottled just doesn’t have the same zing, and we are aiming for ‘ultimate zestiness,’ after all! You can certainly find some wonderful recipes for cream cheese frosting if you wanted something richer, but for these, we stick to the simple glaze.
Now, about that lemon pudding mix (the dry, instant kind). It adds a little extra something to the chewiness. If you absolutely don’t have it, no worries! You can get away with only 1/4 cup more flour and a teaspoon of lemon extract for flavor. Just make sure whatever path you choose, you’re using plenty of fresh zest!
Step-by-Step Instructions for Homemade Lemon Brownies
It’s time to get messy, which is my favorite part of any baking project! These steps are straightforward, but remember, patience when mixing leads to fudgy perfection later. We’ll walk through mixing up this bright batter and getting it into the oven so you can enjoy your Lemon Brownies.
Preparing the Pan and Mixing the Lemon Brownies Batter
First things first, get that oven hot! Preheat it to 350°F (175°C). I always line my 8×8 inch pan with parchment paper, making sure to leave an overhang on two sides. That overhang is your handle for lifting the cooled bars out later—don’t skip it! Grease that paper lightly, and we’re ready.
Start by whisking that melted butter and the sugar in a large bowl until they are just nicely combined. Then, beat in your four eggs, one at a time, making sure each one is totally mixed in before adding the next. Stir in the vanilla. Now, in a separate bowl, quickly whisk your dry stuff: flour, baking powder, salt, and that dry instant lemon pudding mix.
Slowly add those dry ingredients into your wet ingredients, mixing only until you don’t see any streaks of flour anymore. I mean it—stop! If you overmix, those lovely bars will turn tough on you. Oh, and when you stir in that fresh lemon zest? Wow, the smell that fills my kitchen is just pure springtime! Finally, stir in the 1/4 cup of lemon juice until it’s just incorporated.
Baking and Cooling Your Chewy Lemon Brownie Bars
Spread that beautiful, thick batter evenly into your prepared pan. Level it out gently with your spatula. Bake these gorgeous Chewy Lemon Brownie Bars for about 25 to 30 minutes. How do you know they are done? Forget guessing! Insert a toothpick near the center. We are looking for moist crumbs clinging to it—that means they are perfectly done and still soft. If it comes out totally wet, give it five more minutes.
This next part is the hardest, but you must let them cool completely in the pan on a wire rack. If you try to glaze them while they are warm, that wonderful glaze will just melt right away into the brownie. We need them cool so that beautiful, sharp glaze can set up nicely on top!
If you are looking for another easy way to make a simple sauce or pairing, I have a fantastic recipe for Blender Hollandaise Sauce that you might enjoy!
Creating the Tangy Lemon Glaze for Your Lemon Brownies
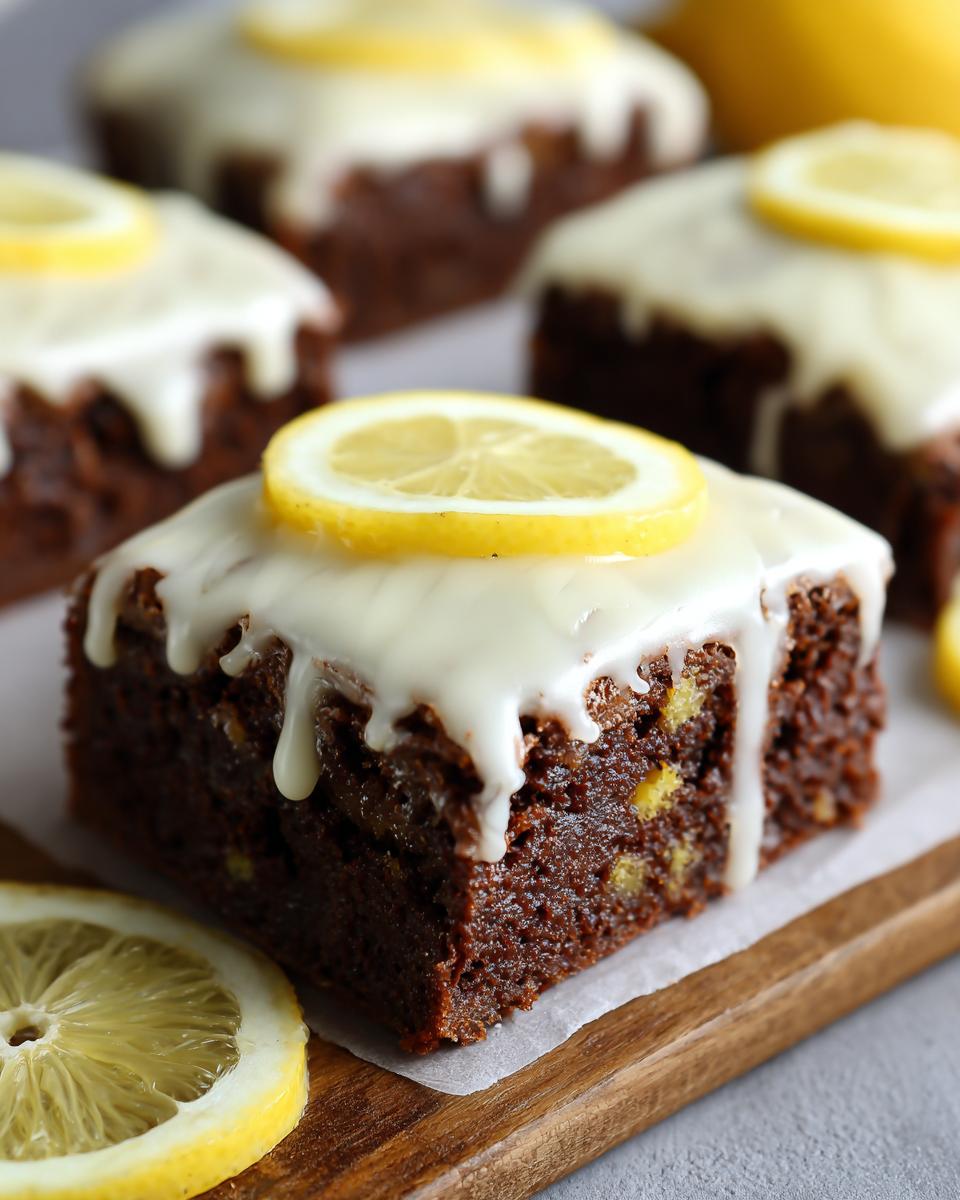
Alright, the base is baked, cooled (I know, I know, the waiting is the hardest part!), and now we need that final crowning touch: the glaze! This is where we really drive home that bright, refreshing note that makes these Lemon Brownies so perfect for a summer picnic or a springtime dessert.
We are aiming for a simple but powerful Tangy Lemon Glaze. It’s just two ingredients mixed together, but the ratio is what matters most for that perfect drizzle. It brings that sweet-and-sour complexity that balances the rich, fudgy brownie base beautifully.
To make it, you just need one cup of powdered sugar and two tablespoons of fresh lemon juice. Whisk these together in a small bowl. Don’t dump it all in at once! That’s the trickiest part—getting the consistency just right.
If you pour in too much lemon juice, you end up with a thin, runny mess that just soaks in. If you use too little, you get a gritty paste that won’t spread at all. What I do is start with one tablespoon of juice and whisk like mad. Once it looks thick but is starting to look slightly more pourable, slowly add the second tablespoon, a teaspoon at a time. You want it thick enough that it holds its shape on a spoon for a second before slowly melting off. It should drizzle beautifully over the completely cooled bars without just running down the sides immediately.
Once you’ve drizzled it all over—sometimes I use a fork to make nice zig-zags—you just let it set up for about 20 minutes before cutting. If you’re feeling extra fancy, you could peek at my guide for Vanilla Buttercream, but honestly, for these zesty bars, simplicity wins!
Tips for Success with Bright Lemon Sweets
Getting that bright, zesty flavor just right takes a little attention to detail, but it’s so worth it, I promise! When baking any of my Bright Lemon Sweets, the biggest tip I can give you is about the zest. Please make sure you use a microplane or the finest side of your grater. You only want the bright yellow part, not that bitter white pith underneath. That pith will make your beautiful brownies taste off!
Also, remember that baking is a little bit like science, so precision matters here. When testing for doneness, those moist crumbs on the toothpick are gospel! Pulling them out even five minutes too early will mean your lovely squares turn mushy when you go to slice them. We want delicious, chewy fudgy bars, not a soupy mess!
If you have trouble getting that perfect rise in other baked goods, you might want to review my tips on making Flaky Buttermilk Scones—the blending method there is very important for structure!
Serving Suggestions for Refreshing Lemon Dessert
These Lemon Brownies are fantastic all on their own, but presentation always makes a good dessert feel special, doesn’t it? Since these are such wonderful Summer Citrus Desserts, I usually try to serve them slightly chilled, especially on a hot afternoon. The cool temperature firms up the glaze just a tiny bit more, giving you a lovely textural contrast against that chewy center.
If you’re serving these as part of a larger dessert spread, I highly recommend pairing them with something creamy to balance out all that vibrant tartness. A simple dollop of fresh whipped cream works wonders. Or, for a real showstopper that screams ‘summer gathering,’ serve them alongside a chilled homemade cocktail! I have the best recipe for a Strawberry Daiquiri that contrasts beautifully with the sharp lemon.
If you are making these for a potluck or picnic, just keeping them at room temperature in a sealed container works perfectly fine, too. The goal is refreshing, and these citrusy bars deliver that no matter how you serve them!
Storage and Make-Ahead Tips for Lemon Brownies
One of the best things about making a reliable batch of Lemon Brownies is that they are an excellent make-ahead treat. I know how busy the days leading up to holidays or summer parties can be, so planning ahead is always my motto! These bars hold up so nicely, making them a truly Easy Lemon Dessert Recipe.
The general rule for storing these beauties is to keep them out of the humidity, which can soften that beautiful glaze we worked so hard on. For the best texture, I highly recommend storing the uncut, unglazed brownies in an airtight container. They stay perfectly soft and fudgy at room temperature for about two or even three days. Don’t bother with the refrigerator for the base, as sometimes the cold can make them a little too firm for my liking.
Now, if you’re making these several days in advance—say for a big weekend barbecue—you absolutely must wait to apply that gorgeous, tangy glaze. If you glaze them and then seal them airtight for days, the moisture from the glaze can seep into the brownie top and make it sticky or compromise that fudgy chew we want so badly. Glaze them the morning you plan to serve them, or just a few hours beforehand.
If you decide to cut them before storing, make sure you use parchment paper dividers between the layers! I keep mine right on the counter in a container. If you happen to have leftovers—which is rare in my house—you’ll find they are still pretty tasty, even a few days later. If you’re interested in other make-ahead chocolate fixes, you might enjoy my Brownie Refrigerator Cake recipe!
Frequently Asked Questions About Lemon Brownies
Can I use a cake mix instead of making these from scratch?
Oh, I know convenience is tempting! While some recipes use cake mix to speed things up; honestly, you miss out on that perfect fudgy texture we are aiming for with these Ultimate Lemon Brownies. The ratio of sugar, fat, and that special dry pudding mix is what achieves the chew we love. If you try a cake mix shortcut, you might end up closer to a lemon cake than a chewy brownie bar. The from-scratch method is worth the extra five minutes, I promise!
What if I don’t have lemon pudding mix on hand?
That’s a great question because not everyone keeps instant pudding mixes in their pantry. If you find yourself without it, you can actually skip it, as noted in the main recipe—just use 1/4 cup more all-purpose flour in place of the mix, and add about one teaspoon of lemon extract to boost the flavor. It shifts the texture slightly, making them just a touch less dense, but they are still wonderfully moist Citrusy Baked Treats!
Is it possible to make Gluten Free Lemon Brownies?
Yes, you absolutely can adapt this! Since we already use melted butter and a good amount of eggs, the structure is quite forgiving. For Gluten Free Lemon Brownies Ideas, simply substitute the one cup of all-purpose flour with a high-quality 1-to-1 gluten-free baking blend that contains xanthan gum. Make sure you mix just as gently as the main recipe calls for, and check for doneness a little earlier, maybe around the 22-minute mark.
How long can I store these for the best flavor?
For the very best experience, these are an Easy Lemon Dessert Recipe to make ahead! Keep the unglazed bars stored airtight at room temperature for up to three days. They actually get richer overnight! However, once you drizzle that tart glaze on top, I recommend eating them within the first day or two while the glaze is at its freshest and firmest. They are best enjoyed when the glaze offers a slight snap against that soft center.
Sharing Your Ultimate Lemon Brownie Recipe
Well, there you have it—my tried-and-true method for the most incredibly rich, chewy, and brightly flavored Lemon Brownies you will ever bake! I truly hope you love the balance between that deep, fudgy bottom layer and the sharp, sweet kiss of that tangy glaze on top. Baking for the people we love is one of life’s great joys, and sharing a recipe that works time and time again is my passion.
Now that you’ve had a chance to bake this batch of sunshine, I would absolutely love to hear all about it! Did you serve them chilled, or did you gobble them up when they were still slightly warm? Did the kids love the zest, or are you hiding them all for yourself? Don’t be shy!
Please take a moment to leave your star rating right here on the page—it helps me know which recipes are making it into your regular rotation. And if you have any special twists or questions that popped up while you were mixing, please drop a comment below. I read every single one, and if you need help troubleshooting, whether it’s about your glaze consistency or achieving that perfect bake, I’m just a click away! You can always reach out directly through my Contact Page if you have something private to share.
Happy baking, and enjoy every single one of those bright, citrusy bites!
PrintThe Ultimate Fudgy and Zesty Lemon Brownies with Sweet Tangy Glaze

Make these bright, flavorful lemon brownies that balance sweetness with a zesty citrus punch. This recipe yields soft, chewy bars topped with a simple, tangy lemon glaze, perfect for spring or summer baking.
- Prep Time: 15 min
- Cook Time: 30 min
- Total Time: 45 min
- Yield: 16 servings 1x
- Category: Dessert
- Method: Baking
- Cuisine: American
- Diet: Vegetarian
Ingredients
- 1 cup (2 sticks) unsalted butter, melted
- 2 cups granulated sugar
- 4 large eggs
- 1 teaspoon vanilla extract
- 1 cup all-purpose flour
- 1 teaspoon baking powder
- 1/2 teaspoon salt
- Zest of 2 large lemons
- 1/4 cup fresh lemon juice
- 1/4 cup lemon pudding mix (dry, instant)
- 1 cup powdered sugar (for glaze)
- 2 tablespoons fresh lemon juice (for glaze)
Instructions
- Preheat your oven to 350°F (175°C). Line an 8×8 inch baking pan with parchment paper, leaving an overhang on two sides for easy removal. Lightly grease the paper.
- In a large bowl, whisk the melted butter and granulated sugar together until combined.
- Beat in the eggs one at a time, mixing well after each addition. Stir in the vanilla extract.
- In a separate medium bowl, whisk together the flour, baking powder, salt, and dry lemon pudding mix.
- Gradually add the dry ingredients to the wet ingredients, mixing only until just combined. Do not overmix.
- Stir in the lemon zest and 1/4 cup of lemon juice until incorporated.
- Spread the batter evenly into the prepared pan.
- Bake for 25 to 30 minutes, or until a toothpick inserted near the center comes out with moist crumbs attached, not wet batter.
- Let the brownies cool completely in the pan on a wire rack.
- Prepare the glaze: Whisk together the powdered sugar and 2 tablespoons of lemon juice until smooth. Add more powdered sugar or juice, one teaspoon at a time, to reach a thick but pourable consistency.
- Once the brownies are cool, drizzle the tangy lemon glaze evenly over the top. Let the glaze set before cutting into squares.
Notes
- For extra fudgy lemon brownies, slightly reduce the baking time, checking at 22 minutes.
- If you do not have lemon pudding mix, substitute with 1/4 cup extra flour and 1 teaspoon lemon extract for flavor.
- These citrus bars keep well stored in an airtight container at room temperature for up to three days.
Nutrition
- Serving Size: 1 square
- Calories: 250
- Sugar: 30
- Sodium: 120
- Fat: 13
- Saturated Fat: 8
- Unsaturated Fat: 5
- Trans Fat: 0
- Carbohydrates: 33
- Fiber: 1
- Protein: 3
- Cholesterol: 65