
Oh, the struggle is real when you’re trying to find a snack that actually tastes good, fuels your body right, and doesn’t cost a fortune at the checkout aisle! If you’re tired of those chalky, overly processed store-bought bars, then friend, I have something special for you. Today, we are making my **Easy No-Bake 5-Ingredient Peanut Butter Protein Bars**. These homemade protein bars are chewy, creamy, and trust me, they taste miles better than anything you buy wrapped up at the gas station. This recipe is straight from my heart; it’s the kind of simple, reliable snack I developed over years of teaching and feeding my own growing family. It’s so straightforward, you can whip them up faster than you can drive to the grocery store!
- Why These Homemade Protein Bars Are a Kitchen Staple
- Gathering Ingredients for Your Peanut Butter Protein Bars
- Step-by-Step Guide to Easy No-Bake Protein Bars
- Tips for Making the Best Homemade Protein Bars
- Variations for Your Protein Bars for Workouts
- Storing and Serving Your Quick Protein Bar Recipe
- Frequently Asked Questions About Protein Bars
- Estimated Nutrition for These Protein Bars
- Share Your Favorite Homemade Protein Bars
Why These Homemade Protein Bars Are a Kitchen Staple
I truly believe these peanut butter bars are the comeback kid of healthy snacking. There’s no fluff, no long ingredient list that requires a trip to a fancy whole foods store—just pure, satisfying goodness. They are my default when I know I need something ready fast for a grab-and-go breakfast or fuel before a walk. They just rely on the very easy breakfast recipes I always turn to.

- They consistently deliver that satisfying, chewy texture, making them the best homemade protein bars!
- They use only about five simple ingredients I always have sitting right on my counter.
- No oven preheating! They are ready to mix and set in the fridge.
Quick Protein Bar Recipe Ready in Minutes
When I say quick, I mean it! You can literally have all the mixing done in about 15 minutes. That’s the beauty of a good no-bake recipe. You don’t have to baby an oven or worry about carryover cooking; you mix, press, and chill. It’s perfect for those mornings when you’re rushing out the door but you refuse to skip eating something nourishing.
Making Chewy Protein Bars with Simple Ingredients
The texture here is so important. We aren’t going for something hard or crumbly. These come out wonderfully chewy, thanks to the combination of peanut butter binding everything together and that natural sweetener. I’ve tried harder versions, but trust me, these soft, chewy protein bars are the ones that actually disappear first in our house.
Gathering Ingredients for Your Peanut Butter Protein Bars
When I say these are simple, I mean it. For this recipe, we need four core items that really stick together, plus one little kicker we can skip if we need to. Having the right type of ingredients makes all the difference in getting that perfect texture, just like when I make my favorite easy peanut butter fudge.
Here is exactly what you’ll need:
- One cup of good old rolled oats—no steel-cut, we want the standard ones!
- One cup of natural peanut butter. Make sure it’s the creamy kind that you have to stir before using.
- Half a cup of vanilla protein powder. This is where most of your boost comes from.
- About a third of a cup of your binder, so honey or maple syrup works wonderfully.
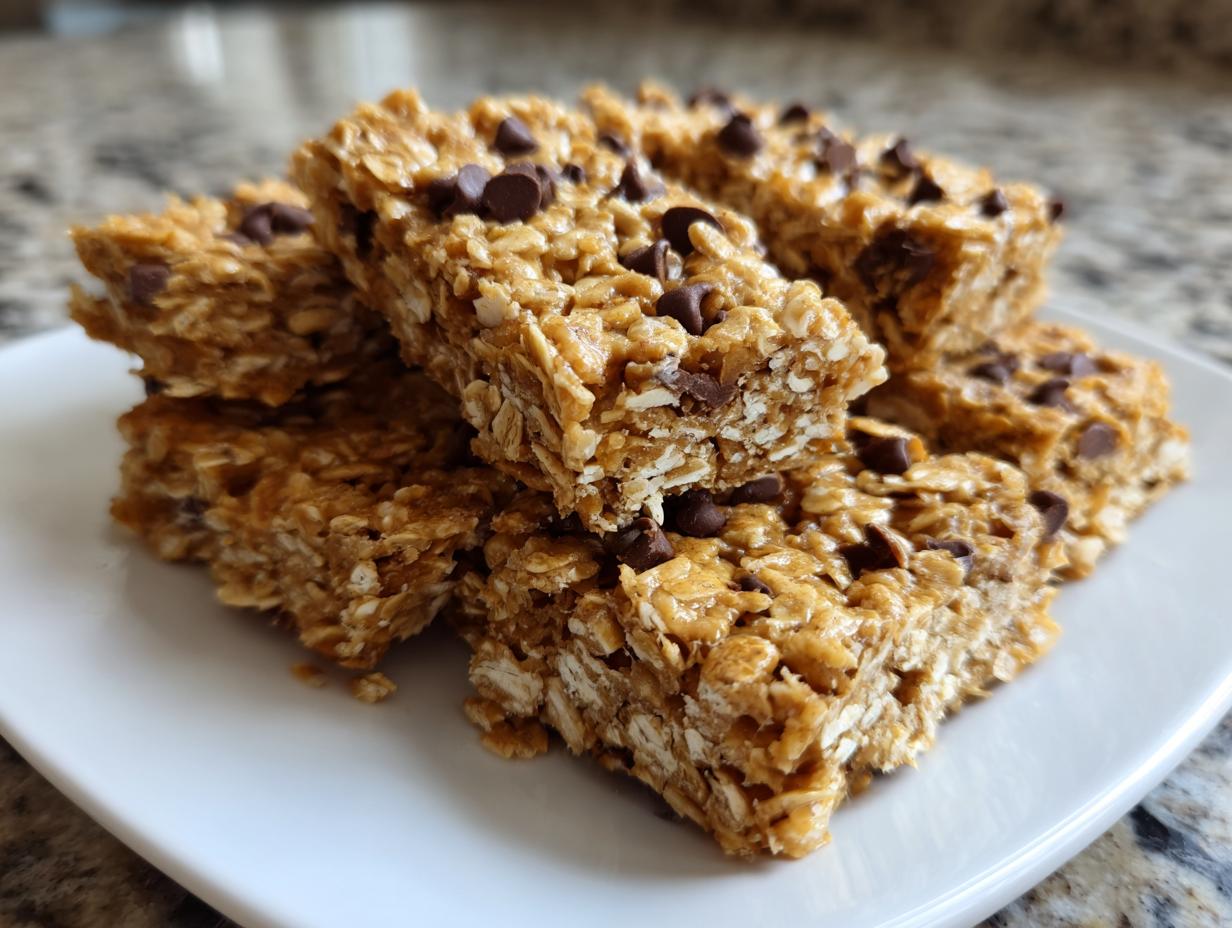
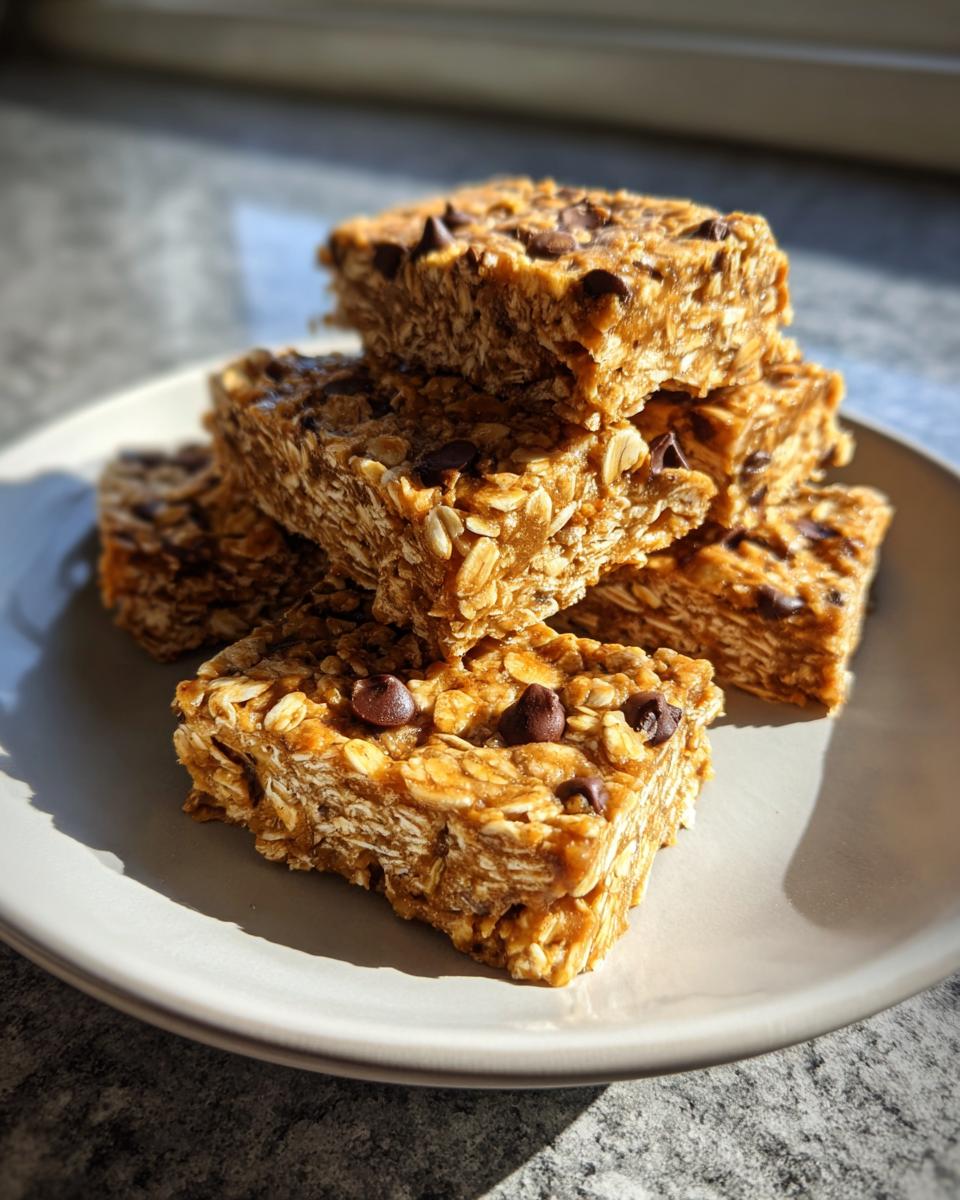
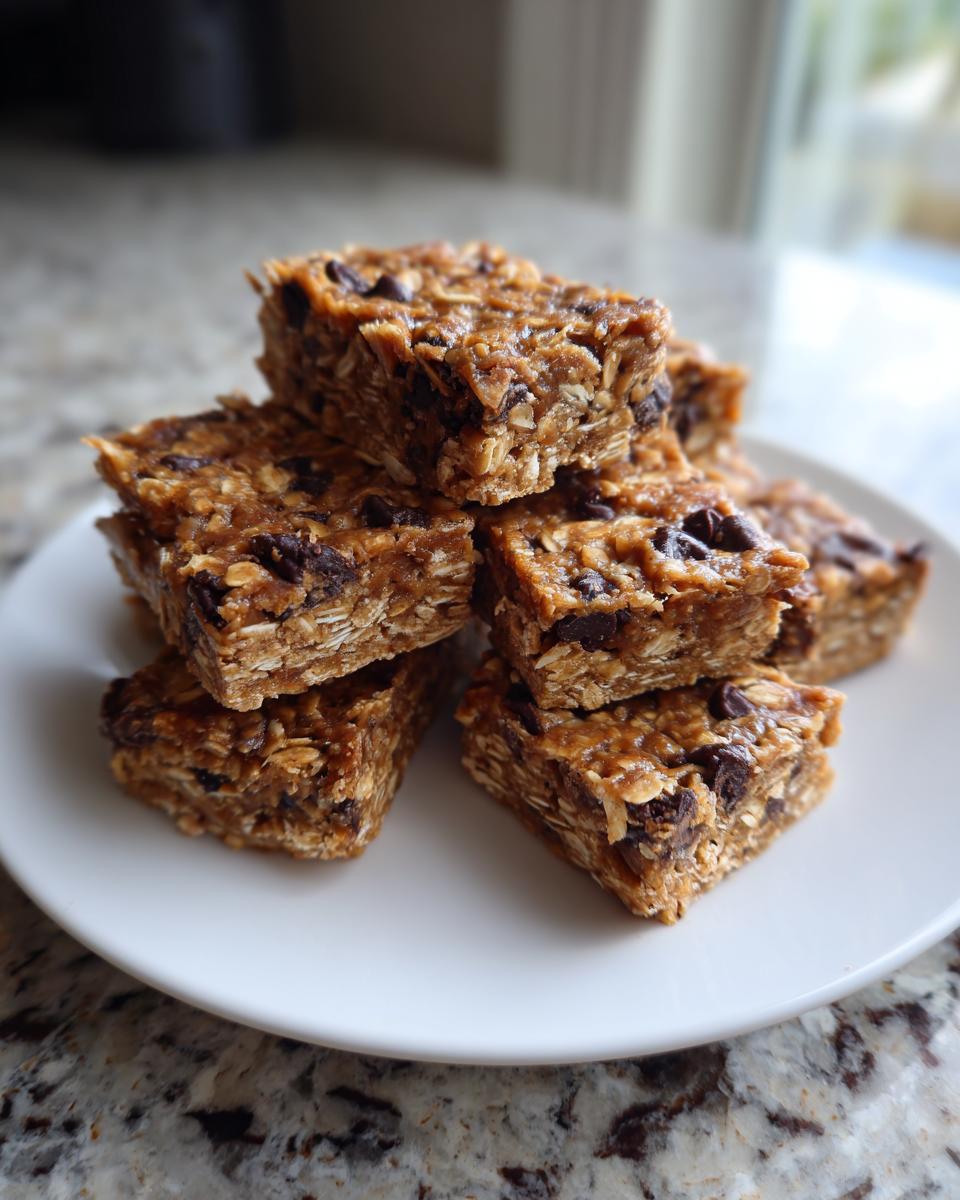
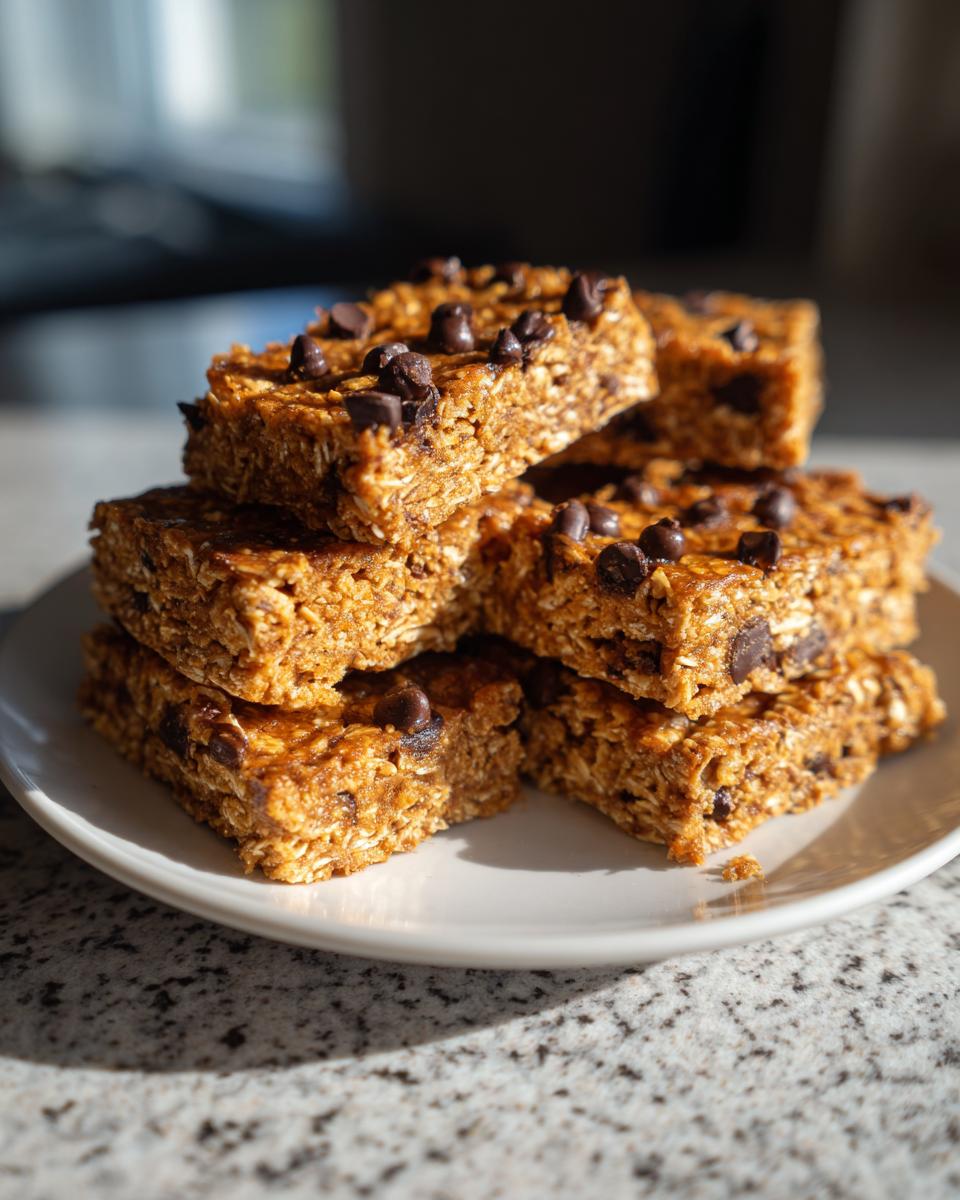
- And optional, but highly recommended: a quarter cup of mini chocolate chips for sprinkling on top. You can find more flavor ideas over at this great resource.
Step-by-Step Guide to Easy No-Bake Protein Bars
Now that we have everything gathered, let’s get these protein bars mixed up. Honestly, the hardest part is waiting for them to chill! I always start by getting my pan squared away. You need an 8×8 inch pan for this batch, and the trick to a clean release later is lining it completely with parchment paper. Make sure you leave a little flap or overhang on the sides; this is our built-in handle later, and it saves so much grief when cutting.
Once that pan is lined, just toss all the dry and wet ingredients—the oats, peanut butter, protein powder, and sweetener—right into your big mixing bowl. Don’t overthink the order here!
Mixing the Dough for Perfect Protein Bars
You’ll start stirring, and it will look like it’s just not coming together. Everything will look too crumbly or too dry, especially if you are using a thicker protein powder or a natural peanut butter that’s separated a bit. Keep mixing! This is where you need to get your hands in there. Seriously, don’t be afraid to dig in and work that mixture until it comes together into one thick, uniform mass. If you have any trouble getting that smooth dough consistency that signals you are ready for the next step, just add a tiny splash of water or milk—a teaspoon at a time—until it holds together nicely. These need that solid mix to be the healthy meal prep bars we want them to be!
Chilling and Cutting Your Homemade Protein Bars
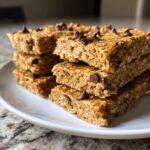
Once that beautiful, thick dough is ready, press it right into your prepared pan. I use the bottom of a sturdy measuring cup to really press it down firmly and evenly across the bottom. You want them compact so they don’t crumble later. If you’re adding chocolate chips, sprinkle them on top now and press those in gently, too. Then, they go into the refrigerator for at least one full hour. Don’t rush this part! Once they are firm and chilled, you just grab those parchment paper overhangs and lift the whole block out. Now you can cut them into 12 perfect squares. These homemade protein bars hold their shape perfectly after a good chill.
Tips for Making the Best Homemade Protein Bars
I get asked all the time how mine always come out perfectly chewy and never dry. Since I taught third grade for thirty years, I know the power of a good set of instructions, but with baking, sometimes you just need that little extra nudge when things don’t go to plan. Producing the best homemade protein bars is all about troubleshooting right when the mixing bowl feels ‘wrong’. Good news is, it’s usually an easy fix!
Troubleshooting Common Protein Bars Issues
When you are working with protein powder and nut butters, the consistency can change based on humidity or even the brand of powder you buy. Don’t panic if your mixture seems off!
- If the dough is too dry and crumbly: This is the most frequent issue, especially if you are using a very absorbent protein powder. You need just a touch more liquid to bring it all together. Add water or almond milk just one teaspoon at a time. Mix it in until you can finally press a clump together in your hand without it instantly falling apart. We are aiming for firm, not wet!
- If the mixture is too sticky or greasy: This usually means the peanut butter was too runny or you added too much sweetener. If it’s sticking everywhere, try adding a tablespoon of extra rolled oats or a half-scoop more of your protein powder. Work it in slowly; this helps absorb that little bit of extra moisture without making the final bars hard.
Remember, these protein bars are meant for meal prep, so getting the consistency right the first time means they stay perfect for the whole week. Don’t forget to store them tightly sealed—they’re happiest chilling out in the refrigerator!
Variations for Your Protein Bars for Workouts
The wonderful thing about these five-ingredient bases is how ready they are for a little tweak or two! They are so simple that you can change them up depending on what you are craving or what dietary needs you have that week. I love having options, especially when it comes to my high protein snacks.
If you need these to meet a specific diet, adapting them is easy. For instance, if you are keeping things strictly plant-based, just ensure you use maple syrup instead of honey. Also, make sure the protein powder you use is a vegan blend! This keeps the whole batch of protein bars completely vegan while keeping that perfect texture.
Now, for flavor—oh, this is where it gets fun! If you want to turn these into rich, dark chocolate bars, you simply need to swap out about half of your vanilla protein powder for an equal amount of chocolate protein powder. You might need an extra teaspoon of liquid if you go this route, but it is worth it! Or maybe you prefer a little tartness? Adding a tablespoon of freeze-dried raspberry powder (crushed up super fine!) into the mix gives a lovely bright flavor that cuts through the richness of the peanut butter. These little adjustments are what make these the best ones you’ll ever make at home.
Storing and Serving Your Quick Protein Bar Recipe
Now that you’ve made these spectacular protein bars, keeping them fresh is super easy. Since there’s no baking involved, we want to keep them cool so they stay firm and chewy. I just tuck mine into an airtight container—a glass one is my favorite—and pop them right into the refrigerator. They hold up great there for about a week, making them ideal for your weekly batch of high protein snacks.
They are perfect for stashing in a lunchbox for a quick, satisfying midday bite, or grabbing one straight from the fridge when you need a faster-than-average quick breakfast. Seriously, they are built for busy people like us!
Frequently Asked Questions About Protein Bars
I know you must have a few last things buzzing around in your mind. That’s totally normal when trying a brand new snack recipe! I’ve tried to answer the most common questions right here for you. Remember, knowing the answers helps you make the absolute best homemade protein bars possible!
Can I make these peanut butter protein bars recipe lower in sugar?
That is a great question, especially if you are tracking sugar intake. Since this is a no-bake recipe, sugar comes primarily from the honey/maple syrup and the protein powder itself. If you want to cut back, try using slightly less honey—maybe 1/4 cup instead of 1/3 cup—and see if the mixture still holds together. You could also look into a sugar-free vanilla protein powder. For those needing diabetic-friendly options, you might find inspiration over at this helpful resource, though you’d likely need liquid sweeteners that don’t rely on sugar alcohols, which can sometimes affect texture.
What other nut butters can I use instead of peanut butter?
You absolutely can switch up the nut butter! Almond butter works beautifully and gives a slightly different, sometimes richer flavor. Cashew butter is another soft, creamy option. Just be aware that if you use a less oily or very stiff natural butter (like some almond butters can be), you might need that extra teaspoon of water or milk we talked about earlier to get the dough to come together properly. It’s all about getting that perfect pressable dough for your healthy meal prep bars!
Are these good for making ahead of time for our weekly schedule?
Yes, they are fantastic for meal prep! These thrive on being made ahead. Since they are stored in the fridge, they stay firm and fresh for about a week. This makes them one of my favorite quick protein bar recipe solutions for busy weeks. I usually make a batch on Sunday evening right after I finish my regular Sunday dinner prep, and they are ready for lunches and post-workout fuel all the way through Friday.
Will these homemade protein bars taste dry if I use vegan or plant-based protein powder?
That can happen, as plant-based powders sometimes absorb liquid faster than whey. If you notice your mixture seems dry when you’re pressing it into the pan, don’t worry! Like I mentioned in the tips section, just add liquid—water, or any milk you like—one teaspoon at a time until that dough firms up enough to press. Getting the right consistency is the whole game when you make your own protein bars!
Estimated Nutrition for These Protein Bars
Now, I always want to be upfront with you because when we’re talking about homemade protein bars, what goes on the label really depends on the specific bottles and containers you pull from your pantry. The numbers I share here are estimates based on using standard vanilla protein powder, natural peanut butter, and honey. If you swap in maple syrup or use a different flavor of protein, those counts will change a bit. That’s the trade-off when you skip the factory labels, but in my book, it’s worth it for the better quality ingredients!
Here is a general snapshot for one of these delicious bars, assuming you cut the batch into 12 servings:
- Calories: Around 220
- Protein: About 12 grams—a fantastic boost for your energy levels!
- Total Fat: Roughly 13 grams
- Carbohydrates: About 18 grams
See? That’s a powerhouse snack that keeps you feeling full without weighing you down. These are far better than the overly processed options out there because you control the quality of every single component that goes into these wonderful quick protein bar recipe snacks!
Share Your Favorite Homemade Protein Bars
Well, that’s all there is to it! You now have the easiest, chewiest, and most satisfying recipe for protein bars homemade that you will ever need. No oven, minimal mess, and maximum flavor—that’s what I love to bring to your kitchen!
I truly hope you give these a try the next time your sweet tooth calls or you need a fast, high-protein snack ready for tomorrow. When you do make them, I’d be so tickled if you came back here and let me know how they turned out! Please leave a rating below—five stars if they kept you energized, or tell me honestly how you tweaked them.
Did you add shredded coconut? Maybe you swapped the peanut butter for sunflower seed butter? I love hearing how you customize my family’s recipes. If you have any questions, or just want to share a picture of your beautiful, perfectly cut bars, you can always reach out via my contact page.
Happy snacking, and thank you for letting my little kitchen become part of yours!
PrintEasy No-Bake Peanut Butter Protein Bars
Make these simple, chewy homemade protein bars using basic pantry staples. They require no baking and are perfect for quick breakfasts, post-workout fuel, or healthy on-the-go snacks.
- Prep Time: 15 min
- Cook Time: 0 min
- Total Time: 1 hour 15 min
- Yield: 12 servings 1x
- Category: Snack
- Method: No-Bake
- Cuisine: American
- Diet: Vegetarian
Ingredients
- 1 cup rolled oats
- 1 cup natural peanut butter
- 1/2 cup vanilla protein powder
- 1/3 cup honey or maple syrup
- 1/4 cup mini chocolate chips (optional topping)
Instructions
- Line an 8×8 inch baking pan with parchment paper, leaving an overhang on the sides for easy removal.
- In a large bowl, combine the rolled oats, peanut butter, protein powder, and honey or maple syrup.
- Mix the ingredients thoroughly until a thick, uniform dough forms. You may need to use your hands to fully incorporate everything.
- Press the mixture evenly into the prepared pan. Press down firmly to compact the protein bars.
- If using, sprinkle the mini chocolate chips over the top and press them lightly into the surface.
- Place the pan in the refrigerator and chill for at least 1 hour, or until the bars are firm.
- Use the parchment paper overhang to lift the block out of the pan. Cut the block into 12 even protein bars.
- Store the homemade protein bars in an airtight container in the refrigerator for up to one week.
Notes
- For a vegan option, use maple syrup instead of honey and ensure your protein powder is plant-based.
- If the mixture seems too dry, add one teaspoon of water or milk at a time until it holds together.
- These are excellent high protein snacks for meal prep.
Nutrition
- Serving Size: 1 bar
- Calories: 220
- Sugar: 7
- Sodium: 110
- Fat: 13
- Saturated Fat: 3
- Unsaturated Fat: 10
- Trans Fat: 0
- Carbohydrates: 18
- Fiber: 2
- Protein: 12
- Cholesterol: 0