

Oh, let me tell you about puddings. Store-bought stuff? It’s fine in a pinch, I guess, but it just doesn’t have that soul, does it? When you’re craving true, velvety comfort, nothing—and I mean nothing—beats making your own. That’s why I’m sharing what I genuinely think is the BEST Creamy & Easy Homemade Chocolate Pudding (From Scratch) recipe you will ever need. As you know from my collection of dependable favorites, I believe simple ingredients handled with care make the best food. This stovetop chocolate pudding recipe skips the box entirely and delivers that deep, rich flavor folks swear by. It’s easy enough for a weeknight but decadent enough for company!
- Why This Homemade Chocolate Pudding Recipe is Your New Favorite Comfort Food Desserts
- Ingredients for the BEST Creamy & Easy Homemade Chocolate Pudding
- Stovetop Pudding Recipe: Step-by-Step Instructions for Perfect Chocolate Pudding
- Tips for Success When Making Your Chocolate Pudding
- Variations: Beyond Classic Chocolate Pudding
- Storage and Reheating Instructions for Homemade Chocolate Pudding
- Serving Suggestions for Your Decadent Chocolate Dessert
- Frequently Asked Questions About Easy Chocolate Pudding Recipe
- How do you prevent a skin from forming on top of stovetop pudding?
- What happens if my pudding seems too thin after chilling?
- Share Your Experience Making This Chocolate Pudding
Why This Homemade Chocolate Pudding Recipe is Your New Favorite Comfort Food Desserts
Is there anything better than a bowl of classic comfort food desserts on a chilly evening? I don’t think so! This homemade chocolate pudding delivers that deep nostalgia, but honestly, it tastes a million times better than the boxed stuff we grew up with. It’s my go-to when I need a quick, guaranteed win in the kitchen. If you’re looking for something simple but deeply satisfying, like my popular chicken pozole, this pudding shares that same hug-in-a-bowl quality.
Forget worrying about weird stabilizers or that artificial aftertaste. This recipe relies on simple whole milk and good cocoa powder to create a truly creamy chocolate pudding that is silky smooth from the first scoop to the last. I learned early on from my own Midwestern roots that the best flavors come from taking just a few straightforward, high-quality ingredients and treating them right. This simple chocolate pudding really proves that point!
Achieving Velvety Chocolate Pudding From Scratch
The secret to that unbelievably smooth texture? Cornstarch, handled correctly! We use just the right amount—not too much, not too little—mixed perfectly with the milk before it ever sees heat. This combination, along with careful, constant stirring, guarantees you won’t end up with lumps. That’s the key ingredient for any lovely homemade chocolate pudding: patience while whisking!
Ingredients for the BEST Creamy & Easy Homemade Chocolate Pudding
When you’re making chocolate pudding from scratch, you need to respect the ingredients! This list is short, sweet, and relies on things I bet you already have in your pantry, but using good quality cocoa powder is my main piece of advice here. Don’t skimp! Since this is a stovetop recipe, it cooks up fast, but measure everything twice first so you don’t have to stop mid-whisk! We aren’t using any pre-made mixes, which is why the texture is so much better.
Ingredient Notes and Simple Chocolate Pudding Substitutions
Listen, this recipe really shines when you use whole milk. It gives the best richness and helps that pudding set up beautifully because of the fat content. If you absolutely have to use something else—say, 2%—just know it might be slightly thinner, so watch the thickness closely.
For the cocoa powder, the better the brand, the deeper your chocolate flavor will be. We aren’t using melted chocolate here; we rely strictly on good unsweetened cocoa powder to get that intense classic chocolate pudding punch. As for the egg yolks, they are essential for that gorgeous, silky mouthfeel, creating a truly velvety texture we aim for!
Stovetop Pudding Recipe: Step-by-Step Instructions for Perfect Chocolate Pudding
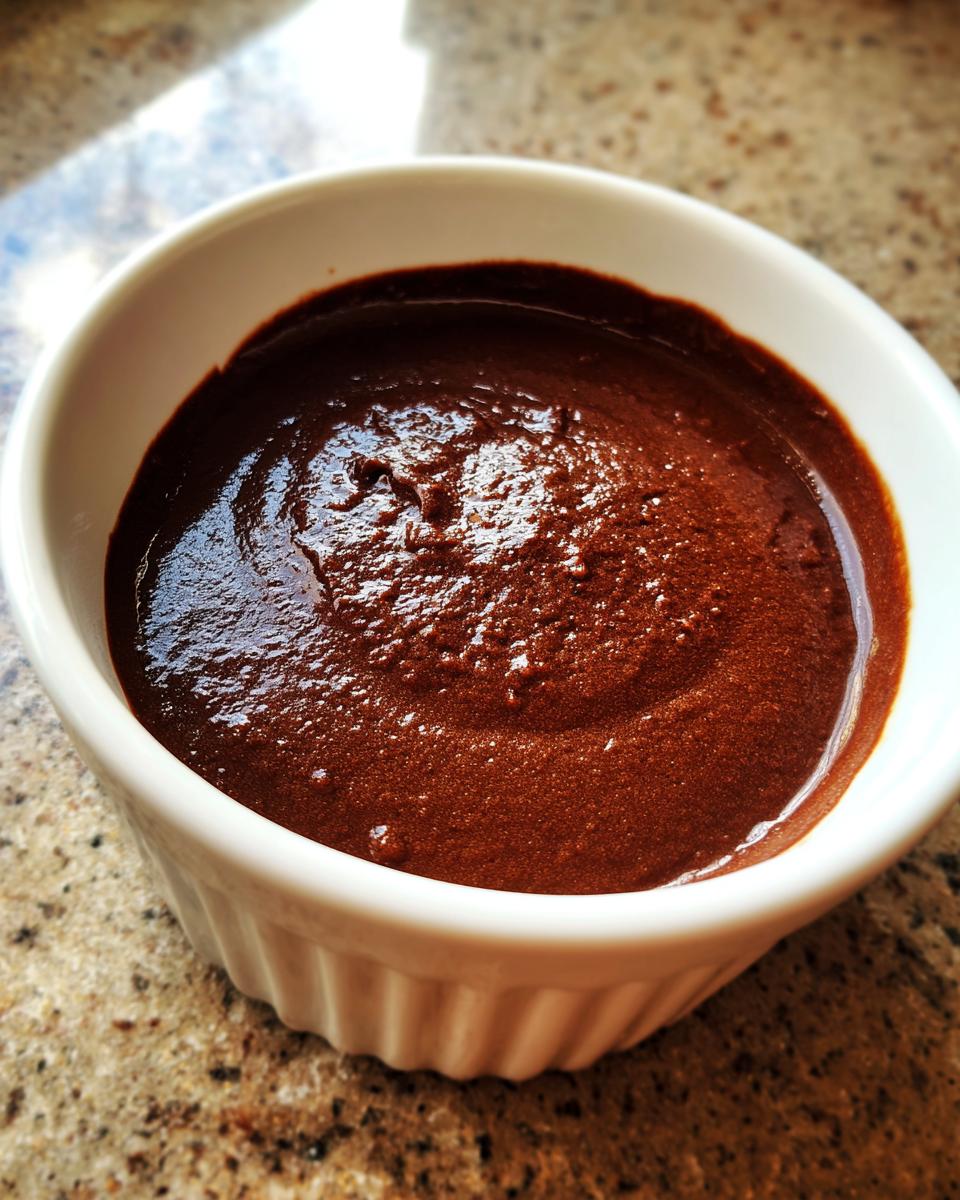
This is it—where the magic happens! Making this easy chocolate pudding on the stovetop is surprisingly fast, but you cannot walk away from the pot! We need nearly constant attention once the heat goes under it. Grab your best whisk because we need that mixture to be active the whole time. Follow these steps perfectly, and you’ll have a luscious dessert ready for the fridge in under 15 minutes of cooking time. This classic stovetop pudding recipe is foolproof if you just keep that whisk moving!
First, whisk all your dry stuff—sugar, cocoa, cornstarch, and salt—together in your saucepan. Then, stream in the milk slowly while whisking hard to get zero lumps. Now, turn the heat to medium. Keep stirring! When it starts bubbling, cook it for one minute more. This is crucial so that starchy cornstarch flavor cooks out completely! We want that rich, pure chocolate flavor, and I always check my garlic sauce recipe notes on whisking technique here—it’s the same idea!
Next, we pull it briefly off the heat to deal with those egg yolks. We don’t want scrambled eggs, only thick, creamy chocolate pudding, so pay close attention here. This next part is everything!
Mastering the Tempering Step for Creamy Chocolate Pudding
Tempering is just a fancy word for saying we need to gently introduce hot liquid to cold eggs so they don’t shock and curdle. Whisk your yolks well in a separate small bowl. Then, take about a half cup of that hot pudding mixture from the pot and drizzle it in *very* slowly while whisking the yolks maniacally. That pre-warms the eggs!
Once they look happy and warm, pour that tempered yolk mixture right back into the main pot. Return it to low heat, just stirring for one or two minutes until it thickens up properly. See? No lumps, just pure, velvety chocolate pudding!
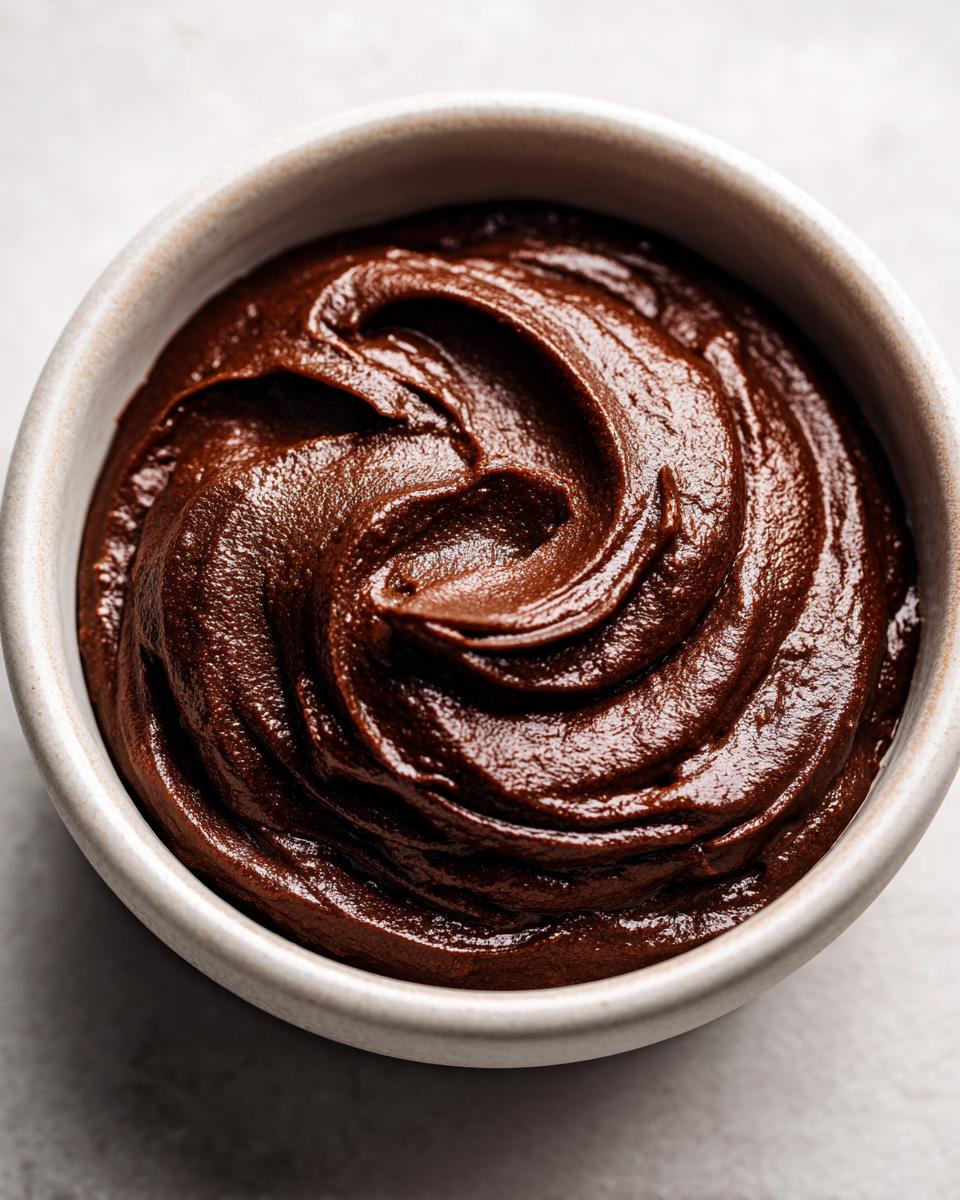
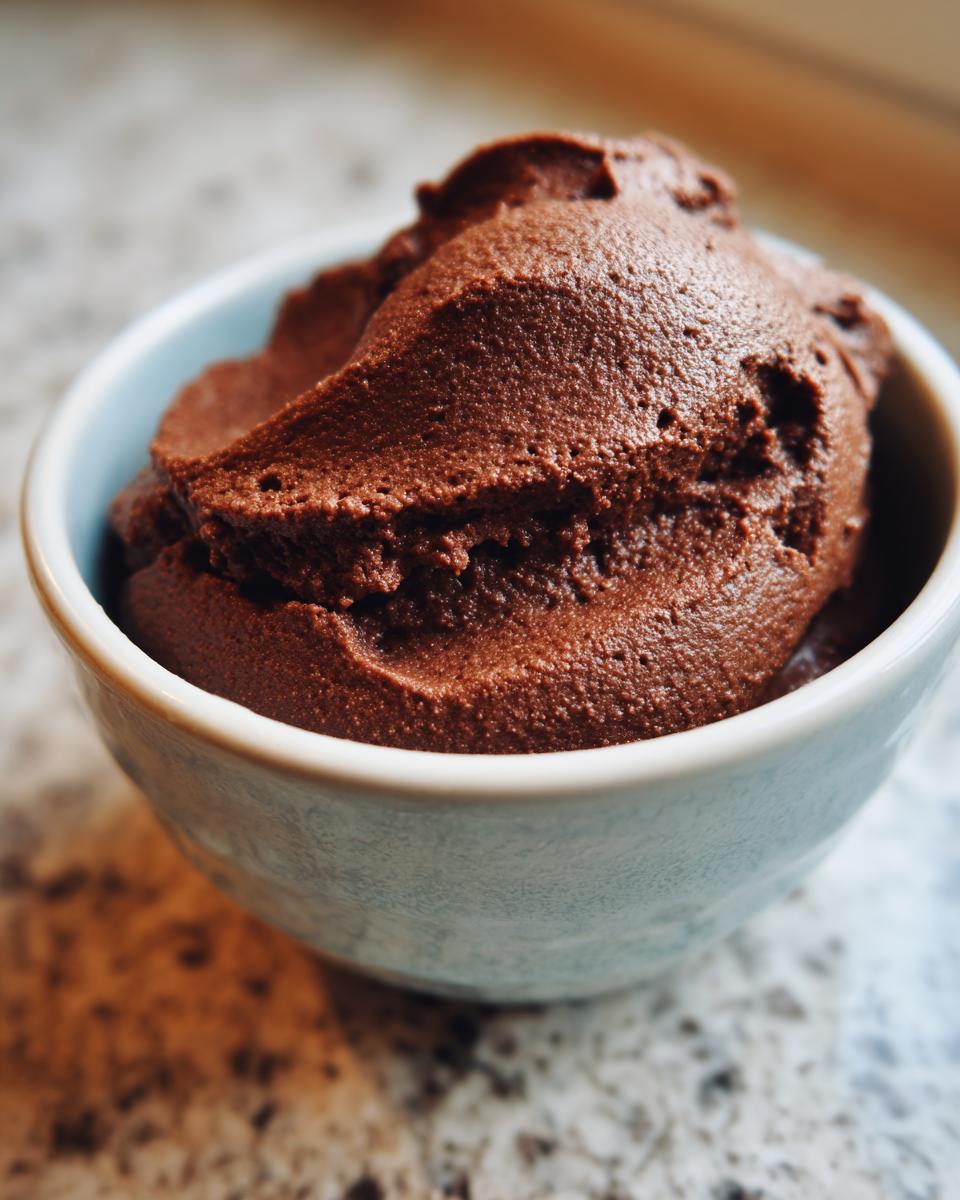
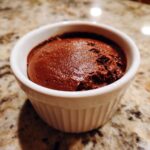
Finally, take it off the heat for the last time and immediately stir in your butter and vanilla until melted smooth. Pour it into serving bowls and press plastic wrap right onto the surface—don’t let it touch the pudding—to keep that annoying skin from forming while it chills in the fridge for at least two hours. That chilling time is non-negotiable for that perfect, dense texture!
Tips for Success When Making Your Chocolate Pudding
I’ve got a few little secrets tucked away from all my testing to make sure your homemade chocolate pudding isn’t just good, but absolutely the best. These aren’t complicated measures; they are just the little things that make a huge difference between ordinary and truly decadent. Following these guarantees you get that luxurious, velvety chocolate pudding texture every single time!
First, I mentioned using higher quality cocoa powder earlier, but it’s worth saying again. Since cocoa is the star flavor here, don’t grab the cheapest one off the shelf! A darker, richer cocoa makes a noticeably better pudding.
The second big thing, and this is crucial for that smooth finish: you must stir the mixture constantly while it’s heating up, particularly after it starts to thicken on the stove. If you let it sit, even for thirty seconds, those starches can grab the bottom of the pot, and you’re scrambling for the whisk to fix a few lumps. Be diligent until it comes off the heat!
Also, give the sugar a little taste test if you’re a bit unsure about sweetness. If you want a slightly deeper, less bright flavor, you can pull back just one tablespoon of the granulated sugar. It’s a tiny change, but it makes the chocolate flavor stand out just a bit more in this quick chocolate dessert.
Variations: Beyond Classic Chocolate Pudding
So, this recipe is fantastic as is—a truly remarkable classic chocolate pudding—but sometimes you want to shake things up or maybe you’re looking for something even richer or lighter, right? The base ingredients in this stovetop recipe are so reliable that they work beautifully as a foundation for other decadent desserts.
For instance, if you are looking for something incredibly rich, almost cake-like, you might want to look up Ina Garten’s famous brownie pudding. That one leans into fudginess and structure, making it perfect for a special dinner party dessert!
On the flip side, if you’re aiming for a healthier chocolate pudding option, you can absolutely adapt this. When I experiment that way, I usually swap out some of that whole milk for almond milk and try reducing the granulated sugar slightly, maybe using maple syrup instead, though you do have to watch how that affects the thickness since you lose some of the structure dairy provides.
It’s also amazing stirred with a spoonful of peanut butter for a twist, or you can try making a mocha version by adding a splash of strong brewed coffee right along with the milk! If you like rich, deeply flavored chilled desserts, you should also check out my recipe for mud pie for another wonderful option!
Storage and Reheating Instructions for Homemade Chocolate Pudding
Okay, getting your homemade chocolate pudding into the fridge is exciting, but you’ve got to do one small thing to keep it perfect. Remember when I told you to pour it into bowls? Now, take that plastic wrap and press it directly against the surface of the pudding! Seriously, do not leave a gap—any air touching the top means you’ll get that weird, rubbery skin, and nobody wants that on their velvety chocolate pudding.
It absolutely needs at least two hours in the refrigerator to set up properly; otherwise, it’s just warm, thick milk. Once completely cooled, it keeps beautifully for about three or four days. But listen, you don’t really want to reheat this! Since we used cornstarch and egg yolks to thicken it, warming it back up will mess up that beautiful creamy texture we worked so hard to achieve. It’s meant to be served cold!
Serving Suggestions for Your Decadent Chocolate Dessert
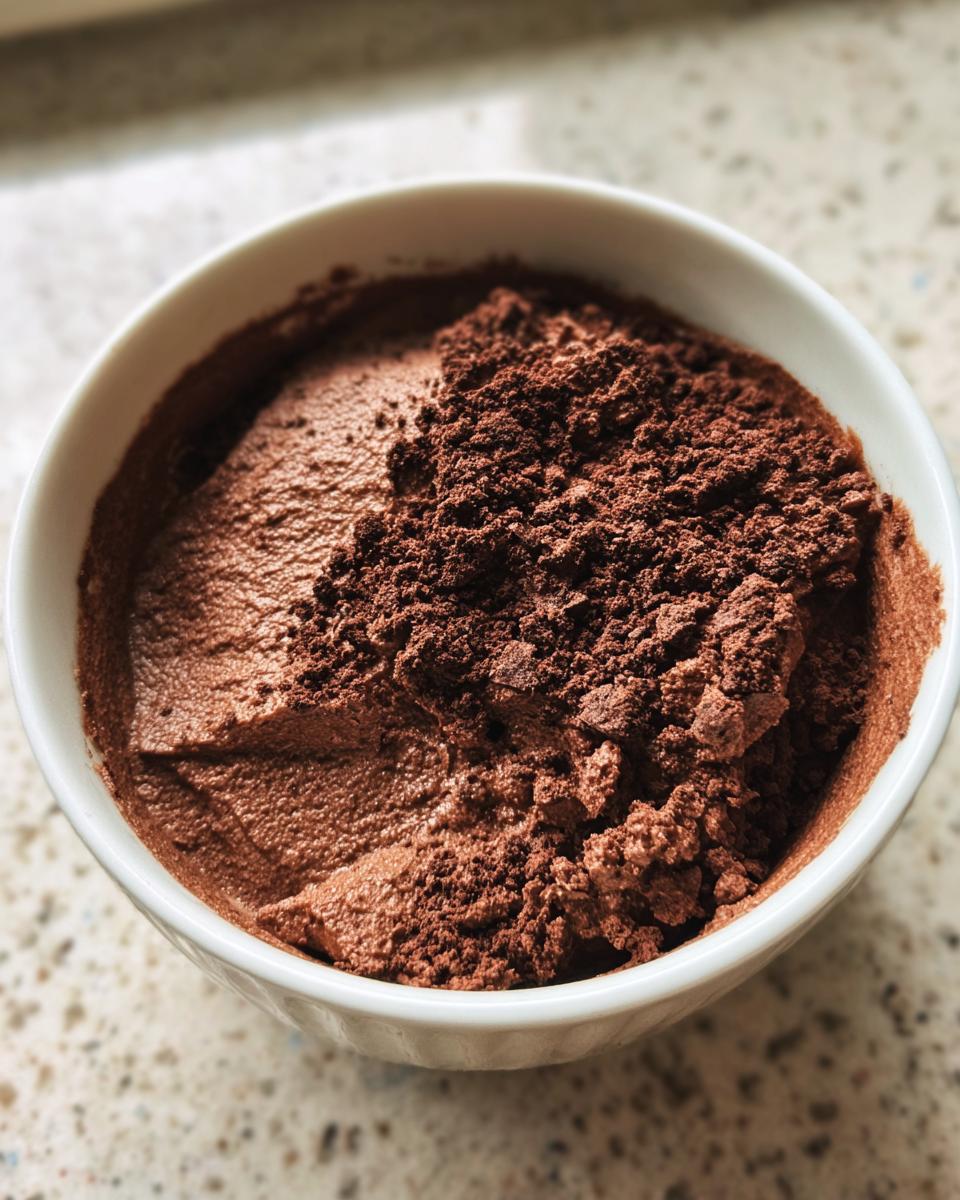
Now that you have this perfect, chilled, decadent chocolate dessert cooling in the fridge, the real fun begins: topping time! You’ve done the stovetop work, and now it’s time for garnishes. I like to keep it truly classic because the flavor of this pudding is so phenomenal on its own.
A huge dollop of freshly whipped cream is always my favorite way to go. Beat some heavy cream with just a tiny splash of vanilla and a teaspoon of powdered sugar until it holds soft peaks. That light, airy contrast against the dense pudding is just heavenly.
If you want a little brightness, fresh raspberries or sliced strawberries cut through the richness wonderfully. And for the true chocolate lover? Just grab a vegetable peeler and shave some dark chocolate right over the top when you serve it. It looks fancy, but it takes two seconds! Sometimes I even make a quick creamy topping just like I do for my banana smoothies, but using cream cheese instead of banana!
Frequently Asked Questions About Easy Chocolate Pudding Recipe
I get so many questions about this simple chocolate pudding, and that’s wonderful! It means you all are excited to make this creamy version from scratch. Most folks worry about the texture or if they can whip this up when they are strapped for time. I’ve tried to keep this recipe as forgiving as possible, but I know you still have questions about deviations, especially since we aren’t relying on a box mix.
So, let’s clear up the common sticking points for anyone looking for the very best homemade chocolate pudding experience. If you have more questions after this, feel free to check out my thoughts on making quick weekday meals, too!
Can I make this chocolate pudding without egg yolks?
Oh, that’s a tough one! The egg yolks are really what give you that luxurious, velvety chocolate pudding mouthfeel we talk about constantly. They add richness and color, too. If you absolutely must skip them, you can increase the cornstarch by about one extra tablespoon to compensate for some of the thickening power lost. But I have to warn you, it won’t be quite as rich and won’t have that beautifully dense texture that makes this homemade chocolate pudding so great. It will be more of a starch-based sauce than a true, classic pudding.
How long does this chocolate pudding last in the fridge?
Since this recipe uses fresh milk and no artificial preservatives, you want to enjoy it while it’s at its freshest and creamiest. Stored correctly—remember that plastic wrap pressed right onto the surface—this homemade chocolate pudding stays wonderfully delicious for about four full days in the refrigerator. After day four, the starches start to break down a little, and the flavor just isn’t as bright, so try to plan accordingly!
How do you prevent a skin from forming on top of stovetop pudding?
This is my number one peeve with pudding! The skin forms because the moisture on the surface evaporates and dries out while it cools, creating that weird rubbery layer. The single best trick is what I showed you in the instructions: press plastic wrap directly onto the surface of the pudding immediately after pouring it into your bowls. Don’t leave any air gap! If you do this, you’ll be rewarded with perfectly smooth, creamy chocolate pudding every time you uncover it later.
What happens if my pudding seems too thin after chilling?
If you chill your easy chocolate pudding recipe and it seems like it didn’t quite set up, nine times out of ten, it means your cornstarch didn’t fully cook out. If it’s just a little thin, don’t panic! Scoop it into a saucepan and gently warm it back up over very low heat, whisking constantly. Whisk in just one more teaspoon of cornstarch mixed with a tablespoon of cold milk until it thickens slightly, then re-temper and cool again. Do not boil after the yolks go back in!
Share Your Experience Making This Chocolate Pudding
Now that you’ve made this incredible stovetop chocolate pudding, I truly want to hear about it! Did it set up perfectly? Did you use whipped cream or berries on top? Please leave a rating below and tell me about your results in the comments. It’s what makes Cooking by Carla feel like a true community, and I love seeing your sweet successes! If you have any follow-up questions, please reach out via my contact page.
PrintThe BEST Creamy & Easy Homemade Chocolate Pudding (From Scratch)
Make rich, velvety chocolate pudding from scratch using simple pantry staples. This stovetop recipe guarantees a creamy texture that beats any boxed mix.
- Prep Time: 10 min
- Cook Time: 15 min
- Total Time: 25 min
- Yield: 4 servings 1x
- Category: Dessert
- Method: Stovetop
- Cuisine: American
- Diet: Vegetarian
Ingredients
- 1/2 cup granulated sugar
- 1/4 cup unsweetened cocoa powder
- 1/4 cup cornstarch
- 1/4 teaspoon salt
- 2 cups whole milk
- 2 large egg yolks
- 2 tablespoons unsalted butter
- 1 teaspoon vanilla extract
Instructions
- In a medium saucepan, whisk together the sugar, cocoa powder, cornstarch, and salt until combined.
- Gradually whisk in the milk until the mixture is smooth.
- Place the saucepan over medium heat. Cook, stirring constantly with a whisk, until the mixture thickens and begins to bubble. This takes about 8 to 10 minutes.
- Once bubbling, continue to cook and whisk for 1 minute more to cook out the cornstarch taste. Remove the pan from the heat.
- In a small bowl, whisk the egg yolks lightly. Temper the yolks by slowly whisking about 1/2 cup of the hot pudding mixture into the yolks.
- Pour the tempered yolk mixture back into the saucepan, whisking constantly.
- Return the saucepan to low heat. Cook for 1 to 2 minutes, stirring constantly, until the pudding is thick. Do not let it boil after adding the yolks.
- Remove from heat. Stir in the butter and vanilla extract until the butter melts and is fully incorporated.
- Pour the pudding into individual serving bowls or a single large bowl. Press plastic wrap directly onto the surface of the pudding to prevent a skin from forming.
- Chill in the refrigerator for at least 2 hours, or until cold and set.
Notes
- For a richer flavor, use high-quality cocoa powder.
- To achieve a truly velvety texture, stir the mixture constantly while cooking, especially after it starts to thicken.
- If you prefer a less sweet pudding, reduce the sugar by 1 tablespoon.
- This recipe is a great base for a quick chocolate dessert.
Nutrition
- Serving Size: 1 serving
- Calories: 280
- Sugar: 32
- Sodium: 150
- Fat: 11
- Saturated Fat: 6
- Unsaturated Fat: 5
- Trans Fat: 0
- Carbohydrates: 40
- Fiber: 2
- Protein: 7
- Cholesterol: 85