
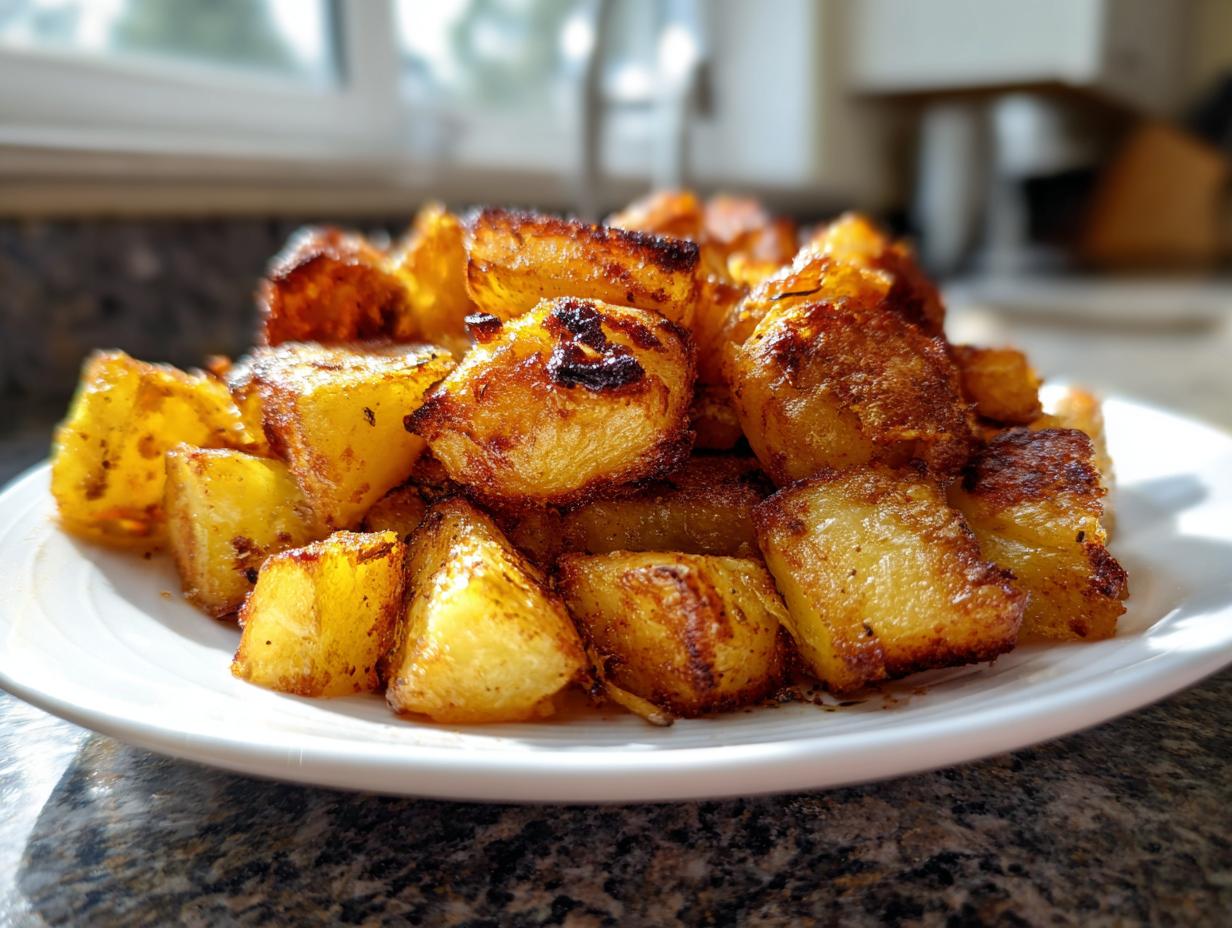
Oh, the tragedy of soggy breakfast potatoes! There is absolutely nothing worse than looking forward to that beautiful golden-brown crunch promised in every brunch dream, only to bite into something limp and disappointing. Well, my friends, that ends today! Forget flipping things constantly in a greasy skillet until your arm aches. We’re going to conquer crispiness with simplicity using The Ultimate Crispy Oven Roasted Breakfast Potatoes recipe.
Because I spent 30 years teaching kids how to follow directions clearly, I’ve broken down this roasting method so you can trust it completely. My life growing up in the Midwest taught me that good food doesn’t need complexity, just reliable technique. Trust me, these potatoes come out perfectly golden and loaded with flavor every single time you try this method.
- Why These Are The Best Breakfast Potatoes You Will Ever Make
- Ingredients for Perfect Oven Roasted Breakfast Potatoes
- Step-by-Step Instructions for Quick Morning Potato Recipe
- Tips for Success with Your Breakfast Potatoes
- Variations: Making Loaded Potato Breakfast Bake Style Breakfast Potatoes
- Storage and Reheating Instructions for These Savory Breakfast Sides
- Frequently Asked Questions About Breakfast Potatoes
- Estimated Nutritional Data for Simple Seasoned Potatoes
- Share Your Crispy Breakfast Potatoes Experience
Why These Are The Best Breakfast Potatoes You Will Ever Make
I promise you, these breakfast potatoes are the ones worth making year after year. Why? Because they hit the trifecta: maximum crispiness, super easy weeknight prep, and they still get that glorious, fluffy texture inside. You get the satisfaction of a perfectly developed crust and a tender center, all thanks to the oven doing the heavy lifting.
- Incredibly crispy edges
- Perfectly tender interior contrast
- Simple seasoning blend makes them perfect for any meal
If you want more morning magic on your plate, check out some of my other easy breakfast recipes!
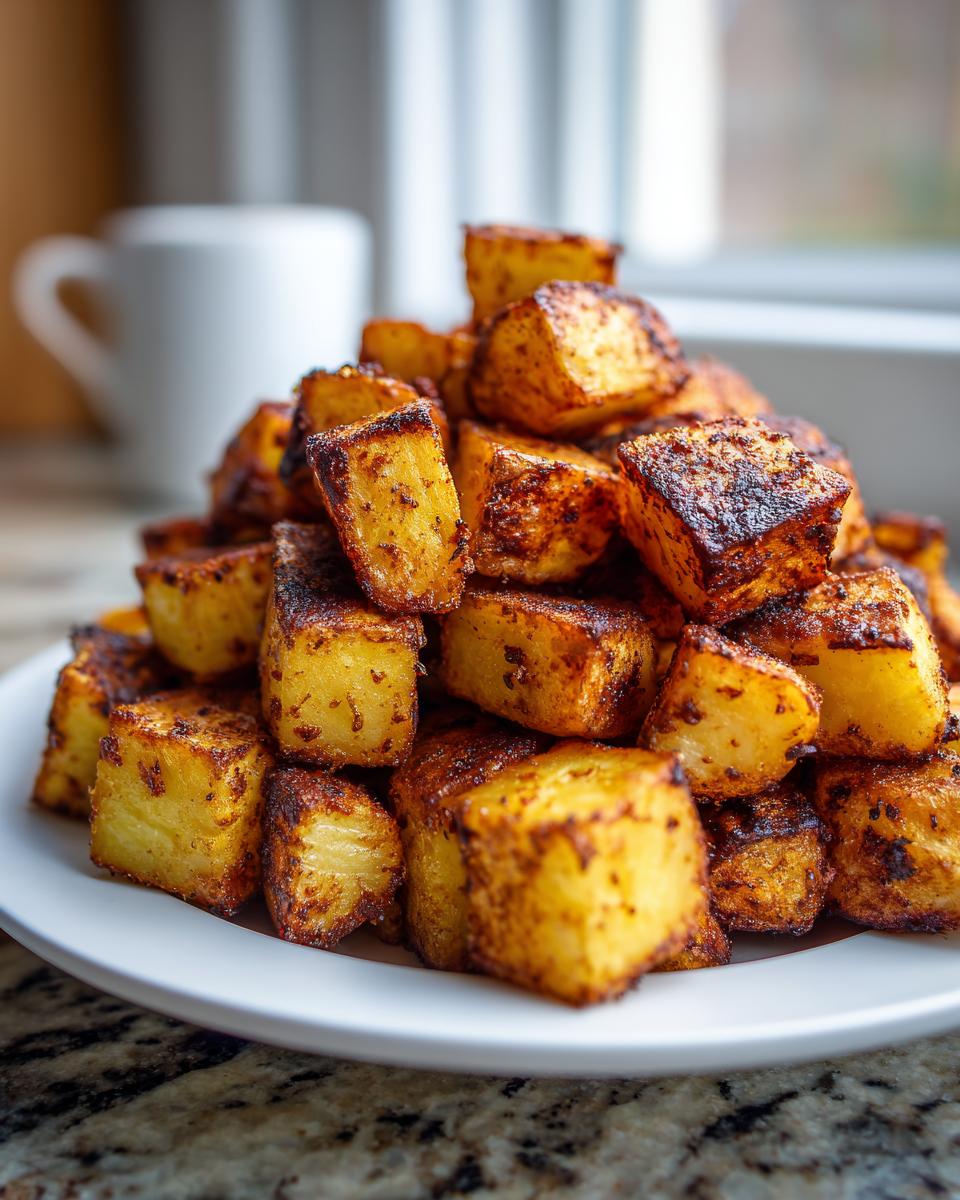
Achieving Golden Brown Potatoes Every Time
The real game-changer here isn’t the paprika, though that’s tasty! It’s the prep work we do before they even touch the oven. We are going to soak those cubed potatoes in cold water first. Sounds silly, right? But that soaking step pulls out all that surface starch. Then, you dry them until you think they can’t get any drier—and then dry them once more! Trust me on this hack; that dry surface is what explodes into those amazing golden brown potatoes when the heat hits them. No soggy sides allowed in my kitchen!
Ingredients for Perfect Oven Roasted Breakfast Potatoes
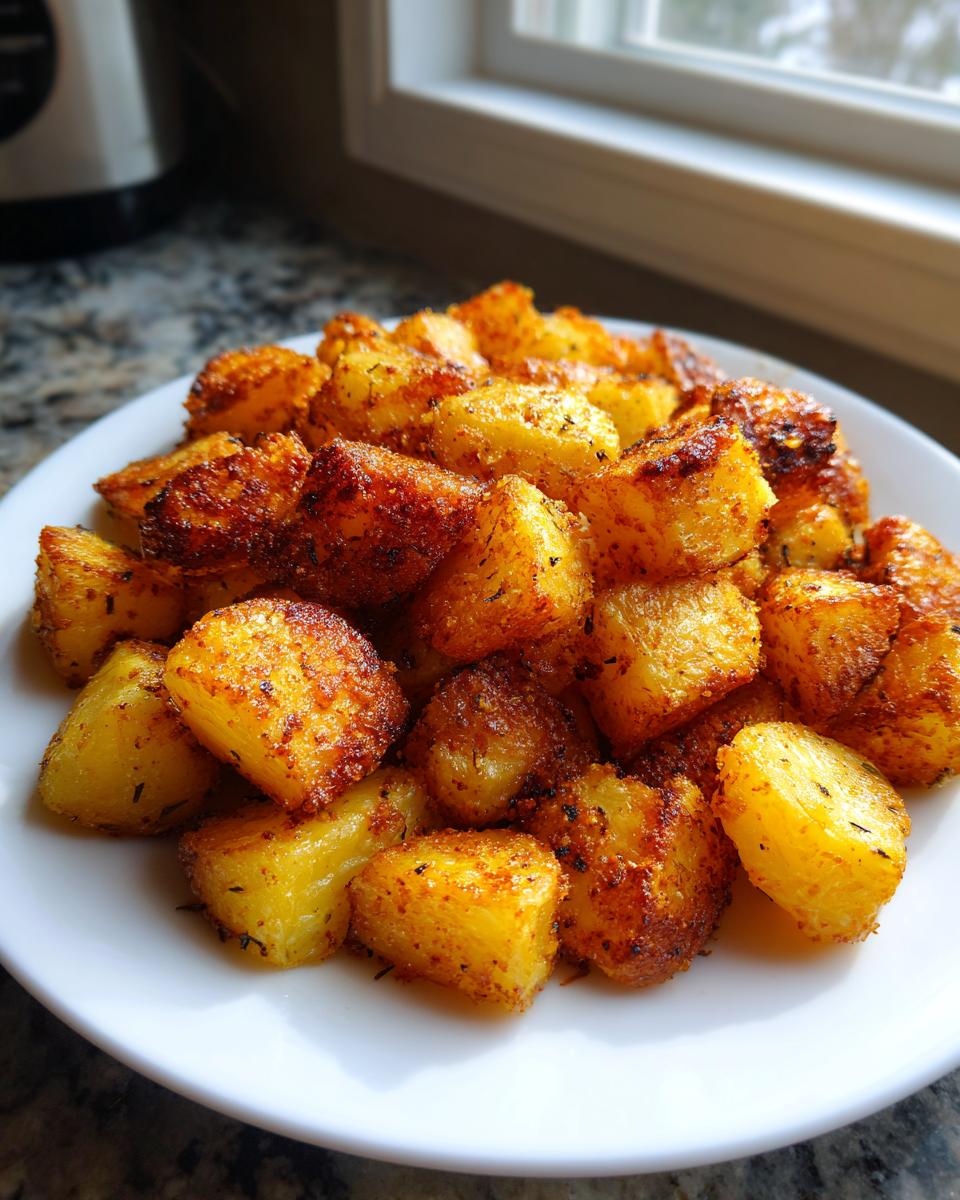
Gathering what you need for these amazing roasted breakfast potatoes is half the fun! Since we are focusing on simple, reliable results, we don’t need a huge grocery list. You’ll be thrilled to know this recipe is completely Gluten Free breakfast potatoes, too, so everyone at your table can enjoy them!
For this recipe that makes about four generous servings, you’ll need about two pounds of Yukon Gold potatoes, which I love because they stay fluffy inside. Then measure out two tablespoons of fat—I suggest olive or avocado oil, but we’ll talk about oil later! For the seasoning mix that makes these taste so savory, grab one teaspoon of smoked paprika, one teaspoon of garlic powder, half a teaspoon of onion powder, half a teaspoon of dried rosemary, half a teaspoon of salt, and just a quarter teaspoon of black pepper.
Ingredient Notes and Substitutions
Listen up, because ingredient choice really matters when you are aiming for that ultimate crisp factor. I insist on Yukon Gold potatoes, you guys. They have the right amount of starch to get beautifully fluffy on the inside while crisping up perfectly on the outside. If you try Russets, they might get a little too crumbly on the edges, and we are not aiming for crumbly here; we want texture!
Also, make sure whatever oil you choose has a high smoke point. Olive oil works great, but if you’re roasting at a high temperature like we are, avocado oil is your best friend because it won’t smoke up your kitchen just because you want golden brown potatoes. Never skimp on drying the potatoes after the soak—the oil needs something dry to adhere to, not water!
Step-by-Step Instructions for Quick Morning Potato Recipe
Alright, let’s get these breakfast potatoes into the oven! The hardest part is waiting for them to bake, I promise. We want everything ready to go so we can get that fantastic result fast. Remember, clarity is key, and I want you to succeed!
- First things first: Crank that oven up! We need it nice and hot at 425°F (220°C). Line a large baking sheet with parchment paper—that’s your little helper for easy cleanup later.
- Next, we’re prepping the cubes. We’ll season them up after this vital step.
- Toss your cubes with the oil, spreading them out so they are happy and alone on the baking sheet. No crowding allowed!
- Mix up your seasoning blend—that gorgeous garlic and paprika combo—and toss it over the oiled potatoes until every piece is coated in color.
- Time to roast! Put them in for 20 minutes. Then, pull them out, flip them over gently, and send them back in for another 15 to 20 minutes. That two-stage process is what locks in the crispness.
If you’re looking for other meals to fit into a busy day, check out my guide to quick healthy lunch ideas while these bake!
The Secret to Fluffy Interior Potatoes: Preparation
Okay, this might seem like an extra hassle, but please don’t skip soaking step number two. When you cut potatoes, they release surface starch, and that starch burns easily, turning into mush instead of crust when it hits the heat. Soaking those cubes in cold water for about 30 minutes washes that bad starch away.
When you drain them, you must pat them bone-dry. I mean it! Use a clean kitchen towel or paper towels and just keep rubbing until you feel like you’ve removed every drop of moisture. When the outside is dry, the oil adheres better, and it allows the exterior of the potato to roast hard and crisp instead of steaming itself into softness. That’s how we get that fluffy interior contrast!
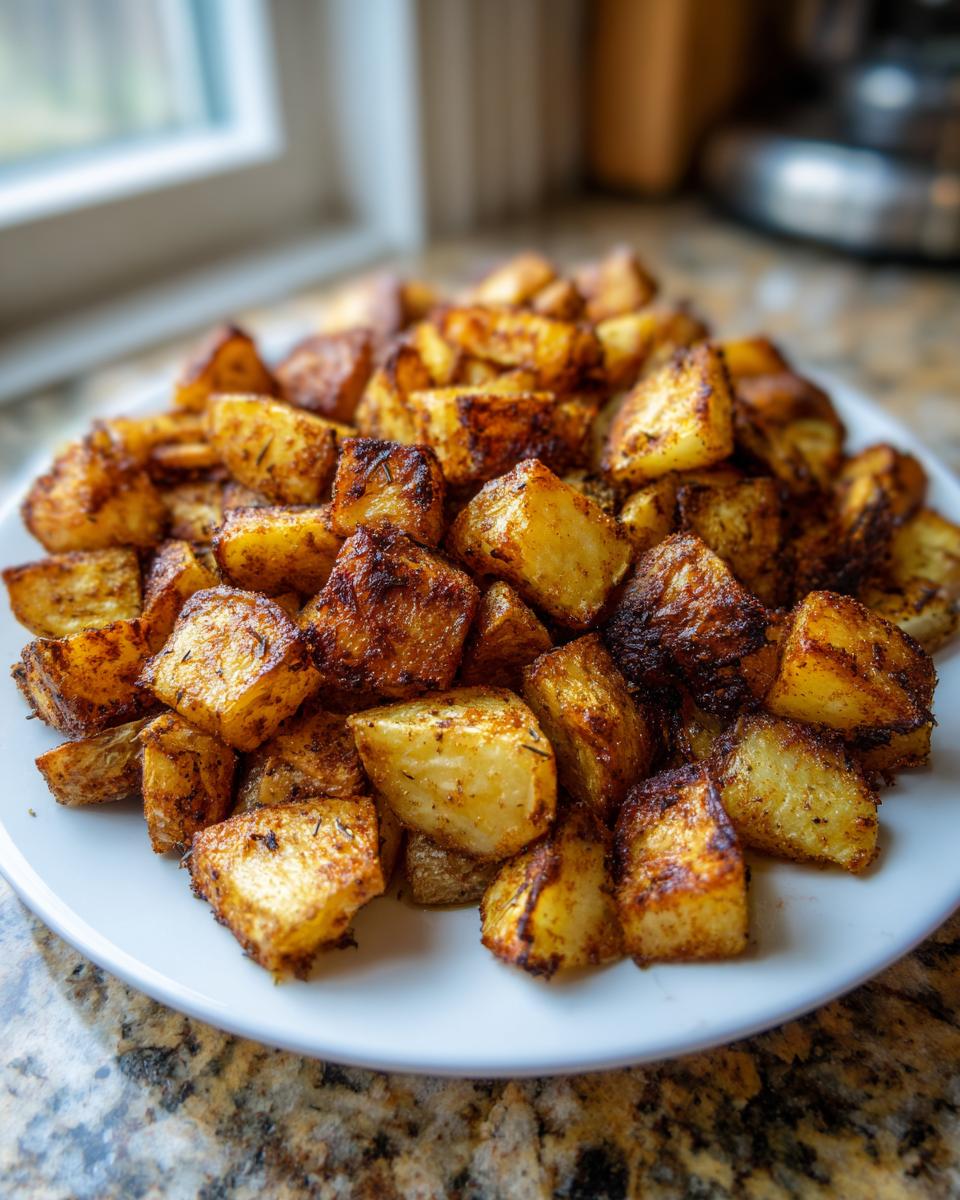
Roasting Technique for Ultimate Crispiness
Once they are seasoned and oiled, pay close attention to how you arrange them on that baking sheet. They absolutely need to be in a single layer. If you pile your seasoned potatoes on top of each other, they steam, plain and simple. Steamy potatoes are sad potatoes!
We roast them for half the time, then we flip them. Flipping ensures that all sides get direct contact with that hot metal pan, which is necessary for developing those beautiful, all-around **golden brown potatoes**. If your pan is too full, you won’t get the crisping you want. If you have more than two pounds of potatoes, get a second baking sheet out—it’s worth the extra dish to wash for the incredible resulting texture!
Tips for Success with Your Breakfast Potatoes
I want your experience making these breakfast potatoes to be perfect, even if life throws you a curveball! The number one piece of advice, which I learned the hard way, is simple: absolute dryness is your best friend for crispiness. Seriously, if they’re not completely dry after the soak, you might as well just boil them!
Now, what if you don’t have oven space or you’re trying to make a quick batch on a weekday? You absolutely can use the skillet method! Just grab a big, heavy cast iron skillet—you know I love my cast iron—and heat it over medium-high heat. Toss in your seasoned potatoes and let them sit for a bit to get that good sear before stirring. You’ll stir them every now and then—think stirring every 5 to 7 minutes—and they’ll be done in about 25 to 30 minutes total. It’s a little more hands-on than the oven, but you still get fantastic results for a savory breakfast side dish.
If you need more simple cooking ideas for those busy days, swing by my collection of simple weeknight dinners for inspiration!
Variations: Making Loaded Potato Breakfast Bake Style Breakfast Potatoes
While I hold dear the simplicity of these straight-up seasoned breakfast potatoes—because sometimes you just need that perfect, clean flavor—I totally get the urge to load them up, especially if you’re making them for a hearty weekend brunch! Think of the base recipe we just made as your fantastic, crispy foundation.
If you want to lean into that “loaded” feeling, you don’t have to turn this into a massive casserole. The easiest way to upgrade is right near the end of baking! Remember how I mentioned you could toss in some chopped onion during those last 15 minutes? That’s step one for making these more substantial. The onions will caramelize beautifully on the edges without getting mushy.
Once your potatoes are totally done—golden brown and fork-tender—you can pull them out and load them up right on the baking sheet. Seriously, just sprinkle on some shredded cheddar cheese, maybe some crumbled cooked bacon or sausage, and pop them back under the broiler for just two or three minutes. Watch them like a hawk during this part, though! We just want the cheese melted and gooey, not burned.
This gives you all the satisfying flavor of a brunch bake without needing to mix eggs or heavy liquids into the initial roast, which would totally mess up our lovely crisp texture. Serve those cheesy, bacon-y delights with a dollop of sour cream and chives, and you’ve gone from a simple side dish to a full-on event! If you’re looking for some other fun, shareable meals, take a peek at my easy appetizer and snack recipes!
Storage and Reheating Instructions for These Savory Breakfast Sides
Now, if you happen to have any of these incredible, crispy breakfast potatoes left over—which, let’s be honest, is rare at our house—you need to store them correctly so they aren’t sad and floppy tomorrow morning. We worked hard to get that perfect texture, so we aren’t going to ruin it with improper storage!
The best way to keep these leftovers is by letting them cool down completely first on the counter. Once they are room temperature, transfer them into an airtight container. You want to avoid plastic wrap directly on the surface if you can, as the steam can soften any remaining crisp bits. Store them in the refrigerator for up to three or four days. They are definitely still safe after that, but the texture starts to go downhill fast.
When it comes to reheating, please just avoid the microwave! I know it’s fast, honey, but the microwave steams food, and we are trying entirely to avoid steam. If you want to bring back that crispness in these savory breakfast sides, you need dry heat.
Your best bet is the oven or even an air fryer if you have one! For the oven, spread the potatoes out on a clean baking sheet and toss them in at about 375°F (190°C) for about 8 to 10 minutes. They’ll crisp right back up! If you’re using an air fryer, it’s even quicker—just about 4 minutes at 380°F (195°C), shaking the basket halfway through. It takes just a couple of extra minutes, but you get virtually crispy perfection back, making these leftovers almost as good as fresh!
Frequently Asked Questions About Breakfast Potatoes
I know you might still have some burning questions about achieving potato perfection, especially if life is busy and you need a truly quick morning potato recipe. Don’t worry, I’ve collected a few things folks ask me all the time about getting those beautiful, savory sides just right. I want you to feel confident every single time you make them!
If you want to dive even deeper into potato roasting secrets, sometimes I refer to tips found on places like expert recipe guides!
How can I make these potatoes even faster than the oven method?
That’s a fair question, because sometimes you wake up wanting those crispy cubes *right now*! If you have an air fryer, that’s your fastest ticket to success. You can toss the seasoned, oiled potatoes in the air fryer basket—make sure you aren’t overcrowding it, or they steam! Cook them at about 400°F (200°C) for about 15 to 18 minutes total, shaking the basket every 6 or 7 minutes. They cook up beautifully crispy in almost half the standard oven time. That’s how you get a fast, satisfying side dish without sacrificing texture!
Can I use sweet potatoes for this recipe?
Yes, you absolutely can swap in sweet potatoes! They are a delicious alternative and still make wonderful gluten free breakfast potatoes. The one thing you need to remember, though, is that sweet potatoes have higher water content than Yukons. Because of that, they tend to cook a little faster and brown a bit easier.
If you are using sweet potatoes, I suggest you check for doneness about 5 minutes earlier than the recipe calls for with the regular potatoes. Also, I pull back on the roasting temperature just a tiny bit, maybe to 400°F, just to give those sugars a chance to caramelize without burning before the inside is soft. They taste amazing, so go for it!
Estimated Nutritional Data for Simple Seasoned Potatoes
When you’re enjoying these fantastic simple seasoned potatoes, it’s always good to have a ballpark idea of what you’re eating. I’ve put together an estimate based on the ingredients listed in the recipe for four hearty servings. Remember, cooking is an art, and these numbers are just a guide since every potato and every drizzle of oil is slightly different!
This information should help you fit these perfectly savory breakfast sides right into your week, knowing they are naturally gluten-free and packed with goodness. These figures are estimates based on what we used in the recipe above, so think of them as a helpful starting point!
- Serving Size: 1 serving
- Calories: 250
- Fat: 10g
- Saturated Fat: 1.5g
- Carbohydrates: 38g
- Fiber: 4g
- Protein: 5g
- Sugar: 2g
- Sodium: 350mg
We definitely lean into the healthy side, with very little sugar and a good helping of fiber from those beautiful potatoes. So go ahead and pile those crispy cubes high on your plate!
Share Your Crispy Breakfast Potatoes Experience
Well, we did it! We conquered the soggy potato monster and created truly glorious, crispy breakfast potatoes that are an easy potato side dish for any morning.
I’ve given you all my secrets—the soaking, the drying, the hot oven—and now I truly want to see what you’ve made! Please snap a picture of your perfectly golden cubes and share them with me on social media. Tag me so I can see how great they look next to your eggs and bacon!
If this recipe was the answer to your crispy potato prayers, I’d be so tickled if you rated it with five stars right down below in the comments section. Letting me know how the recipe worked for you helps other home cooks gain confidence trying it out. It means the world to me when I hear that one of my tried-and-true recipes made your breakfast just a little bit better.
If you loved these savory sides and want more wholesome, reliable recipes that taste like homecooking, don’t forget to stick around! You can check out my collection of best dessert recipes for when you need a sweet follow-up to your perfect spuds. Happy cooking, friends!
PrintThe Ultimate Crispy Oven Roasted Breakfast Potatoes

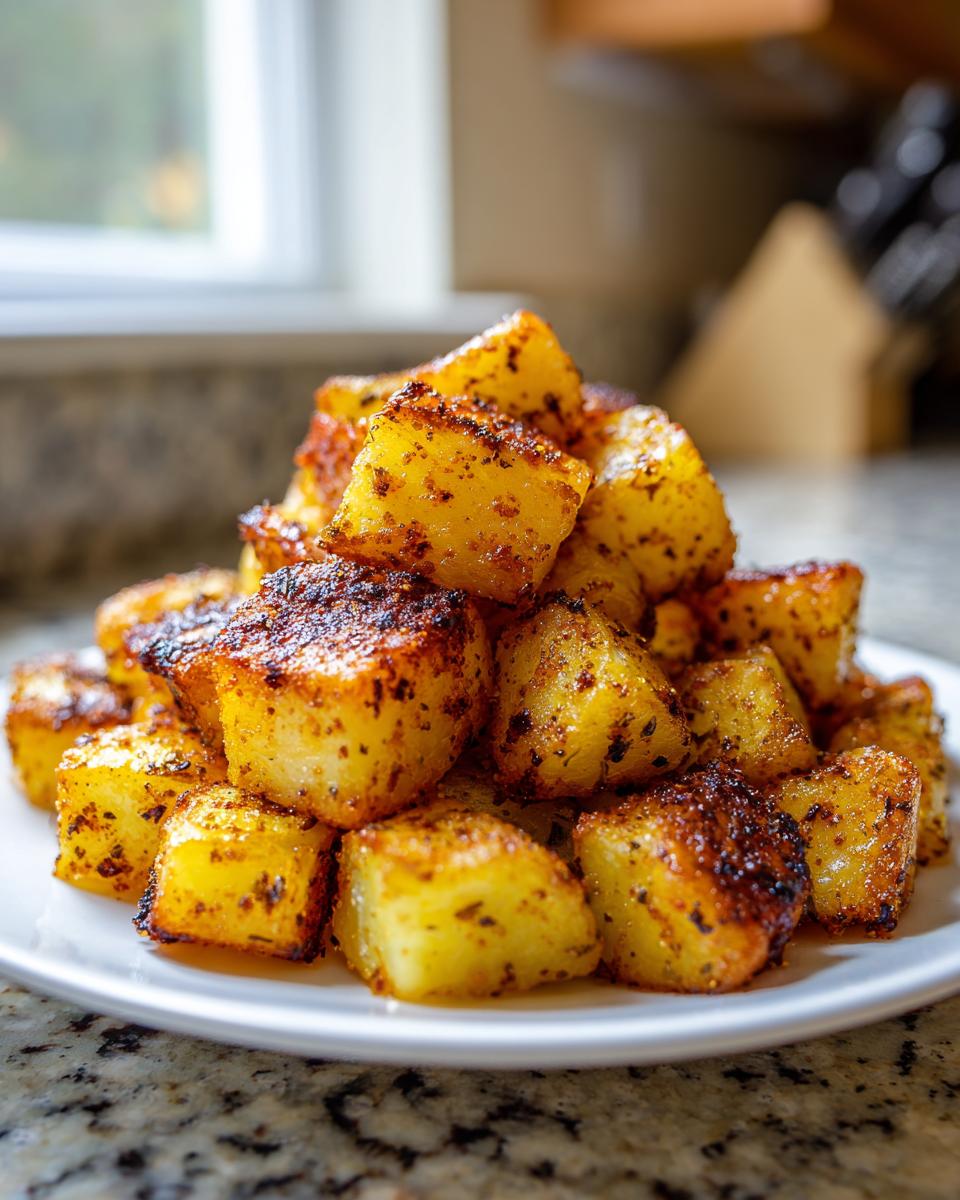
Make perfectly crispy breakfast potatoes with a fluffy interior using simple seasonings like garlic and paprika. This oven-roasted side dish is easy to prepare for any morning meal.
- Prep Time: 15 min
- Cook Time: 40 min
- Total Time: 55 min
- Yield: 4 servings 1x
- Category: Side Dish
- Method: Oven Roasting
- Cuisine: American
- Diet: Gluten Free
Ingredients
- 2 lbs Yukon Gold potatoes, cut into 1-inch cubes
- 2 tablespoons olive oil or avocado oil
- 1 teaspoon smoked paprika
- 1 teaspoon garlic powder
- 1/2 teaspoon onion powder
- 1/2 teaspoon dried rosemary
- 1/2 teaspoon salt
- 1/4 teaspoon black pepper
Instructions
- Preheat your oven to 425°F (220°C). Line a large baking sheet with parchment paper for easy cleanup.
- Place the cubed potatoes in a large bowl. For extra crispness, soak the potatoes in cold water for 30 minutes, then drain them completely and pat them very dry with paper towels. This step is key for golden brown potatoes.
- In the bowl, toss the dry potatoes with olive oil until they are evenly coated.
- In a small bowl, mix together the smoked paprika, garlic powder, onion powder, dried rosemary, salt, and pepper.
- Sprinkle the seasoning mixture over the potatoes and toss again until every piece is well coated.
- Spread the seasoned potatoes in a single layer on the prepared baking sheet. Do not overcrowd the pan; use two sheets if necessary to promote crisping.
- Roast for 20 minutes. Remove the pan and flip the potatoes.
- Return to the oven and roast for another 15 to 20 minutes, or until the potatoes are golden brown and crispy on the outside and tender inside.
- Serve immediately as a savory breakfast side dish.
Notes
- For the best results and maximum crispiness, make sure the potatoes are completely dry before adding oil and seasoning.
- If you prefer a skillet method, cook the potatoes in a large cast iron skillet over medium-high heat, stirring occasionally, until golden brown, about 25 to 30 minutes total.
- You can add 1/2 cup of chopped onion during the last 15 minutes of roasting for extra flavor.
Nutrition
- Serving Size: 1 serving
- Calories: 250
- Sugar: 2
- Sodium: 350
- Fat: 10
- Saturated Fat: 1.5
- Unsaturated Fat: 8.5
- Trans Fat: 0
- Carbohydrates: 38
- Fiber: 4
- Protein: 5
- Cholesterol: 0