
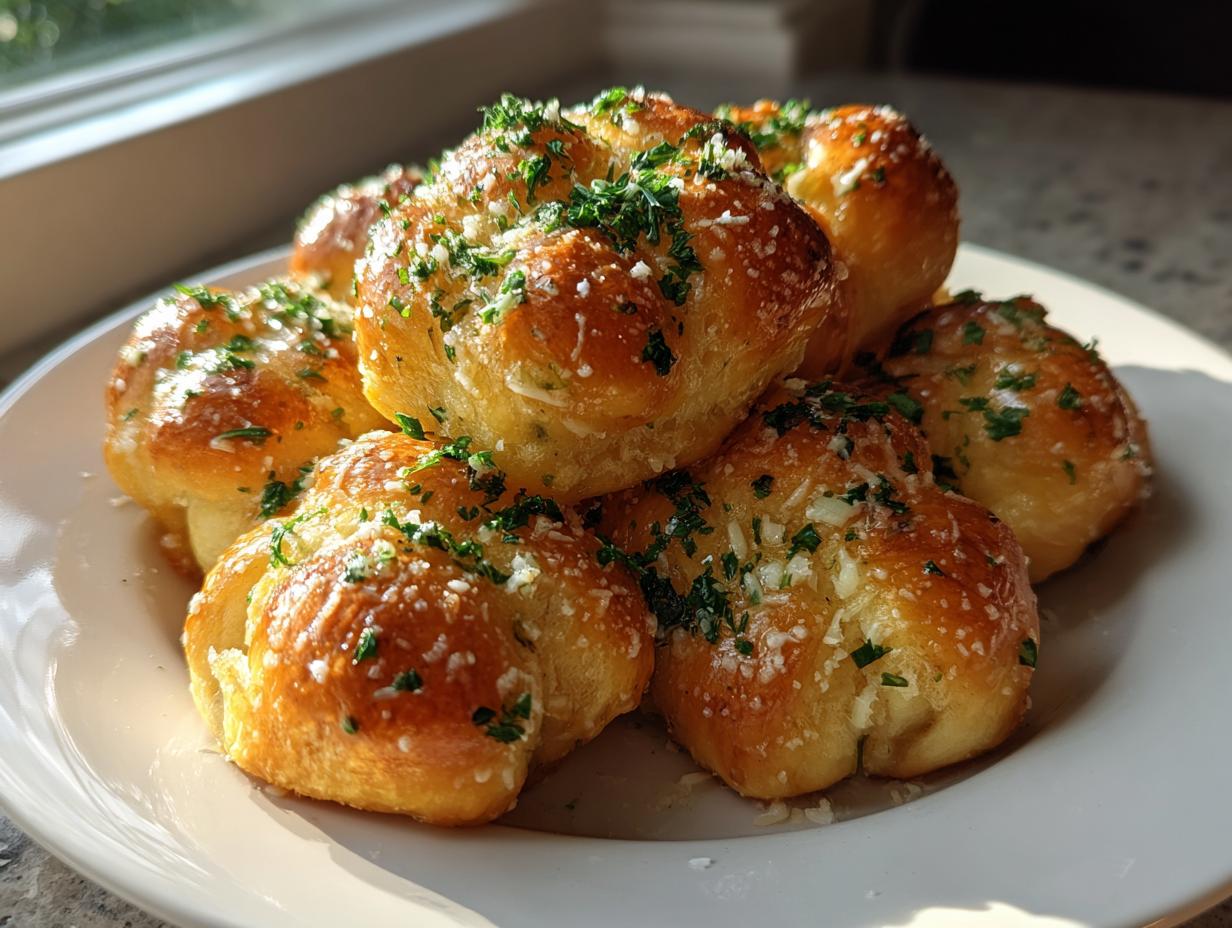
Oh, there is just nothing in this world quite like the smell of fresh-baked bread filling your kitchen. It’s the best kind of welcome! If you’re looking for an appetizer that disappears before the main course even hits the table, you absolutely must try my recipe for homemade garlic knots. I’ve tinkered with this recipe for years to get that perfect pull—soft on the inside, slightly chewy on the outside, and drenched in garlic butter. Seriously, they are better than what you find at your favorite Italian spot. Making bread from scratch used to feel intimidating, but I promise you, this formula is one of those no-fail ones I developed just for my grandchildren. If you love softer bread like this, you should also check out my wonderful soft and fluffy dinner rolls recipe!
- Why You Will Love These Homemade Garlic Knots
- Ingredients for the Best Homemade Garlic Knots
- Mastering the Quick Yeast Dough for Homemade Garlic Knots
- Rising and Shaping Restaurant Style Garlic Knots at Home
- Baking the Perfect Homemade Garlic Knots
- Creating the Rich Garlic Butter Dipping Sauce for Bread Topping
- Tossing and Finishing Your Savory Baked Goods
- Tips and Variations for Homemade Garlic Knots
- Frequently Asked Questions About Making Garlic Knots
Why You Will Love These Homemade Garlic Knots
Why mess around with dried-out bread when you can have this? These knots are truly special, and I know you’ll see why they are one of my family’s go-to appetizer recipes with dough. Trust me on this one!
- They deliver that perfect soft and chewy bread texture every time.
- That rich garlic butter coating just sinks into every corner.
- It’s a truly foolproof bread making process, even for beginners.
If you want to feel confident in the kitchen, you’ve got to start with a dependable recipe like this. You can learn more about my philosophy on foolproof bread making here!
Ingredients for the Best Homemade Garlic Knots
When we bake, precision counts, especially when we’re aiming for those incredible homemade garlic knots. I always measure carefully because throwing ingredients together haphazardly leads to crunchy knots instead of the soft dinner rolls recipe quality we are after. Don’t skip reading the little notes next to the ingredients; they are my hard-earned wisdom!
Here’s what you’ll need:
- 1 packet active dry yeast
- 1 teaspoon sugar
- 1 cup warm water (about 105-115°F – test it with your wrist!)
- 2 1/2 cups all-purpose flour, plus more for dusting
- 1 teaspoon salt
- 2 tablespoons olive oil, plus more for greasing
- 1/2 cup (1 stick) unsalted butter, melted (For that rich coat!)
- 4 cloves fresh garlic, minced finely (Don’t use the jarred stuff here!)
- 2 tablespoons fresh parsley, chopped
- 1/4 cup grated Parmesan cheese
If you’re new to baking, don’t fret! You can always practice measuring with my other simple recipes for easy bread recipes before tackling the dough.
Mastering the Quick Yeast Dough for Homemade Garlic Knots
Alright, let’s talk dough. This is often the scariest part of learning how to make garlic knots from scratch, but I promise, with patience, you’ll nail this. Think of me standing right beside you—we don’t want any sour surprises here! This process sets us up for success and ensures we have a beautiful, quick yeast dough recipe base.
Activating the Yeast and Mixing the Dough
First things first: we wake up the yeast! Mix your warm water (it needs to be warm, not hot, trust me!) with the sugar and the yeast packet. Give it a gentle stir, cover it loosely, and let it sit for about ten minutes. If you see a nice foamy top, it means your yeast is happy and alive and ready to work. While that’s happening, whisk your flour and salt together in a big bowl. Once foamy, pour the yeast mixture and the olive oil right into the dry stuff. Stir it all up with a wooden spoon until it looks like a shaggy mess. Don’t panic if it’s messy; that’s exactly what we want at this stage.
Kneading Technique for Soft Dinner Rolls Recipe
Now we switch to our hands! Turn that shaggy dough out onto a lightly floured counter. This is where we build that wonderful structure that makes these knots so soft. You need to knead this dough for a solid 6 to 8 minutes. Push down, fold it over, turn it, and repeat. You’ll know you’re done when the dough feels totally smooth and has a little bit of spring when you poke it. This careful kneading is what guarantees the texture we need to achieve that wonderful, soft dinner rolls recipe quality!
For more tips on making sure your bread is a success, I wrote a whole guide on quick yeast dough recipes that might help you gain confidence!
Rising and Shaping Restaurant Style Garlic Knots at Home
Now that we have a beautifully smooth dough, we need to give it time to relax and grow. This resting time is absolutely non-negotiable if you want those fluffy, perfectly risen restaurant style garlic knots at home. A good rise means soft, airy insides, and we don’t want anything less than perfection for our guests, right?
Punch down the dough gently once it has doubled in size—just press the air out like you’re deflating a balloon. Then, take your divided pieces and start shaping! You want to gently roll each piece into about an 8-inch rope using your palms. It doesn’t need to be perfectly straight, just long enough to tie. Then, tie each rope into the simplest knot you can manage. Honestly, if it looks like a pretzel took a nap, you’ve probably done it right!
The First Rise and Second Rest Period
Place that shaggy dough into an oiled bowl, cover it up tight, and let it sit in a warm spot for about an hour to an hour and a half. We are looking for it to double in size—that’s the key sign! After you shape those knots, place them on your parchment-lined sheet and let them rest again for about 20 minutes. This short second rise, while your oven heats up, is so important. It lets the knots chill out from all that handling and ensures they puff up beautifully and stay light in the oven instead of staying dense.
You can find more ways to get that professional look in my guide on how I make restaurant style garlic knots at home!
Baking the Perfect Homemade Garlic Knots
Okay, the rising is done, and they look puffy and ready to go! Get your oven warming up to 400°F (that’s 200°C, for my friends using Celsius). Make sure you’ve got parchment paper on that baking sheet; it helps with easy cleanup and makes transferring these beauties seamless later on. Bake these knots for about 12 to 15 minutes. You’re looking for a lovely, rich golden brown color on top—that’s the sign they are finished baking. This step truly seals the deal for a wonderful, no-fail garlic knot recipe!
Creating the Rich Garlic Butter Dipping Sauce for Bread Topping
While those knots are getting golden in the oven, we make the star of the show—the garlic butter coating! This sauce is exactly what turns good bread into truly unforgettable, chewy garlic bread. If you’ve ever had store-bought knots, you know the butter sauce is usually thin and watery. Not here! We want richness.
Melt that whole stick of butter in a small saucepan over very low heat. I mean low! We are just warming the butter, not scrambling it. Toss in your finely minced fresh garlic. This is a crucial step: you are only cooking that garlic for about one minute until you smell that amazing aroma. If you let it brown, it gets bitter, and we can’t have that! As soon as it smells fragrant, pull the pan right off the burner—the residual heat will do the rest of the work.
Once it’s off the heat, stir in your fresh, bright parsley and the grated Parmesan cheese immediately. This mixture is what you will generously toss the knots in to get that delicious, savory coating. If you want some extra guidance on making an amazing dipping sauce, I detail the steps on my garlic butter dipping sauce for bread recipe!
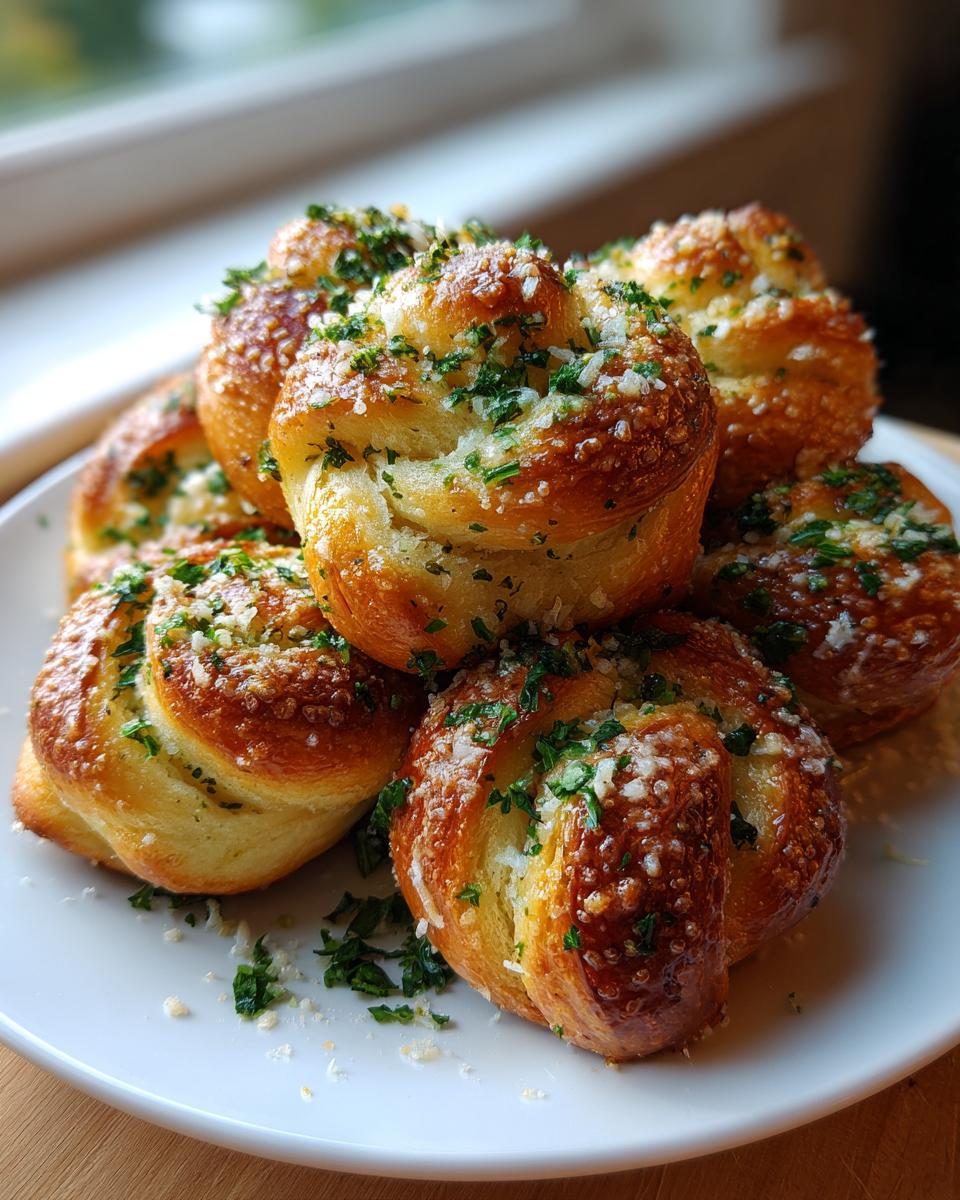
Tossing and Finishing Your Savory Baked Goods
The moment they come out of the oven, you need to work fast! Immediately slide those beautiful, hot knots into the big bowl where you made your garlic butter. Don’t let them cool down! Toss them gently but completely until every single surface glistens. That immediate hot-toss is what locks in the moisture and gives you that wonderful chewy garlic bread texture instead of something crumbly.
Once they are perfectly coated, sprinkle that last bit of Parmesan over the top! They are ready to serve right away. Honestly, these are some of the best side dishes for pasta night you will ever make. Everyone always asks for seconds!
Tips and Variations for Homemade Garlic Knots
Now that you’ve got the main recipe down, let me share a few tricks I’ve picked up over the years—because homemade garlic knots should be as flexible as your family’s schedule! If you need a true emergency bread fix, you can certainly use store-bought easy pizza dough recipes for knots; just skip all the yeast and rising steps (numbers 1 through 4). It’s a real lifesaver when company shows up unexpectedly!
For flavor, you simply must try mixing roasted garlic into your butter sauce along with the fresh stuff. It gives the knots a beautifully deep, mellow flavor, which is just heavenly. Also, if you slightly underbake them, say by two minutes, and let them cool for just a moment before tossing them in the butter, you’ll get a chewier outside, which I happen to adore.
And if you want to turn this into a real cheesy showstopper? Toss in half a cup of mozzarella or provolone with your Parmesan right at the very end. Just try these variations; they’re simple ways to keep things exciting!
Frequently Asked Questions About Making Garlic Knots
It’s natural to have questions when you’re trying a new bread recipe, especially when you’re making something as delicious as these homemade garlic knots for the first time. Don’t worry about a thing; that’s why I’m here! I want to make sure your journey into how to make garlic knots from scratch is a success.
Can I skip the first rise for these homemade garlic knots?
That depends on the yeast, dear. If you are using active dry yeast, as listed in the recipe, you absolutely should not skip that first rise. That foamy stage proves the yeast is alive! However, if you decide to use instant yeast next time, you can technically skip activating it in the water and just mix it right in with the flour. Even when using instant yeast, though, I always recommend that first full rise. It’s what makes the dough the perfect texture for a wonderful quick yeast dough recipe.
What is the best way to store leftover chewy garlic bread?
Oh, if you have any leftovers—which is rare in my house!—you need to store them properly to keep that fluffy inside nice. Keep them in an airtight container at room temperature for up to three days. If you try to refrigerate them, they’ll get hard fast. The best trick to revive them? Wrap a couple of knots in a damp paper towel and microwave them for about 10 to 15 seconds. That little burst of steam brings back all the softness and keeps them tasting like chewy garlic bread!
You can always find more detailed tips on bread care in my guide to how to make garlic knots from scratch!
PrintSoft and Chewy Homemade Garlic Knots

Make restaurant style garlic knots at home with this foolproof recipe for soft dinner rolls coated in rich garlic butter.
- Prep Time: 25 min
- Cook Time: 15 min
- Total Time: 1 hour 50 min
- Yield: 12 knots 1x
- Category: Appetizer
- Method: Baking
- Cuisine: American
- Diet: Vegetarian
Ingredients
- 1 packet active dry yeast
- 1 teaspoon sugar
- 1 cup warm water (about 105-115°F)
- 2 1/2 cups all-purpose flour, plus more for dusting
- 1 teaspoon salt
- 2 tablespoons olive oil, plus more for greasing
- 1/2 cup (1 stick) unsalted butter, melted
- 4 cloves fresh garlic, minced finely
- 2 tablespoons fresh parsley, chopped
- 1/4 cup grated Parmesan cheese
Instructions
- Activate the yeast: In a small bowl, combine the warm water, sugar, and yeast. Let it sit for 5 to 10 minutes until foamy.
- Mix the dough: In a large bowl, whisk together the flour and salt. Pour in the yeast mixture and 2 tablespoons of olive oil. Mix until a shaggy dough forms.
- Knead: Turn the dough onto a lightly floured surface. Knead for 6 to 8 minutes until the dough is smooth and elastic.
- First rise: Place the dough in a lightly oiled bowl, turning to coat. Cover the bowl with plastic wrap or a clean towel. Let it rise in a warm place for 1 to 1.5 hours, or until doubled in size. This makes a quick yeast dough recipe.
- Shape the knots: Punch down the risen dough gently. Divide the dough into 12 equal pieces. Roll each piece into an 8-inch rope. Tie each rope into a simple knot. Place the knots on a baking sheet lined with parchment paper.
- Second rise: Cover the shaped knots loosely and let them rest for 20 minutes while you preheat the oven to 400°F (200°C).
- Bake: Bake the garlic knots for 12 to 15 minutes, or until they are golden brown.
- Make the garlic butter: While the knots bake, melt the butter in a small saucepan. Add the minced garlic and cook over low heat for 1 minute until fragrant, being careful not to burn the garlic. Remove from heat and stir in the chopped parsley.
- Toss and serve: Immediately transfer the hot baked knots to a large bowl. Pour the garlic butter mixture over the knots. Toss gently to coat completely. Sprinkle with grated Parmesan cheese. Serve warm as a savory baked good or side dish for pasta night.
Notes
- For extra flavor, use a mix of roasted garlic and fresh garlic in your butter sauce for a deeper taste.
- If you prefer a chewier texture, brush the knots with melted butter immediately after they come out of the oven, then let them cool slightly before tossing with the garlic mixture.
- You can use store-bought pizza dough for knots if you need a faster option, skipping steps 1 through 4.
Nutrition
- Serving Size: 1 knot
- Calories: 185
- Sugar: 1.5
- Sodium: 280
- Fat: 9
- Saturated Fat: 5
- Unsaturated Fat: 4
- Trans Fat: 0.2
- Carbohydrates: 22
- Fiber: 1
- Protein: 4
- Cholesterol: 25