
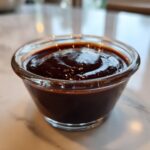
Oh, you simply won’t believe the difference between what you spend money on at the store and what you whip up right on your stovetop. Store-bought syrups are usually too thin or taste overly artificial, but when you make your own homemade chocolate sauce, that rich, deep cocoa flavor just sings! I’m Carla, and after thirty years of teaching patience in the classroom, I bring that same gentle approach to my kitchen. This recipe is intentionally so simple—it uses only pantry staples—but delivers a result that truly tastes gourmet. Trust me, once you taste this, you won’t go back to the jarred stuff again. It comes together quicker than driving to the store, too! For more simple chocolate delights, check out my guide on making easy rich homemade chocolate syrup.
- Why This Homemade Chocolate Sauce Recipe Works for Everyone
- Gathering Your Homemade Chocolate Sauce Ingredients
- Step-by-Step Instructions for the Best Chocolate Sauce for Ice Cream
- Tips for Perfect Stovetop Chocolate Glaze
- Creative Homemade Chocolate Sauce Uses
- Storing Your Homemade Chocolate Topping
- Frequently Asked Questions About Homemade Chocolate Sauce
- Nutritional Estimates for This Homemade Chocolate Sauce
- Share Your Kitchen Creations
Why This Homemade Chocolate Sauce Recipe Works for Everyone
When I developed this Easy Chocolate Sauce Recipe, my main goal was dependability. As a teacher, nothing made me happier than seeing someone succeed on the first try! You don’t need fancy equipment or obscure ingredients for this—just basic cocoa, sugar, and water right from your drawer. That’s why it’s my absolute favorite Quick Dessert Sauce. It bypasses all the stabilizers and weird syrups you find in the grocery aisle, leaving you only with pure, unadulterated chocolate flavor.
Quick Prep Time for Homemade Chocolate Sauce
Honestly, this is about as fast as dessert gets. From chopping (well, not really chopping, just scooping!) to serving, we’re looking at maybe 15 minutes total time. That includes the five minutes it takes for the sauce to cool down just enough to drizzle perfectly over your brownie sundae. Dinner is over, you want a treat—boom, done!
The Comfort of Decadent Chocolate Sauce From Scratch
There’s just a deeply comforting feeling when you know exactly what went into what you’re eating. That’s the magic of a true Decadent Chocolate Sauce From Scratch. My philosophy is that simple ingredients, handled with a little bit of care on the stovetop, create the richest flavor possible. It tastes like love, not like a factory bottling line. For more straightforward kitchen wins like this, you’ll want to browse all my easy dessert recipes.
Gathering Your Homemade Chocolate Sauce Ingredients
The beauty of this recipe really lies in what you already have tucked away! When gathering your Chocolate Sauce Ingredients, check those pantry shelves first. You don’t need a special trip to the store, which is just how I like things—dependable and ready when inspiration strikes. Everything here blends together beautifully with just a quick whisking action.
Ingredient Notes and Substitutions for Homemade Chocolate Sauce
Since we are using standard granulated sugar here, it dissolves perfectly and gives that classic shine. If you happen to be out of regular sugar, you can probably get away with using baker’s sugar, but I wouldn’t recommend anything extreme like coconut sugar, as it can change the color and texture too much. A little note on the cocoa: make sure it’s good quality. I usually use standard unsweetened cocoa powder, but if you happen to have Dutch-process, it will give your sauce a slightly darker color and a smoother, less acidic taste. That’s my little trade secret!
Step-by-Step Instructions for the Best Chocolate Sauce for Ice Cream
Now, the fun part! Getting this Best Chocolate Sauce for Ice Cream made is easier than setting up your classroom lesson plan, I promise. We start by putting the sugar, cocoa powder, and water straight into a saucepan. Don’t worry about mixing them much yet; they’re just getting acquainted. You can find my favorite recipe for a light and airy treat using melted chocolate when you are looking for something truly decadent, like my easy chocolate mousse recipe.
Next, we turn the heat on to medium. Here’s where I channel my inner teacher: constant attention is required! You must whisk constantly until that sugar is completely dissolved and you see the edges just starting to bubble—that’s the simmer. This initial step prevents any grittiness, which ruins a good dessert topping in my book. I know it’s tempting to walk away, but scorching cocoa powder is real, and it smells terrible! Once it simmers, drop that heat way down to low and just keep stirring gently for about five minutes so it gets wonderfully thick. Then, off the heat, stir in the vanilla and that tiny pinch of salt—the salt just wakes up all that beautiful chocolate flavor!
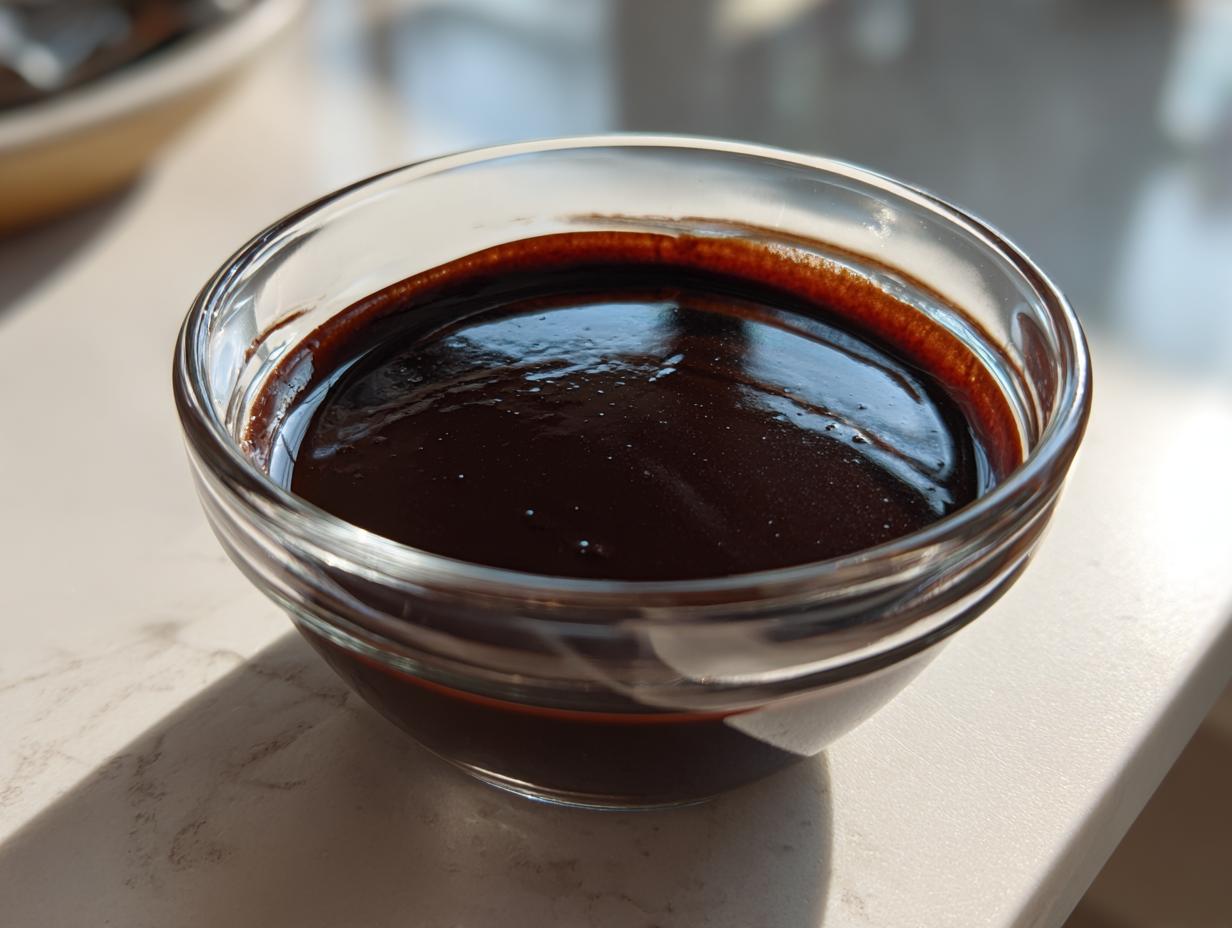
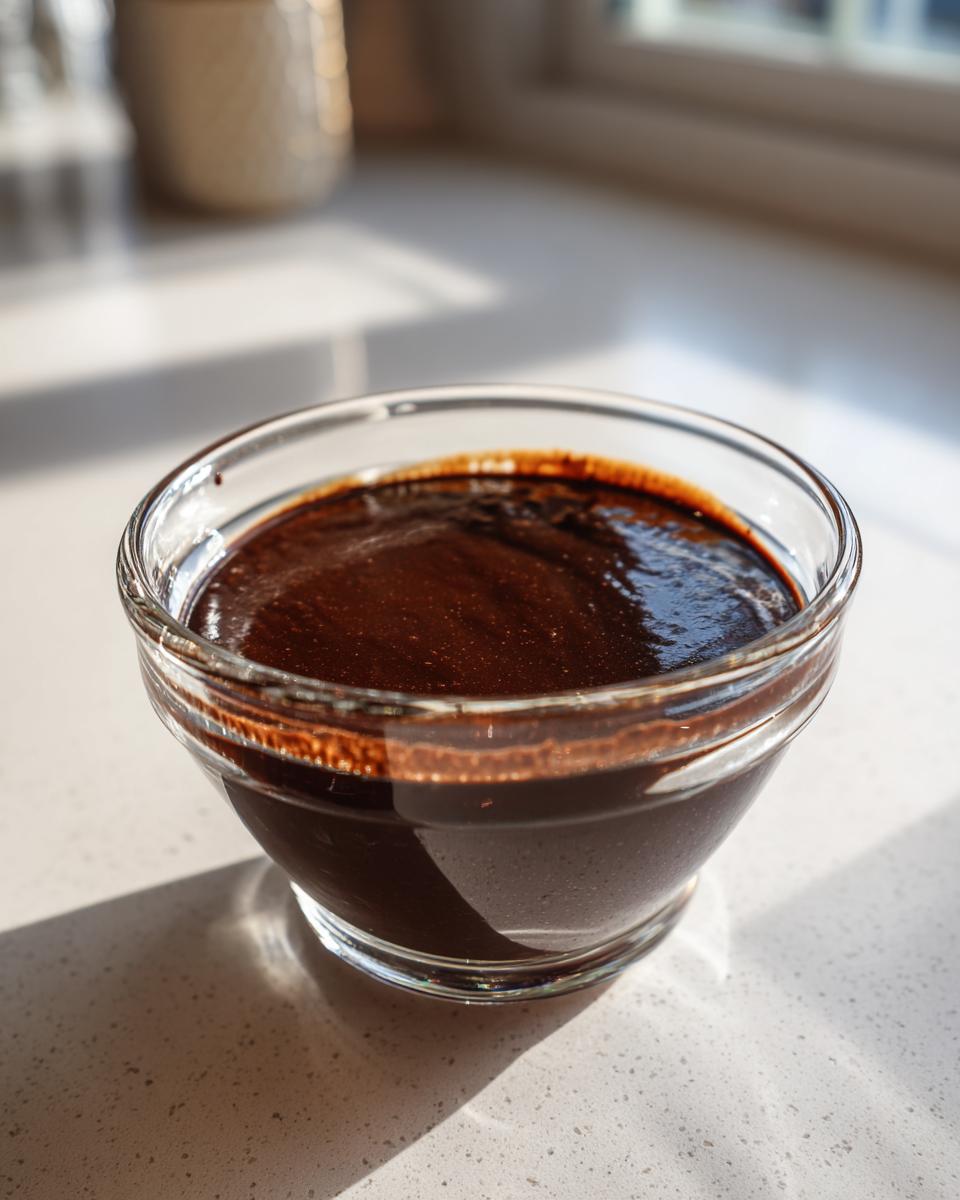
Achieving Perfect Consistency in Your Homemade Chocolate Sauce
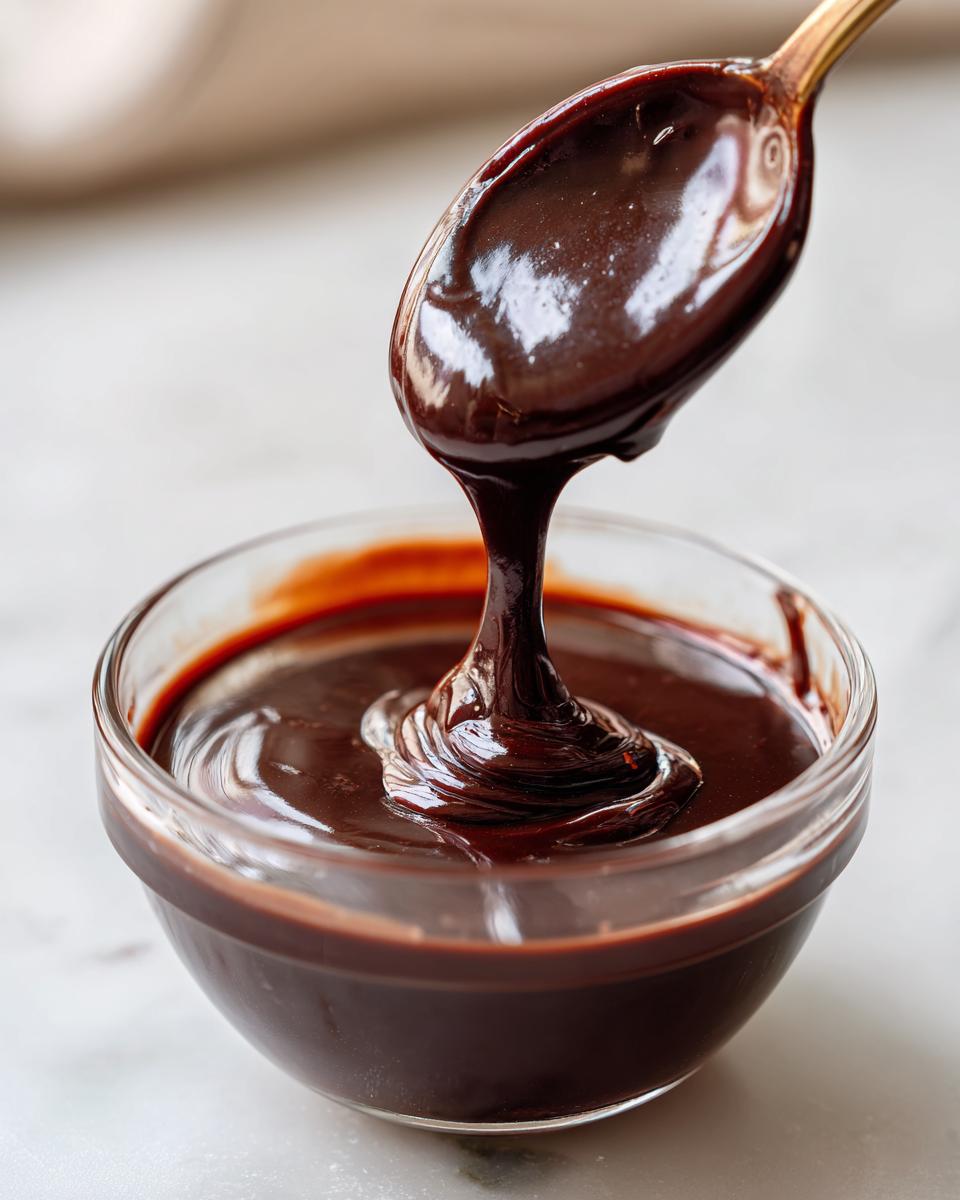
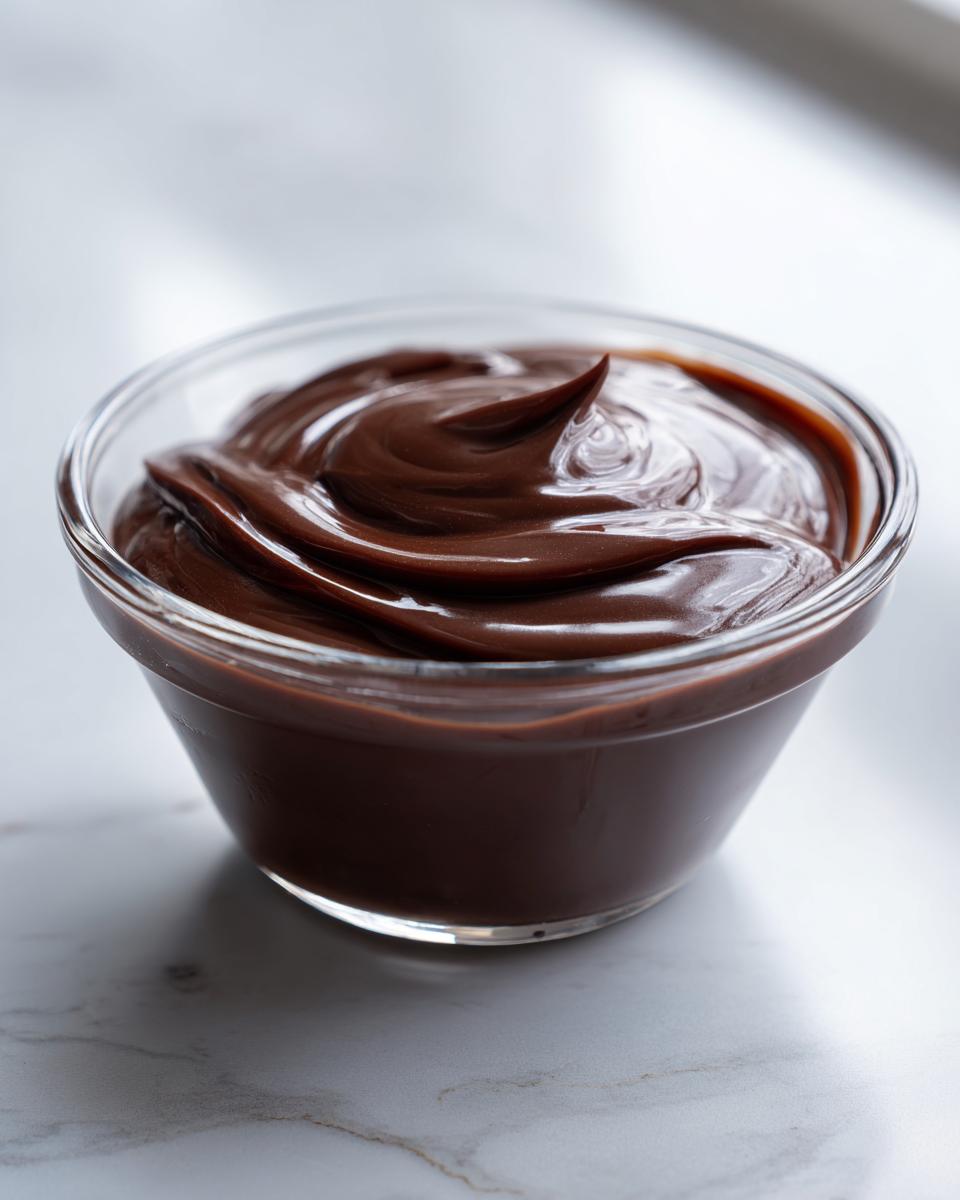
This is where you take charge of your sauce! Remember, as it cools down from that gentle simmer, it’s going to firm up significantly. If you want a pourable syrup for drizzling over pancakes or mixing into milk, just let it cool for ten minutes before putting it in the jar. If you’re aiming for those beautiful, thick ribbons that sit right on top of a big scoop of ice cream, you’ll want to follow the Thick Chocolate Sauce Directions and cook it just two or three minutes longer on low heat. You’ll know it’s ready when it coats the back of a spoon nicely. It’s truly that easy to control!
Tips for Perfect Stovetop Chocolate Glaze
Even though this is my simplest recipe, sometimes folks run into small hiccups when making a Stovetop Chocolate Glaze. Remember how I mentioned that constant whisking during the simmering step? That’s not just busy work! Cocoa powder has a tendency to instantly settle at the bottom of the pan if you let it rest, and scorched cocoa tastes bitter almost immediately. I learned this lesson early on when I was trying to rush things between parent-teacher conferences!
If you find little clumps forming—and don’t panic, because this happens to the best of us—the solution is usually simple. Just reduce your heat immediately to the lowest setting, and whisk vigorously for about 30 seconds. The gentle heat and active motion usually coax those particles back into the water and sugar solution. If you’re worried about the sauce being too thin after using extra water to dissolve a clump, just let it simmer for an extra minute or two on low heat. This tried-and-true stovetop method means you get that rich, glossy finish without ever needing a double boiler or fancy emulsifiers. Check out my guide on fluffy buttercream frosting if you need another quick stovetop classic!
Creative Homemade Chocolate Sauce Uses
Once you have this gorgeous, rich syrup ready, the fun truly begins! This sauce is unbelievably versatile, which is why I always encourage folks to make a big batch. We all know it’s the Best Chocolate Sauce for Ice Cream—it hardens just slightly when cold, creating that wonderful contrast—but please don’t stop there!
You can use this in your coffee beverages to make a simple mocha, or stir a tablespoon into a glass of milk for an instant, better-than-store-bought chocolate milk. I’ve sent jars home with my grandkids for drizzling warm over their pancakes or waffles. If you’re looking for ways to incorporate chocolate into full desserts, try my recipe for hot chocolate cupcakes or my fudgy hot chocolate brownies this week! The applications for these kinds of Chocolate Sauce Uses are really endless when the flavor is this good.
Storing Your Homemade Chocolate Topping
Great question! Because this Homemade Chocolate Topping is made without any artificial preservatives, you need to treat it almost like a fresh dairy product, though it keeps beautifully. I always transfer the sauce while it’s still a little warm—not hot, just warm—into a very clean, airtight jar. I use those pretty Mason-style jars my daughter got me for Christmas.
You can happily keep this rich chocolate syrup tucked away in the refrigerator for up to two weeks. Don’t be surprised if it seems rock-hard when you pull it out! That’s just the sugar and water setting up. To bring it back to the perfect, drizzly consistency you love, just scoop out what you need and give it a gentle warm-up. A quick 15 or 20 seconds in the microwave usually does the trick, or you can put the sealed jar into a bowl of warm water for a few minutes. It’s so simple to maintain!
Frequently Asked Questions About Homemade Chocolate Sauce
When I taught in the elementary school, questions were the best part of the day! Learning happens when we ask “what if” and “how come.” I get just as many curious questions about this simple chocolate recipe as I ever did about long division. Here are some of the things I hear most often from folks trying out their first batch of Gourmet Chocolate Sauce At Home.
Is this recipe a Rich Chocolate Syrup or more of a thick sauce?
That’s a wonderful question because it all comes down to how much you want it to cling to that ice cream! The basic recipe, cooked for just five minutes after simmering, yields a lovely, pourable sauce that works perfectly as a thinner, delicious Rich Chocolate Syrup for drinks. But if you follow the tip about cooking it an extra two or three minutes on low heat, it thickens up beautifully as it cools. You absolutely control the final texture just by watching the clock a little closer right at the end!
Can I make this No Fail Chocolate Sauce ahead of time?
Yes, you certainly can! In fact, I encourage it! Having this No Fail Chocolate Sauce tucked away in the fridge means you never have to fake it when the ice cream craving hits. Since it’s so stable, you can make a batch on Sunday and it will still be ready to go the following week. Just reheat it gently on the stove when you want that perfect, warm drizzle. It truly is dependable!
Can I use maple syrup instead of granulated sugar in this recipe?
I have experimented with natural sweeteners, just like I experiment with new teaching aids! However, direct swapping rarely works well in baking and sauce-making. Granulated sugar helps build the body and the glossy texture of this DIY Chocolate Topping when cooked with the cocoa. Maple syrup adds a completely different set of liquid and sugar content, which might either make your sauce too thin or possibly cause it to seize up. For this recipe, I really stick to the granulated sugar for proven results, but if you are looking for vegan options, you can check out my recipe for vegan chocolate chip cookies and see if that inspires a substitution for you!
How do I make sure my chocolate sauce is extra shiny?
Shine comes from two things: proper dissolving and quality cocoa. Make absolutely sure you stir that saucepan constantly until every last crystal of sugar is dissolved before it even thinks about boiling. If you feel any grittiness when you rub a bit on your finger, keep whisking on medium heat! Also, using a good quality unsweetened cocoa powder makes a world of difference in the final sheen. A little salt and vanilla at the very end are key, too—they make the chocolate flavor pop, which tricks your eye into seeing more depth and shine!

Nutritional Estimates for This Homemade Chocolate Sauce
Now, I always want to be clear that when you are cooking at home—especially with simple recipes like this one—the exact nutritional count can shift depending on the brands of cocoa and sugar you use. These numbers are just good estimates meant to give you a general idea of what’s in a standard serving size for our homemade chocolate sauce. I pulled these figures using the core ingredients listed for this recipe.
Think of this as a guideline, not a rigid law! It’s real food, made with real ingredients, and sometimes that means the numbers aren’t perfectly precise, and that’s okay by me. Here is the breakdown per serving size of two tablespoons:
- Serving Size: 2 tablespoons
- Calories: Approximately 105
- Sugar: About 18 grams
- Total Fat: Around 1.5 grams
- Protein: Roughly 1 gram
- Carbohydrates: About 23 grams
See? Nothing scary here. It’s mostly sugar and carbs because, well, it’s chocolate sauce! But those 105 calories are packed with so much more actual chocolate flavor than any commercial syrup could ever dream of providing. It’s a comforting treat, and knowing what’s in it makes it taste even sweeter!
Share Your Kitchen Creations
I truly hope this simple recipe brings as much joy to your table as it has to mine over the years! When you’ve tried this rich, flavorful homemade chocolate sauce, I’d be so grateful if you’d take a quick moment to come back here and leave a rating for it. Giving it five stars lets other home cooks know this is a recipe they can rely on for a quick, easy win!
And please, please send me photos! I absolutely love seeing how you’re using your homemade chocolate topping. Are you pouring it warm over vanilla bean ice cream? Have you mixed it into a late-night cup of hot cocoa? Or maybe you’ve drizzled it over fresh strawberries? You can share your pictures or any specific questions you have by reaching out to me through my contact page. I always make time to read every note that comes through, just like I always made time to chat with a parent after school.
I’m Carla, and I’m so happy to have you as part of our little online kitchen community. If you want to read more about my teaching philosophy and how I approach everyday cooking, you can always check out my About Page! Happy cooking, everyone!
PrintSimple Homemade Chocolate Sauce Recipe
Make a rich, decadent chocolate sauce from scratch using common pantry staples. This recipe is easy for beginners and perfect for topping ice cream or mixing into drinks.
- Prep Time: 5 min
- Cook Time: 10 min
- Total Time: 15 min
- Yield: About 1.5 cups 1x
- Category: Dessert Topping
- Method: Stovetop
- Cuisine: American
- Diet: Vegetarian
Ingredients
- 1 cup granulated sugar
- 1 cup unsweetened cocoa powder
- 1 cup water
- 1 teaspoon vanilla extract
- 1 pinch salt
Instructions
- Combine the sugar, cocoa powder, and water in a medium saucepan.
- Place the saucepan over medium heat. Whisk constantly until the sugar dissolves and the mixture begins to simmer.
- Reduce the heat to low and continue to cook, stirring often, for about 5 minutes. Do not let it boil rapidly.
- Remove the saucepan from the heat. Stir in the vanilla extract and salt.
- Allow the sauce to cool slightly before using. It will thicken as it cools.
- Pour the finished sauce into a clean jar for storage.
Notes
- For a thicker chocolate topping, cook the sauce for an extra 2 to 3 minutes until it coats the back of a spoon.
- For a thinner chocolate syrup, add 1 to 2 tablespoons of extra water after removing it from the heat.
- Store this homemade chocolate topping in an airtight container in the refrigerator for up to two weeks.
- Reheat gently on the stovetop or in the microwave for a warm chocolate sauce consistency.
Nutrition
- Serving Size: 2 tablespoons
- Calories: 105
- Sugar: 18
- Sodium: 5
- Fat: 1.5
- Saturated Fat: 1
- Unsaturated Fat: 0.5
- Trans Fat: 0
- Carbohydrates: 23
- Fiber: 2
- Protein: 1
- Cholesterol: 0