
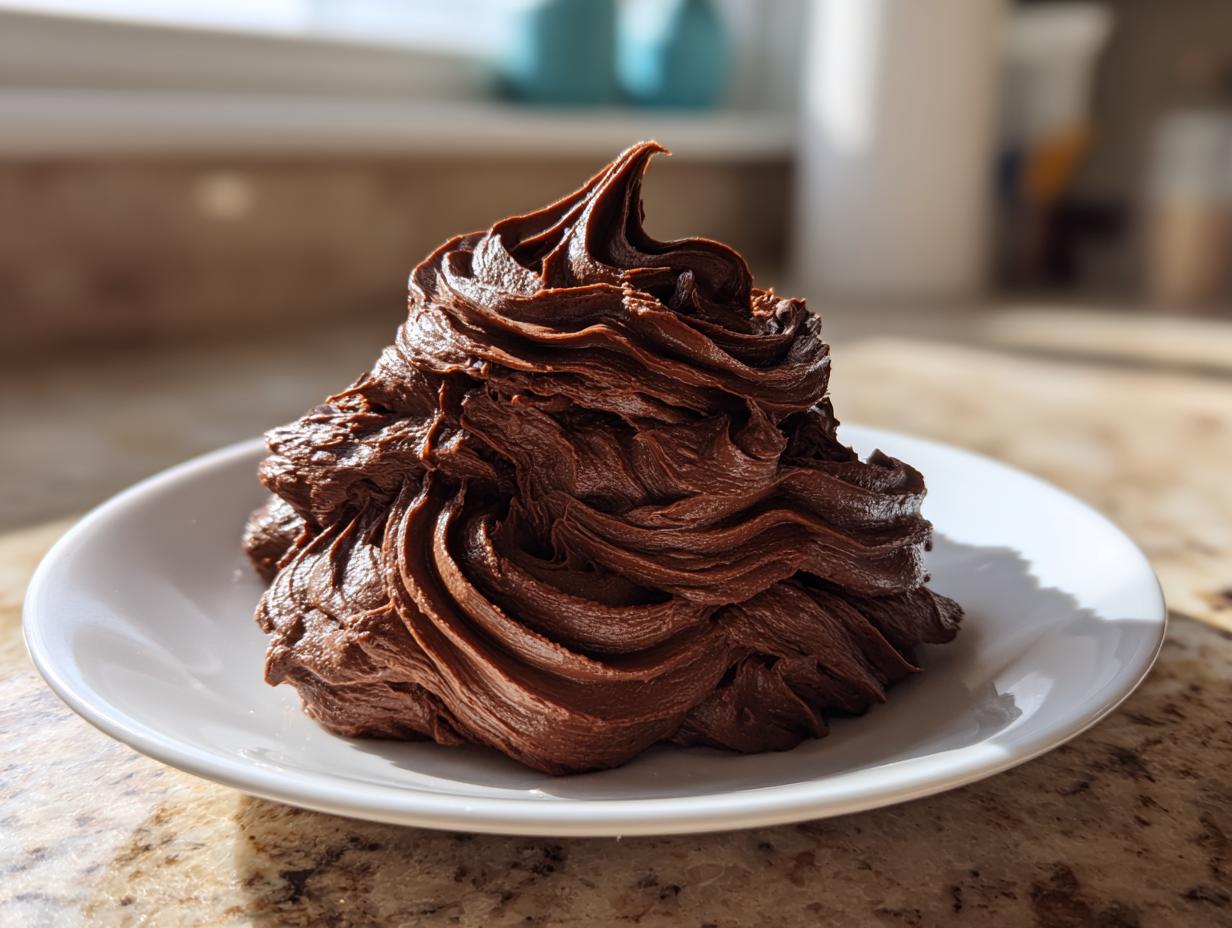
Forget those dry, sad tubs of topping you grab in a pinch! Getting that bakery-quality, decadent chocolate frosting at home is actually super simple once you know the trick. Trust me, this is the ultimate, easy-to-make chocolate frosting recipe you’ll want to keep saved forever because it’s way better than anything from the store. Since I spent thirty years teaching, I focus on clarity, so you’ll find this process reliable every single time you whip it up. This creamy topping is what dreams are made of! You can read more about my background and why reliability matters so much to me over at the About Page.
- Why This is the Best Chocolate Frosting Recipe (Expert Tips from Carla)
- Ingredients for Your Easy Homemade Chocolate Frosting
- Step-by-Step Instructions for Perfect Chocolate Frosting
- Variations: Achieving Rich Fudgy Chocolate Icing or Glossy Chocolate Cake Frosting
- How to Use This Chocolate Frosting for Cupcakes and Brownies
- Storage and Making Ahead for Your Chocolate Frosting
- Frequently Asked Questions About Chocolate Frosting
- Estimated Nutritional Information for This Chocolate Frosting
- Share Your Homemade Chocolate Frosting Creations
Why This is the Best Chocolate Frosting Recipe (Expert Tips from Carla)
When people ask me for the best chocolate frosting recipe, I always point them here because this American buttercream style holds up beautifully. It’s sturdy enough for decorating but melts just right in your mouth—that’s the Midwestern comfort I grew up with! This recipe makes about three cups, which is plenty for a nice two-layer cake or a dozen big cupcakes. It’s reliable, uses pantry staples, and never lets me down, especially for holiday baking or birthday cakes. For more of my go-to dessert favorites that you can trust, check out my collection of Best Dessert Recipes.
Achieving Fluffy Chocolate Buttercream Texture
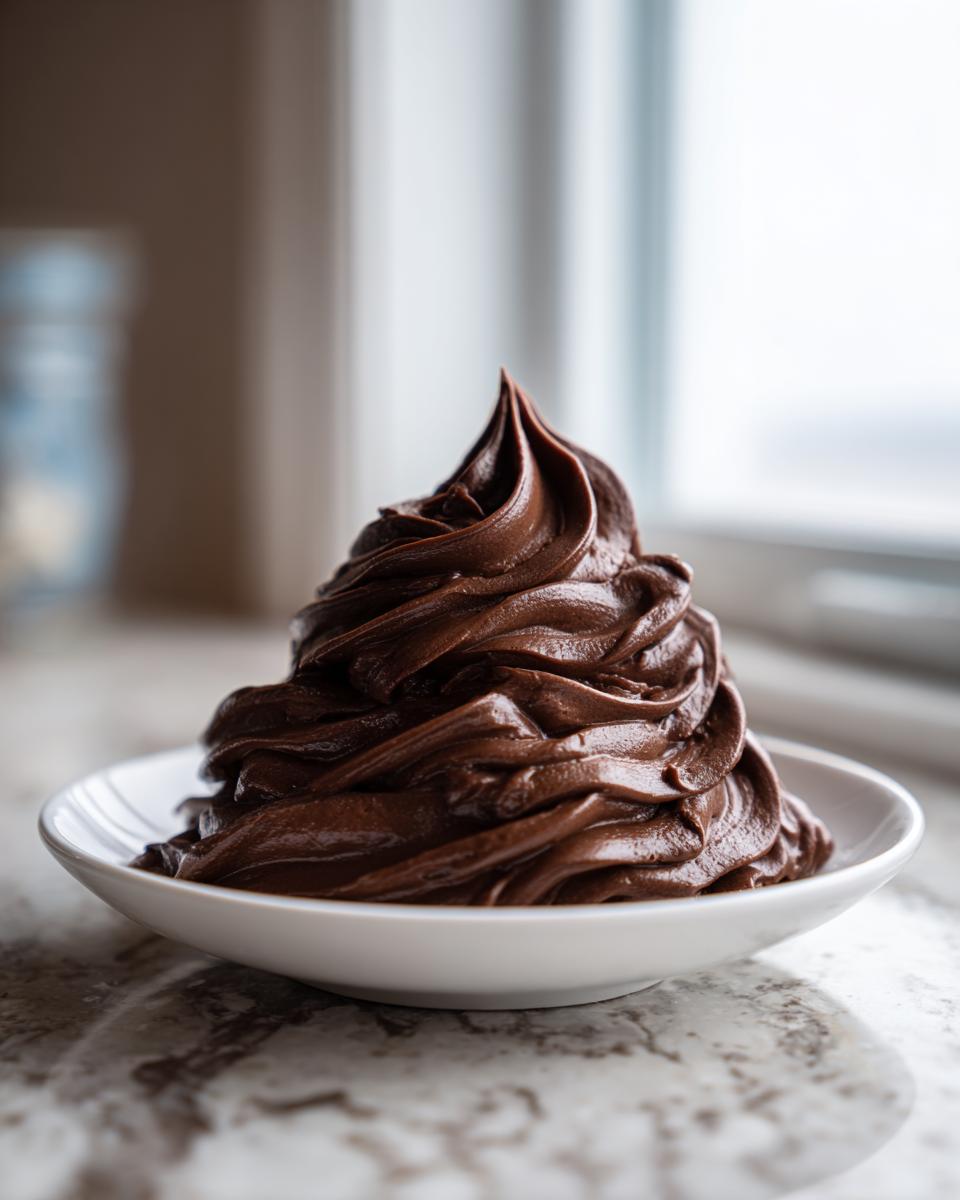
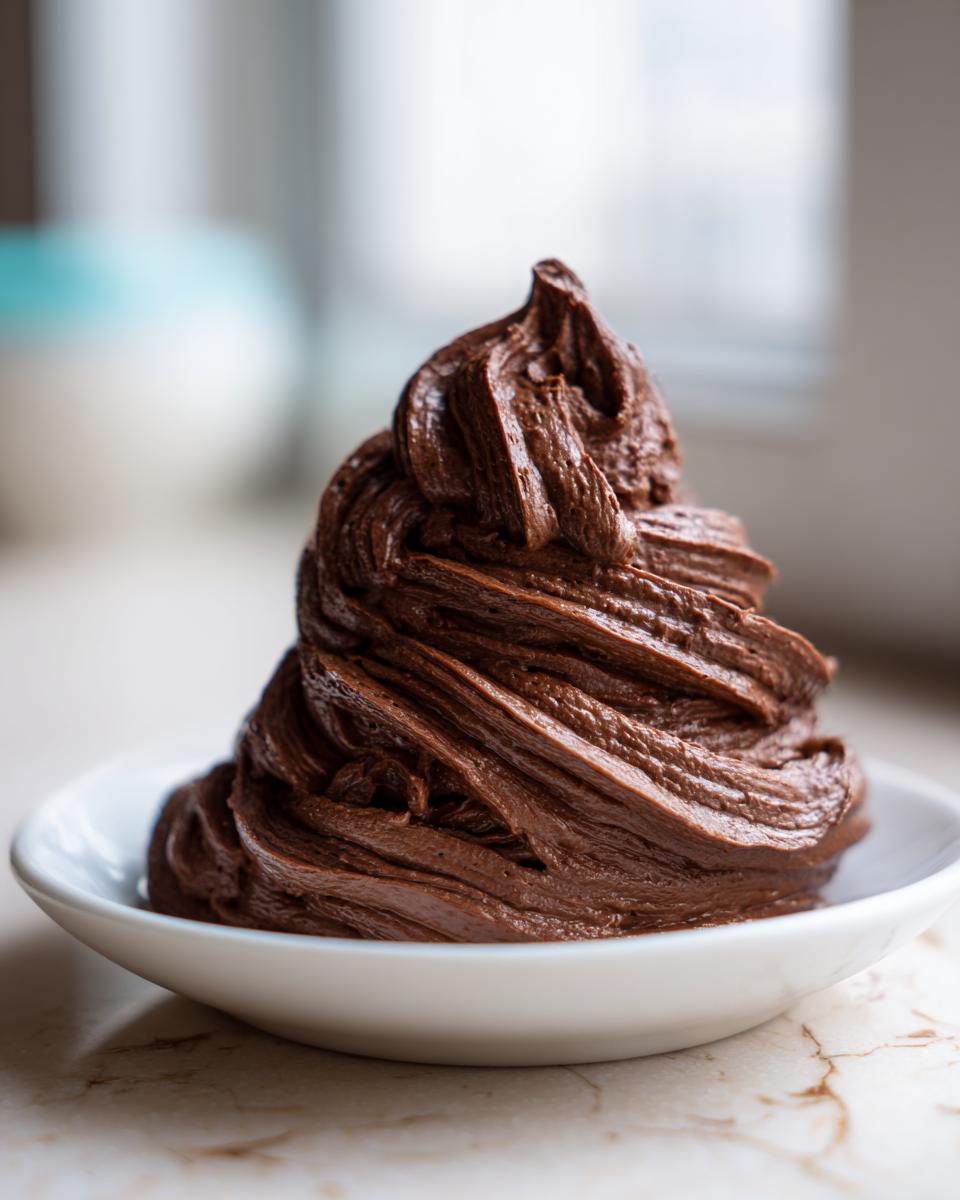
The secret to getting that amazing fluffy chocolate buttercream isn’t adding tons of powdered sugar; it’s all about air! You absolutely have to beat your butter until it’s pale and really light *before* you even think about adding sugar or cocoa powder. That initial creaming step builds the foundation. Then, after everything is mixed in, you need that final high-speed blast for a full minute or two. That’s when the magic happens and you incorporate real air, making the whole thing light, airy, and wonderfully fluffy instead of heavy!
Ingredients for Your Easy Homemade Chocolate Frosting
When you’re chasing that easy homemade chocolate frosting, the key is having beautiful ingredients ready to go. I’ve listed exactly what you need below. Remember, baking success often comes down to prep work, so read those notes next to each item!
- 1 cup (2 sticks) unsalted butter, softened (Not melted, softened!)
- 3 1/2 cups powdered sugar, sifted (Don’t skip the sifting, seriously!)
- 1/2 cup unsweetened cocoa powder, sifted
- 1/2 teaspoon salt
- 1 teaspoon vanilla extract
- 4 to 6 tablespoons whole milk or heavy cream (We need this flexibility!)
Ingredient Notes and Substitutions for Chocolate Frosting
Okay, let’s talk specifics about these ingredients because they make or break your final texture. The temperature of your butter is crucial; if it’s too soft—oily, even—your frosting will be runny. We want it cool enough that it leaves a dent when pressed, but not straight from the fridge!
For the chocolate flavor, I highly, highly recommend using Dutch-process cocoa powder if you can find it. It gives you a deeper, darker color and a smoother flavor profile—way less harsh than natural cocoa. Since this is entirely a powdered sugar chocolate frosting, sifting that sugar is non-negotiable; those tiny lumps will sabotage our otherwise silky smooth texture.
As for liquids? Whole milk works perfectly fine for a classic creamy topping, but if you use heavy cream, you’ll get something a little richer and denser. Just add it slowly, one tablespoon at a time. We adjust this liquid amount at the end to hit the perfect spreading consistency for whatever you’re topping!
Step-by-Step Instructions for Perfect Chocolate Frosting
Alright, let’s get this beautiful chocolate frosting mixed up! This is where patience pays off, so put on some good music and take your time, especially with the additions. First things first, make sure your butter is in that sweet spot—creamed until it’s perfectly smooth and light, usually about two minutes with the mixer.
Next, we tackle the dry stuff. You hit the mixer on low speed and add your sifted powdered sugar and that rich cocoa powder *gradually*. I mean slowly, like a tablespoon or two at a time, just until it incorporates. If you dump it all in at once, you’re going to have a chocolate cloud explosion in your kitchen—we don’t want that mess!
Once that’s combined, throw in your salt and vanilla. Now, turn the speed up to medium and let it run for a solid two minutes. This is whipping in that essential air. After that, we slowly work in the milk or cream, just one tablespoon after another, until you see that lovely texture emerging. Don’t rush this last bit; it dictates everything!
Finally, turn the speed all the way up to high and let it whip for another full minute or two. This final step is what transforms something good into truly divine. If you want to frost some of my easy chocolate cupcakes following this recipe, you can find that recipe right here: Easy Chocolate Cupcakes.
Mixing for Silky Smooth Chocolate Frosting
If you’re aiming for that absolutely silky smooth chocolate frosting that looks professionally done, remember the rules of liquid addition. You must add the milk or cream in slow increments. If you dump in all the required liquid at once, the butter fats can separate, and you’ll end up with a grainy or curdled texture, which is no good for piping!
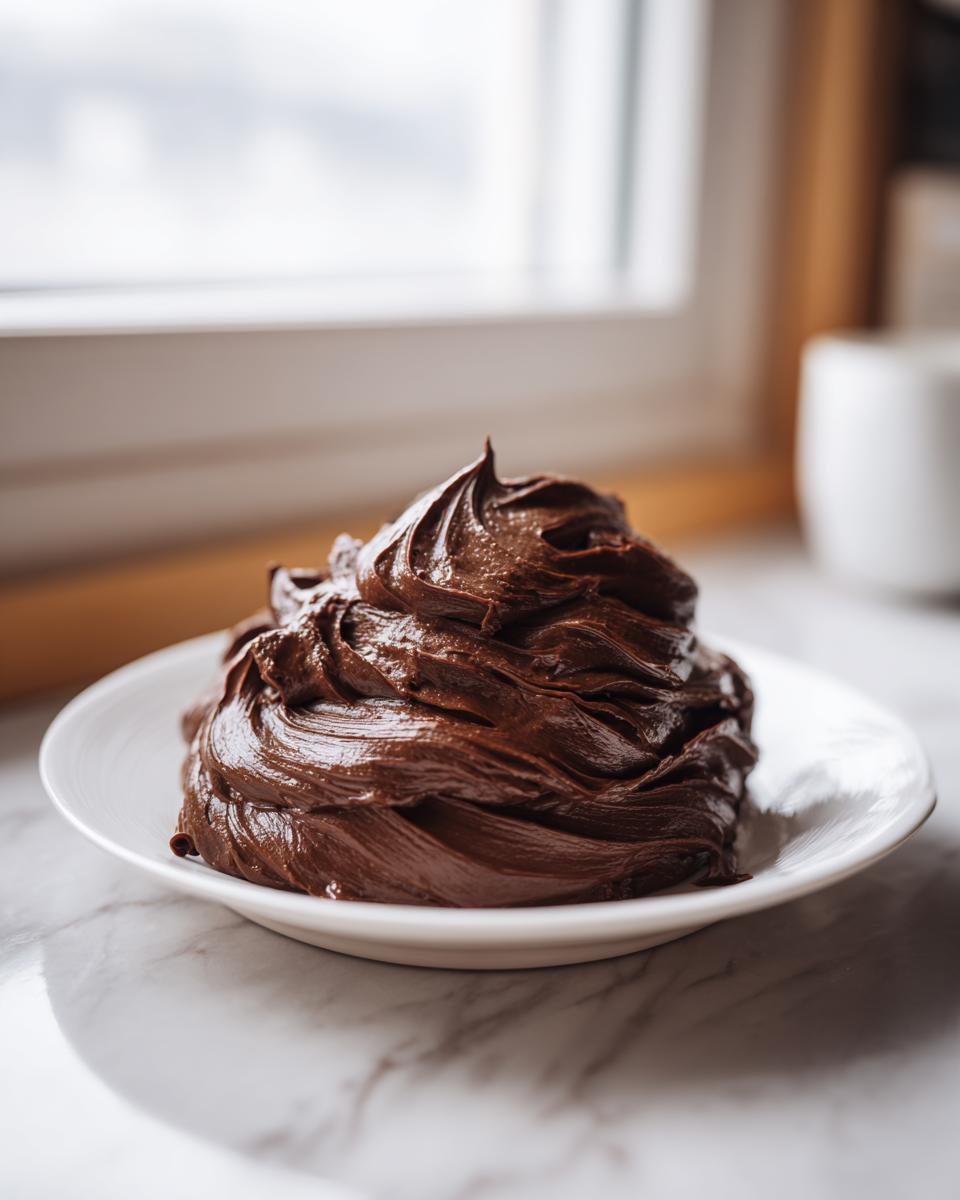
Keep scraping down the sides of the bowl frequently as you add the milk. This ensures every bit of sugar and butter is getting incorporated evenly, which is the key to not having any gritty bits left over. When you get it right, it should look like melted velvet—just pure, creamy goodness ready to coat whatever dessert you have waiting!
Variations: Achieving Rich Fudgy Chocolate Icing or Glossy Chocolate Cake Frosting
Now that you’ve made the perfect base, you might need something different depending on what you’re frosting. This standard fluffy recipe is wonderful, but sometimes you crave that deep, dark texture. It’s surprisingly easy to pivot!
If you’re after a proper rich fudgy chocolate icing—something that sets up a little firmer, maybe perfect for spreading over a cooled sheet cake or perhaps for making my Christmas Chocolate Cream Pie—you need less air and more moisture. To do this, skip that final high-speed whipping step entirely! Mix in just enough milk (maybe 5 or 6 tablespoons total) until it’s combined, but stop beating as soon as it smooths out. Less air mixed in equals a denser, fudgier result. For more deep chocolate flavor ideas, you might enjoy looking at my Christmas Chocolate Cream Pie recipe.
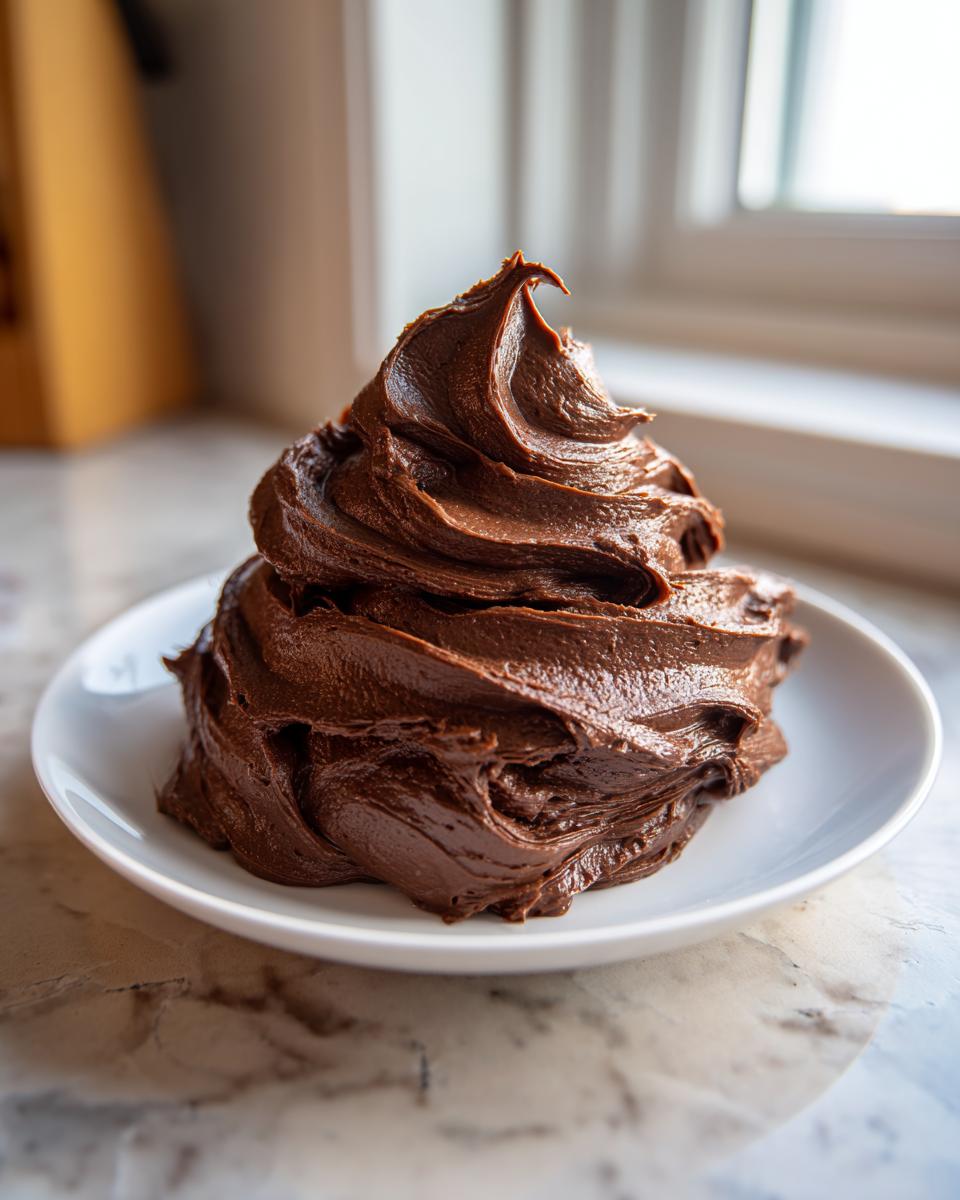
Getting that beautiful glossy chocolate cake frosting finish, the kind that looks almost wet when the light hits it, also comes down to how you mix it. If you want a bit more shine, make sure your butter is perfectly soft, and don’t overdo the powdered sugar past what’s necessary for stability. The gloss often comes from a slight reduction in sugar and an increase of fat ratio, but for this recipe, truly, the best way to ensure a lovely sheen is to make sure you add your liquid (milk or cream) last and incorporate it just until the mixture is smooth but still feels slightly looser than you might normally prefer for piping. It sets up beautifully when it hits the cool cake!
How to Use This Chocolate Frosting for Cupcakes and Brownies
It’s one thing to make a wonderful batch of frosting, and another thing entirely to apply it perfectly! This versatile topping works on almost everything, but you need to treat the cake differently depending on the dessert. It’s all about getting the texture right for the job at hand.
When we talk about making the best chocolate frosting for brownies, timing is everything. Brownies should be cooled down enough that they aren’t actively steaming, but they definitely shouldn’t be stone cold. If they’re slightly warm, this creamy topping will melt just enough into the top layer, making the whole bite incredibly fudgy and decadent. Spread it with an offset spatula right to the edges, and don’t peek until it sets up a little!
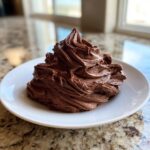
Now for the fun part: decorating! Our recipe makes a fantastic chocolate frosting for cupcakes because once it’s nice and fluffy, it holds its shape beautifully for piping. If you want those tall, swirly peaks, make sure you used just 4 tablespoons of milk during mixing, keeping it slightly firmer. If you want a softer, more “swooshable” look, use 5 or 6 tablespoons, but chill the bowl for 10 minutes first so it firms up just a hair before you put it in your piping bag.
You can see some of my other favorite decadent desserts, like my Sweet Potato Brownies Recipe, that would be just heaven smothered in this topping. If you are looking for other great inspiration on chocolate buttercream toppings, check out what the folks at Partylicious have shared regarding chocolate buttercream frosting, too!
Storage and Making Ahead for Your Chocolate Frosting
One of the best things about this recipe is that it’s such a reliable no-fuss dessert topping. You don’t have to stress about making it right before the party! If you need to make your chocolate frosting from scratch ahead of time, you have a couple of great options.
If you’re planning on using the frosting within 24 hours, leaving it covered tightly at cool room temperature (think 68-70°F) is usually just fine. Do not leave it in direct sunlight or right next to a warm oven, of course! If your kitchen runs hot, or if you need to store it for longer than a day, pop it into the fridge, making sure it’s covered well with plastic wrap pressed directly onto the surface so it doesn’t develop a crust, which is so annoying.
Now, here’s the essential revival trick: if your frosting has been chilled, it will be hard as a rock! Don’t try to use it. Take it out about two hours before you plan to frost anything and let it soften slowly on the counter. Once it’s back toward room temperature, it will look a little dull. Pop it back into your mixer, add in just a splash—maybe a teaspoon—of extra milk or cream, and beat it again on medium speed, then high speed, until it becomes light, creamy, and perfectly smooth all over again. It’s like giving it a fresh whip to bring back all that lovely air we beat into it!
Frequently Asked Questions About Chocolate Frosting
I get so many wonderful questions every week about this recipe, and I love hearing from you all! Just like when I was teaching, clear communication makes everything better, especially when you’re trying to get that perfect swirl on your cupcake. Here are a few things folks ask me most often about tweaking this chocolate frosting.
Can I make this chocolate frosting using cocoa powder only without melted chocolate?
Yes, absolutely! That’s one of the big benefits of this particular recipe—it’s a wonderful chocolate frosting using cocoa powder only. We rely entirely on the cocoa powder for that deep chocolate flavor and color, paired with the richness of the butter. You don’t need any baking chocolate melts, which makes it so much faster and easier for those quick dessert cravings. Just make sure you sift that cocoa really well to avoid any little pockets of dry powder!
How do I make the chocolate frosting sweeter or less sweet?
That comes down to your personal sweet tooth! If you want it notably sweeter, you can certainly add an extra half cup of powdered sugar in with the initial batch, but be warned: add too much, and the texture will quickly shift from creamy to crumbly or stiff, especially if you already used less milk. If you want it less sweet, reduce the sugar by half a cup to start, but then you might need to bump up the milk slightly (by a teaspoon or two) to keep your spreading consistency where you want it. Always taste test at the last stage before you start frosting!
What if my chocolate frosting turns out too thin?
Oh, that happens when the kitchen is warm or the butter was just a tad too soft—don’t panic! If your frosting looks a little soupy, that means you need more structure, and that means more powdered sugar. Turn your mixer to low, and slowly start adding powdered sugar, about two tablespoons at a time, until it feels stable enough to hold a peak. If you added slightly too much milk, this will fix it right up. If it’s still too soft after adding a cup of sugar, pop the bowl in the fridge for 15 minutes and then give it a quick re-whip. It firms right back up!
Why is my finished frosting not dark enough?
For the deepest, richest color that looks like it came from a high-end little bakery, you really need to look for Dutch-process cocoa powder. Regular unsweetened cocoa is lighter brown, but the Dutch version has a more intense, darker color that holds up better against the white of the powdered sugar and butter. Using Dutch-process cocoa is my secret trick for that deep, indulgent look. If you’re curious about other ways I sneak flavor into simple dishes, check out some of my easy breakfast recipes for inspiration!
Estimated Nutritional Information for This Chocolate Frosting
Now, I know most of us aren’t baking just for the nutrition facts, but I like to be transparent about what goes into my classic chocolate icing, just like I taught my students to be clear on their assignments! Remember, these figures are rough estimates since the exact brand of butter or amount of milk can change things slightly. This information is based on a standard serving size of about 1/4 cup of the finished product, which is a generous dollop!
You can see where the richness comes from in these numbers—butter and sugar are the stars here, as expected in any truly satisfying dessert topping. But I firmly believe you deserve to know!
- Serving Size: 1/4 cup
- Calories: 320
- Sugar: 40g
- Fat: 18g (11g Saturated)
- Carbohydrates: 42g
- Protein: 2g
- Sodium: 55mg
This rich profile is what makes it the perfect complement to a lighter cake base, giving you that satisfying, creamy chocolate finish we are all looking for!
Share Your Homemade Chocolate Frosting Creations
Honestly, seeing your finished cakes and cupcakes brightens my whole day! Once you’ve whipped up this classic chocolate icing, I really want to know how it turned out for you. Did it stay fluffy? Did everyone love it on those brownies? Getting feedback helps me keep these recipes as reliable as possible for everyone else who tries them.
Please, take a moment right after you’ve tasted your creation to come back here and leave a rating using the little star system right below here. Five stars means you think this is the best thing since sliced bread! If you had any trouble—maybe your frosting was too soft, or you made a clever change—the comments section is the perfect place to share those insights.
If you’ve snapped a picture of your beautifully frosted dessert, I would absolutely love to see it! You can always reach out to me directly through the Contact Page if you want to send photos or share a longer story. Happy baking, everyone, and thank you for trusting my kitchen with your next sweet treat!
PrintThe Best Fluffy Chocolate Buttercream Frosting
Make this rich, creamy, and fluffy chocolate buttercream frosting from scratch. It is perfect for topping cakes, cupcakes, and brownies, offering a classic American home-cooking flavor.
- Prep Time: 15 min
- Cook Time: 0 min
- Total Time: 15 min
- Yield: About 3 cups 1x
- Category: Dessert Topping
- Method: Mixing
- Cuisine: American
- Diet: Vegetarian
Ingredients
- 1 cup (2 sticks) unsalted butter, softened
- 3 1/2 cups powdered sugar, sifted
- 1/2 cup unsweetened cocoa powder, sifted
- 1/2 teaspoon salt
- 1 teaspoon vanilla extract
- 4 to 6 tablespoons whole milk or heavy cream
Instructions
- In a large bowl, beat the softened butter with an electric mixer until smooth and creamy.
- Gradually add the sifted powdered sugar and cocoa powder to the butter mixture, mixing on low speed until just combined.
- Add the salt and vanilla extract. Increase the mixer speed to medium and beat for 2 minutes.
- Add the milk or cream, one tablespoon at a time, beating well after each addition until you reach your desired fluffy consistency. Start with 4 tablespoons and add more if needed for a softer texture.
- Beat on high speed for 1 to 2 minutes until the frosting is light and airy.
- Use immediately to frost cakes, cupcakes, or brownies.
Notes
- For a richer chocolate flavor, use Dutch-process cocoa powder.
- If the frosting seems too thick, add another tablespoon of milk. If it is too thin, add a few more tablespoons of powdered sugar.
- This recipe makes enough frosting to generously cover a two-layer 8-inch cake or about 18 cupcakes.
Nutrition
- Serving Size: 1/4 cup
- Calories: 320
- Sugar: 40g
- Sodium: 55mg
- Fat: 18g
- Saturated Fat: 11g
- Unsaturated Fat: 7g
- Trans Fat: 0.5g
- Carbohydrates: 42g
- Fiber: 1g
- Protein: 2g
- Cholesterol: 45mg