
When I think about true comfort food, the kind that settles you right down after a long day or makes a holiday table feel complete, it always involves a beautiful, savory sauce. Forget those thin, watery packets; we are making real, rich, homemade chicken gravy from scratch today! Because I spent years in the classroom teaching kids how to master the basics, I promise you, this recipe is foolproof. Even if you’ve never made basic gravy before, you’ll have a velvety sauce—perfect for pouring over mashed potatoes or biscuits—in under 15 minutes. This version is my default chicken gravy without drippings secret weapon, but if you want to serve it over my famous buttermilk biscuits, check out the full biscuits and gravy recipe! I’ll show you the skillet trick later if you have those browned bits waiting.
- Why This Easy Chicken Gravy Recipe is a Weeknight Dinner Staple
- Ingredients for Your Homemade Chicken Gravy Without Drippings
- How to Prepare Quick Gravy Sauce: Step-by-Step Instructions
- Tips for the Best Chicken Gravy Every Time
- Making Chicken Gravy With Pan Drippings (Optional Variation)
- Serving Suggestions for This Comfort Food Gravy
- Storage and Reheating Instructions for Leftover Chicken Gravy
- Frequently Asked Questions About Making Chicken Gravy
- Estimated Nutritional Data for Simple Poultry Sauce
Why This Easy Chicken Gravy Recipe is a Weeknight Dinner Staple
As a teacher, I learned quickly that time is precious, and that lesson carries right into my kitchen. This isn’t fussy sauce; this is real, satisfying, comfort food gravy that gets dinner done faster than unpacking the takeout menus! It truly is the definition of a lifesaver recipe on a busy night.
What makes this the best chicken gravy for weeknights? For me, it comes down to three things:
- It’s Fast: Seriously, we are talking about finishing this recipe in roughly 15 minutes, making it a perfect weeknight dinner sauce solution. I call it my 15 Minute Gravy for a reason!
- It’s Simple: You don’t need exotic spices. If you have flour, butter, and broth, you’re basically halfway there. No specialty roasting pans required!
- It’s Versatile: This recipe is the ultimate blank canvas. It’s rich enough for turkey, creamy enough for biscuits, and simple enough for just a scoop over plain rice.
It’s the kind of reliable sauce you’ll want to keep in your back pocket forever.
Ingredients for Your Homemade Chicken Gravy Without Drippings
When I teach this recipe, the first thing I always point out is that you likely have everything you need already sitting in your pantry. No trips to the store required! Remember, since we aren’t relying on pan drippings for this version, we are building flavor from scratch, but we keep it wonderfully simple.
Here’s what you’ll need to gather up to make about a cup and a half of this wonderful homemade chicken gravy:
- 3 tablespoons unsalted butter
- 3 tablespoons all-purpose flour
- 2 cups low-sodium chicken broth
- 1/2 teaspoon salt
- 1/4 teaspoon black pepper
- 1/4 teaspoon dried thyme
That’s it! See? We’re focusing on quality staples here: good butter to build that rich roux, and low-sodium broth so *we* control exactly how salty our finishing sauce is. When you have these basic components handled correctly, you end up with the perfect mound of gravy for those mashed potatoes.
How to Prepare Quick Gravy Sauce: Step-by-Step Instructions
Alright, pay close attention here, friends, because this is where the magic happens! This whole process defines how you make a Quick Gravy Sauce that’s perfectly smooth, and it all hinges on building that wonderful roux. A good roux is the key to avoiding those pesky lumps that ruin a lovely mound of gravy meant for your roast dinner. If you want to see a different way to approach thickening, check out my chocolate pudding recipe—sometimes using a different thickener totally changes the game!
Creating the Roux Base for Velvety Chicken Sauce
First things first: grab a medium saucepan and set your heat to medium. Pop in those 3 tablespoons of butter and let them melt until they are shimmering nicely. Next, whisk in your 3 tablespoons of flour quickly. You need to incorporate it completely so it looks like wet sand. Now, this is the critical teaching moment: we cook this mixture—our roux—for about 1 to 2 minutes while stirring constantly. You aren’t trying to brown it for a dark gravy; you just want it to smell a little nutty, almost like toasted cereal. This step cooks out the raw flour taste and sets you up for that velvety chicken sauce texture you crave. It’s just like learning how to make chicken gravy without the drippings—it’s all about the base!
Simmering and Thickening the Chicken Gravy
Once the roux smells just right, we start adding the liquid. Here’s where patience comes in. You must slowly pour in those 2 cups of chicken broth while whisking like you mean it! If you dump it all at once, you’ll get clumps, and we don’t want that for our chicken gravy. Once the broth is fully incorporated, turn the heat up just enough to bring it to a gentle simmer. Keep whisking every few minutes for about 5 to 7 minutes while it heats. You’ll know it’s ready when it looks thick enough to properly coat the back of a spoon. Don’t forget to stir in your salt, pepper, and that little bit of dried thyme right before you pull it off the heat!
Tips for the Best Chicken Gravy Every Time
Just because a recipe is easy doesn’t mean it can’t be perfected, right? I’ve definitely learned a few tricks over the years about tweaking basic sauces. Knowing how to adjust things on the fly is what separates a good cook from someone who follows directions religiously. If you want to serve up the absolute Best Chicken Gravy that tastes like Grandma made it after a long Sunday roast, keep these practical adjustments in mind.
First, let’s talk texture one more time. If you are serving this over something delicate, like biscuits, or if you just prefer a perfectly smooth mouthfeel, don’t skip the straining step! Yes, I know, one more dish to wash! But trust me, running your finished gravy through a fine-mesh sieve right before serving will catch any tiny flour bubbles you might have missed. It gives you that absolute professional, velvety chicken sauce look.
What if you get distracted (we all do!) and your gravy ends up a little too thick? It happens! Chicken broth is your best friend here. If it’s brick-like, just whisk in a tiny splash more broth over low heat until it loosens up. Remember to adjust your salt after you thin it down, because you’re adding unsalted liquid back in.
If you’re looking for more inspiration on sides that pair perfectly with a great sauce, take a peek at my easy homemade crispy corn dogs recipe—sometimes you just need something fried to dip into that savory coating!
On the flip side, if you’ve made this ahead of time and it’s sitting in the fridge, it will definitely seize up and get thick. Don’t panic! Reheat it gently on the stove with a tablespoon or two of milk or water, and it will loosen right back up. For more brown gravy inspiration using different bases, I always look toward what others suggest, like this easy brown gravy recipe.
Making Chicken Gravy With Pan Drippings (Optional Variation)
Now, I know many times you’ve just cooked a beautiful roast chicken or maybe you had some fantastic pan drippings left over from making my spatchcock chicken recipe. When you have those lovely, flavorful brown bits (fond) in the bottom of your pan, you absolutely should use them! That’s where you find the deepest, richest flavor imaginable in your final chicken gravy.
This variation turns your basic pantry sauce into a true skillet gravy experience. It’s so easy to pivot from the drippings-free version. You just need to make a slight adjustment to our roux proportions because those drippings bring a lot of fat and flavor right to the party already.
Here’s the simple switch you make: Instead of using the full 3 tablespoons of butter, use just 2 tablespoons of butter PLUS 1 tablespoon of your reserved pan drippings. That fat ratio swaps out beautifully.
Because the drippings often carry flavor from the meat juices, we want to dial back the flour just a smidge to keep the final result from getting too heavy. So, if you swap in the drippings, reduce your flour from 3 tablespoons down to 2 1/2 tablespoons. Whisk that mixture into the drippings/butter combo, cook for that same minute until nutty, and proceed exactly as written in the other directions.
It takes just seconds to make that little swap, but the result is incredible. You get that deep, savory note that you can only get from using the pan drippings. It’s the hallmark of classic home cooking, and I’m so thrilled you get to try it!
Serving Suggestions for This Comfort Food Gravy
This is the part I love the most—deciding *where* this beautiful, rich chicken gravy is going to end up! Honestly, once you’ve mastered the technique, I find myself making a batch just because I know I’ll find something to smother in it. It’s the ultimate budget-friendly flavor booster for almost any plate.
This sauce is truly the definition of comfort food gravy because it just pairs perfectly with so many favorites. You can keep it simple or get creative! Here are the classic ways this gravy shines:
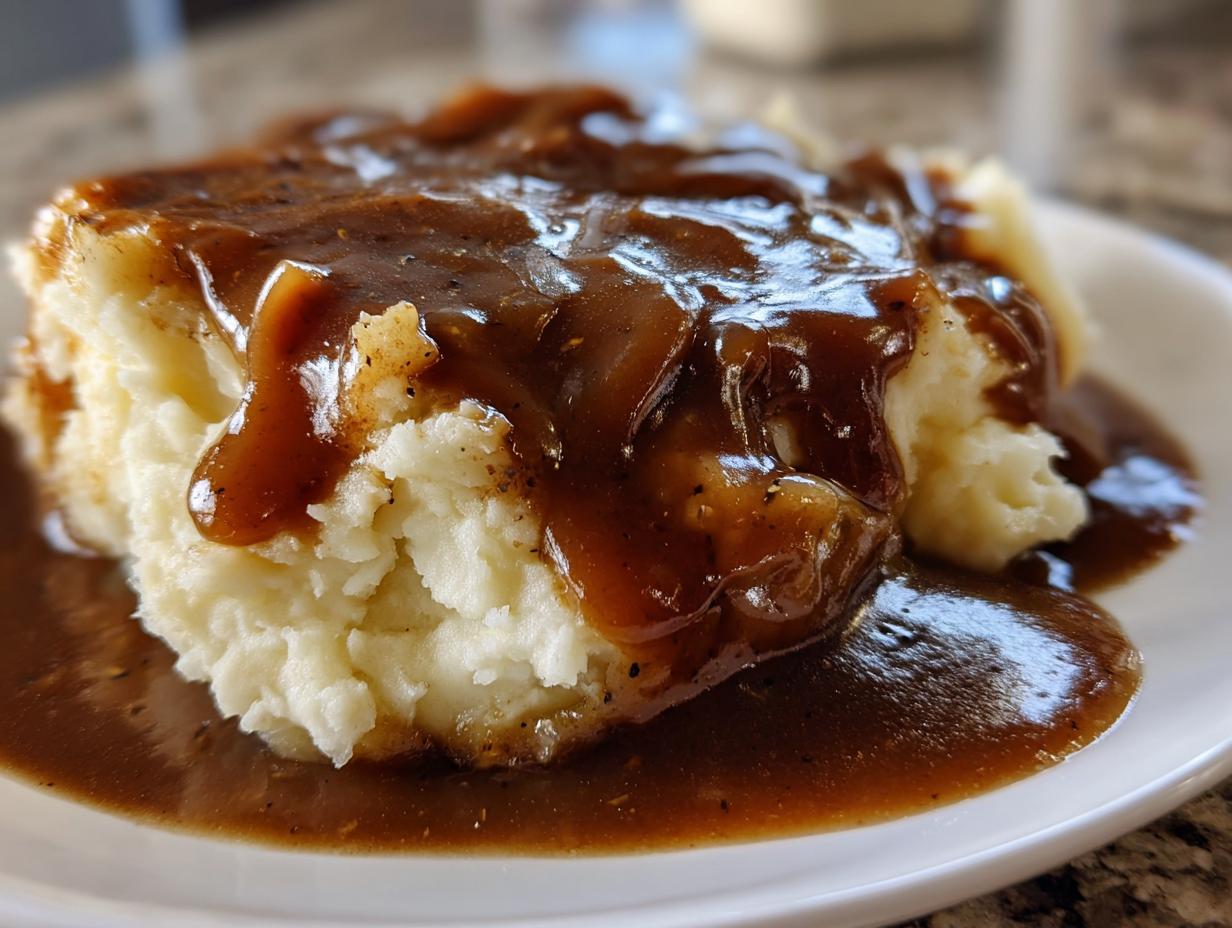
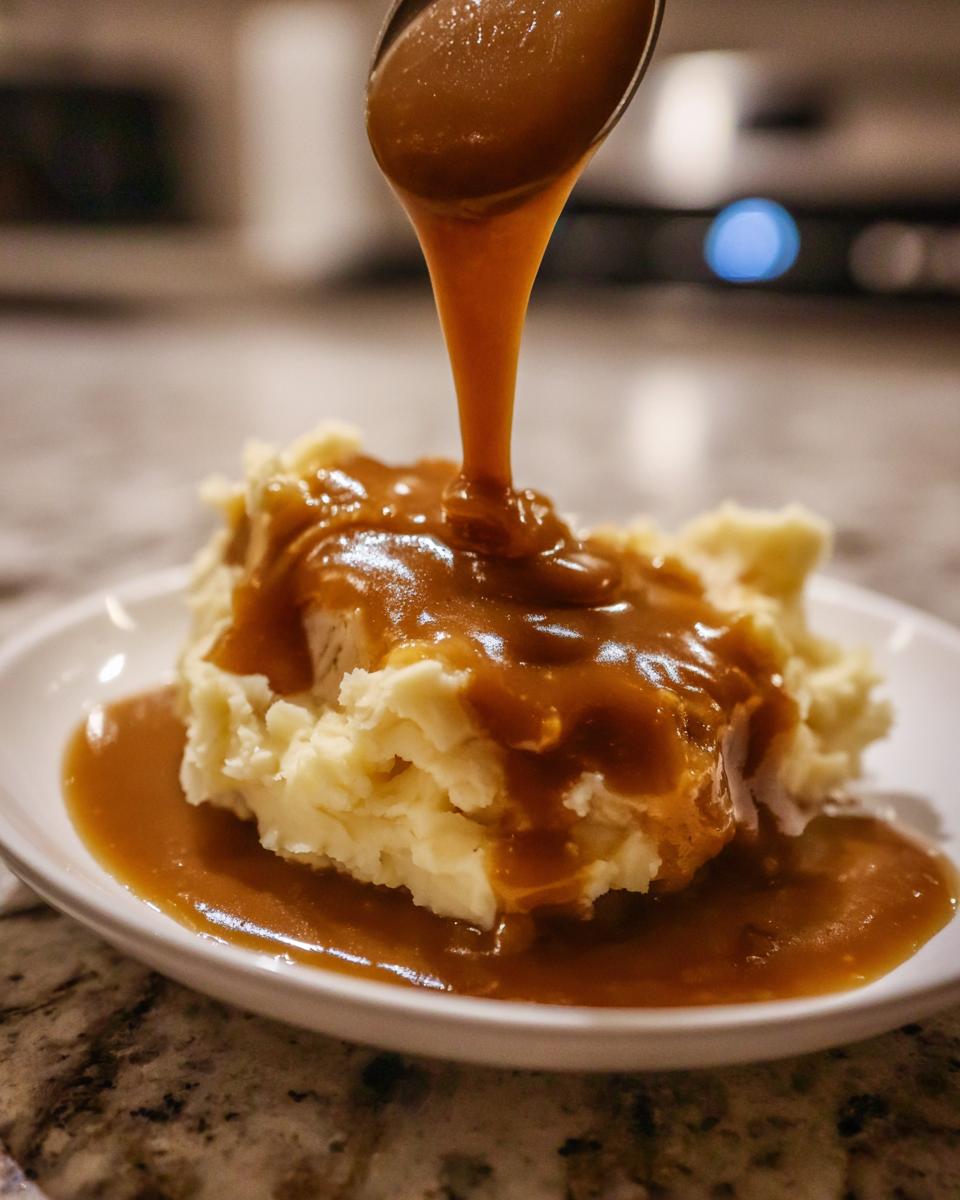
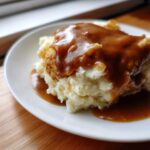
- Mashed Potatoes: This is the gold standard, isn’t it? No fluffy potato mound is complete without a pool of warm gravy. It makes the perfect mashed potato topping.
- Biscuits: A thick, creamy topping for biscuits makes a fantastic, quick breakfast or light dinner. If you haven’t tried it, you simply must! You can find my favorite biscuit recipe details in this post about crispy oven-roasted breakfast potatoes (though I love those potatoes smothered in this gravy too!).
- Rice: Especially if you’ve made a simple roasted chicken or even just baked chicken breasts, pouring this right over a mound of fluffy white rice is an unbelievably easy and satisfying dinner.
- Over Poultry: If you skip the drippings method, you can still use this as a fantastic finishing sauce for Thanksgiving turkey leftovers or just plain baked chicken.
My personal favorite pairing? If I’m feeling lazy but craving satisfying warmth, I make a bed of rice, top it with a scoop of leftover shredded chicken (if I have any), and drown the whole thing in this sauce. It tastes like you spent hours cooking, but we both know it took maybe ten minutes! For other pairing ideas, I often look at recipes from other home cooks, like the ones I found here.

Remember, because this is a relatively neutral, savory sauce, it’s a perfect base for almost anything that needs a little moisture and depth. Enjoy making your dinner special!
Storage and Reheating Instructions for Leftover Chicken Gravy
Now, if you managed to have any chicken gravy left over after smothering everything in sight, you are in luck! This sauce keeps beautifully, which means you can always have a shortcut ready for your next comfort meal. I always tell my grandkids: cook once, eat well twice!
Because this recipe relies on a simple flour roux, it tends to thicken up quite a bit as it chills—which is normal. It stops being a pourable sauce and starts acting more like a very thick paste in the fridge. Don’t fret! It’s easy to bring back to life, just like when I reheat the broth for my slow-cooker chicken noodle soup.
For storage, pop any leftovers into an airtight container. It will stay fresh in the refrigerator for about 3 to 4 days. If you’re planning further out than that, freezing is a great option! Gravy freezes really well in small containers or even ice cube trays if you want small flavor ‘bombs’ to melt into the bottom of a pan later.
When it’s time to reheat, you always need to plan on adding more liquid. This gravy will likely be rock solid or very stiff when it comes out of the fridge. If you’re reheating a large batch on the stovetop, put it in a small saucepan over medium-low heat. Whisk in a tablespoon or two of chicken broth or even milk at a time until you reach that perfect, slightly drippy consistency you remember from when it was first made.
If you’re just reheating a single scoop, the microwave works fine, but you *must* stir it every 30 seconds or so. If you forget, you’ll end up with a slightly scorched bottom layer that’s hard to incorporate. Remember, the goal is a luscious, velvety chicken sauce, not glue!
Frequently Asked Questions About Making Chicken Gravy
I always tell my class—excuse me, my readers—that the questions usually pop up when you’re elbow-deep in the process! You’ve made your easy chicken gravy recipe, and it looks… different than expected. Don’t worry one bit! These are the common hurdles I used to see my students face when trying to master a simple poultry sauce.
Can I use cornstarch instead of flour for thickening?
That’s a great question, and the answer is yes, you certainly can! Cornstarch gives you a much glossier, clearer finish, whereas the flour roux gives you that classic, opaque, slightly rustic look that I prefer for my comfort food gravy. If you decide to swap it out because you’re avoiding gluten, remember that cornstarch isn’t added to the fat first. You’d mix 1 tablespoon of cornstarch with 2 tablespoons of cold water—that’s called a slurry—and then whisk that into your hot broth right at the end of the cooking time. You’ll need to simmer it only for about a minute after adding the slurry until it thickens up.
What kind of broth works best for that rich flavor?
For this specific recipe, since we are aiming for a lighter color initially, I highly recommend using a low-sodium chicken broth. This gives you wonderful flavor without overwhelming the salt content too early. However, the moment you want to transition this into a deeper, richer sauce—like for a roast—using homemade stock made from roasted chicken bones is unbeatable. If you don’t have chicken stock, a high-quality vegetable broth works in a pinch, though you might need to boost the savory pepperiness slightly to make up for the missing chicken note. If you love chicken flavor in soups too, check out my tips for making chicken gnocchi soup!
Can this chicken gravy be made ahead of time?
Absolutely! I mentioned this in the storage section, but it bears repeating here. This recipe is fantastic for making ahead. If you know you’re having a big dinner (like Thanksgiving!), I make a double batch of this homemade chicken gravy the day before. As I noted before, it will firm up significantly when chilled. The key is planning for that reheating step. Always reheat it slowly on the stove with a little extra liquid—milk, water, or more broth—to return it to that beautiful, pourable consistency.
Why is my gravy tasting a little pasty or floury?
Nine times out of ten, if your quick gravy sauce tastes pasty, it means the roux didn’t cook long enough at the beginning. Remember that 1 to 2 minutes we spent cooking the flour and butter together? That step is vital because it cooks out the raw starch flavor. If you rush it, that flour taste lingers. If you’ve already added your liquid and realize it tastes floury, the only fix is to continue whisking and simmering the gravy for a few more minutes; sometimes, it just needs a little extra heat time to fully hydrate and lose that raw taste.
Estimated Nutritional Data for Simple Poultry Sauce
I always believe that knowing what’s in your food is part of being a confident home cook. Transparency is key, especially when serving family! While the focus here is on pure comfort and flavor delivery via this Simple Poultry Sauce, I always like to provide a general idea of what you are consuming when you ladle this wonderful chicken gravy over your evening meal.
Please remember that these numbers are just estimates based on the ingredients listed above. If you use salted butter instead of unsalted, or if you use a richer, higher-sodium broth, those numbers will shift slightly! We develop these figures based on standard ingredient proportions for one serving size.
- Serving Size: 1/4 cup
- Calories: 95
- Fat: 6g
- Saturated Fat: 3.5g
- Carbohydrates: 7g
- Protein: 2g
- Sodium: 350mg (This is where broth choice matters most!)
- Sugar: 0.5g
Knowing this helps when you’re balancing out a big meal, like maybe pairing this sauce with my oven-roasted potatoes. It’s a relatively low-sugar sauce, which is wonderful, and the fat comes largely from the butter used to make that beautiful roux. It’s all about balance, and enjoying the meal without worrying too much!
PrintEasy Homemade Chicken Gravy Without Drippings
Make a rich, velvety chicken gravy in under 15 minutes using simple pantry staples. This recipe is perfect for pouring over mashed potatoes, rice, or biscuits.
- Prep Time: 5 min
- Cook Time: 10 min
- Total Time: 15 min
- Yield: About 1 1/2 cups 1x
- Category: Sauce
- Method: Stovetop
- Cuisine: American
- Diet: Vegetarian
Ingredients
- 3 tablespoons unsalted butter
- 3 tablespoons all-purpose flour
- 2 cups low-sodium chicken broth
- 1/2 teaspoon salt
- 1/4 teaspoon black pepper
- 1/4 teaspoon dried thyme
Instructions
- Melt the butter in a medium saucepan over medium heat.
- Whisk the flour into the melted butter to create a smooth roux. Cook the roux for 1 to 2 minutes, stirring constantly, until it smells slightly nutty. Do not let it brown.
- Slowly pour in the chicken broth while whisking continuously to prevent lumps.
- Bring the mixture to a simmer, continuing to whisk until the gravy thickens enough to coat the back of a spoon, about 5 to 7 minutes.
- Stir in the salt, pepper, and dried thyme. Taste and adjust seasonings as needed.
- Remove from heat and serve immediately over your favorite comfort food.
Notes
- For a richer flavor when using drippings, substitute 1 tablespoon of the butter with 1 tablespoon of reserved pan drippings, then reduce the flour to 2 1/2 tablespoons.
- If the gravy is too thick, whisk in a splash more chicken broth until you reach your desired consistency.
- For a velvety texture, strain the finished gravy through a fine-mesh sieve before serving.
Nutrition
- Serving Size: 1/4 cup
- Calories: 95
- Sugar: 0.5
- Sodium: 350
- Fat: 6
- Saturated Fat: 3.5
- Unsaturated Fat: 2.5
- Trans Fat: 0
- Carbohydrates: 7
- Fiber: 0.3
- Protein: 2
- Cholesterol: 10