
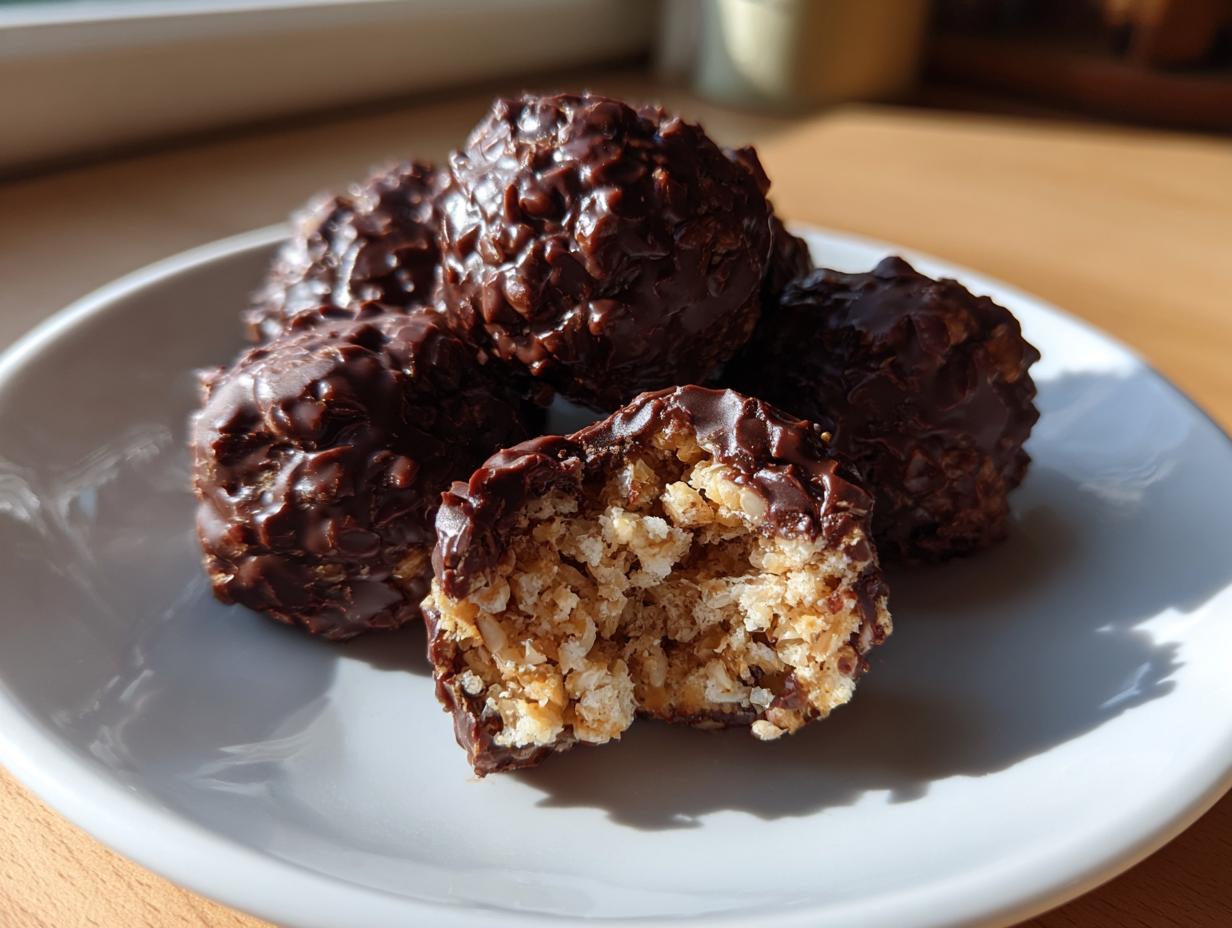
Oh, how I love those days when the craving for something sweet hits—but you absolutely do not want to turn on the oven. I promise you, those feelings led me straight to perfecting this recipe time and time again! We are making No-Bake Chocolate Peanut Butter Rice Krispie Balls today, and trust me, they are the definition of a family favorite treat. If you have an upcoming party or just need a reliable standby, this recipe is foolproof. As a grandmother, I value anything that I can pull together quickly, much like my easy Christmas poke cake. If you need a quick dessert snack that requires zero fuss, you’ve come to the right place. They come together faster than you can brew a pot of coffee!
- Why You Will Love These Chocolate Rice Krispie Balls
- Gathering Ingredients for Perfect Chocolate Rice Krispie Balls
- Step-by-Step Instructions for No Bake Crispy Treats
- Tips for Making the Best Rice Krispie Balls Every Time
- Variations for Your Chocolate Rice Krispie Balls
- Storage and Make Ahead Tips for Your Simple Crispy Cereal Balls
- Answering Common Questions About Chocolate Rice Krispie Balls
- Estimated Nutritional Data for These Quick Dessert Snacks
- Share Your Family Favorite Treats
Why You Will Love These Chocolate Rice Krispie Balls
I know you’re busy, so let me quickly tell you why these crunchy little bites jump right to the top of my favorites list, especially when I need quick, no-bake alternatives. They feel like a special homemade candy but take about 20 minutes total! Since I taught my grandkids how to make these, they become our go-to for unexpected guests or after-school snacks.

- They are completely no-bake! Zero oven time means your kitchen stays nice and cool, which is a lifesaver in the summer.
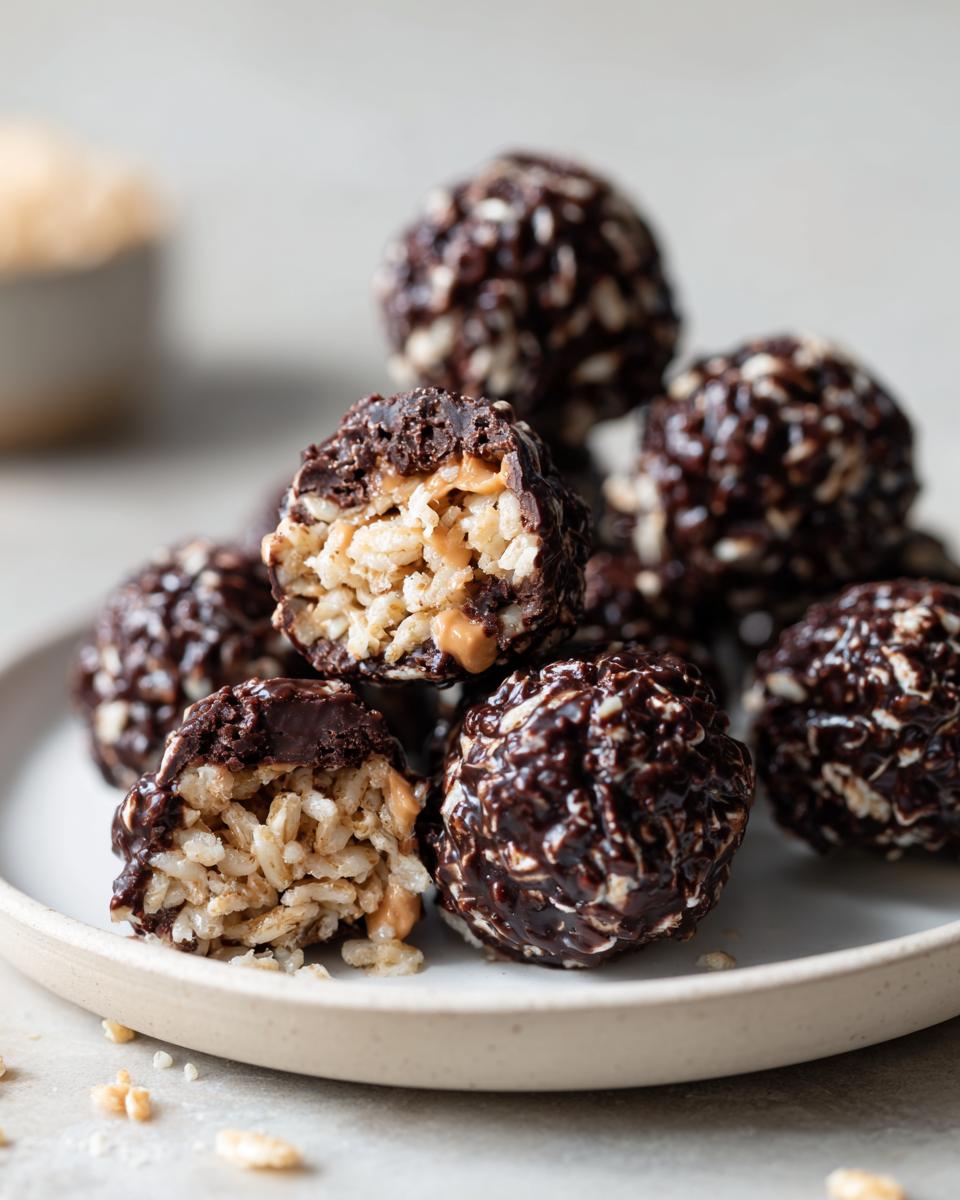
- The peanut butter and chocolate combination is simply irresistible. It’s a classic mashup that pleases everyone, from toddlers to Grandpa.
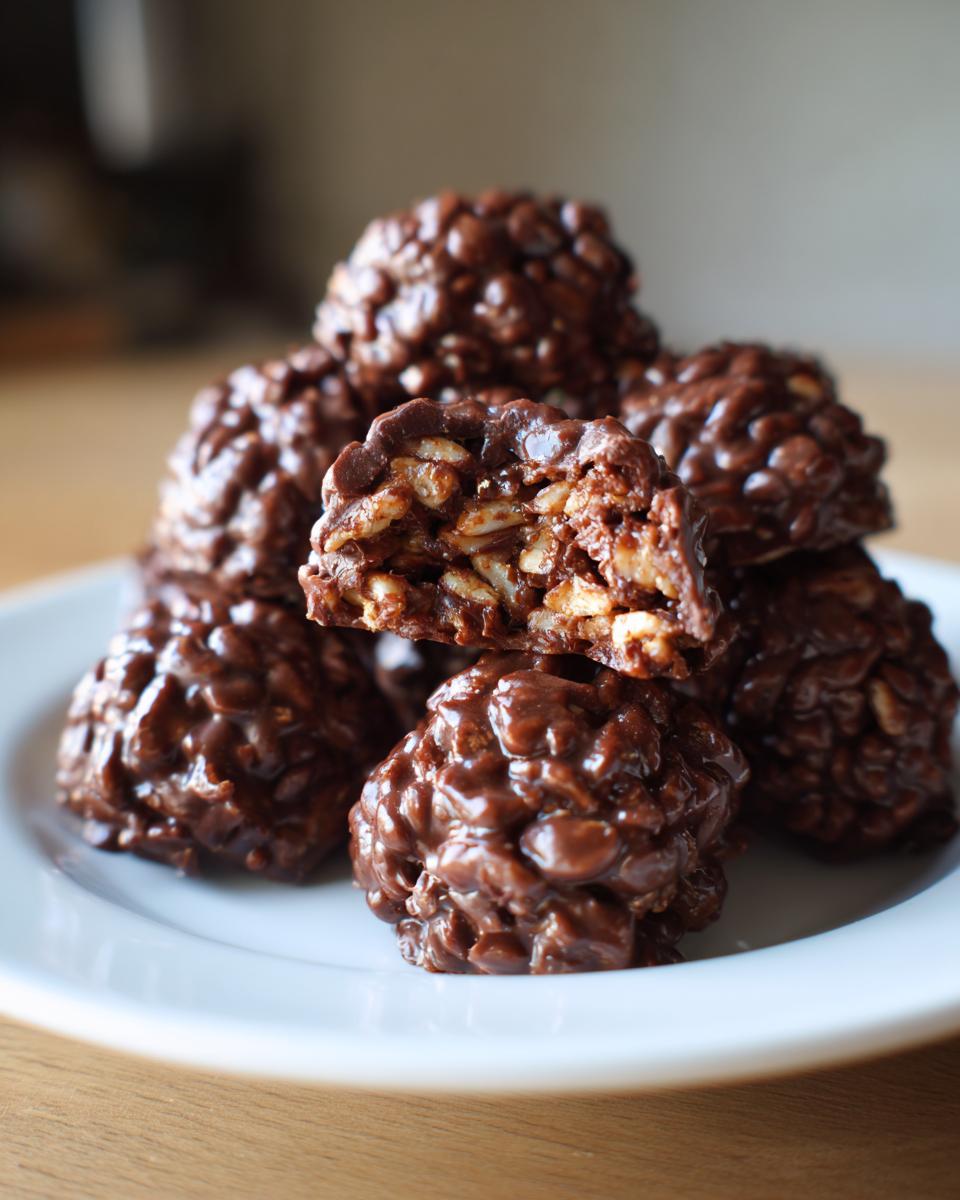
- They are perfectly sized for parties, gift tins, or just keeping handy for an effortless dessert snack.
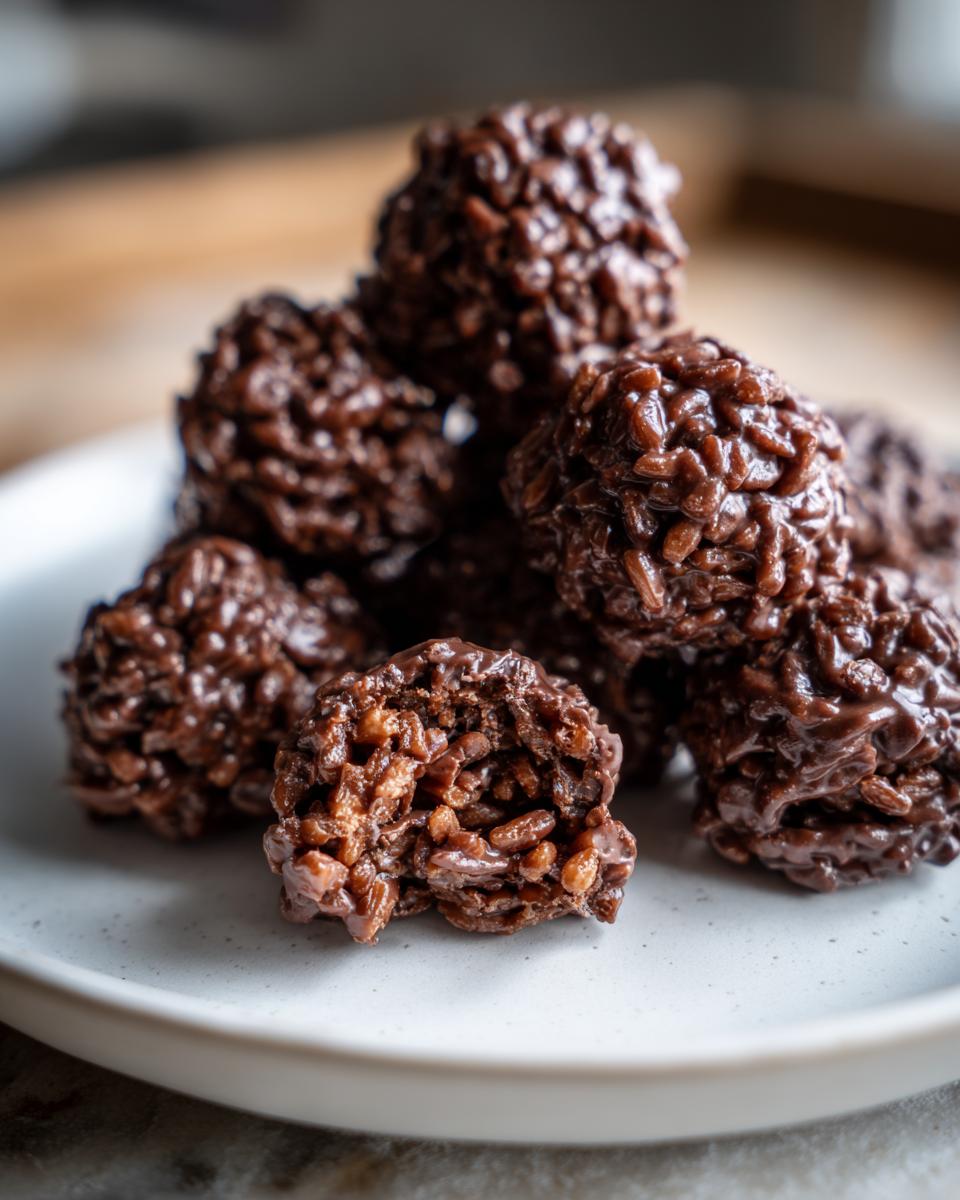
- You get that wonderful, satisfying crunch from the cereal mixed with a smooth, rich chocolate binding.
Gathering Ingredients for Perfect Chocolate Rice Krispie Balls
Now, listen closely because selecting the right ingredients is what guarantees these turn out perfectly shaped and wonderfully rich. We are sticking to the basics here—no fancy substitutions necessary for these delightful chocolate Rice Krispie Balls Recipe. The secret to a smooth texture is using creamy peanut butter, trust me. If you use crunchy, it messes up the binding structure when we mix everything up!
Here is exactly what you need for your first batch of these easy chocolate balls. Remember, measuring precisely helps immensely when you want them done fast:
- 6 cups crispy rice cereal (The classic brand works perfectly!)
- 1 cup creamy peanut butter
- 1 cup powdered sugar
- 1 teaspoon vanilla extract
- 1/2 cup butter or margarine
- 12 ounces semi-sweet chocolate chips
That’s it for the list! Six simple things needed to create what I think is one of the best peanut butter cookie cousins out there. Keep that butter soft, but not melted, and use good quality chips for the best chocolate flavor when we get to that step.
Step-by-Step Instructions for No Bake Crispy Treats
This is where the magic happens fast! Since these are non-bake, the timing is crucial, especially when that glorious warm chocolate hits the cereal. My goal is always to get everything thoroughly mixed before the chocolate starts to cool down, which is why I keep my wax paper ready to go before I even touch the stove. Don’t worry if it feels sticky; that’s what binding them together is all about! This process is almost as straightforward as making my sugar cookie truffles.
Mixing the Base of Your Chocolate Rice Krispie Balls
First things first, grab your largest mixing bowl. We need to get the dry stuff and the binders combined perfectly. Toss in all 6 cups of your crispy rice cereal. Then, add your creamy peanut butter, the powdered sugar, and that lovely teaspoon of vanilla extract. I always tell my grandkids to pretend they are folding a very delicate blanket when mixing this part. You need everything evenly coated—that peanut butter and sugar mixture is what holds the cereal together. Mix it well, but be gentle! We want crunch, not a pile of dust, so don’t crush those lovely little squares.
Melting the Chocolate Coating for Your Chocolate Rice Krispie Balls
Now for the stovetop part. Grab a small saucepan—I mean small! We are only melting, we aren’t cooking anything here. Set the heat to low, and add in your butter and those 12 ounces of chocolate chips. You must stir this constantly. I mean it, Carla’s rule: if you walk away, you risk scorching the chocolate, and nobody wants bitter Chocolate Rice Krispie Balls. Keep stirring until it’s glossy, smooth, and totally temptation-worthy. That’s when you pull it straight off the heat.
Forming and Setting the Easy Chocolate Balls
This is the race against time! Pour that smooth chocolate coating right over your cereal mixture. Using a flexible spatula, fold quickly until every stray piece of cereal is covered in that beautiful chocolate. Once it’s uniform, you need to work fast before it sets up. I use a small cookie scoop to drop uniform amounts onto the lined wax paper. This keeps my Easy Chocolate Balls looking neat for company. Then, gently roll them in your hands to make a nice round shape. If you wait too long, they harden in clumps, trust me! Once they are rolled, let them sit on the counter for about 30 minutes to firm up. If you’re in a hurry, 15 minutes in the fridge will do the trick. These no-bake fudge relatives are best when they set naturally, but I understand impatience sometimes!
Tips for Making the Best Rice Krispie Balls Every Time
Even though this is a simple recipe, just like my creamy white chocolate fudge, a few little tricks separate a good batch from a truly great one. My goal is always to send you home with the very best results, so here are the hard-earned lessons I’ve gathered about these Peanut Butter Krispie Balls.
First, let’s talk chocolate. If you want to deepen that flavor profile—maybe for a grown-up gathering—don’t hesitate to swap the semi-sweet chips for dark chocolate. It cuts through the sweetness of the peanut butter beautifully. Also, remember my note about moisture: if your mixture seems way too dry to stick together when you go to roll them, don’t panic! Just melt an extra tablespoon of butter and stir it in. It gives the binding qualities a little boost.
My personal tip? When you’re chilling them to set, try not to crowd the pan. If they are piled on top of each other too soon, the flat sides won’t look as neat. For a professional look that everyone notices, I always give mine a light dusting of cocoa powder right after they firm up. It makes these Crunchy Chocolate Balls look store-bought sophisticated, even though they took almost no effort!
For more ideas on getting that chocolate just right, you can check out the inspiration I found over at Cooking Heavenly, too. They have great visual guides!
Variations for Your Chocolate Rice Krispie Balls
Sometimes you just need to shake things up a little bit, right? Even with our reliable base recipe for these Quick Sweet Snacks, tweaking is half the fun. These are so adaptable, and it’s easy to customize them so they fit whatever mood you’re in or whatever treats you have on hand. They truly shine as Party Food No Bake options because everyone loves finding a little surprise!
If you’re looking for an instant festive upgrade, try stirring in a half cup of festive sprinkles right after you add the melted chocolate. They look so cheerful! Maybe you want something a bit more tropical? A handful of shredded coconut mixed in with the cereal adds an excellent texture contrast.
For those who prefer a less sweet, deeper note, definitely use dark chocolate chips instead of semi-sweet. They make these Homemade Chocolate Candy bites feel incredibly rich. You could even try swapping out the peanut butter for sunflower butter if you have guests who need to avoid nuts. It works surprisingly well! If you enjoy fruit and chocolate together, check out my favorite white chocolate raspberry cookies; maybe you can adapt that flavor profile next time!
Storage and Make Ahead Tips for Your Simple Crispy Cereal Balls
The beauty of these Simple Crispy Cereal Balls is that they are fantastic for planning ahead! If you are making treats for a holiday or a big gathering, leftovers (if you have any!) keep beautifully.
Store them in a good, sturdy airtight container. If your kitchen isn’t too warm, they are happy sitting right out on the counter for up to a week. The chocolate acts as its own preservative, which is wonderful. Trust me, these make-ahead sweets are a lifesaver when you need a reliable dessert ready when company arrives. If you want more ideas on planning ahead with desserts, you should definitely look at my collection of other recipes perfect for advancing your baking schedule.
Answering Common Questions About Chocolate Rice Krispie Balls
I always get asked the same few things when people first try making this recipe, and that’s perfectly fine! Teaching you how to troubleshoot is just as important as giving you the recipe itself. These simple crispy cereal balls are usually very forgiving, but a few little hiccups can trip up a new baker, so let’s clear those up right now so you can enjoy your perfect, crunchy chocolate candy.
Can I skip the peanut butter in this recipe?
That’s a tough one! The peanut butter does a lot of heavy lifting here; it’s a binder, it adds richness, and it gives that wonderful savory counterpoint to the sweet chocolate. If you absolutely cannot use peanut butter, you will miss out on that classic flavor profile of these Peanut Butter Chocolate Mashup treats. You could substitute with an equal amount of plain, melted marshmallow fluff, but be warned—you might need to reduce your powdered sugar slightly, and the texture will be much softer, pulling it away from being a true no-bake crispy treat. It’s best kept in if you can manage it!
Why are my balls falling apart or too crumbly?
This usually means one of two things, and it often happens when we rush things! If your base mixture in the bowl felt dry before you added the chocolate, that’s the first sign. If that’s the case, just follow my tip from earlier: melt one extra tablespoon of butter and mix it in the base. The second reason is not using enough chocolate to bind the whole thing together. Remember, you need that melted layer to coat everything and act like glue when it cools. If they are falling apart *after* they set, try rolling them slightly firmer when you shape them.
How do I get that nice, even chocolate coating?
My best advice here is to use the cookie scoop to portion them out—that gives you uniformity right away, which makes rolling easier. When you pour the melted chocolate over the mixture in the bowl, stir quickly but carefully until it’s all covered. Once you drop them onto the wax paper, use slightly damp hands to gently smooth the chocolate surface if you see any cereal poking through. That little bit of moisture on your hands helps the chocolate spread without sticking to you. These Easy Chocolate Balls look so much better when they are fully coated!
How long can I safely store these easy chocolate balls?
As I mentioned in the storage section, these are wonderful make-ahead sweets. Because they are coated in chocolate, they seal in the freshness quite well. When stored in an airtight container at cool room temperature, I find they are absolutely perfect for about 5 to 7 days. Your family will probably devour them long before that, especially if you don’t hide them well! If you need them longer, they do fine in the fridge, but sometimes the chocolate coating can get a little dull looking, so room temp is my preference for texture.
If you are interested in other high-protein, no-bake options that are great for snatching a quick snack, you might enjoy checking out my recipe for protein balls next!
Estimated Nutritional Data for These Quick Dessert Snacks
Now, I always tell my children and grandchildren that tracking every single speck of nutrition is hardly the point when you’re enjoying a delicious, homemade treat like these chocolate Rice Krispie balls. Cooking from scratch is about love more than it is about data! However, knowing roughly what’s in a serving is helpful, especially when you’re sharing them with a crowd.
Based on the standard ingredients used in this recipe—that’s 6 cups of cereal, the peanut butter, sugar, butter, and chocolate—here is what you can generally expect per serving. Keep in mind, since these are rolled by hand, one person’s ball might be slightly bigger than another’s, so these are wonderful estimates, not strict lab results!
- Serving Size: 1 ball (Yields about 24)
- Calories: Around 180 per ball
- Fat: Approximately 10g
- Carbohydrates: About 22g
- Protein: Roughly 3g
When you use real butter and proper peanut butter, you certainly get a little saturated fat in there, but that’s just the price of real flavor, isn’t it? I find that knowing these No Bake Crispy Treats are great for an energy boost before an afternoon activity makes them a guilt-free addition to our snack rotation. A little bit of goodness shared among friends is what matters most!
Share Your Family Favorite Treats
Well, that’s the whole simple process for these wonderful No Bake Crispy Treats! I truly hope these Rice Krispie Balls make their way into your regular rotation. They are the kind of recipe that disappears from the counter faster than you can clean up the mixing bowl, especially when my grandkids are over. I’ve tried to keep the instructions clear, remembering my teaching days—if you can explain it simply, anyone can master it!
I always love hearing back from you when you try one of our family recipes. Did you add sprinkles, like I suggested in the variations? Or maybe you stuck with the classic chocolate peanut butter mashup? Please, don’t be shy! Leave a comment down below and let me know how they turned out for your family. I love seeing photos of your creations, so if you shared one on social media, tag me so I can see which of our favorite treats you made!
If you made these today and loved them, a quick five-star rating really helps other home cooks find this recipe. Thank you for letting me share a little bit of sweetness with your kitchen today. Happy baking—or rather, happy *no-baking*!
PrintNo-Bake Chocolate Peanut Butter Rice Krispie Balls

Make these easy, no-bake chocolate peanut butter Rice Krispie balls. They are a quick dessert snack perfect for parties or family treats.
- Prep Time: 15 min
- Cook Time: 5 min
- Total Time: 20 min
- Yield: 24 servings 1x
- Category: Dessert
- Method: No-Bake
- Cuisine: American
- Diet: Vegetarian
Ingredients
- 6 cups crispy rice cereal
- 1 cup creamy peanut butter
- 1 cup powdered sugar
- 1 teaspoon vanilla extract
- 1/2 cup butter or margarine
- 12 ounces semi-sweet chocolate chips
Instructions
- In a large bowl, combine the crispy rice cereal, peanut butter, powdered sugar, and vanilla extract. Mix these ingredients well until everything is evenly coated.
- In a small saucepan over low heat, melt the butter and chocolate chips together, stirring constantly until the mixture is smooth. Remove from heat.
- Pour the melted chocolate mixture over the cereal mixture. Stir quickly until the cereal is completely covered in chocolate.
- Drop spoonfuls of the mixture onto wax paper or a baking sheet lined with parchment paper. You can use a cookie scoop for uniform size.
- Shape each spoonful gently into a ball with your hands. Work quickly before the chocolate sets.
- Let the chocolate Rice Krispie balls set at room temperature for about 30 minutes, or chill them in the refrigerator for 15 minutes until firm.
- Serve these homemade chocolate candy treats or store them in an airtight container.
Notes
- For a richer chocolate flavor, use dark chocolate chips instead of semi-sweet.
- If the mixture seems too dry to hold a shape, add one tablespoon of melted butter to help bind it.
- These make-ahead sweets keep well for up to one week when stored properly.
Nutrition
- Serving Size: 1 ball
- Calories: 180
- Sugar: 15
- Sodium: 85
- Fat: 10
- Saturated Fat: 5
- Unsaturated Fat: 5
- Trans Fat: 0
- Carbohydrates: 22
- Fiber: 1
- Protein: 3
- Cholesterol: 10