
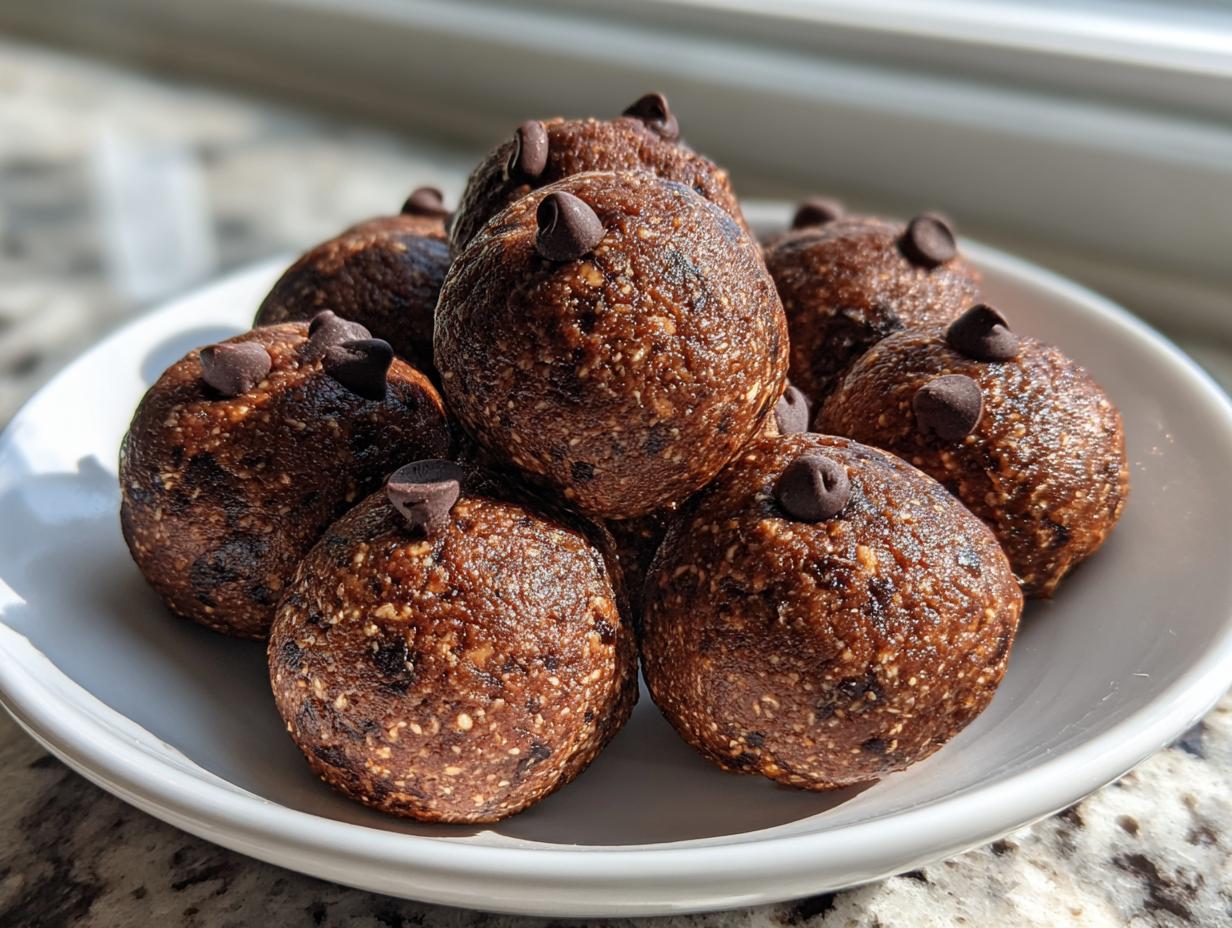
Oh, goodness, some days I feel like I need a tiny burst of energy just to get through my afternoon call with the grandkids! When life is moving fast—and when isn’t it?—you need a snack that works as hard as you do, but you certainly don’t need any fussy steps. That’s why I’m practically shouting about these No-Bake Chocolate Peanut Butter protein balls from the rooftops. Forget turning on the oven; these are ready in minutes! As someone who believes good food should always be dependable and straightforward, these little bites fit my philosophy perfectly. They are high in protein, unbelievably tasty, and you just mix them up and roll them. Trust me, these are the easiest, most satisfying **high protein snacks** you will ever make.
- Why These No-Bake Chocolate Peanut Butter Protein Balls Are Your New Favorite Healthy Protein Balls Recipe
- Gathering Ingredients for Perfect Peanut Butter Protein Balls No Bake
- Step-by-Step Instructions for Making Your Protein Balls
- Tips for Success When Making Homemade Protein Snacks
- Storage and Make Ahead Snack Recipes for Protein Balls
- Serving Suggestions for Post Workout Fuel Balls
- Frequently Asked Questions About Protein Balls
- Understanding the Nutrition of These Protein Balls
- Share Your Homemade Protein Balls Creations
Why These No-Bake Chocolate Peanut Butter Protein Balls Are Your New Favorite Healthy Protein Balls Recipe
Why should you switch to making these **protein balls** today? Well, they are what I call a kitchen miracle! They grab those simple pantry staples and turn them into something truly great without any fuss. If you’re like me and sometimes need a boost of energy fast, these hit the spot every time. I think you’ll find they become your go-to snack for just about everything.
- They truly fly out of the fridge during the week!
- They taste like a treat but feel totally guilt-free.
- They are perfect for stashing in your gym bag or purse.
If you enjoy dependable, quick snacks like these, you might also want to check out my recipe for easy high-protein egg bites for your mornings.
Quick Prep Time for Easy No Bake Energy Bites
Honestly, the best part is the time savings. We are talking about a 10-minute total assembly time here. Ten minutes! That’s less time than it takes me to decide what I want for dinner, sometimes. This means you can whip up a batch the night before or even during a quick work break. They are the perfect solution when you need **quick healthy sweet treats** that satisfy that craving right away.
Simple, Wholesome Ingredients for Meal Prep Protein Bites
I never mess around with lengthy ingredient lists when it comes to snacking. These **peanut butter protein balls no bake** version uses just four core things to pull it all together. We’re using wholesome grains like oats and natural fats from peanut butter. Because they store so well in the fridge, they are absolutely brilliant for your **meal prep protein bites** planning for the week ahead. It’s simple fuel, made easy.
Gathering Ingredients for Perfect Peanut Butter Protein Balls No Bake
Now that you know how fast these come together, let’s talk about what you need by the mixing bowl. Getting the ingredients right is the first step to making truly dependable **homemade protein powder snacks**. I have kept this list simple, focusing only on what’s necessary for incredible flavor and that perfect, slightly chewy texture. Don’t worry if you need to tweak things slightly; we all cook a little differently in our own kitchens. If you need inspiration for other fresh pantry additions, I have a lovely guide on making homemade applesauce that you might enjoy too!
Here are the straightforward items to gather for about 18 servings:
- 1 cup rolled oats
- 1 cup peanut butter (I prefer creamy here, but crunchy is fine!)
- 1/2 cup vanilla protein powder
- 1/2 cup mini chocolate chips
- 2 tablespoons honey or maple syrup (This is listed as optional, but I usually add it for the best binding!)
Ingredient Notes and Substitution Guidance
Listen closely, because small details make these **protein balls** shine! If you have dietary restrictions, customization is easy. For the gluten-free crowd, you must use certified gluten-free rolled oats. That’s non-negotiable for keeping them truly safe.
As for the peanut butter, if someone in your family has an allergy, almond butter works beautifully, or sunflower seed butter if you need to avoid tree nuts entirely. The texture remains very similar, which is wonderful. Also, while the honey or maple syrup helps bind everything so you get those beautiful, firm little shapes, if you are trying to keep the sugar lower, you can omit it. Just know that if you skip the sweetener, your mix might be a little crumbly and require a slightly longer chill time before rolling.
Step-by-Step Instructions for Making Your Protein Balls
Putting this recipe together is so satisfying because it’s all mixing and no waiting for the oven to preheat! Follow these steps exactly, and you’ll have perfect, uniform **protein balls** ready in a flash. We are building a dense, sticky dough that holds together beautifully, so pay attention to how the mixture feels halfway through. If you’re planning ahead for events, these are fantastic as part of your easy appetizer and snack rotation!
Mixing and Achieving the Right Dough Consistency for Protein Balls
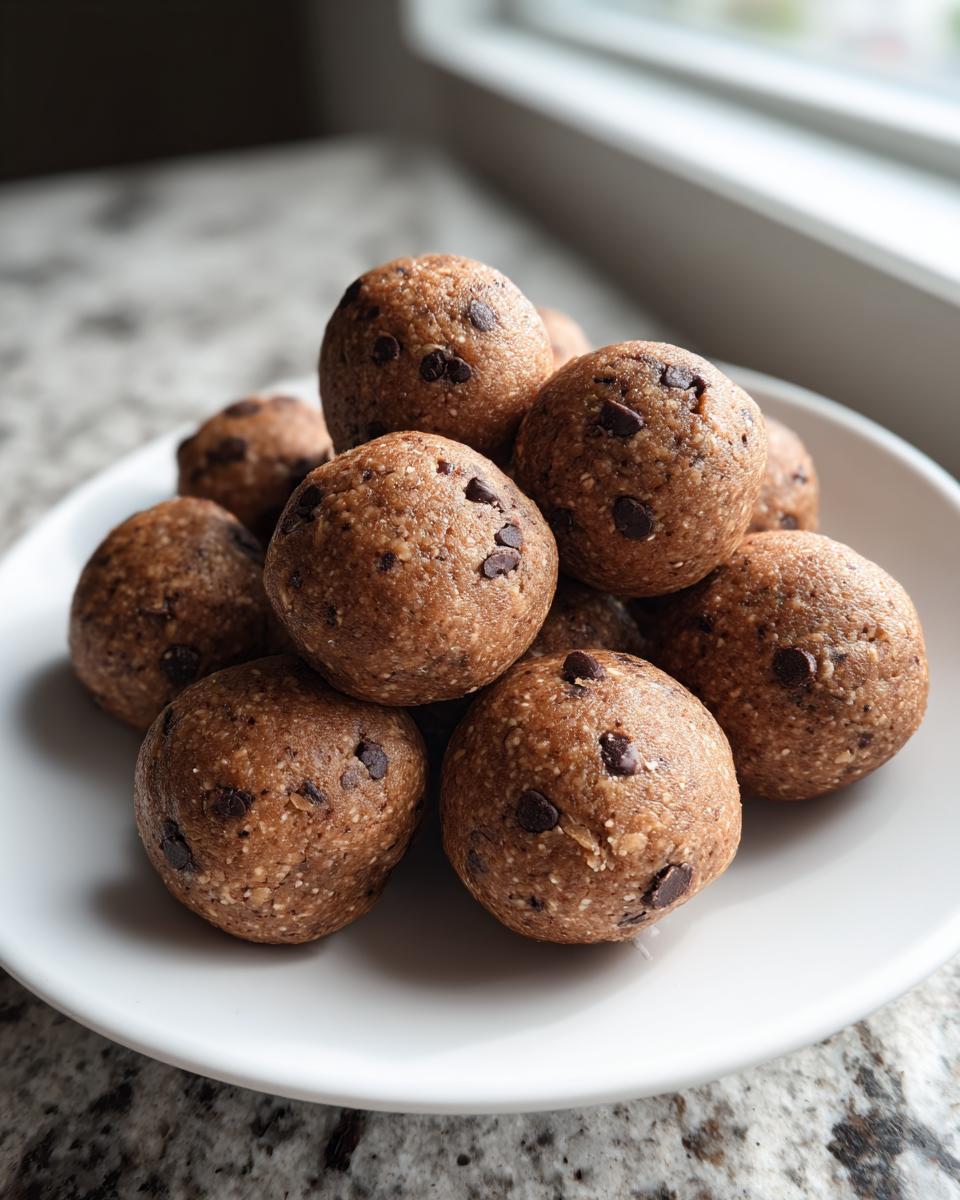
First, grab your medium mixing bowl. We’re adding everything in at once: the rolled oats, the peanut butter, your protein powder, and those cute little chocolate chips. Now, mix it all up well. You’ll probably stir for a minute or two until it seems *almost* right. Here’s where you need to check: If it seems way too dry and won’t even cling together when you pinch a bit, reach for the honey or maple syrup. Just add that sweetener one tablespoon at a time. Keep mixing until you get a uniform, sticky dough. It should look and feel like something you could easily roll between your palms.
Chilling and Rolling the High Protein Snacks
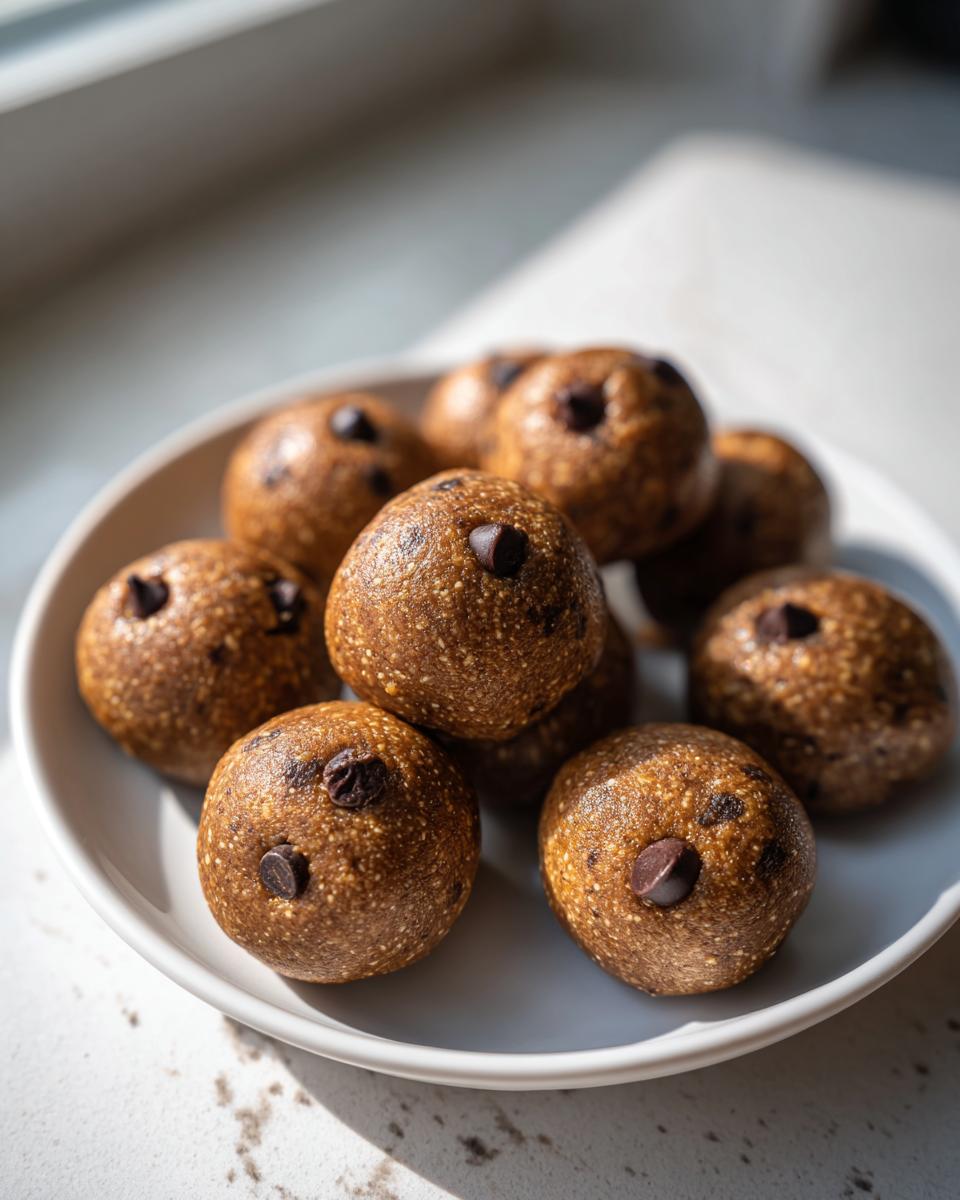
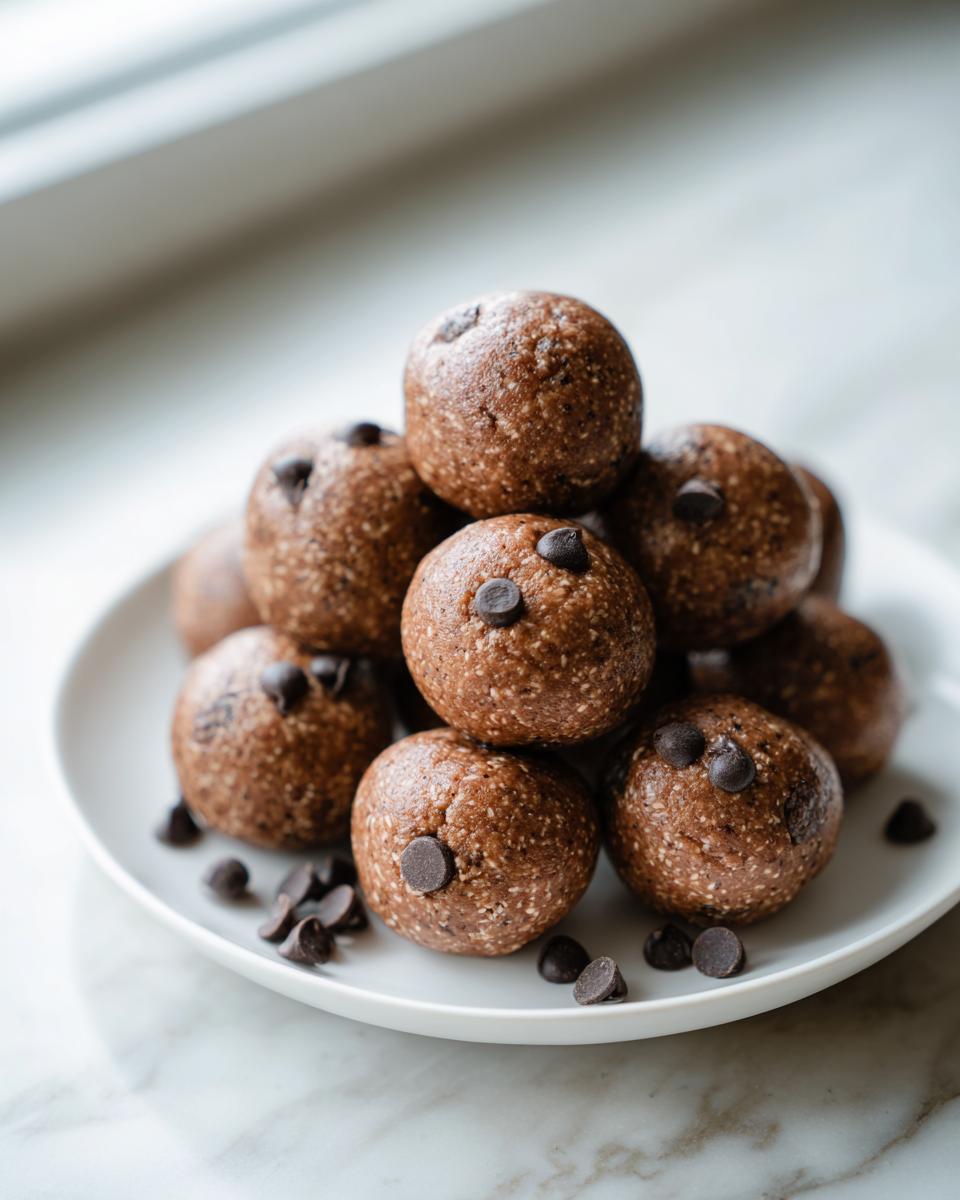
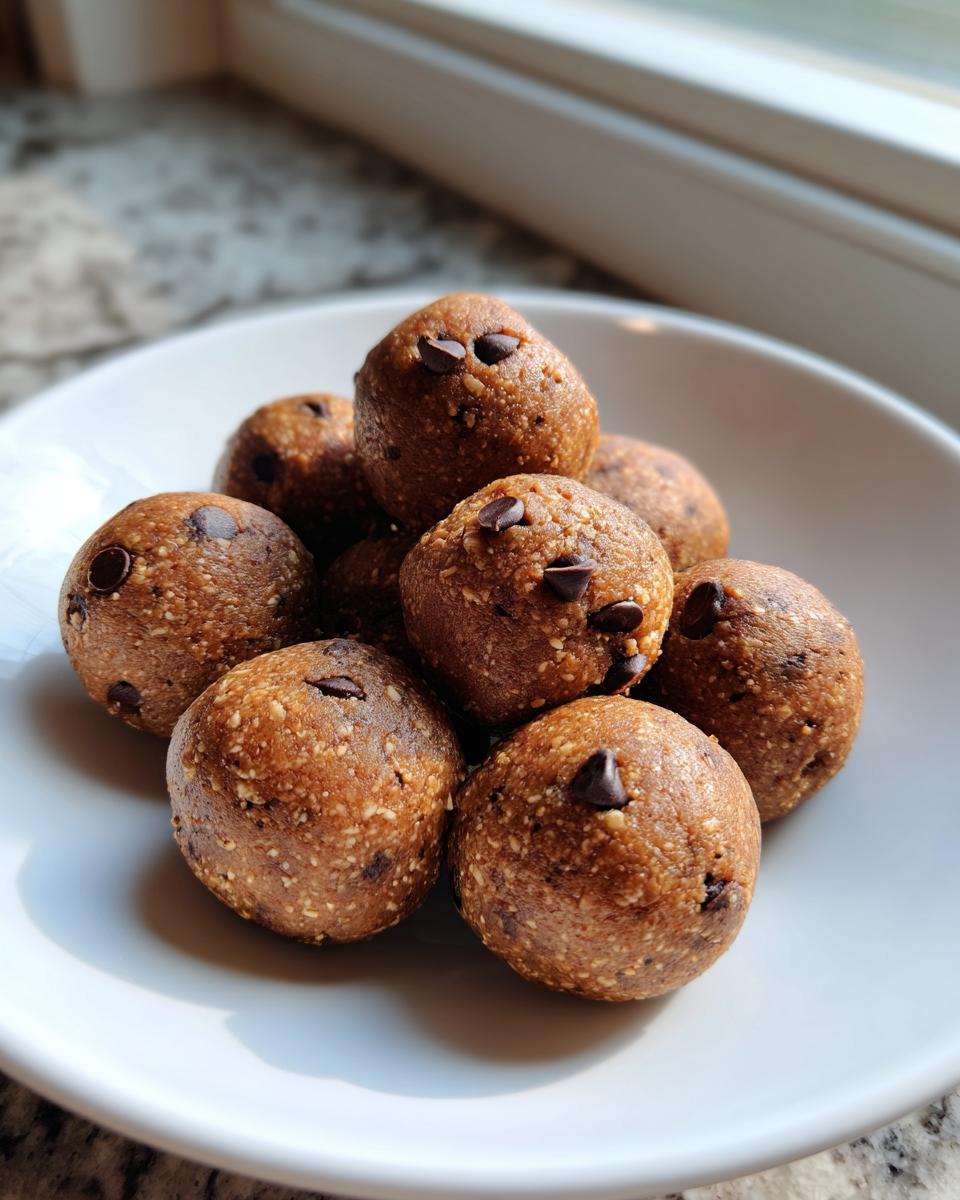
If your mixture is sticky but a little too soft to handle right away—which often happens if your peanut butter is warm—pop the whole bowl into the refrigerator. Give it about 15 minutes. That chill time makes forming the **high protein snacks** so much cleaner, trust me! Once it’s firm enough, grab a tablespoon or a small cookie scoop. This helps keep all your **protein balls** the same size so they look professional. Roll the dough evenly between your palms into spheres about an inch wide. Remember to put the finished balls on a sheet of parchment paper. Don’t skip that final chill—at least 30 minutes in the fridge helps them firm up perfectly before you even think about trying one!
Tips for Success When Making Homemade Protein Snacks
When you are making **homemade protein snacks** like these, sometimes the texture throws people off a bit, especially if you’re new to working with protein powder. But don’t fret! A few little insights from my years in the kitchen will make sure your batch turns out perfect every single time. It’s all about controlling the environment in that mixing bowl!
The main thing to remember is this: your peanut butter temperature matters a great deal. If you keep your peanut butter in the fridge because you’re trying to make it last longer, it might be too stiff when you start mixing. Stiff peanut butter means the dough will be dry and crumbly, and you’ll end up dumping in too much sweetener just to get it to stick. Try to keep your nut butter at room temperature, or gently warm your peanut butter in the microwave for just about 10 seconds. Just 10 seconds! That small bit of give makes all the ingredients incorporate much more nicely.
Another tip for texture, especially if you want these to resemble a perfect scoop of cookie dough, is to use high-quality protein powder. Cheaper protein powders can sometimes be very absorbent or have a fine, chalky texture that really dries out your mixture fast. If you notice the dough feels heavy or very stiff after mixing thoroughly, add a few drops of water or a tiny splash of the liquid you are using in your coffee—just enough to bring it back to that soft, pliable state. Remember, we are aiming for firm enough to roll, but soft enough to easily press together.
And if you are making a big batch for your quick, healthy lunch ideas prep, always remember the final chill. While you can roll them right away if you are patient, they really set up nicely after sitting in the cold. This helps them hold their shape better when they are out on your counter or tucked into a lunch bag later that day. They’re worth the short wait!
Storage and Make Ahead Snack Recipes for Protein Balls
The absolute best news about these wonderful **protein balls** is how well they keep! This is truly what makes them the champion of my **make ahead snack recipes**. You spend 10 minutes making them, and they give you fuel for days! It’s so efficient, which I love, because it means less time worrying about what to grab when hunger strikes.
Once you’ve rolled them into those perfectly uniformed little spheres, you absolutely must transfer them to an airtight container. If you just leave them uncovered on a plate, they tend to dry out a tiny bit faster, and we certainly don’t want that! Keep the container right in the refrigerator.
In the fridge, these little gems stay fresh and perfectly textured for up to a week. Seriously, a whole week of grabbing a couple of these when you need a boost before heading out to shop or after a hard few hours in the garden! They are fantastic for prepping on a Sunday afternoon so you are set for the entire work week. They never last that long at my house, but I know they will last for you!
If you are looking for more fantastic ways to plan ahead for simple, delicious meals during the week, you should certainly take a look at my thoughts on simple weeknight dinners. Having snacks handled makes dinner planning so much easier, doesn’t it?
Serving Suggestions for Post Workout Fuel Balls
So, you’ve made your batch of **protein balls**—now what do you eat them with? These are amazing exactly as they are when you need a quick snack, but serving them up thoughtfully can make them feel like a real mini-meal, especially after a good workout! Think of them as your perfect little recovery treat. They are rich and satisfying enough to curb any post-exercise hunger pangs.
Because they are so chocolatey and peanut-buttery, they pair wonderfully with bright, fresh flavors. My favorite way to enjoy them is with a steaming cup of black coffee in the morning; the bitterness of the coffee just cuts through the sweetness perfectly. If you need something quicker for **post workout fuel balls**, try grabbing one alongside a piece of fresh fruit.
What works best? A handful of fresh berries—strawberries or raspberries, perhaps—adds a lovely tartness. Or, if you want a little extra protein or healthy fats right after training, crumble one over a small serving of plain Greek yogurt. It turns into a miniature parfait! These **quick healthy sweet treats** are adaptable for any time of day, but they truly shine when you need that balanced energy boost.
If you’re ever concerned about how I handle information on the site, you can always review my privacy policy right here. Keeping things above board is important to me!
If you are looking for more fantastic ways to plan ahead for simple, delicious meals during the week, you should certainly take a look at my thoughts on simple weeknight dinners. Having snacks handled makes dinner planning so much easier, doesn’t it?
Frequently Asked Questions About Protein Balls
I always get the same little questions popping up when folks try this recipe for the first time, and that’s perfectly fine! That’s what community is for—helping each other out so we can all bake and snack confidently. Texture issues and ingredient swapping are usually what folks are most curious about when they make these **protein balls** at home. Let’s clear up a few of those common worries right here so you feel like an expert!
If you have any questions that I didn’t cover below, please don’t hesitate to reach out on my contact page. I love hearing from you!
Can I make these protein balls without protein powder?
That’s a tough one, Honey, because the vanilla protein powder is doing a few jobs here! It’s obviously giving us the “protein” boost, but it also acts as a dry absorbent, helping to thicken everything up so we don’t end up with a giant, sticky puddle.
If you absolutely must skip it, I suggest replacing the volume with another dry ingredient. You could try adding an extra 1/4 cup of rolled oats, or maybe swapping in some hemp seeds or even flax meal. However, I have to warn you: the texture will change quite a bit. They won’t be as fluffy, and they definitely won’t have the same protein count. They might end up being more like a standard energy bite than a true **high protein snack**.
Are these gluten free protein balls if I use regular oats?
This is such an important question, especially nowadays! If you are making these for someone who needs to stick to a strict gluten-free diet, then the answer is no, you can’t use regular, off-the-shelf rolled oats. Cross-contamination is a real thing in the mills, you see.
For these to officially count as **gluten free protein balls**, you must search for and buy oats that are specifically labeled and certified gluten-free. They usually cost just a little bit more, but it’s worth it for peace of mind! As long as you use certified GF oats, then yes, this recipe fits the bill perfectly.
How can I make these sugar free energy bites?
Lots of folks are watching their refined sugar intake, and I think that’s smart! In this recipe, the only real added sugar comes from the optional honey or maple syrup. If you want **sugar free energy bites**, start by simply leaving that out completely.
Now, if you skip the sweetener, you might run into that binding issue I mentioned earlier because the sticky syrup really helps hold things together. If your dough is too dry after mixing the core four ingredients, you might need a tiny binder replacement. You could try mixing in a teaspoon of liquid stevia or another zero-calorie sweetener you trust, but be careful! You may need to add a tiny bit of extra peanut butter, maybe a teaspoon at a time, until the mixture firms up enough to roll. The texture might not be exactly the same as when using maple syrup, but you’ll still get those fantastic **low ingredient protein balls**!
Understanding the Nutrition of These Protein Balls
When we talk about making things easy and healthy, we also need to be transparent about what’s actually going into our bodies. As a teacher, I always stressed the importance of knowing the facts, and that carries over to my kitchen, too! I’ve analyzed the typical ingredients for these **protein balls** to give you a good idea of what you’re getting in each little bite.
Remember, because we are using ingredients like your favorite brand of peanut butter or a specific protein powder, these figures are just excellent estimates. They are based on the recipe details I provided—so if you use a high-sugar peanut butter, your numbers will shift a bit! Always use this information as a guide for your healthy eating plan.
Here is the general nutritional breakdown per ball (remembering this recipe makes about 18):
- Serving Size: 1 ball
- Calories: 150
- Protein: 8g
- Fat: 10g (Saturated Fat: 2g)
- Carbohydrates: 12g (Fiber: 2g)
- Sugar: 6g
See that protein count? Eight glorious grams for a snack that tastes like a treat! That’s why these are such amazing **post workout fuel balls**. I always recommend reviewing your specific product labels, especially for the protein powder, as that can shift the totals quite easily. If you’re ever concerned about how I handle information on the site, you can always review my privacy policy right here. Keeping things above board is important to me!
Share Your Homemade Protein Balls Creations
Oh, I just love knowing when I’ve helped bring something delicious and easy into someone’s busy week! Making these **protein balls** is just the start; the real fun comes when I hear how they fit into your life. Whether you’re crushing a workout, trying to keep the kids happy on a rushed afternoon, or prepping snacks for a big hike, I want to hear all about it!
If you made this batch of **easy no bake energy bites** and they helped you power through a tough day, please let me know! Drop a quick comment down below and give this recipe a star rating. Seeing those high ratings truly encourages me to keep sharing the simple, dependable recipes that make life a little sweeter.
And please, snap a picture! I adore seeing your beautiful creations, especially if you added a little something extra, like rolling them in shredded coconut or using those special coffee-flavored protein powders. If you share photos on social media, tag me so I can see! You can share over on Instagram or Facebook—just make sure to mention that Carla’s recipe helped you make those fantastic **peanut butter protein balls no bake**.
If you want to see what others are rolling up, you can take a peek at some other tasty ideas over at this collection of chocolate protein balls recipes too! Happy snacking, dear friends. Don’t forget, if you ever need to get in touch, my contact page is always open.
PrintNo-Bake Chocolate Peanut Butter Protein Balls
Make these simple, no-bake protein balls using four main ingredients. They are perfect for a quick, high protein snack, post-workout fuel, or a make-ahead treat.
- Prep Time: 10 min
- Cook Time: 0 min
- Total Time: 10 min
- Yield: About 18 balls 1x
- Category: Snack
- Method: No Bake
- Cuisine: American
- Diet: Vegetarian
Ingredients
- 1 cup rolled oats
- 1 cup peanut butter (creamy or crunchy)
- 1/2 cup vanilla protein powder
- 1/2 cup mini chocolate chips
- 2 tablespoons honey or maple syrup (optional, for binding/sweetness)
Instructions
- Place the rolled oats, peanut butter, protein powder, and chocolate chips into a medium mixing bowl.
- If the mixture seems too dry to hold together, add the honey or maple syrup. Mix all ingredients thoroughly until a uniform, sticky dough forms.
- If the dough is too soft to roll, chill the mixture in the refrigerator for 15 minutes.
- Scoop out the mixture using a small cookie scoop or a tablespoon. Roll the mixture between your palms to form small balls, about 1 inch in diameter.
- Place the finished protein balls on a baking sheet lined with parchment paper.
- Refrigerate the protein balls for at least 30 minutes to firm up before serving.
- Store the finished protein balls in an airtight container in the refrigerator.
Notes
- For a gluten free protein balls option, ensure your rolled oats are certified gluten-free.
- If you avoid peanut butter, substitute it with almond butter or sunflower seed butter for a similar texture.
- These are excellent for meal prep protein bites; they keep well for up to one week in the fridge.
Nutrition
- Serving Size: 1 ball
- Calories: 150
- Sugar: 6g
- Sodium: 80mg
- Fat: 10g
- Saturated Fat: 2g
- Unsaturated Fat: 8g
- Trans Fat: 0g
- Carbohydrates: 12g
- Fiber: 2g
- Protein: 8g
- Cholesterol: 0mg