
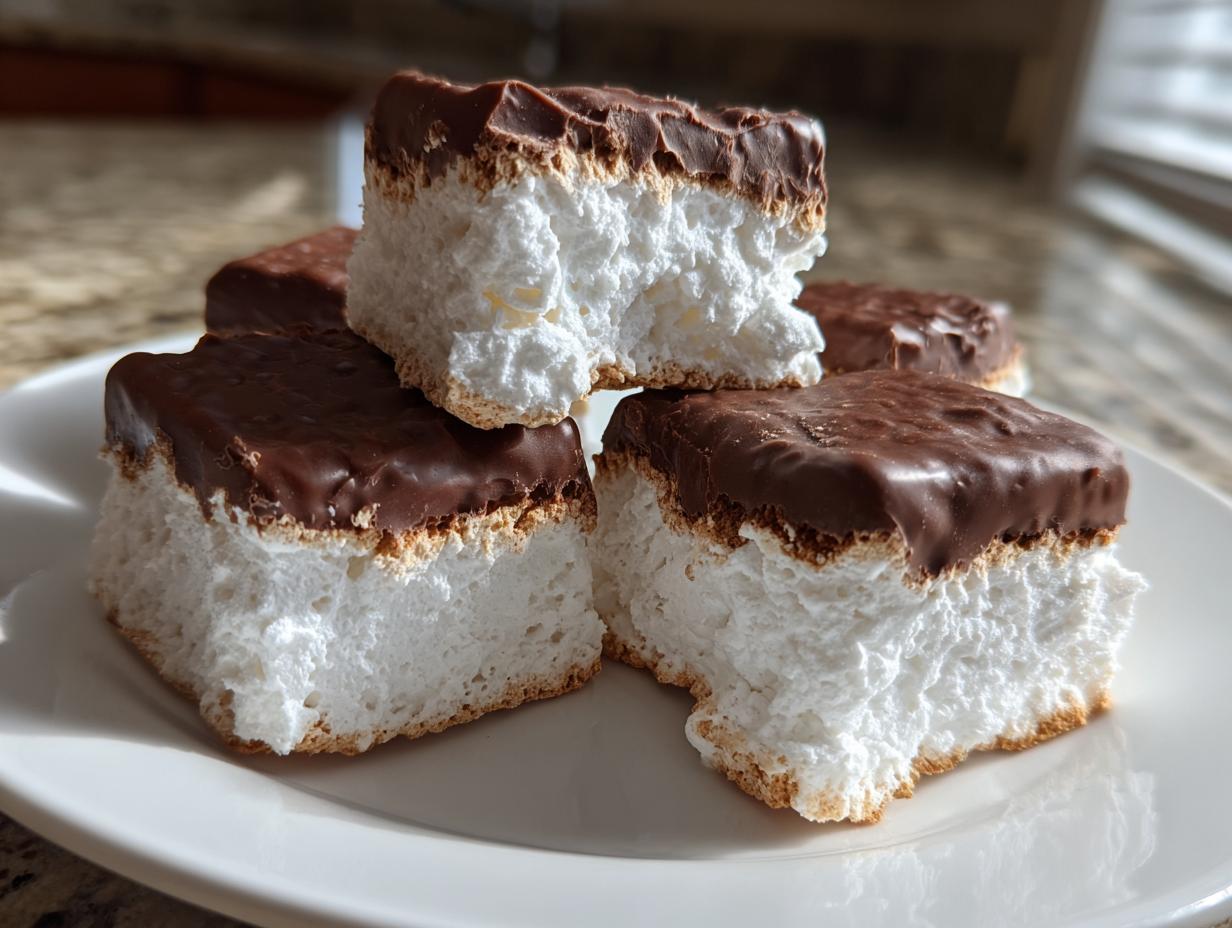
Sometimes, you just need a sweet memory on a plate, and you need it fast, right before the neighbors drop by! That’s exactly why I love this little shortcut. When I was teaching, I learned that life is too busy for complex baking all the time, but you still deserve a treat. This recipe for **Cool Whip Candy** is hands-down the easiest thing you can whip up. It uses just three ingredients to make the lightest, fluffiest candy center—seriously, people always ask if it’s a homemade 3 Musketeers bar. It’s entirely no-bake, which means zero effort and maximum payoff. Trust me, this is the kind of simple magic that belongs on every holiday tray.
- Why This Easy Cool Whip Candy Recipe is a Kitchen Staple
- Gathering Ingredients for Your Cool Whip Candy
- Preparing the Fluffy Chocolate Candy Base
- Mastering the Freezing Step for Perfect Cool Whip Candy
- Dipping and Setting Your 3 Musketeers Copycat Cool Whip Candy
- Ingredient Notes and Substitutions for Cool Whip Candy
- Making Ahead and Storing Your Cool Whip Candy
- Frequently Asked Questions About This Simple Homemade Candy
- Share Your Experience Making Cool Whip Candy
Why This Easy Cool Whip Candy Recipe is a Kitchen Staple
I always tell my grandkids that the best recipes are the ones that look impressive but take almost no time. That’s the beauty of this candy! It checks all the boxes for a busy home cook like me. It’s not only totally dependable—and you know reliability matters when you’re trying to get treats done before a big party—but it’s incredibly versatile.
- It’s a true 3 Ingredient Treats masterpiece, which keeps your grocery bill low.
A True 3 Ingredient Treats Masterpiece
When I say three ingredients, I mean it! Powdered sugar, whipped topping, and chocolate chips. That’s it! It proves that you don’t need a pantry full of fancy, expensive items to make something truly special. This is the definition of Budget Friendly Candy, folks.
The Ultimate No Bake Dessert Shortcut
Because this is a **No Bake Dessert**, you never have to worry about fiddling with oven temperatures or checking for doneness; just the freezer does the work! Since I taught kids for so many years, I look for recipes that are straightforward and foolproof. This one delivers every single time, making it my go-to for last-minute Quick Party Food.
Gathering Ingredients for Your Cool Whip Candy
When making this quick treat, you don’t need much to get started. I’ve listed exactly what you need below, and honestly, it’s the minimal ingredient count that makes this such a lifesaver!
- 1 cup powdered sugar (for the nougat base)
- 1 cup frozen whipped topping (like Cool Whip), fully thawed
- 1 cup semi-sweet chocolate chips (for dipping)
Remember, the whipped topping has to be thawed before you start the assembly process. If you’re looking for other great homemade treats made simply, you might like my homemade marshmallows recipe!
Preparing the Fluffy Chocolate Candy Base
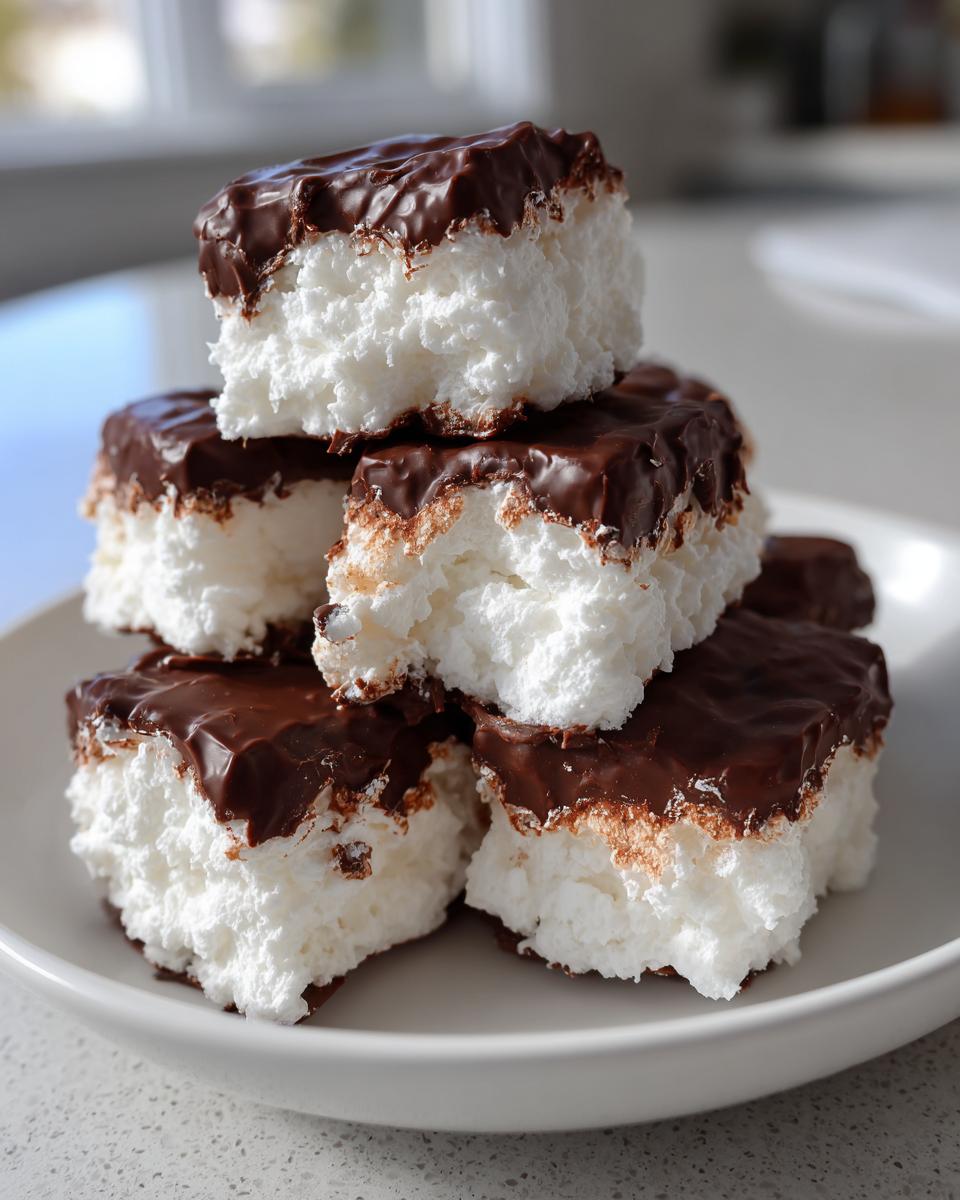
Now it’s time to create the delicious, light center that makes this **Cool Whip Candy** taste like a true confection! This is where you need a light hand, just like when you are folding beaten egg whites for an angel food cake. Grab a clean medium bowl. You want your whipped topping to be completely thawed, but still cold—not soupy by any means. Gently fold the thawed topping together with your cup of powdered sugar. Mix only until they are barely combined, meaning you don’t see big streaks of white powder anymore.
Next, you press this gorgeous, fluffy mixture into your prepared 8×8 pan. Use a spatula to spread it out evenly, making sure the top is relatively smooth. Now, we need to let this set up so we can cut it cleanly later. Pop that pan right into the freezer for at least two solid hours. Don’t rush this part! If it isn’t firm, cutting it will turn into a gooey mess, and we want neat little squares of **Fluffy Chocolate Candy**, not blobs.
Technique Tip for Light and Creamy Dessert Centers
Listen closely, because this is the real secret to getting that airy, **Melt in Your Mouth Candy** texture. When you are folding in that powdered sugar, you absolutely must stop folding the second everything is integrated. If you mix too vigorously or for too long, you knock all the precious air right out of that whipped topping. Deflated topping means dense candy, and we are aiming for light and creamy, not heavy! Patience here ensures you get that perfect, cloud-like interior.
Mastering the Freezing Step for Perfect Cool Whip Candy
The freezing stage is non-negotiable if you want neat squares of this delightful **Cool Whip Candy**. Remember that parchment paper we used to line the pan earlier? Keep that overhang sticking up over the sides! Once those two hours (or maybe a little more) are up in the freezer, that candy block should be rock solid. That firmness is crucial for clean cuts, which is exactly what you need for these **Freezer Candy Recipes**.
You should be able to lift the entire slab right out of the pan using just those paper handles—it makes life so much easier! Grab a sharp, sturdy knife. If you find it’s sticking slightly, run the knife under hot water for a quick second—don’t dry it—and then slice through. This helps prevent drag marks on your soft interior. You’ll usually get about 20 perfect little pieces from this mixture, making it a fantastic yield for such minimal ingredient sweets. These are perfect little bites you can freeze and pull out whenever a sweet craving hits!
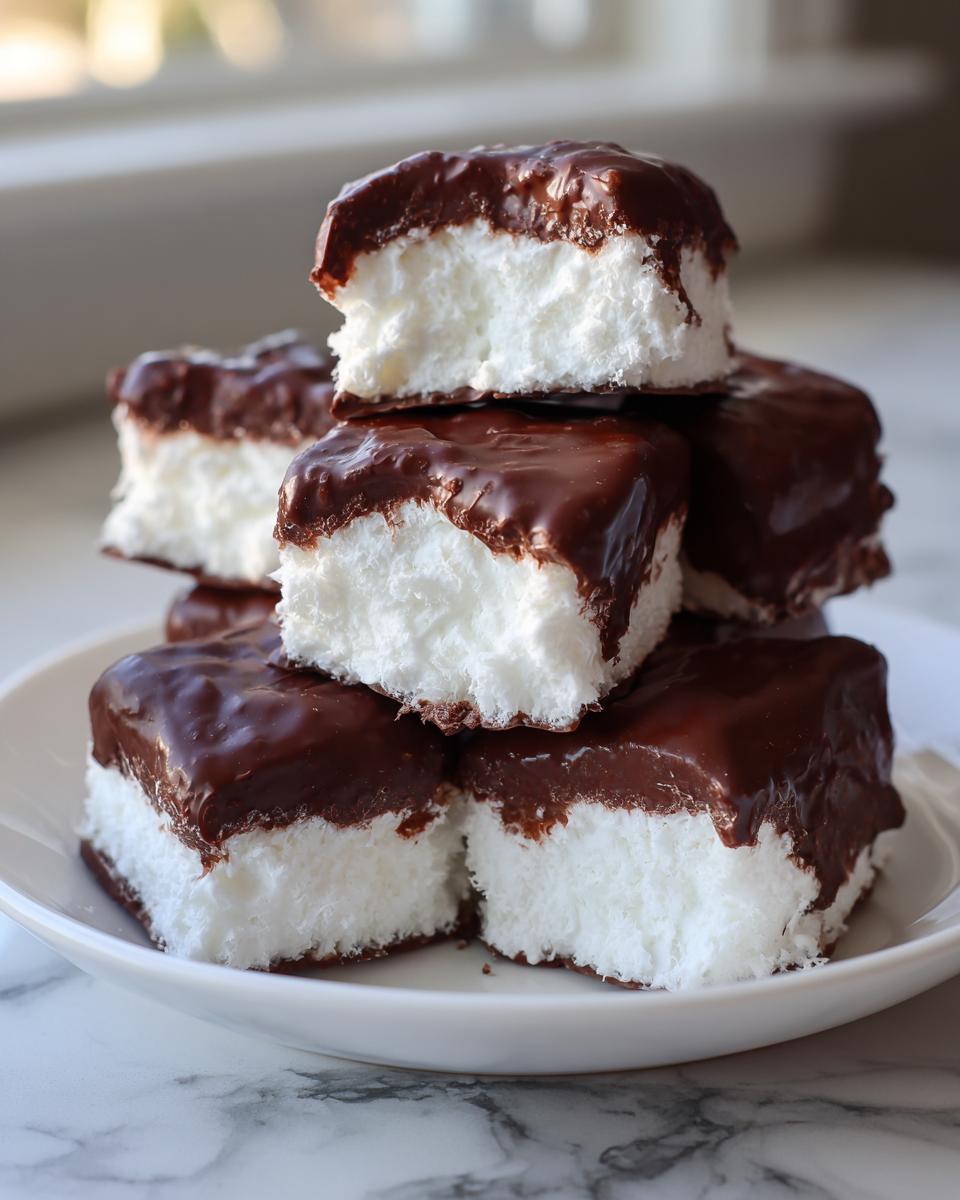
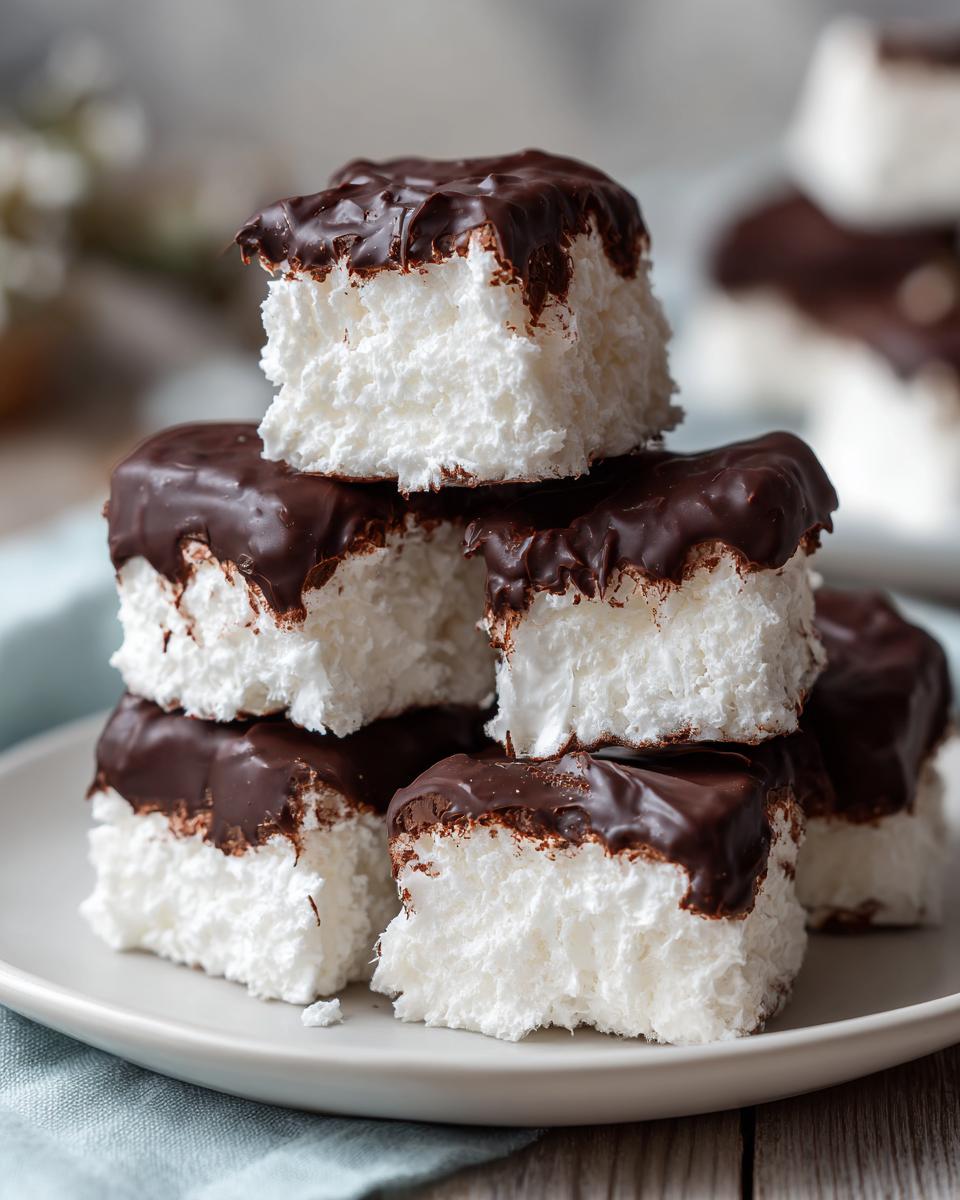
Dipping and Setting Your 3 Musketeers Copycat Cool Whip Candy
Alright, this is the grand finale, the part that takes our simple fluffy base from a tasty white block to a genuine confection! Once your candy is cut into those neat squares, it’s time to make this officially a **3 Musketeers Copycat**. We need melted chocolate, and I always use the microwave method because it’s quick and I don’t have to pull out a double boiler. Put your semi-sweet chocolate chips in a microwave-safe bowl.
Heat them in 30-second bursts, stirring well after every session. Don’t try to rush it by going for a full minute, or you’ll scorch them, and trust me, burnt chocolate is no good! Stir until it’s completely smooth—you want a lovely, flowing texture, almost like a thin gravy. If you enjoy making homemade chocolate ganache, this melting technique is similar. For great chocolate flavor inspiration, check out my homemade chocolate pudding recipe!
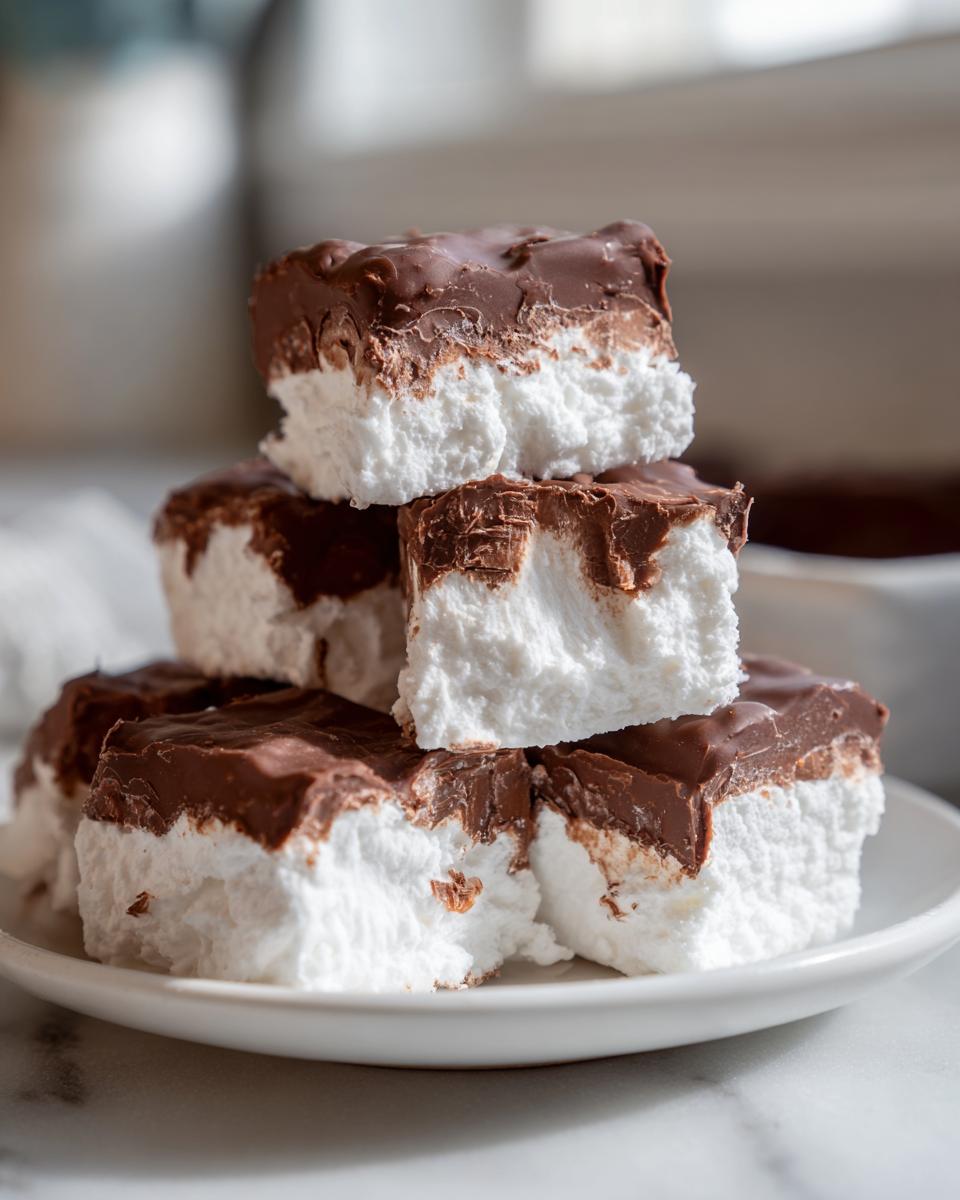
Now, take a square—hold it with a fork or maybe dip it halfway if you want that beautiful two-toned look, or go all the way in for a full coating. Place the dipped pieces back onto a fresh sheet of parchment paper. You can see how others have dipped theirs for inspiration when you look at this fun recipe here. Pop that sheet right back into the refrigerator or freezer until that chocolate coats hardens. That final chill locks everything down perfectly!
Ingredient Notes and Substitutions for Cool Whip Candy
Even though this is a simple recipe for **Cool Whip Candy**, you still have room to make it uniquely yours! I always tell folks that the base ingredients are sturdy, but small tweaks make a big difference in the final flavor profile. For instance, in step five, when you melt those chocolate chips, don’t feel stuck on semi-sweet! If you really love a deep, rich flavor, swap those out for dark chocolate chips. It kicks up the indulgence factor, making it feel less like a ‘Quick Treat’ and more like a fancy fudge alternative.
Also, if you happen to be out of powdered sugar but have graham crackers sitting around, don’t worry about it! My notes mention that you can substitute one cup of the powdered sugar with one cup of finely crushed graham crackers. This gives the candy base a slight crust-like texture, which is a fun departure from the standard fluffy center. If you enjoy mint flavors, you might check out my Andes Mint Cookie recipe for another easy holiday option!
Making Ahead and Storing Your Cool Whip Candy
Because this is such a wonderful Quick Christmas Candy option, I often make batches days ahead of time when I’m prepping my holiday trays. Good news: this candy stores beautifully! Once the chocolate coating is totally set, you need to keep these little gems in an airtight container. Storing them in the refrigerator works perfectly fine, and they stay delicious for about a week that way.
But if you really want them firm—especially if your house gets warm—the freezer is your best friend! They freeze like a dream. I just layer them between sheets of wax paper inside a freezer-safe container. You can keep them frozen solid for up to two months, and they actually taste excellent straight from the cold! Such a great way to get ahead of the baking rush.
Frequently Asked Questions About This Simple Homemade Candy
I always get questions when I share these **Minimal Ingredient Sweets** because folks can’t quite believe how easy they are! Since I taught for so long, I like making sure everything is clear so you feel confident every time you try one of my Easy Candy Recipes.
Can I use real whipped cream instead of Cool Whip for this cool whip candy?
Oh, I wouldn’t recommend it for this specific recipe. That thawed frozen whipped topping is what gives us that sturdy but fluffy structure we need for the center. If you use freshly whipped cream, it’s too delicate and will deflate completely once you mix in the sugar, leaving you with a soupy mess instead of a firm block for cutting. We need that stability for our **Whipped Topping Dessert** base to hold up to the freezing and dipping!
How long does this freezer candy recipe last?
This is the best part for holiday prepping! If you store the finished, chocolate-dipped pieces in an airtight container in the refrigerator, they are wonderful for about a week—perfect for keeping on the counter during a party. However, if you tuck them into the freezer, they keep excellently for up to two months. They warm up nearly instantly when you take them out, making them great for **Freezer Candy Recipes**.
What is the best way to cut the candy cleanly?
The secret to clean cuts isn’t just that they must be frozen solid—though that’s half the battle! My best tip is to pull the whole slab out using the parchment paper overhang. Then, take your sharpest knife and quickly run the blade under hot tap water for just a moment. Wipe it dry (you want to keep the knife warm, not dripping) and make your cut. The warmth of the steel glides right through that frozen center without tearing it up. See more tips on easy treats here.
Share Your Experience Making Cool Whip Candy
Well, there you have it! My absolute favorite shortcut for bringing a little bit of homemade happiness to the table without spending hours in the kitchen. This **Easy Candy Recipe** has been a lifesaver for me, whether I needed a last-minute addition to a holiday plate or just a sweet late-night snack.
I really hope you give this a try. It’s one of those treats that always gets rave reviews because it just melts away! Once you’ve made your **Cool Whip Candy**, I would love to hear what you think. Did you dip yours all the way, or did you leave a little white peek showing? Did you try any substitutions?
Please leave a rating right down below in the comments section—numbers help other home cooks know this recipe is dependable. And if you happen to snap a picture of your finished chocolate-dipped squares, share it with me! It warms my heart to see my recipes out in the world, making memories in your homes. If you’re looking for another simple, savory recipe for a busy night, you can always check out my thoughts on easy chicken gravy.
PrintEasy 3-Ingredient Cool Whip Candy (3 Musketeers Copycat)

Make this fast, budget-friendly, no-bake Cool Whip Candy that tastes like a fluffy 3 Musketeers bar. It is perfect for holiday trays or quick sweet snacks.
- Prep Time: 15 min
- Cook Time: 5 min
- Total Time: 2 hr 20 min
- Yield: About 20 pieces 1x
- Category: Dessert
- Method: No Bake/Freezing
- Cuisine: American
- Diet: Vegetarian
Ingredients
- 1 cup powdered sugar
- 1 cup frozen whipped topping (like Cool Whip), thawed
- 1 cup semi-sweet chocolate chips
Instructions
- Line an 8×8 inch pan with parchment paper, leaving an overhang for easy removal. Dust the bottom lightly with powdered sugar.
- In a medium bowl, gently fold the thawed whipped topping and the powdered sugar together until just combined. Do not overmix, or the topping will deflate.
- Press the mixture evenly into the prepared pan. Place the pan in the freezer for at least 2 hours, or until firm enough to cut.
- Once firm, lift the candy out using the parchment paper overhang. Cut the block into small, bite-sized squares.
- Melt the chocolate chips in a microwave-safe bowl in 30-second intervals, stirring until smooth.
- Dip each candy square halfway or completely into the melted chocolate. Place the dipped candies back onto a parchment-lined baking sheet.
- Return the baking sheet to the refrigerator or freezer until the chocolate coating sets completely. Store the finished Cool Whip Candy in an airtight container in the refrigerator or freezer.
Notes
- For a richer chocolate flavor, use dark chocolate chips for dipping.
- If you want a slightly different texture, you can substitute 1 cup of powdered sugar with 1 cup of crushed graham crackers for a crust-like base before freezing.
- This recipe is excellent for making ahead of time for Christmas candy trays.
Nutrition
- Serving Size: 1 piece
- Calories: 120
- Sugar: 14g
- Sodium: 15mg
- Fat: 7g
- Saturated Fat: 4g
- Unsaturated Fat: 3g
- Trans Fat: 0g
- Carbohydrates: 15g
- Fiber: 1g
- Protein: 2g
- Cholesterol: 5mg