
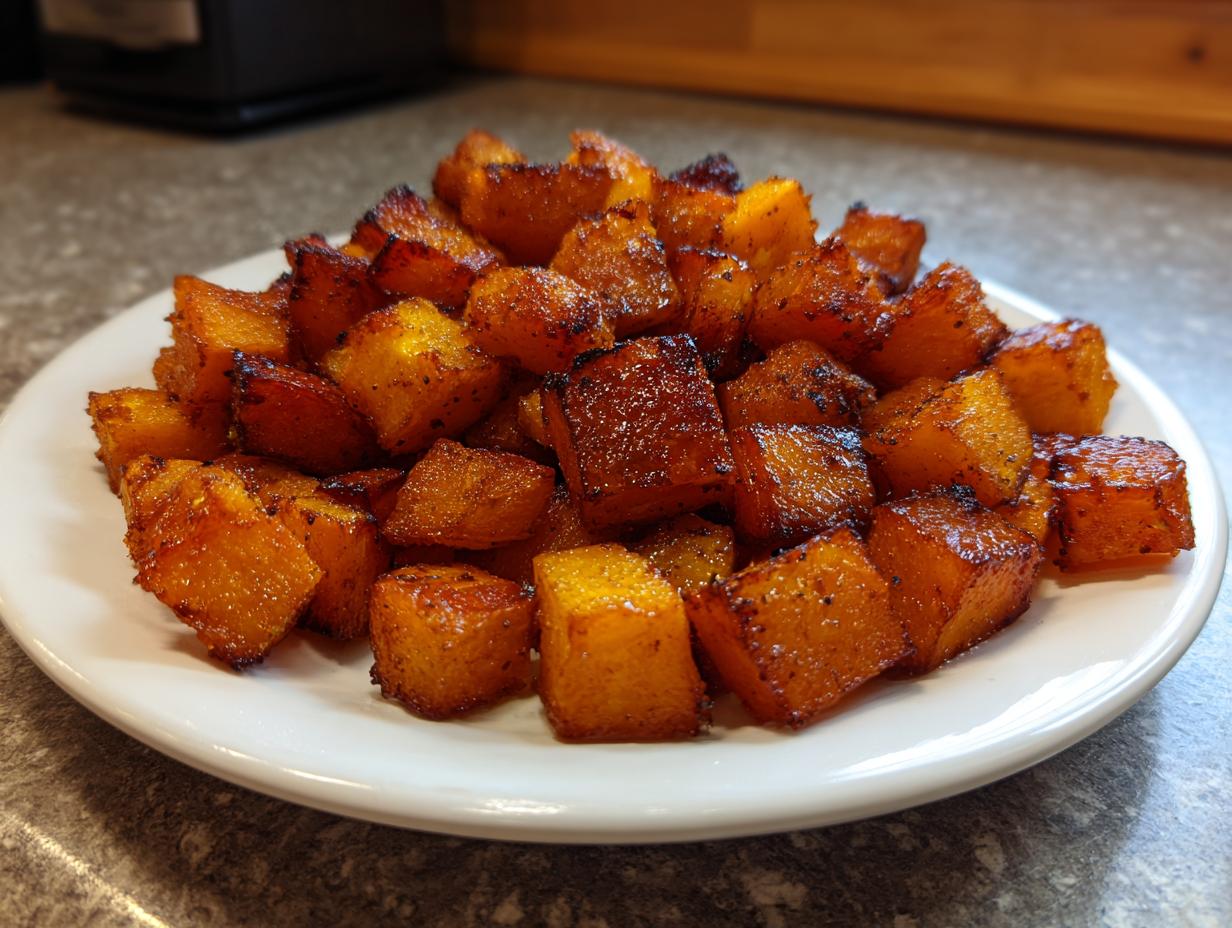
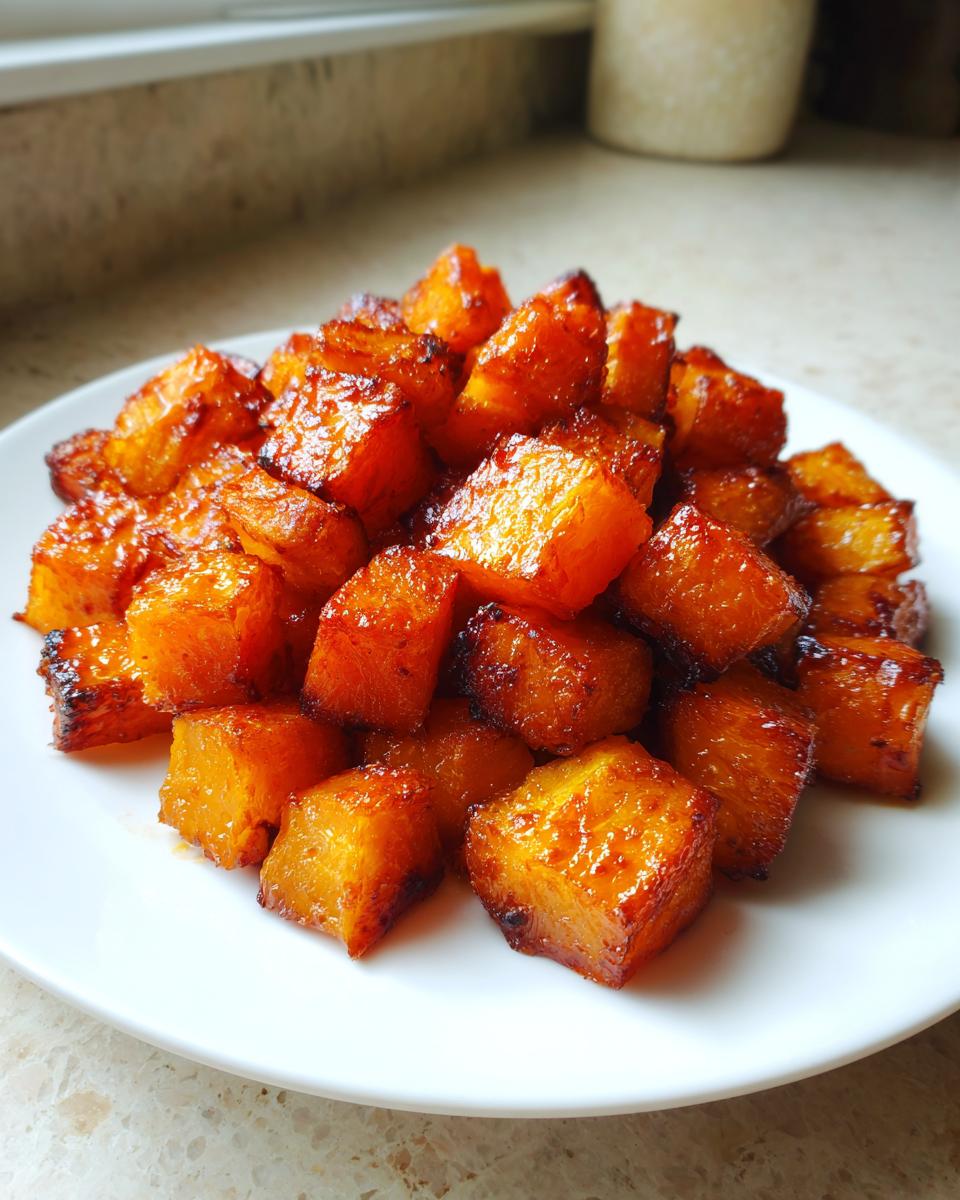
Oh, there is nothing quite as satisfying in the kitchen as perfectly roasted vegetables, is there? I’m talking about those edges that have gone wonderfully brown and slightly crisp, locking in all that sweet, nutty flavor, while the inside stays completely soft and tender. When it comes to winter squash, that balance is everything, and I’ve spent years perfecting the easiest way to get it right every single time.
This method for **roasted butternut squash** is my absolute favorite because it cuts out all the fuss. You don’t need fancy equipment or complicated steps—just a hot oven and good seasoning. As a retired teacher, I’ve learned that clarity and patience are key, even when cooking. If you follow these straightforward, dependable instructions, I promise you will end up with the most delicious, caramelized squash cubes that disappear from the plate whether it’s a busy Tuesday or the big holiday dinner.
- Why This is the Best Roasted Butternut Squash Method (Crispy & Tender)
- Gathering Ingredients for Your Roasted Butternut Squash
- How to Roast Butternut Squash in Oven: Simple Oven Roasted Vegetables Steps
- Tips for Success with Roasted Butternut Squash
- Serving Suggestions for This Butternut Squash Side Dish
- Storage and Reheating Instructions for Leftover Roasted Butternut Squash
- Frequently Asked Questions About Roasted Butternut Squash
- Nutritional Estimate for Simple Seasoned Butternut Squash
- Share Your Experience Making This Easy Roasted Butternut Squash Recipe
Why This is the Best Roasted Butternut Squash Method (Crispy & Tender)
When I taught, I always looked for the most efficient path to the best outcome, and that approach holds true in my kitchen now! This **easy roasted butternut squash recipe** is simply the best because it guarantees those coveted crispy edges alongside a super creamy interior, every single time. Lots of people try steaming or boiling squash first, but that just makes everything soggy. Roasting, my friends, is how we unlock all that natural sweetness and get those beautiful caramelized bits that everyone fights over. For inspiration on other root veggies, you can check out my recipe for sweet potato muffins!
This preparation proves that you don’t need a complex recipe to have amazing **healthy vegetable sides**. It’s dependable, quick, and honestly, the aroma alone makes the whole house feel cozier. I prefer this method because it lets the squash do the heavy lifting; you just season it lightly and let that hot oven work its magic.
Quick Prep for Weeknight Vegetable Side
Seriously, once the squash is cut, the hands-on time is maybe ten minutes. That’s why this works perfectly as a **weeknight vegetable side**. You can get it into the oven, and then you focus on your main dish while the squash roasts away. It’s fast, simple, and makes dinner feel special without taking up all your evening!
Gathering Ingredients for Your Roasted Butternut Squash
Getting started is so easy because we keep things simple here. For this straightforward **roasted butternut squash** recipe, you really only need five core items, plus the star of the show! I always shop for one medium butternut squash that weighs around 3 pounds. Remember, we need it peeled and cut into uniform 1-inch cubes so everything cooks at the same rate. Besides that, gather:
- 2 tablespoons olive oil
- 1 teaspoon kosher salt
- 1/2 teaspoon black pepper
- 1/4 teaspoon garlic powder
That’s it! Can you believe it? It’s all about letting the quality of the squash shine through with just a little bit of enhancement.
Ingredient Notes and Sweet and Savory Squash Substitutions
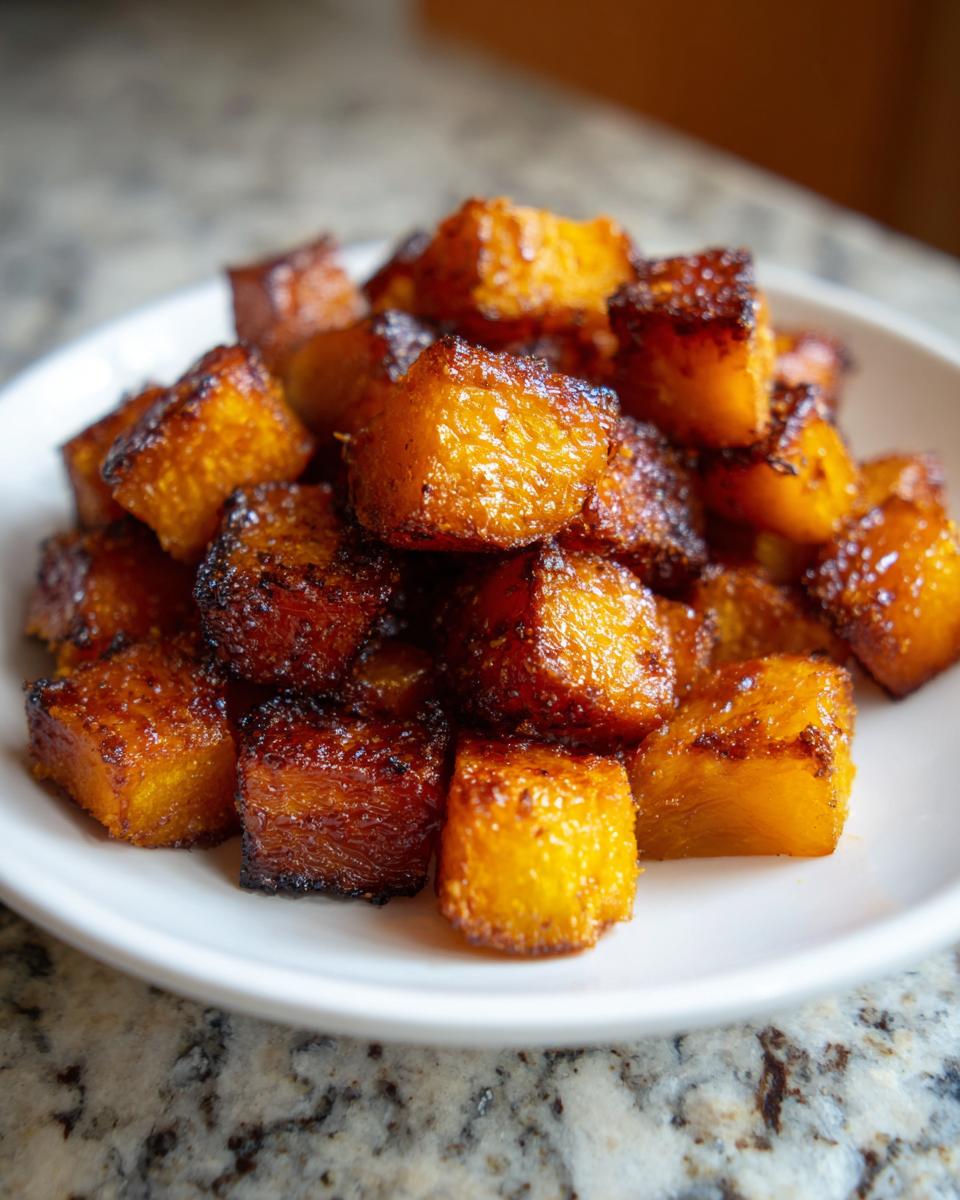
While the basic recipe is wonderful, sometimes I like to play a little bit! If you’re looking for that lovely **sweet and savory squash** flavor profile, I highly recommend adding just 1 teaspoon of maple syrup when you toss everything with the oil. It really helps with that gorgeous caramelization we talked about. If you don’t have olive oil on hand for some reason, canola or avocado oil works just fine. Just make sure you don’t skimp on the oil—it’s what helps make the edges crispy instead of dry!
How to Roast Butternut Squash in Oven: Simple Oven Roasted Vegetables Steps
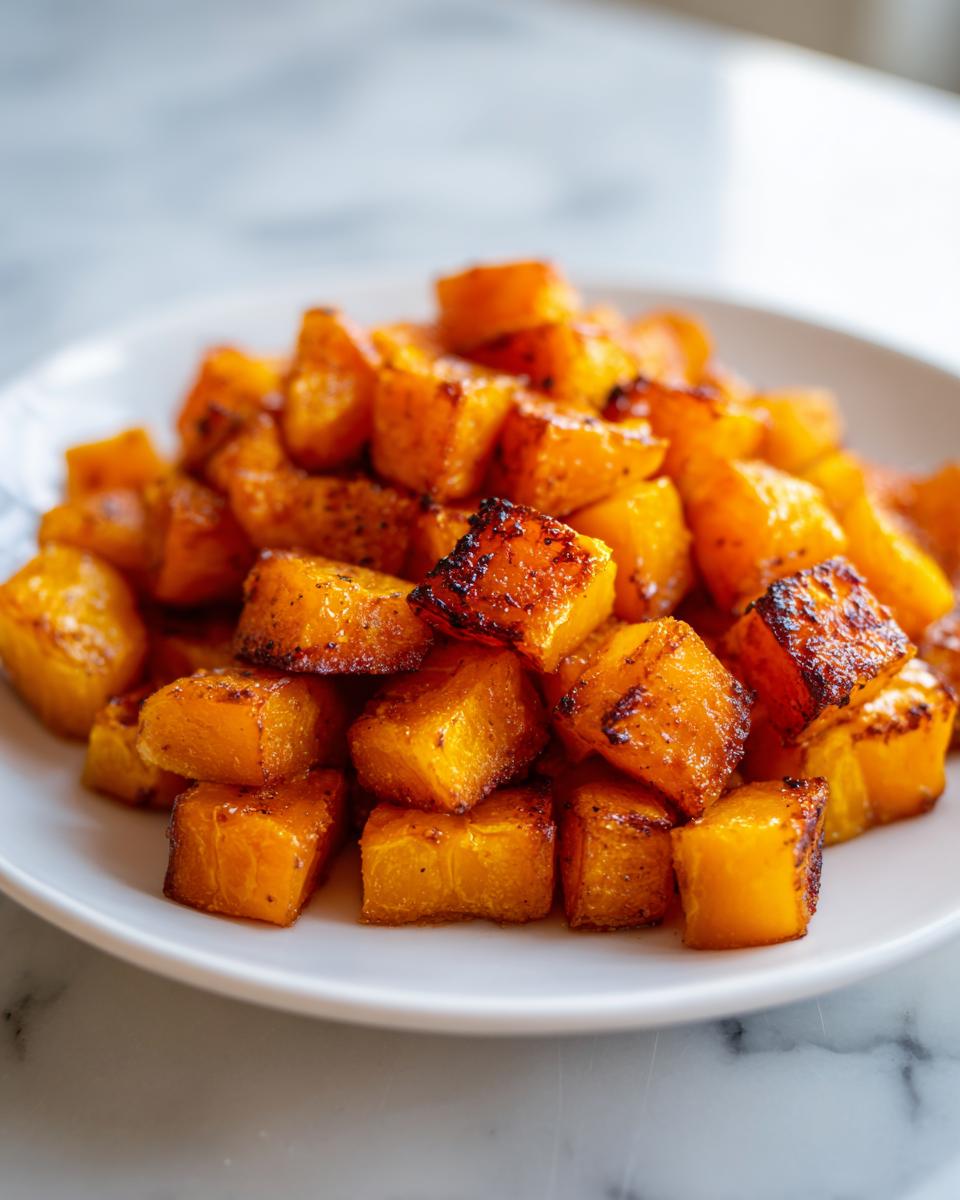
Now we get to the part I love best—the actual roasting! This is where the magic happens, transforming a tough winter squash into the most wonderful **roasted butternut squash**. Since I spent so many years explaining math problems on the board, I promise to break this down clearly. We are aiming for that perfect combination of tenderness and those deeply savory, **caramelized butternut squash** edges.
- First things first: we need heat! Preheat your oven to a strong 400 degrees Fahrenheit (that’s 200 degrees Celsius). Next, line a really large baking sheet with parchment paper. Listen, I’m a busy grandmother, and I learned that using parchment paper is the secret to easy cleanup, which means I’m more likely to make this **healthy vegetable side dish** often!
- This next step is mandatory for good texture: peeling the squash. You need to carefully slice the squash in half lengthwise. Then, grab a sturdy spoon and scoop out all those stringy seeds. Toss the seeds; we don’t need them here!
- Now comes the dicing. You absolutely must cut the squash into uniform 1-inch cubes. I can’t stress this enough. If you have some giant chunks and some tiny slivers, the small ones will burn before the big ones get soft. Uniform size helps everything cook evenly, which is key for any **simple oven roasted vegetables** recipe.
- Time to season! Put all those lovely cubes into a big bowl. Drizzle your good olive oil over them, and then sprinkle on that salt, pepper, and garlic powder. Now, use your hands and toss, toss, toss! You want every single piece coated but not swimming in oil.
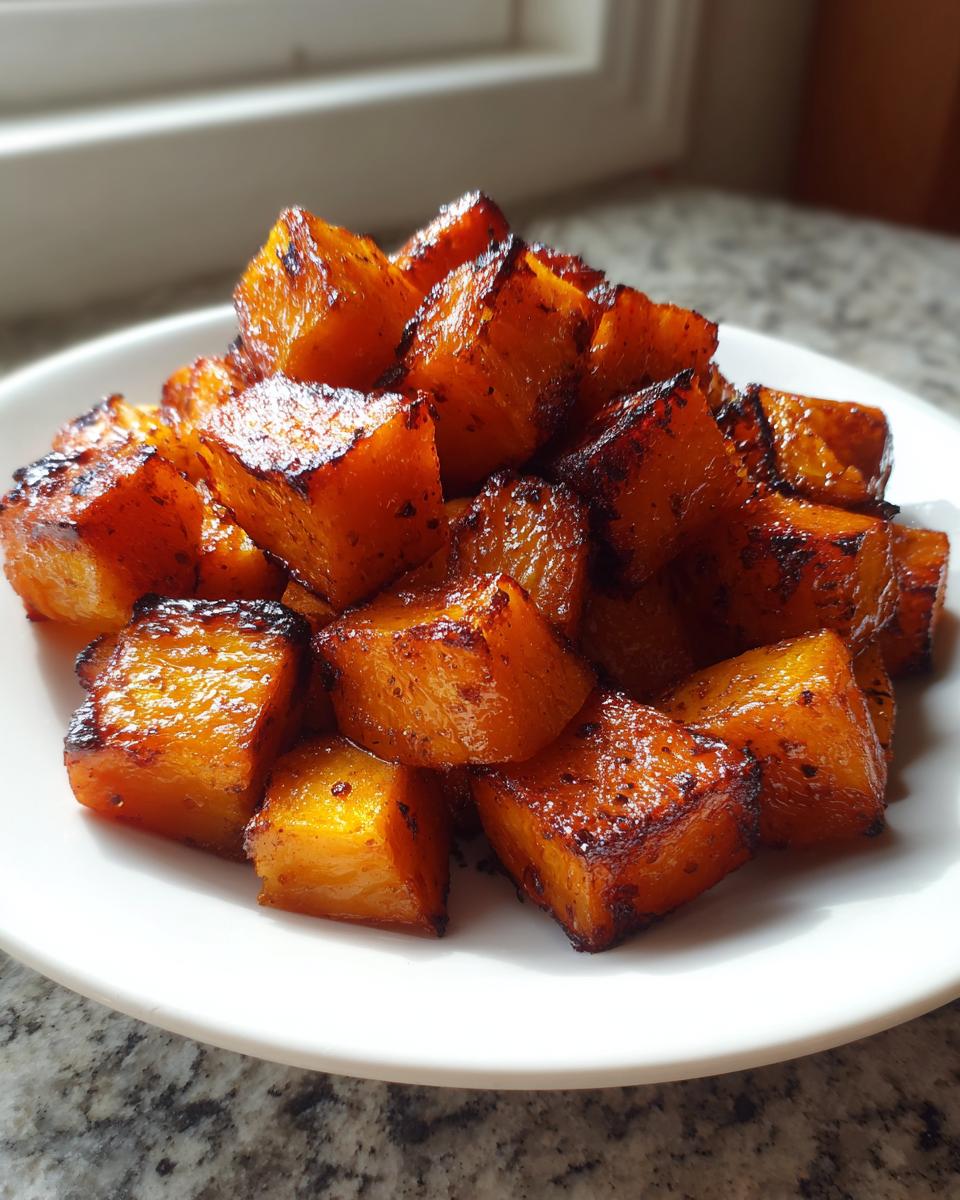
- The roasting pan setup is critical for getting those **crispy roasted squash cubes**. Spread the seasoned squash onto that parchment-lined sheet. But here is the absolute most important rule for crispy veggies: Do not overcrowd the pan! If they are stacked on top of each other, they will steam, and nobody wants steamed squash. Use two sheets if you have to! I often have to use a second pan when making these for Thanksgiving.
Once they are perfectly spread out, slide them into that hot 400°F oven. They need to roast for about 25 to 30 minutes total. You’ll be stirring them halfway through, but that’s for the next step!
Preheating and Pan Preparation for Crispy Roasted Squash Cubes
Don’t be tempted to put the squash in a cold oven, please! We need that high heat right away—400°F is that perfect temperature point. It’s hot enough to encourage browning and crispness right at the surface, but not so hot that the inside doesn’t have time to get tender before the outside burns to a crisp. Using that parchment paper means we can focus on crisp, not scraping charred bits off the bottom of the pan later. For more dependable baking tips, you can always check out how I handle roasted sweet potatoes or look at my guide on easy roasted sweet potato recipes.
Achieving Caramelized Butternut Squash Texture
We roast for 25 to 30 minutes because that’s generally the time it takes for that 1-inch cube to soften perfectly. Here’s the expertise tip: around the 15-minute mark, pull that baking sheet out. Grab a spatula and flip or gently toss every single piece. Why do we do this? Well, the side that was resting on the hot pan gets brown and crispy, but the top side stays soft. Stirring ensures that every surface gets a chance to meet the hot metal pan to develop that unbeatable **caramelized butternut squash** flavor. If you’re looking for other quick ideas, this is similar to the method I use for those incredibly tasty sides on quick roasted recipes online!
Tips for Success with Roasted Butternut Squash
Achieving the perfect texture is what separates an okay vegetable side from the one everyone asks for seconds of. This simple method makes it easy, but a few small details really cement it as the **best roasted butternut squash method** in your rotation. Remember when I was a teacher? I want you to succeed without feeling confused, so here are my tried-and-true finishing touches for that beautiful texture.
First, let’s talk about sweetness again—if you want a little extra something, don’t forget that optional maple syrup mixed in with your oil; it really enhances that natural, delicious flavor. Also, if you’re short on time, you can always check out this recipe for garlic bread as another simple side!).
The second big tip is about moisture control. If you are worried about your cubes not getting crispy enough, remember the anti-steaming rule: single layer, no overlapping! If you have too much squash, just use two pans. It’s worth the extra dish to get that wonderful crispiness everyone loves. If you’re pairing this with another hearty dish, you might try looking at this lovely flavor pairing from Slowly Savory.
Finally, testing doneness! Since you don’t want to pierce every single piece (and let all the steam escape!), I teach my grandkids to test the same way I do: look for the color first. If the edges are dark golden brown on many pieces, they are close. Then, gently prod one of the larger cubes with the very tip of a fork. If the fork slides in with almost no resistance, they are done! They should be fork-tender, not mushy.
Serving Suggestions for This Butternut Squash Side Dish
This versatile **butternut squash side dish** truly shines because it can go anywhere on the table! Since it cooks up so quickly, it’s a wonderful **quick butternut squash side** when you realize you forgot a vegetable on a busy weeknight. I usually serve it right alongside a simple roast chicken or maybe even some pork loin—the sweetness of the squash balances the savory meat perfectly.
And, of course, this makes a fantastic addition to any holiday spread. It’s one of my go-to **fall vegetable recipes** because it looks so festive on a platter for **butternut squash for Thanksgiving**. If you want to stretch it a little further, try tossing your cooled roasted cubes into a bowl with some quinoa, dried cranberries, and maybe a handful of pecans. It turns into a whole light lunch!
If you’re making a big turkey dinner and need something easy to go with the main bird, I always make sure I have my easy weeknight gravy ready, and this squash pairs beautifully with that richness.
Storage and Reheating Instructions for Leftover Roasted Butternut Squash
Good news! This **roasted butternut squash** tastes almost as good the next day, provided you store it right. Once the squash has cooled down completely—and please, let it cool before you put a lid on it, or you’ll steam up all those lovely crispy edges—transfer it to an airtight container. It keeps beautifully in the refrigerator for about three or four days. I almost always make a double batch just so I know I’ll have leftovers for a quick lunch salad the next day.
Now, reheating is tricky because we worked so hard to get those edges caramelized! If you throw it in the microwave, you’ll get mushy squash, and that just won’t do. The best way to reheat it is definitely back in the oven. Spread the cooled cubes out on a clean baking sheet and warm them through at 350°F for about 8 to 10 minutes. If you have an air fryer, that’s even better—it gives those edges a quick little crisp-up again in just 5 minutes.
If you want to see different ways people are preparing their vegetables, you can check out this guide on how to roast butternut squash in the oven. It’s always nice to see what others are doing, even when you know you have a winner right here!
Frequently Asked Questions About Roasted Butternut Squash
Can I skip peeling the squash when making this recipe?
Oh, I know peeling butternut squash can feel like the biggest chore, right? While you absolutely *could* roast it with the skin on, I strongly advise against it for this recipe. The skin is very tough, and even after 30 minutes of roasting, it won’t be tender enough to eat. If you leave it on, it makes it much harder to get those beautiful, crispy roasted squash cubes we are aiming for. For the best texture, take the time to peel it—it’s worth the effort for a great **butternut squash side dish**!
What temperature is truly best for roasting to get caramelization?
For this **best roasted butternut squash method**, 400°F (200°C) is my golden ticket. It’s a high enough heat to start caramelizing the natural sugars on the outside of the squash right away. If you go much lower, say 350°F, the squash sits there too long and starts to dry out before it ever really browns. If you go way higher, like 450°F, the outside will burn before the inside is fork-tender. So 400°F gives us that perfect sweet spot for those **caramelized butternut squash** edges!
Can I freeze roasted butternut squash cubes?
This is a good question, especially if you are making a huge batch! You certainly *can* freeze it, but you must manage your expectations for texture. Since we worked hard to get those crisp edges, freezing and thawing will make them softer. The texture after thawing will be much closer to cooked squash you’d use in a soup or puree, not the slightly firm, crispy cubes you want for a side dish. If you plan to freeze your **simple seasoned butternut squash**, make sure you intend to use it later in a soup or a casserole, like my recipe for easy one-pot wedding soup—not just for reheating as a side.
How can I make sure I get crispy cubes instead of floppy pieces?
You hit on the most common issue with **simple oven roasted vegetables**! It always comes down to two things: oil and space. Make sure you are tossing the squash thoroughly in the oil until everything is coated. Most importantly, they must be in a **single layer** on the baking sheet. If the pieces are touching or overlapping, they trap steam, and steam equals mush! If you see any cubes touching, either move them to an empty space on the same pan or grab a second pan. For more ideas on oven techniques, check out this great guide on how to roast butternut squash in the oven.
Nutritional Estimate for Simple Seasoned Butternut Squash
Now, I know some of you wonderful cooks track your macros or maybe you’re just curious about what’s in the amazing side dish you just made! Since this really is a wonderfully healthy vegetable side dish, I wanted to share the estimated breakdown for one serving (about 1 cup cubed). But listen to your old home economics teacher for a second—these numbers are just estimates, alright? They depend on the exact size of your squash, the brand of olive oil you use, and whether you added that optional maple syrup.
We always want to be transparent about what we’re eating. These numbers are based on the core four ingredients we used in the recipe. For all you planners out there, here is the nutritional snapshot:
- Serving Size: 1 cup cubed
- Calories: 160
- Sugar: 7g
- Sodium: 350mg
- Fat: 7g
- Saturated Fat: 1g
- Unsaturated Fat: 6g
- Trans Fat: 0g
- Carbohydrates: 23g
- Fiber: 5g
- Protein: 3g
- Cholesterol: 0mg
It’s proof that you can have a delicious, satisfying, and surprisingly low-cholesterol side dish when you stick to fresh, simple ingredients. Enjoy knowing you are serving something both comforting and good for your family!
Share Your Experience Making This Easy Roasted Butternut Squash Recipe
That’s it! You now have the best, foolproof method for making **roasted butternut squash** that always comes out perfectly caramelized and tender. Whether this was your very first time tackling winter squash or you were just looking for a reliable **quick butternut squash side** for a busy evening, I truly hope this recipe felt clear and dependable.
Now comes the fun part—I absolutely love hearing from you! When you make this, please come back here and leave a star rating and a comment below. I’m dying to know how you served these!
Did you give the maple syrup a try for that **sweet and savory squash** twist? Or maybe you served it up as a big **butternut squash for Thanksgiving** side dish? Hearing what main dishes you paired this with helps me and others looking for new ideas. I taught for thirty years, and I still love getting reports back on how things turned out!
For those of you who want to learn more about my teaching philosophy in the kitchen, you can always read more about my story here on the blog. Happy cooking, everyone, and thank you for bringing this simple, wholesome dish to your tables!
PrintSimple Oven Roasted Butternut Squash: Crispy Edges and Tender Inside
This straightforward recipe shows you how to roast butternut squash cubes in the oven to achieve caramelized, crispy edges and a soft, tender interior. It is a reliable, healthy vegetable side dish perfect for weeknight dinners or holiday spreads.
- Prep Time: 15 min
- Cook Time: 30 min
- Total Time: 45 min
- Yield: 4 servings 1x
- Category: Side Dish
- Method: Roasting
- Cuisine: American
- Diet: Vegetarian
Ingredients
- 1 medium butternut squash (about 3 lbs)
- 2 tablespoons olive oil
- 1 teaspoon kosher salt
- 1/2 teaspoon black pepper
- 1/4 teaspoon garlic powder
Instructions
- Preheat your oven to 400 degrees Fahrenheit (200 degrees Celsius). Line a large baking sheet with parchment paper for easy cleanup.
- Peel the butternut squash. Cut it in half lengthwise and scoop out the seeds using a spoon. Discard the seeds.
- Cut the squash into uniform 1-inch cubes. Uniform size helps the squash cook evenly.
- Place the squash cubes in a large bowl. Drizzle with olive oil. Sprinkle with kosher salt, black pepper, and garlic powder. Toss everything together until the squash pieces are evenly coated.
- Spread the seasoned squash cubes in a single layer on the prepared baking sheet. Do not overcrowd the pan; use two sheets if necessary to ensure the squash roasts instead of steams.
- Roast for 25 to 30 minutes, stirring halfway through the cooking time. The squash is done when it is fork-tender and the edges are nicely caramelized and slightly crispy.
- Remove from the oven and serve immediately as a healthy vegetable side or fall vegetable recipe.
Notes
- For extra flavor, you can add 1 teaspoon of maple syrup with the oil for a sweet and savory squash profile.
- If you want crispy roasted squash cubes, make sure the oven temperature is hot and you do not overlap the pieces on the baking sheet.
- This simple seasoned butternut squash works well as a side dish for Thanksgiving meals.
Nutrition
- Serving Size: 1 cup cubed
- Calories: 160
- Sugar: 7
- Sodium: 350
- Fat: 7
- Saturated Fat: 1
- Unsaturated Fat: 6
- Trans Fat: 0
- Carbohydrates: 23
- Fiber: 5
- Protein: 3
- Cholesterol: 0