
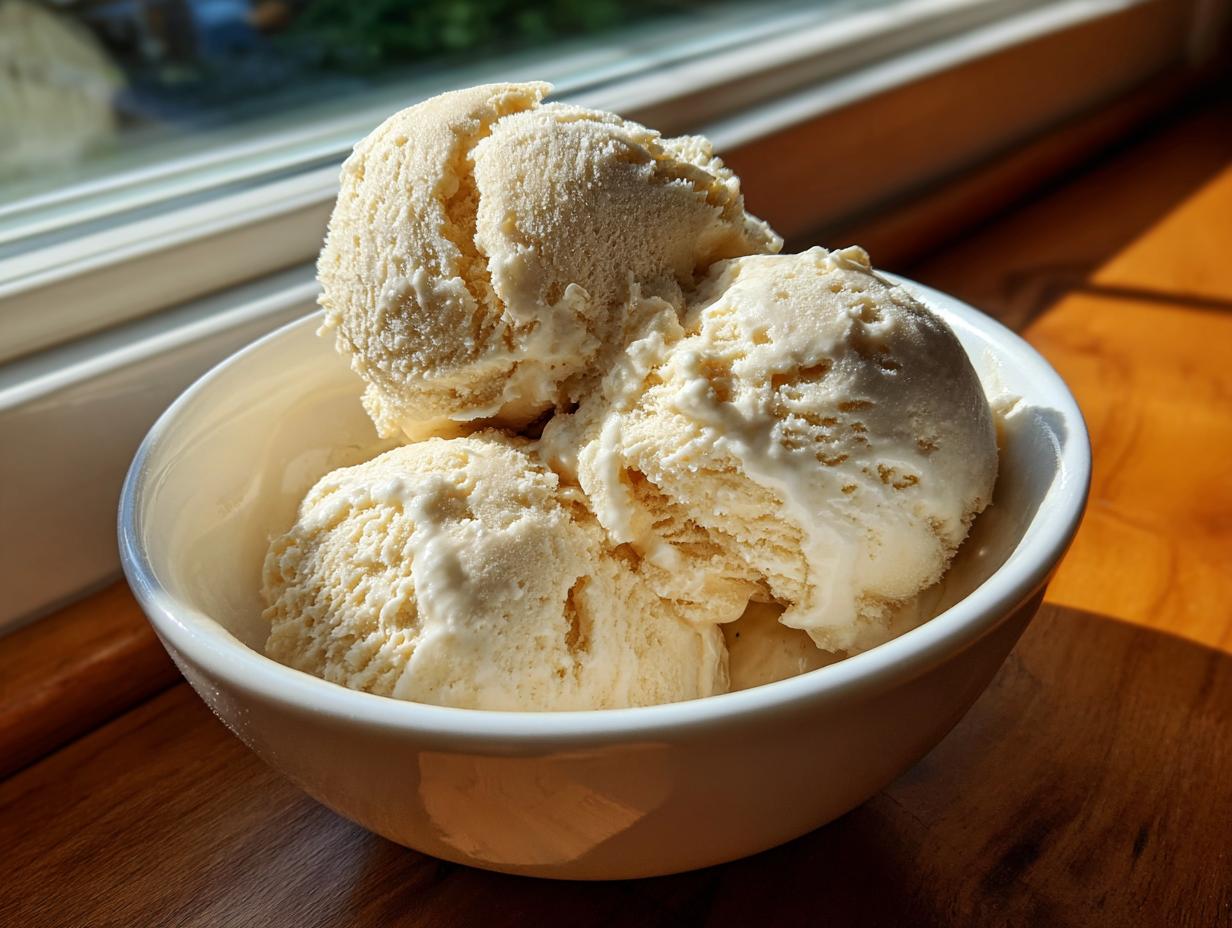
Oh, my dears, I know that late-afternoon craving. You want something sweet—something cold, creamy, and decadent—but you simply cannot afford the sugar or the calories right now, can you? Well, I’ve got the secret handshake for you! We are ditching the churn machine and saying goodbye to ice crystals to make the most unbelievably smooth, no-churn protein ice cream you’ve ever tasted. As a retired teacher, I value clarity and dependability above all else in a recipe, so trust me when I say this simple vanilla base uses only staple ingredients to deliver huge flavor and even bigger protein, keeping your dietary goals perfectly intact. It’s simple cooking, done right.
- Why This No-Churn Protein Ice Cream is a Game Changer (Secondary Keyword Focus)
- Gathering Ingredients for Your High Protein Ice Cream Recipe
- Simple Steps to Make Creamy Protein Ice Cream Without Churning
- Tips for the Best Macro Friendly Desserts: Perfecting Your Protein Ice Cream
- Equipment Needed for Easy Homemade Protein Ice Cream
- Storing and Reheating Your Delicious Protein Ice Cream
- Serving Suggestions for Your Guilt Free Ice Cream
- Frequently Asked Questions About Protein Ice Cream
- Nutrition Estimates for This Protein Ice Cream
Why This No-Churn Protein Ice Cream is a Game Changer (Secondary Keyword Focus)
When I first started experimenting with healthy dessert ideas, the texture was always the biggest hurdle. Who wants rock-hard, icy protein frozen yogurt?
This recipe changes the game completely. It’s proof that you don’t need fancy gadgets to make fantastic macro friendly desserts. You get all the benefits without the fuss:
- It delivers an unbelievably creamy texture, even though we aren’t churning it at all.
- It’s loaded with protein, making it the perfect post workout protein dessert.
- It’s naturally low calorie ice cream—you can feel good about every bite.
- All you need is a standard blender to get started! If you’ve made my easy no-bake protein bars, you already have the right tools.
Gathering Ingredients for Your High Protein Ice Cream Recipe
Good baking—even frozen desserts—always starts with good ingredients. You keep this High Protein Ice Cream Recipe wonderfully simple, which is just how I like it for a weeknight treat. The base hinges on either one cup of low-fat cottage cheese or plain Greek yogurt. Don’t balk at the cottage cheese; trust me, once blended, you will not taste it, only the incredible creaminess!
Next, pick your powder wisely. I highly recommend a whey or casein blend, as these tend to absorb moisture better, giving you that amazing texture we are after. We also need almond milk for smoothness, a little sweetener to make it taste like real ice cream, and a splash of vanilla extract. If you like exploring different bases, you might enjoy how I swap things into my cottage cheese microwave brownie, but for this, stick to the list here.
Simple Steps to Make Creamy Protein Ice Cream Without Churning
Now for the magic part—we’re turning these simple ingredients into wonderful protein ice cream! It’s a straightforward process, so gather your tools. First, everything goes into your high-speed blender or food processor: that cottage cheese base, your vanilla powder, the almond milk, sweetener, vanilla extract, and just a pinch of salt to wake up the sweetness. You need to blend this until it is totally, utterly smooth. Stop it a couple of times, scrape down the sides—I mean it, make sure there are zero little cottage cheese lumps hiding—because creaminess is our goal here.
Once you’re happy that it looks like thick, luxurious soft-serve, pour that mixture into a container you can freeze—a loaf pan works beautifully for me. Make sure it’s covered tightly! Then, it’s off to the freezer for at least 4 to 6 hours. This waiting time is the hardest part, I know, but patience yields a satisfying, guilt free ice cream!
Achieving the Perfect Texture for Your Protein Ice Cream
Even though it’s frozen solid, texture is everything for a satisfying bite. Before you even *think* about scooping, take that container out and let it sit on the counter for about 5 to 10 minutes. This little rest time is crucial! It allows the base to soften just enough so you don’t crack a tooth.
Now, listen up, because I know many of you have that popular new machine! If you’re planning to use your Ninja Creami, don’t scoop yet! Instead, process the frozen base following your machine’s specific instructions for the creamiest result possible. That little burst from the machine gets it ultra-scoopable. If that doesn’t work for you the first time, don’t panic; just add a teaspoon of milk and run it on the ‘re-spin’ setting. If you’re sticking to the traditional freeze, remember to check out how I layer mine after freezing to make it look elegant, just like in my no-bake protein cheesecake jars.
Tips for the Best Macro Friendly Desserts: Perfecting Your Protein Ice Cream
The beauty of this base recipe is how easily you can tweak it to make it your own perfect macro friendly dessert. When folks ask me how to get the ultimate texture, I always tell them to pay attention to the dairy. If you need to keep it lower in fat, stick right with the low-fat cottage cheese or Greek yogurt. But if you are looking for ultimate luxury—and if calories allow—substituting half that milk for heavy cream instead of unsweetened almond milk makes it taste like it came from a fancy creamery.
Sweeteners are another area for customization. I used granulated erythritol here because it blends cleanly, but if you prefer a different zero-sugar sweetener, go right ahead! Just make sure it dissolves well. If you happen to land on my Keto Protein Ice Cream variations, you’ll see I sometimes use liquid drops there.
Don’t be afraid to change the flavor right in the blend step! Want the decadence of chocolate? Simply swap your vanilla powder for your favorite chocolate brand and leave out the vanilla extract. For something richer, a pinch of instant coffee mixed in gives you a lovely mocha or even a homemade salted caramel flavor. Experimentation is half the fun in the kitchen!
Equipment Needed for Easy Homemade Protein Ice Cream
You know, sometimes the best recipes are the ones that don’t require a mountain of specialized gadgets. For this wonderfully healthy protein ice cream, we are keeping things streamlined. You absolutely must have a high-powered blender or a sturdy food processor. We need that whirring power to completely obliterate the cottage cheese lumps and make everything silky smooth—that’s where our creaminess comes from!
Other than that, you just need something to freeze it in. A small loaf pan works perfectly for me, or any freezer-safe plastic container with a tight lid. If your blender isn’t quite strong enough, you might want to check out my thoughts on my favorite blender protein ice cream setup for extra blending power, but honestly, a good machine handles this base just fine!
Storing and Reheating Your Delicious Protein Ice Cream
Now that you’ve made this wonderful, high-protein frozen treat, you want to make sure it lasts, right? That’s the best part about a home batch, you control the storage! Always transfer your finished protein ice cream into an airtight container before it goes into the freezer. Air is the enemy of creamy desserts, and a tight lid keeps everything tasting fresh for up to two weeks, though honestly, it rarely lasts that long around here.
When you’re ready to enjoy your healthy dessert, do me a favor: don’t just blast it with a microwave! Because it freezes quite solid, just like normal ice cream, you need to let it temper again. Pull it out of the freezer about 8 to 12 minutes before you plan to serve it. This small amount of time makes all the difference between a hard block and that beautiful, scoopable texture we worked so hard to achieve.
Serving Suggestions for Your Guilt Free Ice Cream
The vanilla base for this protein ice cream is absolutely divine on its own, but doesn’t it just beg for a little something extra? Because we’ve kept the base light and clean, you have the perfect stage for toppings! If you’re keeping things super simple and healthy, a handful of fresh raspberries or blueberries adds a lovely tartness and color contrast. That’s what I usually do when I’m making a quick snack.
If you are feeling a little more inspired, a drizzle of sugar-free chocolate syrup is always a winner. For those who like a little crunch without adding a ton of sugar, some chopped walnuts or slivered almonds provide a wonderful texture break right before you dive in. When I want something truly special—maybe for a weekend treat—I look at the fun combinations in my best dessert recipes collection and see what fits! Enjoy dressing up your scoop!
Frequently Asked Questions About Protein Ice Cream
Why is my homemade protein ice cream crumbly instead of creamy?
Oh, that’s the age-old question, isn’t it? Most often, this happens because the mixture freezes too fast or there wasn’t enough stabilizing fat or sugar (which we limit here for our macros, of course). If you are just freezing this base without a special machine, make sure you are blending it until it is truly liquid smooth first. If you skip that step, you get ice crystals! If you used a machine like the Ninja Creami, you might need to run it on the ‘re-spin’ cycle after it’s frozen solid. Sometimes, adding a teaspoon of milk before that second spin sorts out the crumbly texture right away.
Can I really use the Ninja Creami on this no-churn base?
Absolutely, yes! That’s one of the best parts about this recipe—it sets you up perfectly for whatever machine you own. You mix everything as directed, freeze the base rock solid for those 4 to 6 hours, and then plop that frozen block right into your machine. If you’re interested in other ways this appliance transforms desserts, I have a whole page dedicated to Ninja Creami protein recipes that might give you some ideas for when you’re craving chocolate or caramel next time!
What if I hate the taste of cottage cheese in my protein ice cream?
Don’t you worry your head about that! If the idea of cottage cheese in your dessert makes you nervous, simply swap it out directly for plain, thick Greek yogurt—the 2% fat kind usually works best for texture here. Or, if you want to go fully dairy-free, you can try using a very thick, unsweetened coconut cream base, though you may need to add a bit more sweetener since coconut cream is naturally less tangy. The important thing is retaining that thickness before you blend it super smooth!
How do I make a Chocolate Protein Ice Cream variation?
It’s just as simple as the vanilla base! When you are gathering all your ingredients to blend, skip the vanilla extract entirely. Instead, use your favorite chocolate protein powder—I usually favor a rich Dutch-process flavor—and consider adding one extra teaspoon of sweetener if your chocolate powder is more intensely flavored. That’s it! You get a completely different, satisfying chocolate, protein ice cream treat ready for the freezer.
Nutrition Estimates for This Protein Ice Cream
Now, I know many of you watch your macros very closely, especially when enjoying a sweet treat like this protein ice cream. Because I want you to feel completely confident enjoying this recipe, here is the nutritional breakdown based on the ingredients listed. Remember, just like when I teach my grandkids how to bake bread, using different brands of protein powder or milk can change these numbers slightly!
These values are estimates per serving (the recipe yields two full servings):
- Calories: Around 220 per serving.
- Protein: A whopping 30 grams! That’s why this is such a fantastic post-workout bite.
- Fat: Approximately 4 grams. We kept the fat low by using low-fat cottage cheese.
- Carbohydrates: About 12 grams total.
It’s incredibly satisfying to enjoy something this creamy and cold knowing it fits so nicely into your dietary goals. If you use a different sweetener or different milk, make sure to check those labels, as those small swaps can affect the totals. That’s my primary rule for making sure any healthy dessert idea stays truly healthy!
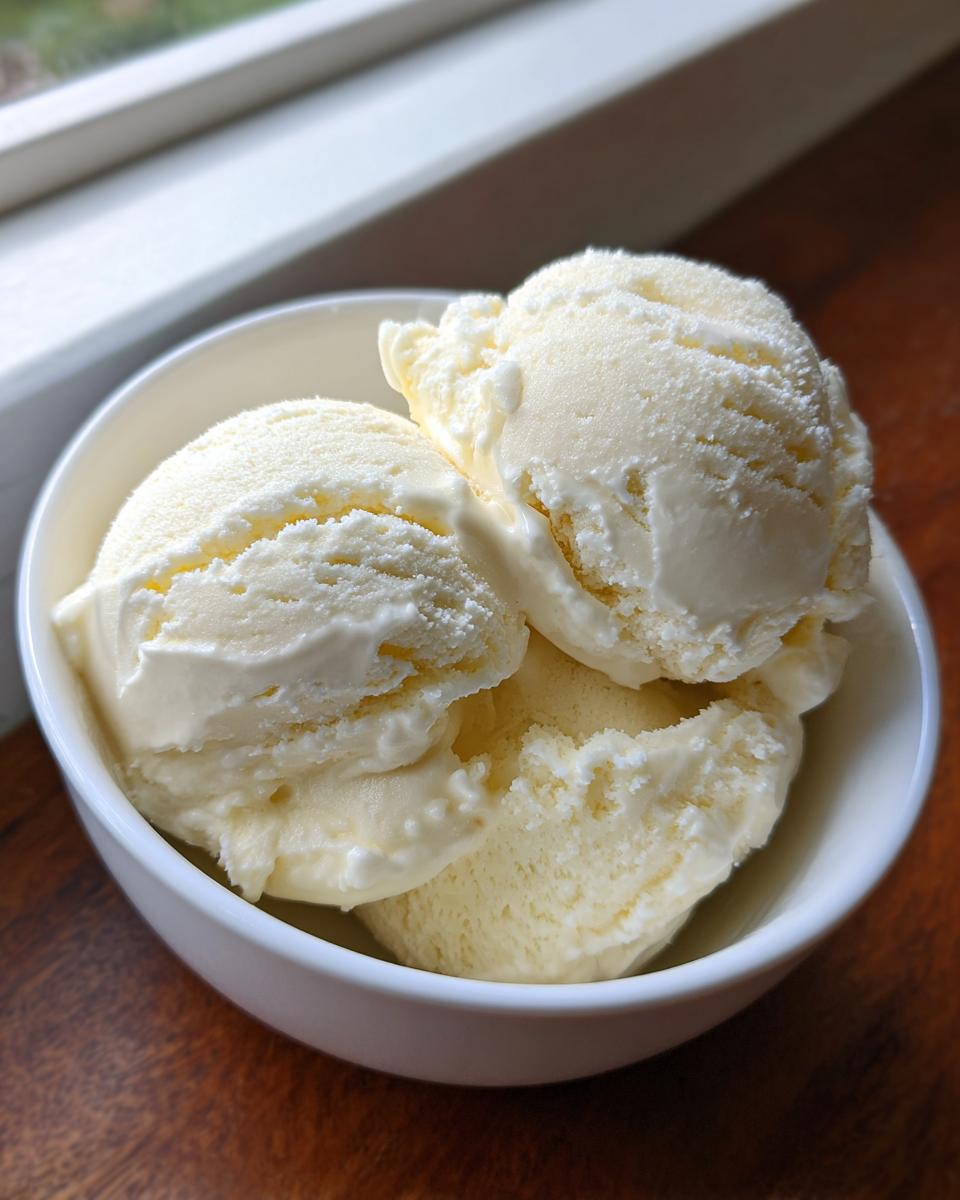
PrintCreamy No-Churn High-Protein Vanilla Ice Cream
Make this unbelievably creamy, high-protein ice cream easily without an ice cream maker. This vanilla base recipe is macro-friendly and perfect for a guilt-free dessert.
- Prep Time: 10 min
- Cook Time: 0 min
- Total Time: 6 hours 10 min
- Yield: 2 servings 1x
- Category: Dessert
- Method: No-Churn/Freezing
- Cuisine: American
- Diet: Vegetarian
Ingredients
- 1 cup low-fat cottage cheese (or plain Greek yogurt)
- 1 scoop vanilla protein powder (whey or casein blend recommended)
- 1/4 cup unsweetened almond milk (or milk of choice)
- 1 tablespoon granulated sweetener (like erythritol or monk fruit)
- 1/2 teaspoon vanilla extract
- Pinch of salt
Instructions
- Place the cottage cheese, protein powder, almond milk, sweetener, vanilla extract, and salt into a high-speed blender or food processor.
- Blend the mixture until it is completely smooth and creamy. Stop and scrape down the sides as needed to ensure no lumps remain.
- Pour the mixture into a freezer-safe container, like a loaf pan or a small plastic tub. Cover the container tightly with a lid or plastic wrap.
- Place the container in the freezer for at least 4 to 6 hours, or until firm.
- For the best texture, let the ice cream sit on the counter for 5 to 10 minutes before scooping. If you are using a Ninja Creami, process the frozen base according to your machine’s instructions for the creamiest result.
- Serve immediately as a satisfying, **healthy dessert treat**.
Notes
- For a richer flavor, substitute half the almond milk with heavy cream or use a higher fat dairy base.
- If you prefer a chocolate version, use chocolate protein powder and omit the vanilla extract.
- This recipe works well as a **low calorie ice cream** base; adjust sweetener to your taste preference.
Nutrition
- Serving Size: 1/2 pint
- Calories: 220
- Sugar: 5
- Sodium: 250
- Fat: 4
- Saturated Fat: 2
- Unsaturated Fat: 2
- Trans Fat: 0
- Carbohydrates: 12
- Fiber: 1
- Protein: 30
- Cholesterol: 15