
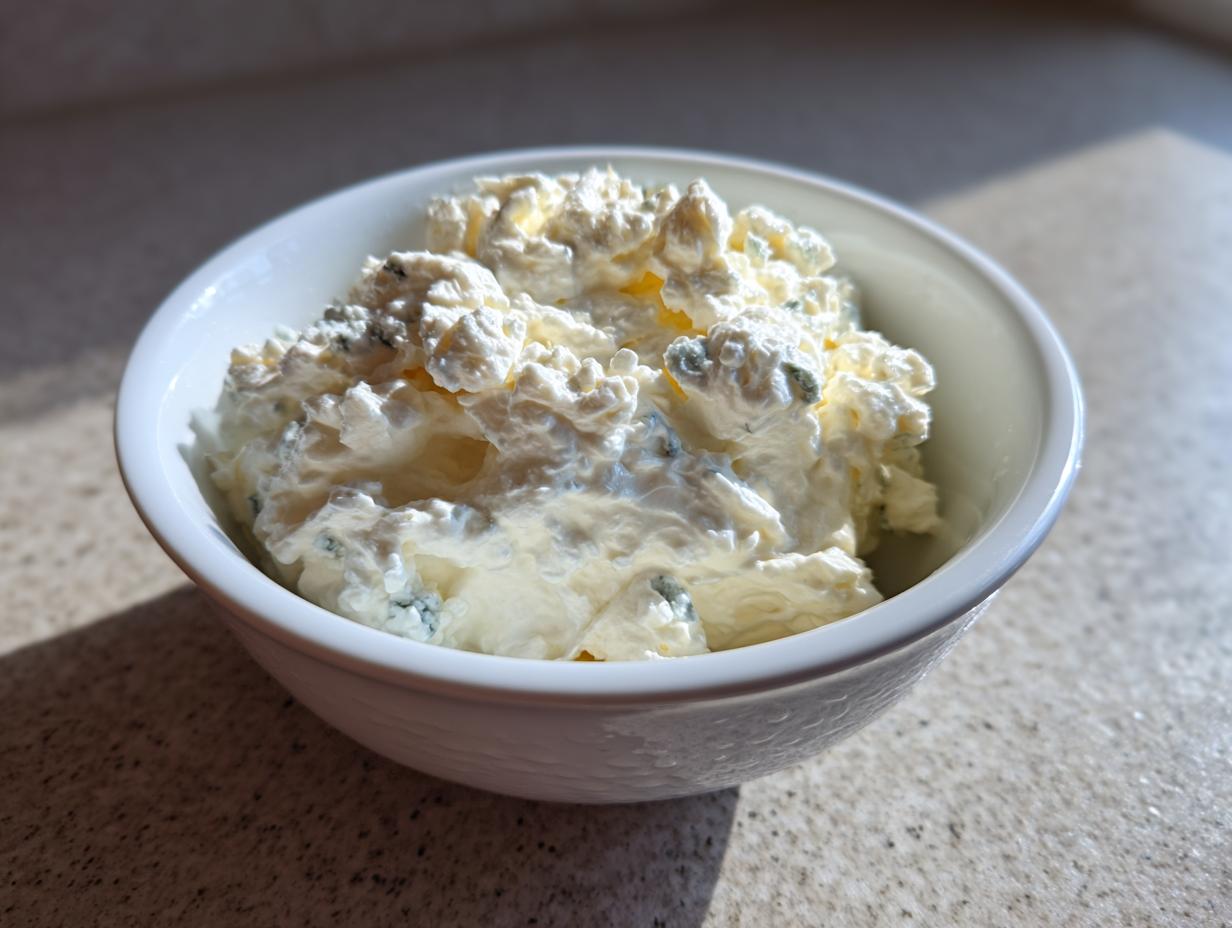
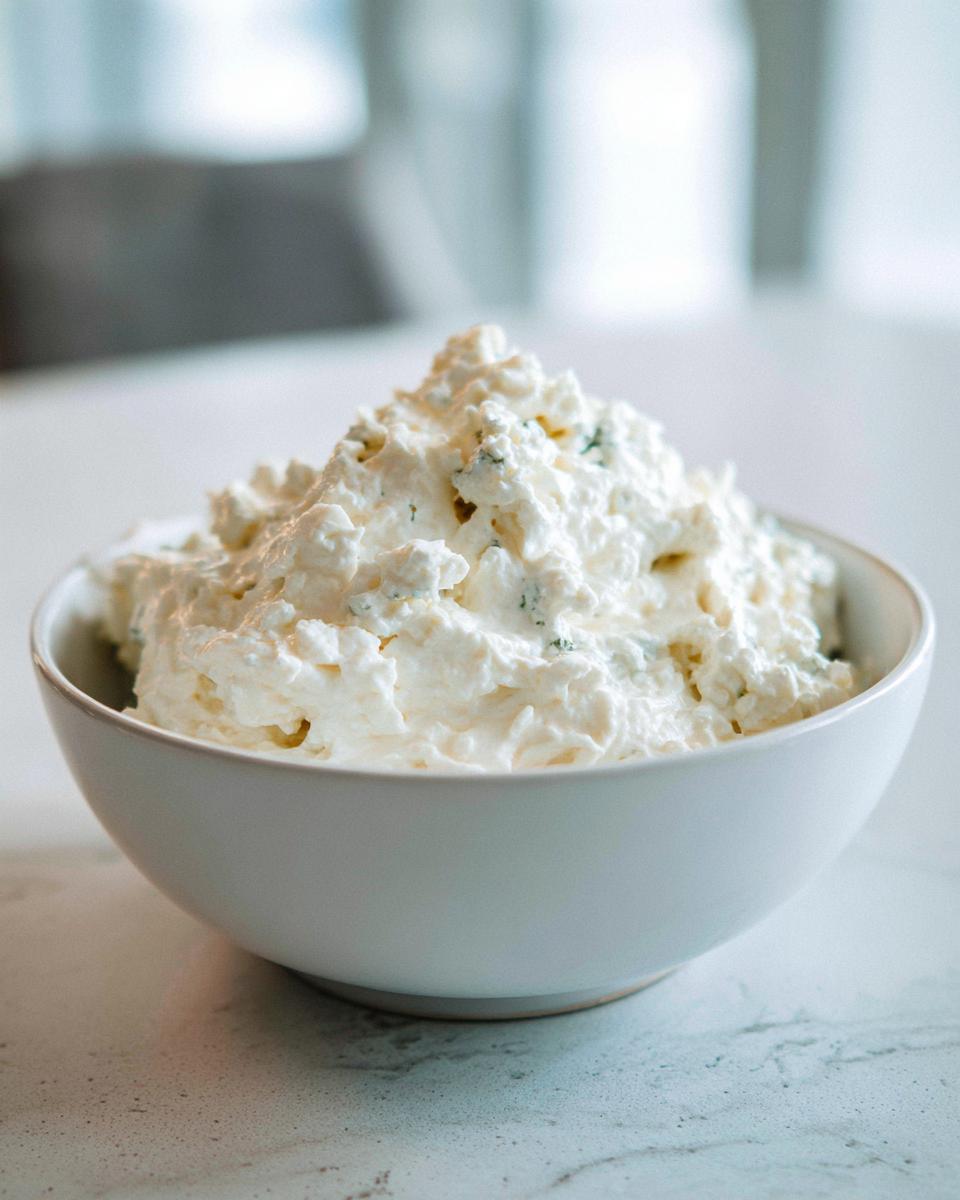
Oh, the power of a truly bold dip! There’s nothing quite like watching a platter disappear when you set out something rich, savory, and wonderfully tangy. Here in the Midwest, we learned early on that the best crowd-pleasers are often the simplest ones, made with good basic ingredients handled with care. That’s exactly why I treasure this recipe for **blue cheese dip**. It’s reliable, it’s made from scratch in minutes, and it brings that deep, satisfying flavor everyone craves, whether you’re serving buffalo wings or just something for the kids to dunk veggies into. Trust me, this recipe has worked its magic at countless family get-togethers over the years, and now it’s ready for your table!
If you’re looking for more simple, delicious appetizers that make entertaining easy, you might want to peek at some of my other easy appetizer and snack recipes. They all share that same commitment to simple quality!
- Why This Is Your New Favorite Creamy Blue Cheese Dip Recipe
- Gathering Ingredients for the Best Blue Cheese Dip
- Step-by-Step Instructions for Your Tangy Dip Recipe
- Making Your Blue Cheese Dip Ahead for Party Success
- Serving Suggestions: Beyond Wings for Your Blue Cheese Dip
- Ingredient Notes and Simple Blue Cheese Dip Variations
- Frequently Asked Questions About This Blue Cheese Dip
- Nutritional Estimate for Your Savory Dips
- Share Your Experience Making This Blue Cheese Dip
Why This Is Your New Favorite Creamy Blue Cheese Dip Recipe
We’ve all done it—reached for that watery, flavorless jar of dip when the guests are arriving in five minutes. That stops right here! I developed this **creamy blue cheese dip** because I needed something absolutely wonderful that didn’t require me to babysit a saucepan. This is truly a **simple five ingredient dip**, and the payoff is huge. It’s incredibly rich and so much tangier than anything you can buy pre-made, which is why it has earned a permanent spot on our game day spread.
Quick Prep Time for Your Easy Blue Cheese Dip Recipe
Seriously, you can whip this up faster than you can find the matching lid for the container you were going to store it in! Prep time is only about five minutes. Since this is a completely **cold dip recipe**, all the magic happens while it chills, not while it cooks. This means you can make it right before everyone arrives, and it’s ready to go when the kickoff happens. It’s the easiest way to look like a culinary genius on short notice!
Gathering Ingredients for the Best Blue Cheese Dip
When you are only using five things to make something this flavorful, you simply have to ensure the quality of those five things is top-notch. That’s the secret my mother always taught me, and it’s the heart of all my best **savory dips**. Because we aren’t adding a mountain of flavoring agents, the raw materials really have to sing. This recipe for **blue cheese dip** is designed to let that cheese shine, so pick a good one!
You’ll need some sour cream and mayo for that perfect creamy base, a little zip from Worcestershire, and of course, the star ingredient. Don’t shy away from using the full-fat versions here—this is for dipping, after all, and the richness is what makes it satisfying!
Ingredient Clarity for a Rich and Flavorful Dip
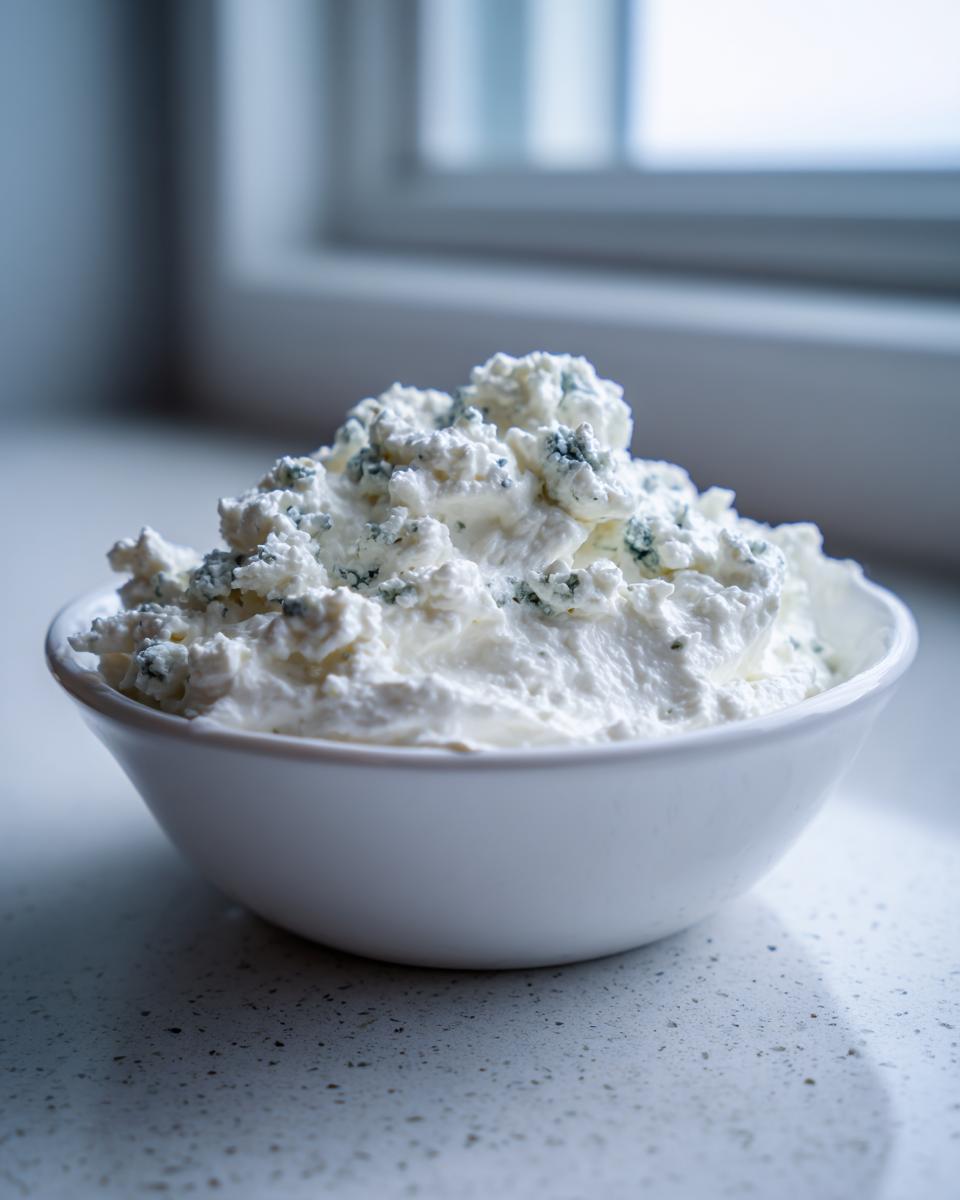
Okay, let’s talk specifics so you get that rich and flavorful dip every single time. The cheese is key. I like using a good, assertive blue cheese, maybe a Roquefort or a nice crumbly Gorgonzola if you want that strong punch. Make sure it’s already crumbled, but if you only have a block, just run your knife through it until you have bits about the size of a small pea—too fine and it vanishes!
For the dairy components, please use full-fat sour cream and full-fat mayonnaise. They emulsify so much better and give you that beautiful, classic texture. If you try to use low-fat versions, I find the dip gets a little thin and doesn’t hold up as well when it’s time for dipping into it. Finally, that teaspoon of Worcestershire sauce? That’s our little background note of depth. It doesn’t make the dip taste like steak sauce, I promise! It just adds a necessary, complex savory backbone to balance that saltiness from the cheese. Don’t skip it!
Step-by-Step Instructions for Your Tangy Dip Recipe
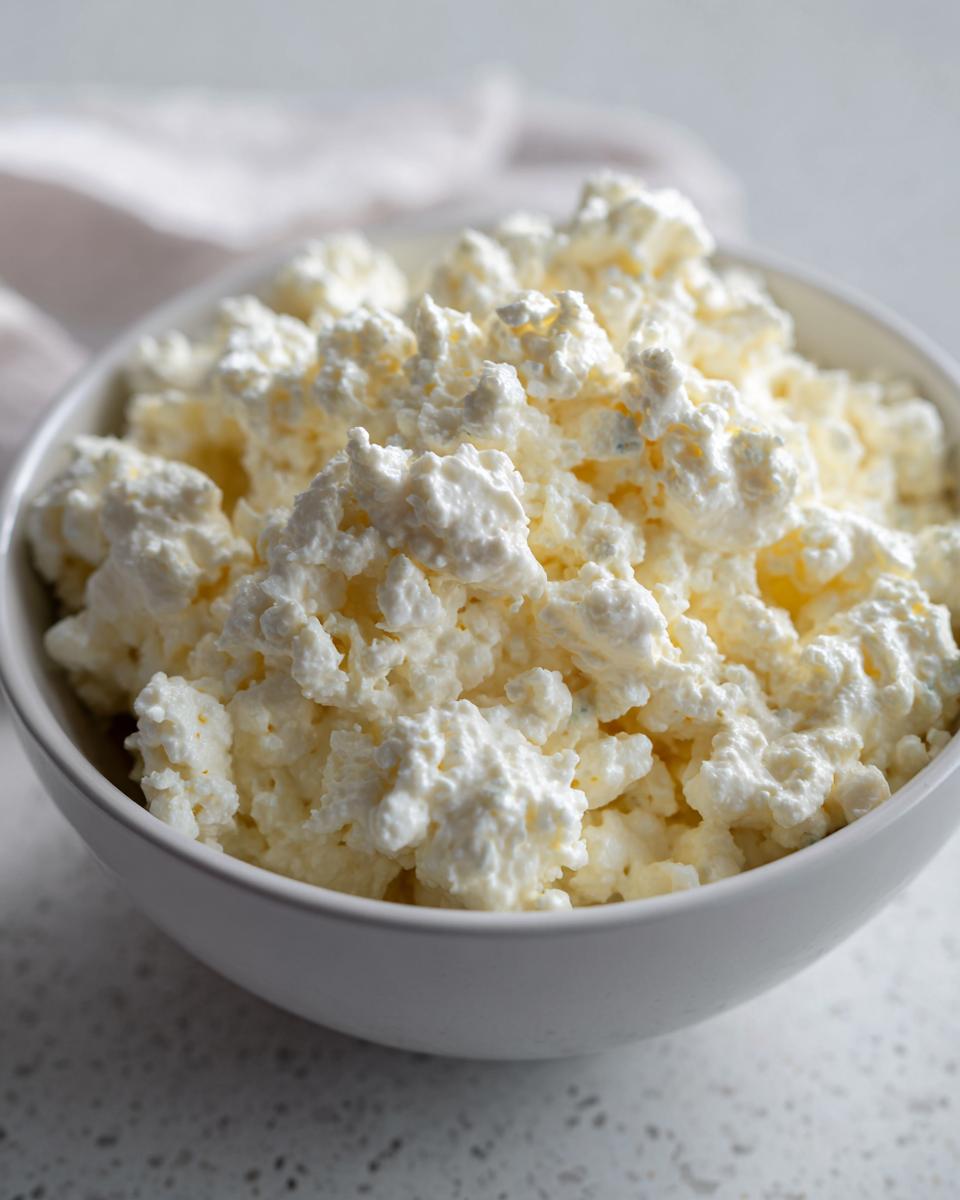
Now that we have our beautiful ingredients ready, putting this together is almost laughably simple—truly the beauty of a good **tangy dip recipe**. Remember, we’re keeping this quick, but we need to be mindful of texture. I find that the best way to start any great cold dip is to get everything combined gently in one spot. Dump your crumbled blue cheese, sour cream, mayo, Worcestershire sauce, and that simple black pepper right into a sturdy bowl. You can use a fork, a spoon, or even a hand mixer on a low setting. Whatever you use, be gentle!
We are aiming for smooth, yes, but don’t turn it into baby food! That little bit of separation in the cheese curds is what makes a homemade **blue cheese sauce** so much better than the stuff from a jar. Mix just until everything looks incorporated and creamy. This whole step should take you less than three minutes. After you mix it all up, taste it. Does it need a tiny bit more pepper zing? Now is the time to fix it before it chills down. Once you’re happy with the flavor, cover it up, and get it into the refrigerator for at least 30 minutes. That chilling time is crucial; it lets those assertive blue cheese flavors really mingle with the cream bases.
If you’re looking for another fantastic no-cook appetizer to round out your spread, you have to check out my recipe for Cowboy Caviar. It’s perfect right alongside this rich dip!
Mixing Tips for the Perfect Homemade Blue Cheese Sauce Consistency
Pay attention to this part! If you grab your stand mixer and set it to medium-high, you’re going to end up with a very smooth, almost thin sauce, which is fine if you want a strictly **best blue cheese dressing recipe**. But for a true, hearty **blue cheese dip**, use a lower speed or hand-mix. I want to see little flecks of that blue cheese sparkling in the creaminess. Over-mixing incorporates too much air and can sometimes make your dip break down faster once it sits out on the snack table.
If you do happen to over-mix, don’t panic! Sometimes a little splash of milk or even a teaspoon of lemon juice can help bring it back into a workable consistency. But honestly, tasting it before the chill time is the best insurance policy you have for getting that perfectly balanced, **creamy blue cheese dip** consistency we are after.
Making Your Blue Cheese Dip Ahead for Party Success
This is where this recipe really earns its stripes as a go-to party staple! If you’re hosting a big crowd, the last thing you want to do is hover over the snack station right when everyone arrives. The good news is that this **blue cheese dip** actually improves if you make it in advance. I always tell folks that this is truly the ideal **make ahead party dip**.
Remember I told you to chill it for 30 minutes initially? Think of that as the minimum required rest time. If you have the chance, cover it up snugly and pop it in the back of the fridge for up to four days! Why does it get better? Well, those robust flavor profiles from the blue cheese and the Worcestershire sauce need time to really soak into the sour cream and mayo base. It’s like letting a stew simmer—the flavors meld and deepen beautifully. When you pull it out an hour before serving, it’s even bolder and more satisfying than when you first mixed it.
Just pull it out about 15 or 20 minutes before you set it out for guests. You don’t want it ice cold straight from the fridge—a little bit of time on the counter lets the texture soften just slightly so it’s perfect for dipping your chips. It’s the best kind of recipe, isn’t it? The more you plan ahead, the better it tastes!
Serving Suggestions: Beyond Wings for Your Blue Cheese Dip
When I talk about this **blue cheese dip**, the first thing people usually picture is a big bowl next to a mountain of hot wings, and yes, it is absolutely the best **wing dipping sauce** you’ll ever make! But please, please don’t stop there! This recipe is so much more versatile than people give it credit for. It’s a beautiful, rich base that works everywhere.
You have to try it with sturdy vegetables, of course. Carrots, celery sticks, bell pepper slices—all excellent choices for this **dip for veggies and chips**. But here’s a little secret from my kitchen: when I’m making a bigger batch, I actually thin this out just a touch with a splash of buttermilk or a little extra lemon juice, and suddenly, I have the most incredible, tangy homemade dressing to drizzle over iceberg lettuce wedges or grilled chicken salads. My grandchildren won’t eat salad unless I use this as the dressing; they call it ‘the stinky white stuff,’ and they mean it as the highest compliment!
If you need more ideas for that large spread you’re putting together, make sure to check out my rundown of easy appetizers and snacks that require very little fuss!
The Ultimate Chip Dip for Game Day Pairing
You simply cannot host a proper game day without a truly spectacular **chip dip for game day**. Forget those thin, sour cream-based concoctions that slide right off the chip. This **blue cheese dip** is thick enough—thanks to that perfect balance of mayo and sour cream—to stand up to the heaviest, heartiest potato chips you can find. I use the ripple-cut ones; they hold the most dip, which is the goal, right?
Don’t just stop at chips, though. This dip is fantastic alongside pretzels or even thick, salty crackers. It’s robust enough that it doesn’t get lost in the noise of all the other snacks you put out. When everyone digs in during halftime, you want your dip to be the one people keep coming back to, and this bold, creamy base guarantees that!
Ingredient Notes and Simple Blue Cheese Dip Variations
One thing I’ve learned in my teaching career, and certainly in the kitchen, is that not everyone loves the exact same flavor balance, and that’s perfectly fine! That said, because this **blue cheese dip** relies on just a few core components, if you need to swap something out, it’s easy to do, and we can use simple tweaks to adjust the flavor profile exactly where we want it.
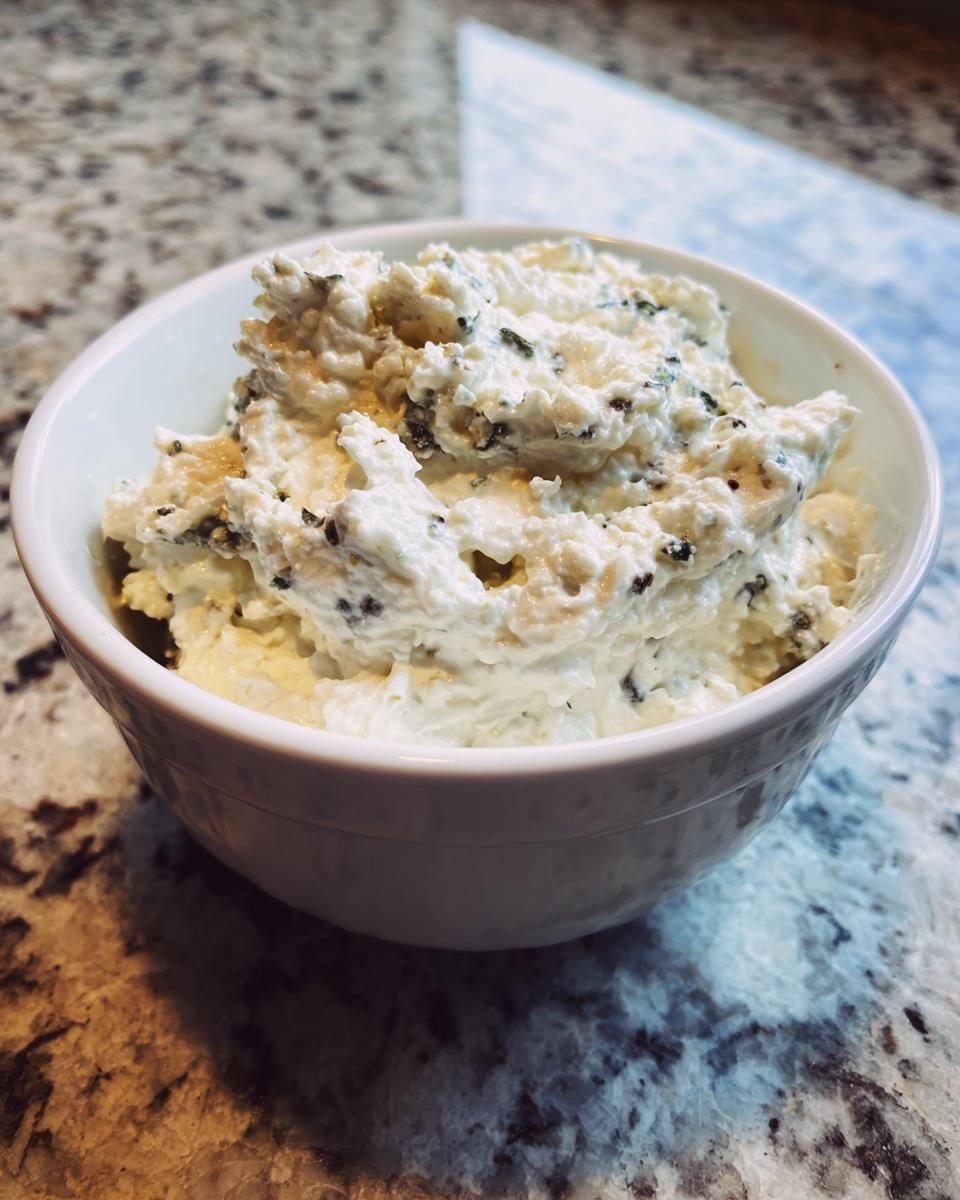
If you’re looking for a little brightness to cut through all that rich dairy, I highly recommend adding about a teaspoon of fresh lemon juice right when you are tasting it at the end. That little bit of acidity wakes up the entire dip and makes the blue cheese flavor pop even more! It’s a simple addition, but trust me, it makes a difference.
And remember what I said about using this as a dressing? If you want to encourage that versatility and aim for the **best blue cheese dressing recipe** instead of a super thick dip, simply thin it out a bit more. Whisk in a tablespoon of buttermilk or a splash of cold water until it reaches your desired pouring consistency. It’s a great tip if you’re heading to a gathering and want one recipe that covers both dipping and dressing duties!
Adjusting Thickness for a Blue Cheese Spread
Now, if you are making this to serve alongside baked brie or crackers, you might find you want something sturdier than a dip that just sits there. You want a rich **blue cheese spread** that holds its shape on a cracker—that’s when you need to modify the fats slightly.
To achieve that thicker consistency, simply reduce the amount of mayonnaise you use by about a quarter cup and substitute that space with a bit more sour cream. Or, if you want it *really* sturdy, you can add about two ounces of softened, full-fat cream cheese right in with the other ingredients when mixing. That addition makes it firm enough to scoop beautifully onto anything without running off the sides. It’s an easy switch that gives you a completely different texture for your **appetizers with blue cheese**!
Frequently Asked Questions About This Blue Cheese Dip
I know when you’re trying a new recipe, especially one that’s meant to be an absolute showstopper for a party, you sometimes have little practical questions pop up. That’s perfectly normal! After teaching for so many years, I’ve learned that taking the time to clear up these small details ensures you get the perfect result every time. Here are a few things people often ask me about making this great, bold dip.
Can I make this blue cheese dip vegan or dairy-free?
That’s a great question! Since this recipe is built around the full, rich flavor of real blue cheese, sour cream, and mayo, making it fully vegan means changing the core flavor profile quite a bit. However, if you need a dairy-free or vegan option, the key is maintaining that creamy texture we work so hard for. You would need to substitute the blue cheese crumbles with a good quality, flavorful vegan blue cheese alternative—they are getting much better these days! For the sour cream and mayo, use their plant-based counterparts. As long as they are thick, you should be able to achieve a lovely, **creamy blue cheese dip** that works wonderfully as a **wing dipping sauce** substitute!
How long does homemade blue cheese sauce last?
When stored properly, which means covered tightly in an airtight container in the refrigerator, this **homemade blue cheese sauce** lasts beautifully. I reliably get about four days out of it. That’s why it’s such a great **make ahead party dip** choice! Because it’s a cold dip, the longer it sits, the more the flavors marry and deepen, which is usually a good thing. Just make sure your container is clean, and don’t leave it sitting out on the buffet table for more than two hours at a time, just to keep things safe.
Is this recipe similar to the dips served at wing restaurants?
I’m so glad you asked! Many people come looking for a **winged cheese dip copycat**, and I think this recipe comes incredibly close. Restaurant dips often rely heavily on buttermilk or heavy cream to thin them out into a true dressing consistency. Since we are focusing on a hearty, scoopable dip here, ours is naturally thicker and richer—which I think is better than the watery stuff you sometimes get! If you want to lean closer to that thin restaurant style, just remember the suggestion from above: thin it out with a little buttermilk until it pours easily. You can find tips on making it the best blue cheese dressing recipe variation in the tips section above!
Nutritional Estimate for Your Savory Dips
Now, I’m not a nutritionist, and I certainly wasn’t doing calorie counts back when I taught third grade! But I know so many of you like to keep track of what you’re serving, especially when you’re putting out big spreads for parties or game days. So, as part of being transparent—which is really important to me—I took the numbers the lab gave me for this batch of **blue cheese dip** and put them down here for you.
Please remember, these are just good estimates based on full-fat, standard ingredients. If you swap in low-fat sour cream or use a different kind of blue cheese, those numbers will shift a bit. But for the rich, flavor-packed version we both love, this is what you’re looking at per serving (which is about a quarter cup).
- Serving Size: 1/4 cup
- Calories: 240
- Fat: 23g (with 7g saturated fat)
- Carbohydrates: 3g
- Protein: 7g
- Sodium: 450mg
See? It’s a rich snack, for sure! That’s why this **savory dip** is best served alongside lots of crisp, fresh vegetables—it balances out the richness beautifully. This is comfort food; it’s meant to be enjoyed alongside good company while you’re catching up on the day or watching the big game!
Share Your Experience Making This Blue Cheese Dip
That’s it, my friends! You now have everything you need to make the most satisfying, flavorful, and hassle-free **blue cheese dip** you’ve ever tucked into. From simple five ingredients to that perfect chilling time, this recipe is all about making good food easy for the home cook.
Now, the absolute best part of running Cooking by Carla is hearing from all of you! I put so much care into making sure every recipe I share is dependable, whether you’re making a quick snack or an impressive **party dip for entertaining**. When you try this out, I truly want to know how it went!
Take a moment after you’ve sampled it (and trust me, you’ll sample it!), and come back here to leave a rating. Use that five-star system—I look at those stars! They tell me instantly if I’ve delivered on that promise of rich, creamy flavor that tastes just like home. Did the kids love it? Did your game day crowd devour it? Did you manage to save any to use as a salad dressing the next day?
If you snap a picture of your glorious platter of dip alongside those fantastic appetizers or wings, please share it! Tagging me online or just dropping a note in the comments lets me see your beautiful home kitchens in action. That feedback loop is so important to me; it’s how I know which time-honored classics to focus on next for the whole community. Head over to the About Page if you want to read more about why I love hearing from you all!
Happy dipping, and thank you for bringing this tradition into your home!
PrintSimple 5-Ingredient Creamy Blue Cheese Dip
Make this rich and tangy blue cheese dip using only five simple ingredients. It is a quick, cold dip perfect for game day, serving with chicken wings, or dipping fresh vegetables and chips.
- Prep Time: 5 min
- Cook Time: 0 min
- Total Time: 35 min
- Yield: About 2 cups 1x
- Category: Appetizer
- Method: No Cook
- Cuisine: American
- Diet: Vegetarian
Ingredients
- 1 cup crumbled blue cheese
- 1 cup sour cream
- 1/2 cup mayonnaise
- 1 teaspoon Worcestershire sauce
- 1/4 teaspoon black pepper
Instructions
- Place the crumbled blue cheese, sour cream, mayonnaise, Worcestershire sauce, and black pepper into a medium bowl.
- Use a fork or a hand mixer to combine the ingredients until the dip is smooth and creamy. Do not overmix; some small chunks of cheese are desirable for texture.
- Taste the dip and add more pepper if you prefer a stronger flavor.
- Cover the bowl and chill the blue cheese dip in the refrigerator for at least 30 minutes before serving. Chilling allows the flavors to blend.
- Serve cold with your favorite appetizers, such as celery sticks, carrot sticks, potato chips, or as a wing dipping sauce.
Notes
- For a thicker blue cheese spread, reduce the mayonnaise slightly.
- You can make this dip ahead of time; it keeps well in the refrigerator for up to four days.
- If you want a tangier flavor, add 1 teaspoon of fresh lemon juice to the mixture.
Nutrition
- Serving Size: 1/4 cup
- Calories: 240
- Sugar: 2
- Sodium: 450
- Fat: 23
- Saturated Fat: 7
- Unsaturated Fat: 16
- Trans Fat: 0
- Carbohydrates: 3
- Fiber: 0
- Protein: 7
- Cholesterol: 30