

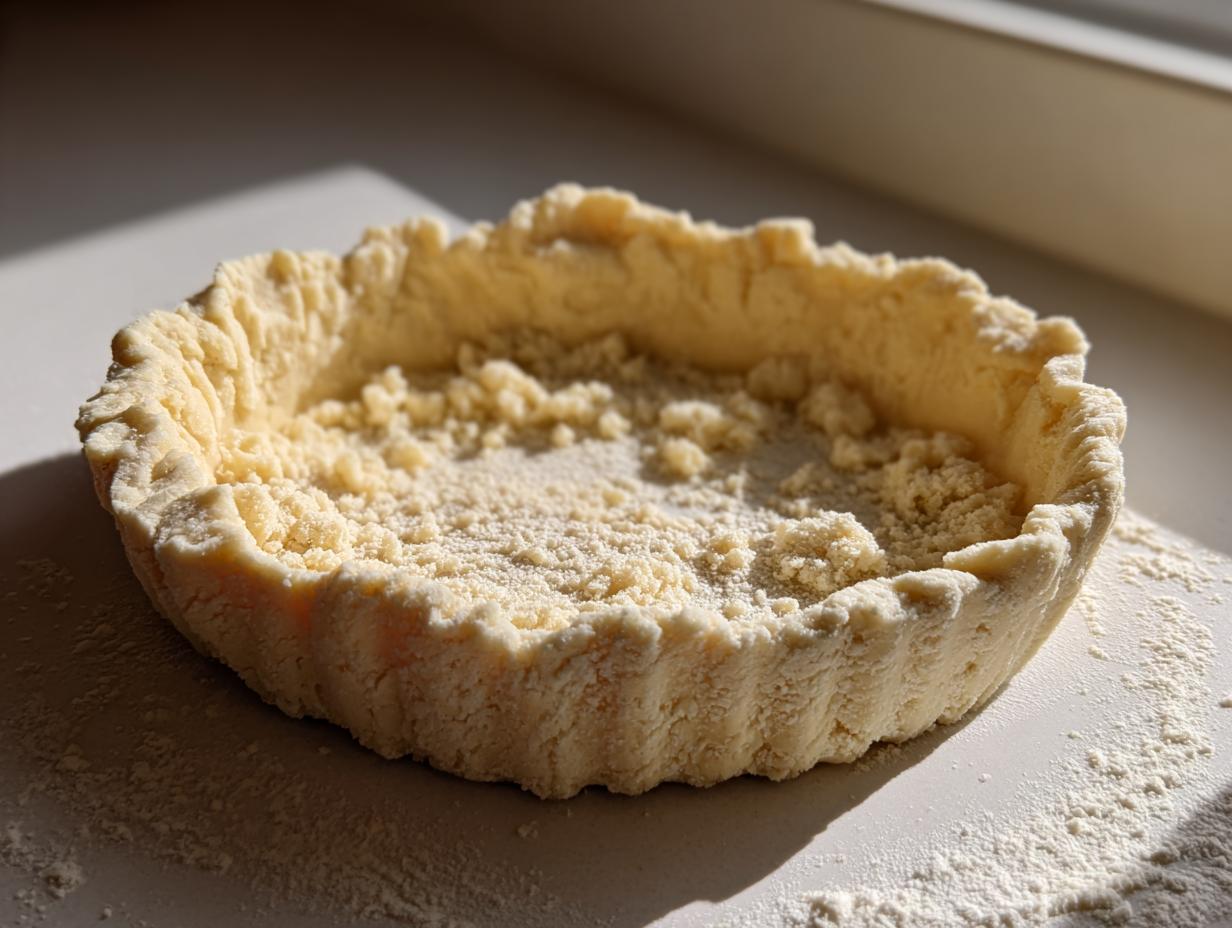
Oh, friends, let’s talk about the foundation of heaven on a plate: the crust! There is nothing sadder than a beautiful, flavorful filling sitting inside a dry, tough crust. When I think about pie season, especially hearing from so many of you who are Baking for Holidays, the first thing I want to share is my absolute favorite pie crust recipe. You see, growing up with a farmer for a father and a teacher for a mother, I learned early on that true satisfaction comes from reliable basics. That’s why I perfected this Easy Flaky All-Butter Pie Crust Recipe. It’s straightforward, intensely buttery, and trustworthy enough for a beginner, yet reliable enough for my seasoned bakers. Forget the store-bought stuff; making this from scratch is easier than you think!
- Why This Easy Flaky All-Butter Pie Crust Recipe Works (The Secret to Flakiness)
- Gathering Ingredients for Your Best Butter Pie Crust
- How to Make Pie Crust: Step-by-Step Instructions for Tender Pie Dough
- Tips for Success When You Roll Out Pie Dough
- Versatility of This All Butter Pastry Recipe
- Storage and Make-Ahead Tips for Your Homemade Pie Dough
- Frequently Asked Questions About Making Pie Crust From Scratch
- Nutritional Estimates for This Simple Pie Pastry
- Share Your Best Dessert Crust Creations
Why This Easy Flaky All-Butter Pie Crust Recipe Works (The Secret to Flakiness)
I know the frustration of a tough pie crust all too well. That is why this pie crust recipe relies entirely on butter—real, good-quality butter. That butter is the key to achieving that light, shatteringly crisp texture you dream about. We skip the tricks and stick to simple science. If you’ve ever ended up with dough that felt tough, it’s likely because the butter got too warm too fast. We are avoiding that fate!
The Importance of Cold Ingredients in Your pie crust recipe
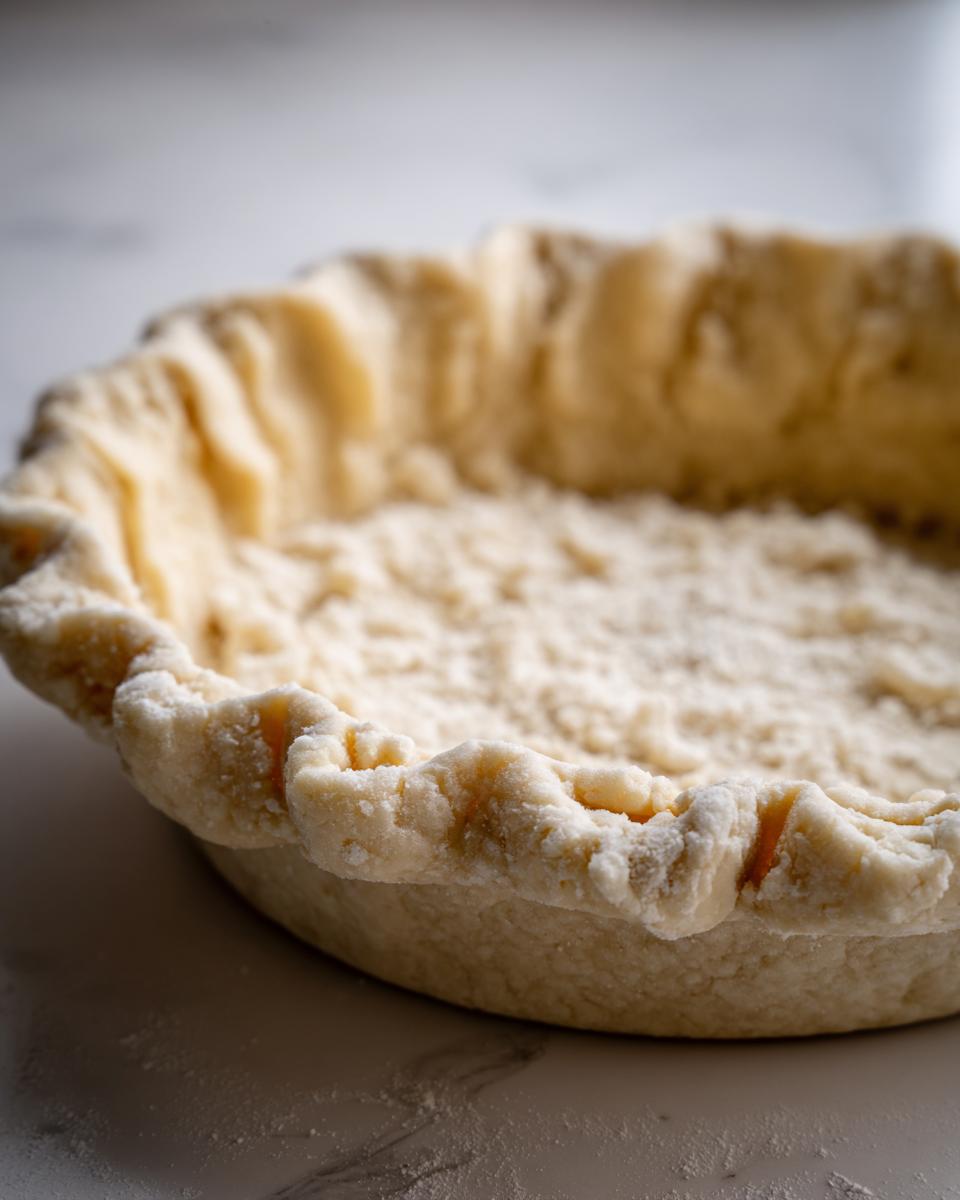
For a truly Flaky Pie Crust, the temperature of your butter is non-negotiable. When those tiny, cold cubes of butter hit the hot oven, they create little pockets of steam. That steam pushes the layers of dough apart, creating those lovely, visible flakes! If your butter melts before it hits the oven, there’s no steam lift; you just get one dense, flat layer. We want layers, friends, so keep that butter frozen-cold!
Simple Pie Pastry: Minimal Steps for Maximum Flavor
This is truly an Easy Homemade Pie Dough because once you master the cold butter technique, the rest is quick. Many recipes overcomplicate things, but I learned simple methods work best. We use just four main ingredients because we want the rich, tangy flavor of the butter to shine through. This straightforward process delivers a Tender Pie Dough without needing any fancy equipment or strange additives.
Gathering Ingredients for Your Best Butter Pie Crust
Alright, let’s get down to brass tacks. For the absolute best results in your pie crust recipe, you need good ingredients handled properly. I’ve listed exactly what you need below. Remember what I said about the cold butter? That is the star player here. If you skip paying attention to the temperature of the items going into the bowl, you might as well stop right now!
- 2 1/2 cups all-purpose flour
- 1 teaspoon salt
- 1 cup (2 sticks) unsalted butter, very cold and cut into 1/2-inch cubes
- 6 to 8 tablespoons ice water
- 1 tablespoon white vinegar (optional, for tenderness)
Ingredient Notes and Substitutions for this pie crust recipe
Listen closely about the water: it must be ice water—I keep a glass of it ready with ice cubes floating in it. And yes, that tablespoon of white vinegar is optional, but I highly recommend it! It just helps tenderize the gluten strands, giving you an extra boost toward that perfect, soft texture without impacting the flavor one bit. Don’t forget, this batch of dough makes enough for a Double Pie Crust—one for the bottom and one for the top, which is perfect for double-crust fruit pies or sealing up a savory pot pie!
How to Make Pie Crust: Step-by-Step Instructions for Tender Pie Dough
Now we get to the actual making of the dough, which is truly where the magic happens. As a former teacher, I believe in clear instruction because rushing this step means you miss out on that incredible, flaky result. This is when you need to channel a little bit of patience. We aren’t looking for a smooth, uniform ball right away; we are looking for texture!
Mixing the Dough: Achieving the Right Consistency
Grab your flour and salt from the ingredient list and whisk those together. Then, toss in your very cold, cubed butter. You need to cut that butter into the flour until it looks like coarse crumbs—I usually look for some butter pieces about the size of small garden peas. Those pea-sized chunks are what turn into those glorious steam pockets later on! Next, start drizzling in that glorious ice water, one tablespoon at a time. Mix it gently, just until the dough starts to cooperate and just begins to come together. Seriously, stop before you think you should! Overworking this means tough crust, and we want the best Homemade Pastry Tips to lead to a wonderfully tender result.
Chilling and Preparing to Roll Out Pie Dough
Once you’ve gathered what looks like a shaggy mess into two disks, wrap them tightly. This dough needs a little nap in the refrigerator—a solid hour is the minimum, but honestly, if you can leave it for a few hours, even better. Chilling is crucial because it lets the gluten relax—which means easier rolling later—and it makes sure that butter is rock hard again before baking. This resting period is what guarantees a Flaky Pie Crust when it finally hits the heat. When you take it out to roll, remember that this recipe is perfect for a full pie, whether you’re making my Triple Berry Pie or something savory!
Tips for Success When You Roll Out Pie Dough
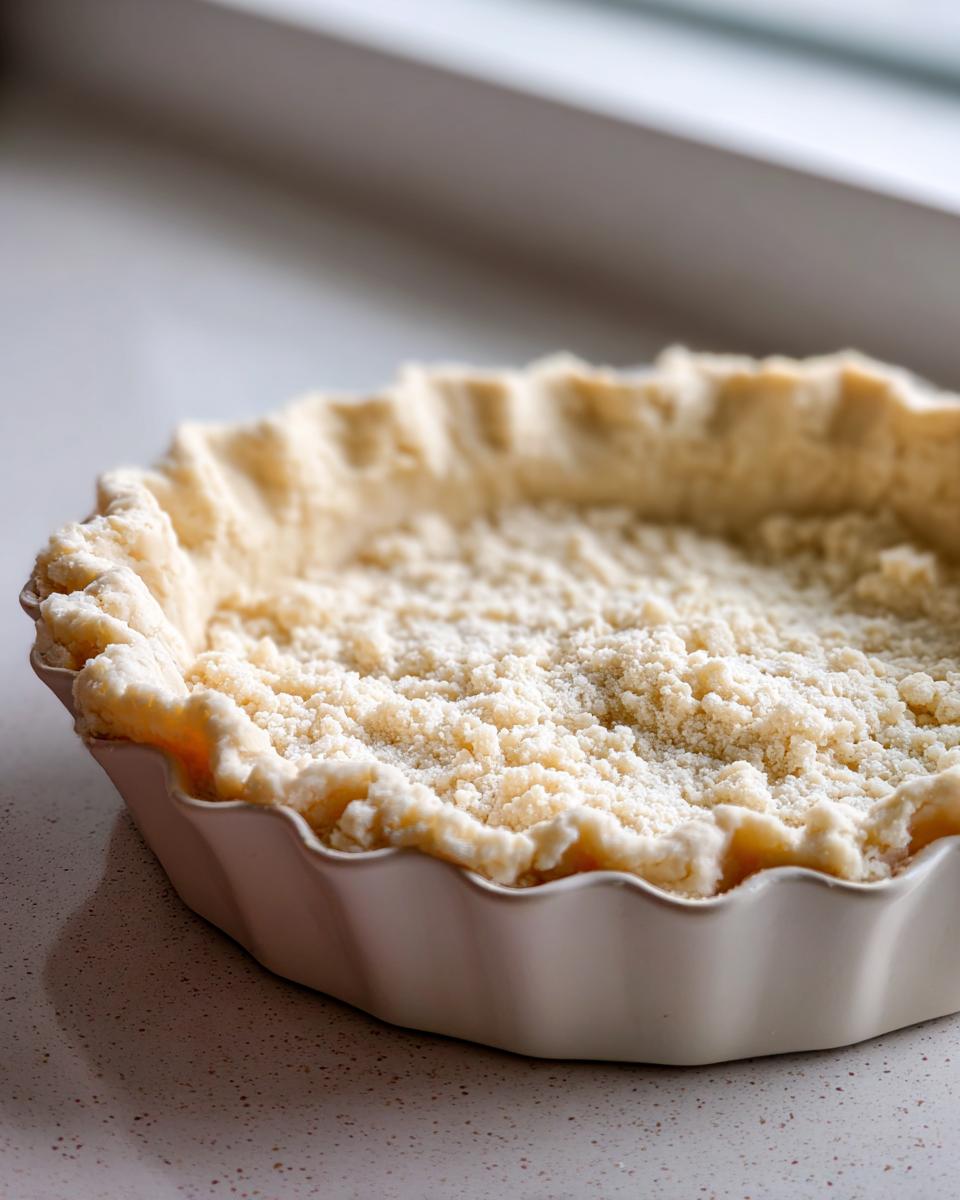
This is the moment of truth when we transition from lovely, chilled dough to the actual shell that will hold our filling! Based on my three decades of teaching, I can tell you that most trouble starts right here, at the rolling pin. But don’t you worry one bit; tackling this pie crust recipe is all about technique, not brute force. Remember, we want that dough to stay cold and pliable. If you start wrestling with it too hard, you’ll warm up the butter, forget all about that flakiness we worked so hard for, and end up with something closer to cracker dough!
Handling Dough for a Flaky Pie Crust
First things first: work quickly! Get the disk out of the fridge, dust your surface and rolling pin lightly with flour, and get started. You want to roll from the center outward in rotating directions. This keeps the thickness fairly even. If you notice the edges cracking as you roll, don’t panic! That just means the dough is a tiny bit cold still. You can gently bring the cracks together with your fingers. If the dough tears a bigger chunk off—and yes, this happens even to me sometimes—just pinch a small piece of leftover dough, flatten it slightly, and lay it right over the tear like a little dough bandage. Press it gently to seal. Do not press too hard, or you’ll create a dense spot. We are patching, not kneading!
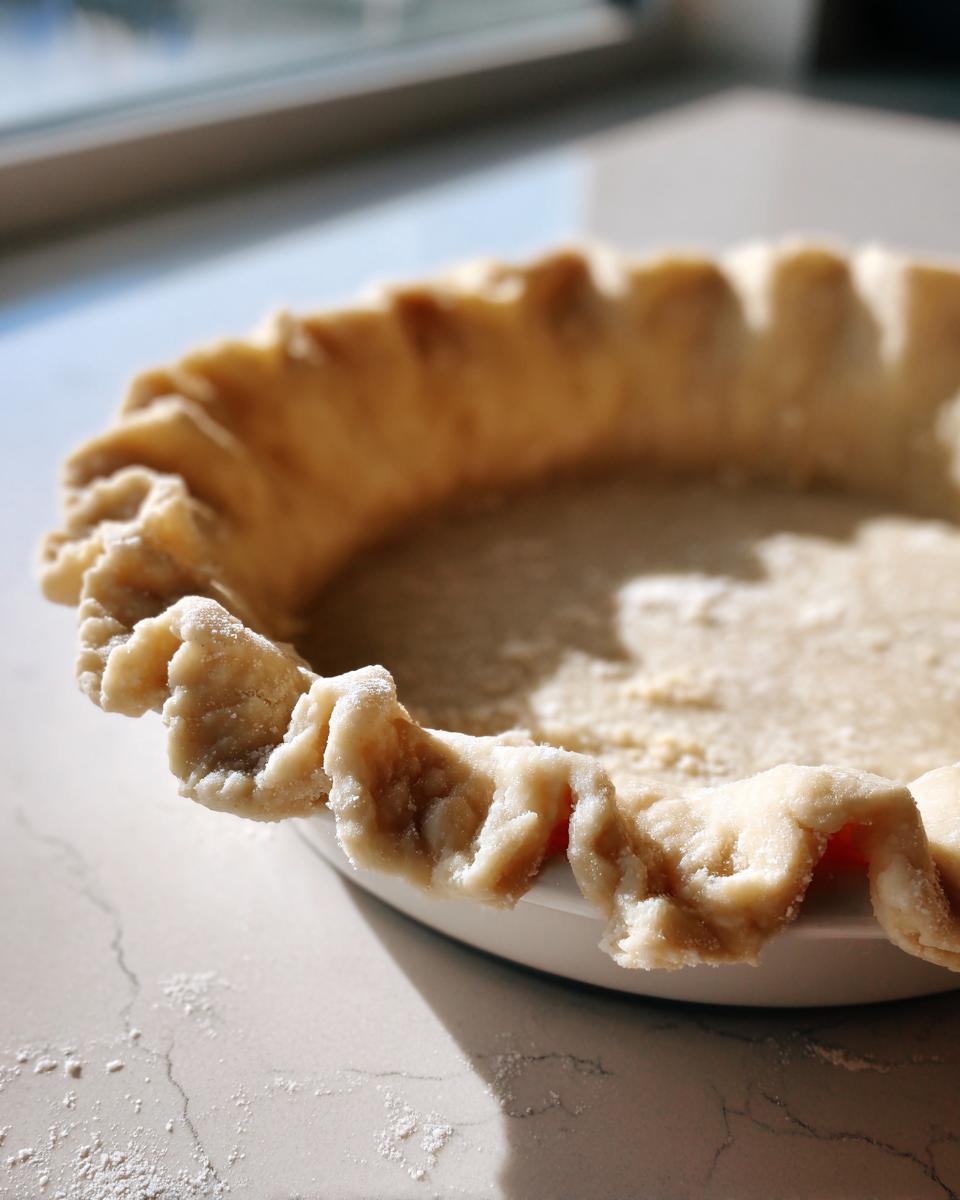
If you stop midway and the dough feels sticky or starts sticking to the counter, slide it onto a cutting board or baking sheet, wrap it back up while you wait, and pop it back in the fridge for a speedy 10 minutes. Getting it cold again settles the butter down and makes it much easier to handle. This gentle, quick approach is the very best way to protect those beautiful layers in your Best Homemade Pie Crust, whether it’s headed for my Classic Apple Pie or something totally new.
Versatility of This All Butter Pastry Recipe
One of the best things about mastering this All Butter Pastry Recipe is that suddenly, you’re ready for anything! It’s not just for sweet desserts, although it certainly shines there. The buttery, tender quality of this crust makes it absolutely divine underneath a savory filling, too. That’s right—this recipe is perfect as a Best Dessert Crust base, but it’s equally fantastic for a hearty chicken pot pie or a quiche.
When I teach my classes, I always emphasize that a good, reliable Simple Pie Pastry is the backbone of so many meals. You’ve learned the *how*, now let’s talk about the *where* you can use it. Knowing you have enough dough here for a top and bottom crust—a true Double Pie Crust—gives you freedom! Think about that rich, flaky texture contrasting with a creamy filling. It’s just wonderful.
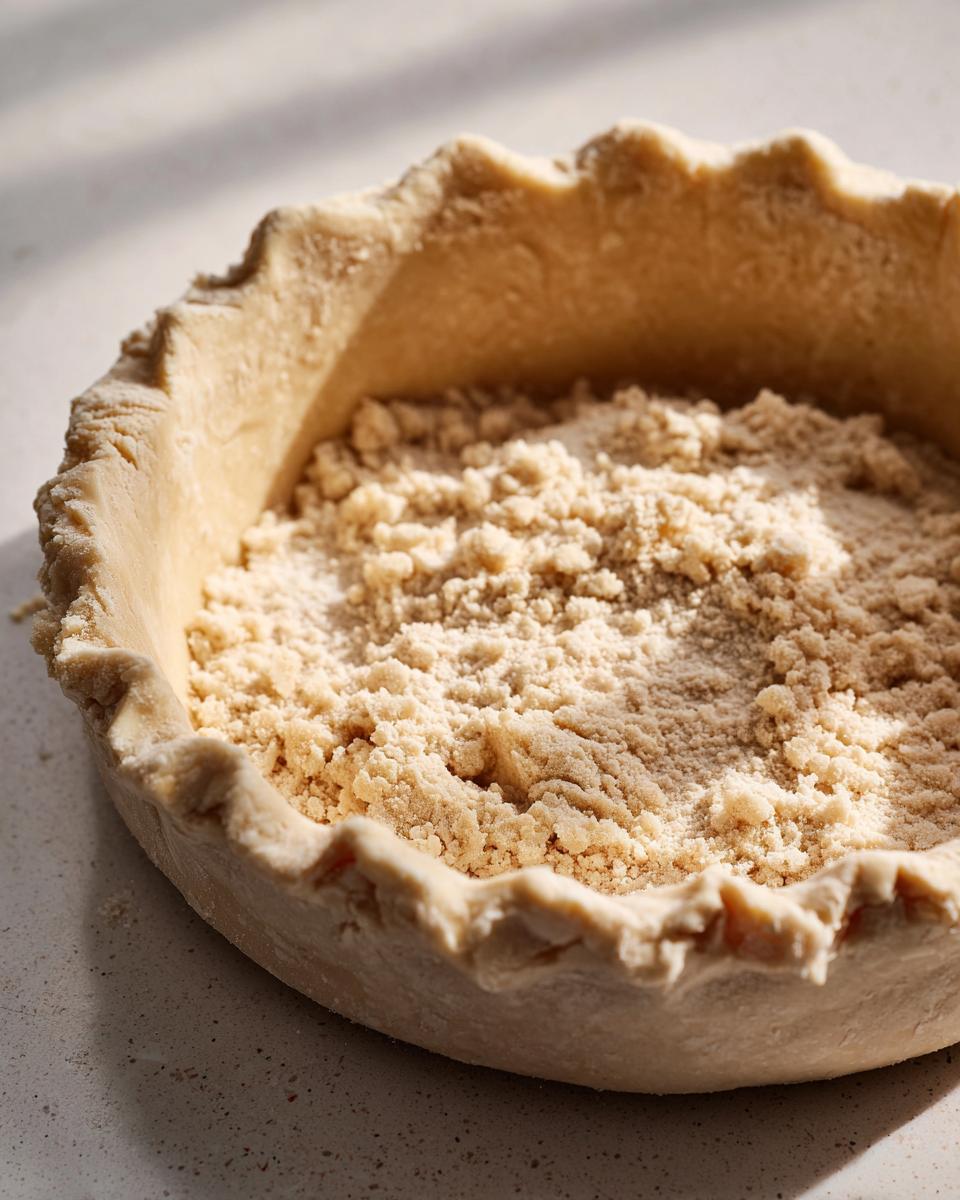
Guide to Blind Bake Pie Crust or Filling Directly
The preparation changes slightly depending on your filling, so pay attention here because this is where beginners sometimes run into trouble with soggy bottoms. If you are making a filling that is completely raw and needs a long time to bake, like a classic apple pie, you can usually place the filling right into the raw crust and bake everything together. That’s the simplest way!
However, if your filling is already cooked, or if it’s something creamy like lemon curd or something that doesn’t bake much—like a cream filling—you must Blind Bake Pie Crust first. This means baking the empty shell until it’s golden brown. You usually need to prick the bottom all over with a fork to let steam escape, and sometimes you weigh the dough down with pie weights or dried beans to stop the sides from slumping in. This technique protects your filling from turning your beautifully prepared crust into soup. If you’re making something like my Chicken Pot Pie, you might use this top crust method to simply lay it over the cooked filling before baking.
Storage and Make-Ahead Tips for Your Homemade Pie Dough
I hear this question all the time, especially when folks are deep into holiday menu planning: Can I make this ahead? Because when you are Baking for Holidays, any way you can save precious oven space or time on the actual day is a gift! The good news is that this pie crust recipe is fantastic for making ahead. In fact, sometimes I think the dough tastes even better after it’s had a long, slow chill.
Remember how we split it into two disks? If you’re using it within a day or two, just keep those wrapped tightly and nestled in the coldest part of your refrigerator. I find that if I wrap them very securely in plastic wrap and then slip them into a Ziploc bag, they stay perfectly fresh for up to 48 hours. They should feel firm—but not rock-hard—when you pull them out to roll.
Now, if you need to stash some away for longer—say, you are prepping for Thanksgiving back in October—freezing is your best friend. Wrap those disks even more securely. Seal them first in plastic wrap, then wrap them again in a layer of aluminum foil. This double protection keeps freezer burn away, which is the enemy of a flavorful crust. You can safely freeze this Homemade Pie Dough for up to three months. Just make sure you give it plenty of time to thaw slowly!
The thawing process needs patience—please don’t try to rush it in the microwave, or you’ll melt that beautiful butter! Simply move the wrapped dough from the freezer to the refrigerator the night before you plan to use it. Let it sit in the cold fridge all night. If you’re still in a hurry the next day, you can leave it on the counter for 15 or 20 minutes, but watch it carefully. Once it’s thawed enough to look pliable, you are ready to roll and create that perfect Tender Pie Dough!
Frequently Asked Questions About Making Pie Crust From Scratch
It’s what I call the ‘final exam’ stage! After all that hard work mixing and chilling, it’s only natural to have a few lingering worries about making sure this pie crust from scratch turns out perfectly flaky. That’s completely fine—I teach my grandchildren the same way: test things out and ask questions! The goal here is to give you complete confidence when you go to roll out your dough.
Can I make a No Chill Pie Crust using this method?
That’s a tempting thought, especially when you need a crust *right now*! I know some folks try to brag about a truly No Chill Pie Crust, but I must advise caution here. If you use butter that is even colder than I suggest—maybe even slightly frozen instead of just cubed—and you are working in a very cool kitchen, you *might* get away with chilling for only 30 minutes. However, for this Best Butter Pie Crust, I really want you to stick to the full hour, or even longer. That chill time isn’t just about hardening the butter; it’s about relaxing the gluten in the flour. If that gluten is too stressed, you’ll have a hard time rolling it out beautifully, and it’ll spring back on you aggressively.
What makes this pie crust recipe better than using shortening?
Oh, the shortening debate! Shortening certainly has its place—it guarantees a very flaky result because the fat stays solid at higher temperatures than butter, meaning it creates huge steam pockets. But honestly, you can’t beat the flavor of butter. My Simple Pie Pastry uses 100% butter because I want that rich, slightly tangy, unmistakable *buttery* taste in every bite. Shortening tastes like… well, shortening. If you want your pies to taste homemade and truly indulgent, especially for something like my Mincemeat Pie, butter is the only way to go. The secret to flaky texture stays in keeping the butter cold, not in swapping the fat entirely!
When should I only use a Single Pie Crust Recipe?
That’s a great question folks often ask when they are making something open-faced! If you are using this dough for a custard like pumpkin pie, or small tarts, or maybe just a beautiful bottom shell for a savory tart, you only need half of this recipe. Since this recipe yields enough for a Double Pie Crust, just wrap one disk tightly for the fridge or freezer and use the other disk for your single-crust needs. It’s nice to know you have half a batch ready to go for future baking!
Nutritional Estimates for This Simple Pie Pastry
Now, I’m a baker first and a nutritionist way, way last! I learned to prioritize flavor and tradition over counting calories, but I know many of you like to keep track of what you’re eating, especially when Baking for Holidays. So, as a good teacher should, I’ve summarized the estimated nutritional breakdown for a small slice of this Simple Pie Pastry based on the recipe quantities.
Please remember, these numbers are just guidelines. They really change depending on the brand of flour you use, the exact amount of water absorbed, and what you trim off the edges. Think of this as a general idea of what’s in our delicious, buttery base, not a strict guarantee. We made this for joy, not for counting!
- Serving Size: 1/8 of crust
- Calories: Approximately 250
- Fat: 16g (with 10g being Saturated Fat—that’s the butter working its magic!)
- Carbohydrates: 23g
- Protein: 4g
See? It’s real food, made with real ingredients! The important thing is that the flavor is unbeatable and the texture is perfectly flaky. If you’re making a fruit pie, the nutrition will change completely based on how much sugar you add to your apples or berries, so take these numbers with a grain of salt and enjoy the baking process!
Share Your Best Dessert Crust Creations
Now that you have mastered this wonderful pie crust recipe, I truly hope you feel empowered in the kitchen! Baking isn’t just about following steps; it’s about creating something that makes you proud. I want to see what pies you’re building on top of this beautiful, Flaky Pie Crust foundation. Did you make a classic pumpkin pie? Are you trying out a savory quiche? Knowing that my simple methods help bring delicious food to your table is what makes all this writing worthwhile.
Please, when you have a moment, come back to this page, leave a star rating, and tell me how it went—especially note how easy you found it to handle the dough! Your feedback is so important to me; it helps me know if I’ve explained things clearly enough for my student bakers. Hearing from you builds this whole community up.
And if you’re sharing pictures of your finished pies on social media, tag me! I absolutely love seeing your gorgeous creations, whether they are holiday specials or just a Tuesday night treat. You’ll find more inspiration for your next project over in my collection of Best Dessert Recipes. Happy baking, dear friends. I’m certain this will be the only Homemade Pastry Tips guide you ever need!
PrintEasy Flaky All-Butter Pie Crust Recipe
Make a perfectly flaky, tender, all-butter pie crust from scratch. This simple pastry recipe works for sweet desserts and savory pies.
- Prep Time: 20 min
- Cook Time: 0 min (plus chilling)
- Total Time: 80 min
- Yield: One 9-inch double crust 1x
- Category: Baking
- Method: Pastry Making
- Cuisine: American
- Diet: Vegetarian
Ingredients
- 2 1/2 cups all-purpose flour
- 1 teaspoon salt
- 1 cup (2 sticks) unsalted butter, very cold and cut into 1/2-inch cubes
- 6 to 8 tablespoons ice water
- 1 tablespoon white vinegar (optional, for tenderness)
Instructions
- In a large bowl, whisk together the flour and salt.
- Add the very cold butter cubes to the flour mixture. Use a pastry blender or your fingertips to cut the butter into the flour until the mixture resembles coarse crumbs with some pea-sized pieces of butter remaining. These pieces create the flakiness.
- If using vinegar, drizzle it over the mixture.
- Sprinkle 6 tablespoons of ice water, one tablespoon at a time, over the flour and butter. Gently mix with a fork after each addition until the dough just begins to come together. Do not overmix. If the dough is too dry, add the remaining water, one teaspoon at a time.
- Turn the dough out onto a lightly floured surface. Gently gather the dough into a ball. Divide the dough in half. Flatten each half into a 1-inch thick disk.
- Wrap each disk tightly in plastic wrap. Chill the dough in the refrigerator for at least 1 hour, or up to 2 days. (For a quicker method, you can chill for 30 minutes, but chilling helps manage the dough.)
- When ready to use, let one disk sit at room temperature for 5 to 10 minutes to soften slightly. On a lightly floured surface, roll the dough from the center outward into a 12-inch circle.
- Carefully transfer the dough to your pie plate. Trim and crimp the edges as desired.
- For blind baking or filling, proceed with your recipe instructions.
Notes
- Keep your butter and water as cold as possible for the flakiest results.
- If the dough tears while rolling, patch it with a small piece of reserved dough or gently press the tear together.
- This recipe makes one double crust (top and bottom) or two single crusts.
Nutrition
- Serving Size: 1/8 of crust
- Calories: 250
- Sugar: 0
- Sodium: 180
- Fat: 16
- Saturated Fat: 10
- Unsaturated Fat: 6
- Trans Fat: 0
- Carbohydrates: 23
- Fiber: 1
- Protein: 4
- Cholesterol: 45