
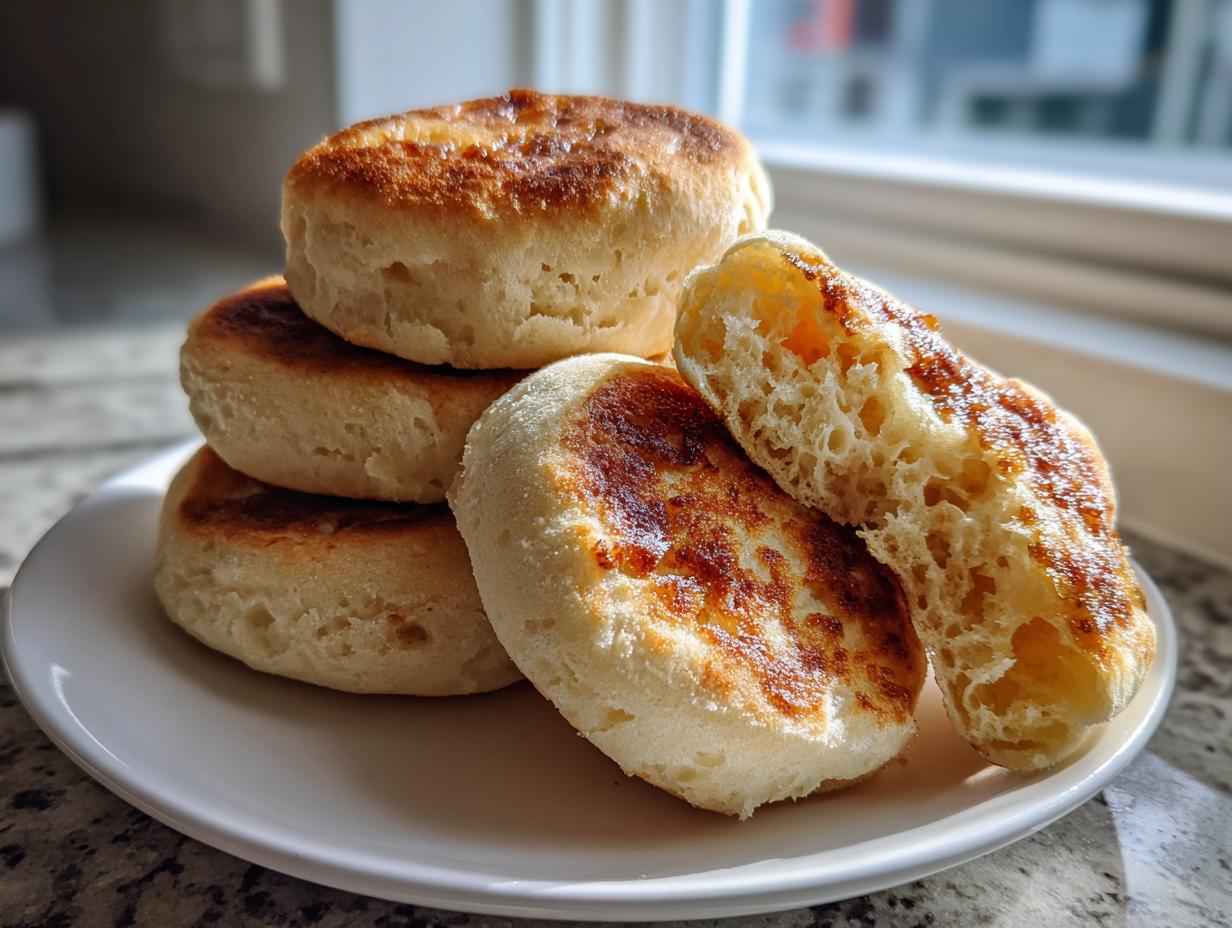
There’s just nothing that beats the smell of fresh bread coming out of the kitchen, is there? Forget those sad, packaged things from the store! I’m going to show you my technique for making the most wonderful homemade english muffins right on your stovetop. The best part? We nail that beautiful, airy interior—the famous ‘nooks and crannies bread’—without any fuss. As a former teacher, my goal is always clarity and patience, which is why this recipe works so well for beginners. Ready to make your breakfast truly special? You can find more simple morning ideas over here at our easy breakfast recipes.
- Why This is the Best English Muffin Recipe for Homemade English Muffins
- Gathering Ingredients for Your Homemade English Muffins Recipe
- How to Prepare Homemade English Muffins at Home: Step-by-Step
- Tips for Success: Mastering the Classic Nooks and Crannies Bread
- Serving Suggestions for Your Delicious Homemade Breakfast
- Storage and Reheating Instructions for Homemade English Muffins
- Frequently Asked Questions About Homemade English Muffins
- Nutritional Information Estimate for Homemade English Muffins
- Share Your Homemade Breakfast Bread Creations
Why This is the Best English Muffin Recipe for Homemade English Muffins
When folks search for the best English muffin recipe, they usually just want those big holes for the butter to melt into. You know the ones! This is why I feel confident calling this the best way to make homemade english muffins. We skip the heavy kneading that tightens up the crumb, focusing instead on gentle mixing and the right leavening. It’s so much easier than trying complex things; I promise these are simpler than my classic buttermilk pancakes. We want that authentic, slightly chewy yet melt-in-your-mouth texture that makes the classic nooks and crannies bread famous. It’s honestly the ultimate delicious homemade breakfast!
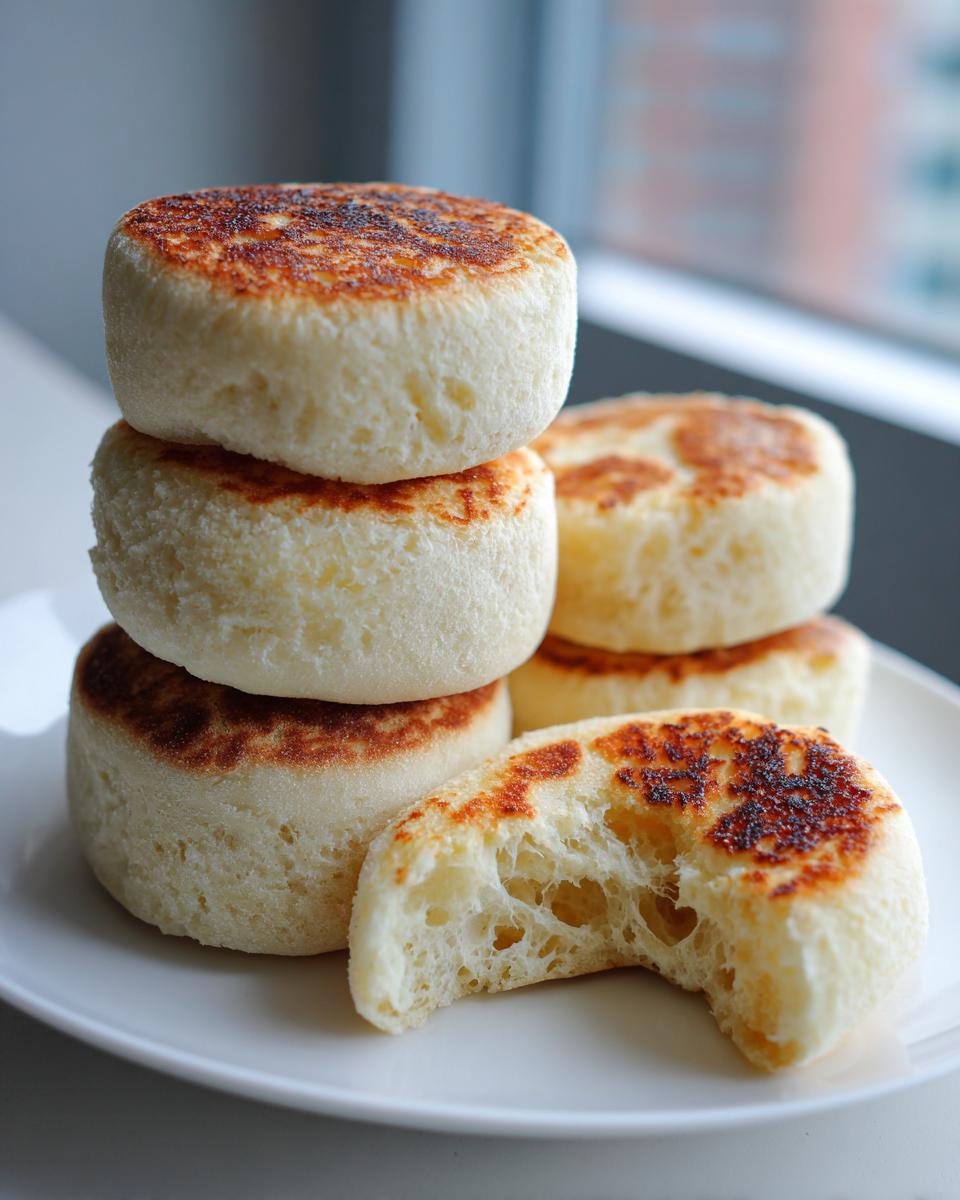
Achieving Fluffy English Muffins Every Time
The secret to keeping your muffins fluffy english muffins and not dense hockey pucks lies in two simple things. First, the yeast gives us that initial lift during the rise. But the real trick is adding that little bit of baking soda right before we cook them, as detailed in the recipe instructions. That little fizz creates those air pockets inside the dough as they hit the warm griddle—that’s where the crannies come from! Remember what I say about mixing: treat that dough gently!
Gathering Ingredients for Your Homemade English Muffins Recipe
The beauty of making easy english muffins from scratch is that you probably already have most of what you need right in the pantry. I kept this list intentionally short so you can whip up a batch anytime the craving strikes. We’re using standard bread-making staples—flour, sugar, salt, and yeast—to build the base. For the liquid, you’ll need warm milk and water, which is important for waking up that yeast properly. Then we bring in a little melted butter for richness and the crucial baking soda that helps define the texture. Check out the full breakdown on the recipe card, but first, let’s talk about making sure these simple ingredients set you up perfectly for success. If you want to peek at how other folks start their muffins, this guide is helpful: Homemade English Muffins guide.
Ingredient Notes and Substitutions for Easy English Muffins From Scratch
Let’s talk temperatures, because this is where so many people accidentally sabotage their yeast before they even start mixing! I ask specifically for milk and water that feels warm to the touch, around 110°F. If it’s too hot, it kills the yeast, and if it’s too cold, it falls asleep, and we won’t get that lovely rise we need for a soft and chewy muffin. Don’t skip the baking soda! We add it right after the dough rises; it reacts with the dough to create those little bubbles that become those signature holes we’re aiming for.
Now, about the flour—I use all-purpose flour because it keeps things incredibly simple for bread baking for beginners. If you wanted to make your homemade english muffins recipe a little heartier, you could absolutely swap out half the all-purpose flour for whole wheat flour; just know the dough might feel a tiny bit stiffer initially.
How to Prepare Homemade English Muffins at Home: Step-by-Step
Welcome to the fun part! This recipe is designed to be super straightforward, proving that you don’t need a stand mixer to get fantastic results. We are talking about a truly no knead english muffins approach here. Just grab a big bowl, and trust your instincts. I want you to follow these steps closely because timing and temperature are what give us that wonderfully light interior perfect for breakfast sandwiches. Once you see how easy these are, you may never go back to the store-bought ones again! If you’re looking for another simple morning bake, check out my recipe for easy French toast.
Mixing and First Rise for Soft and Chewy Muffins
First things first: whisk your dry ingredients—flour, sugar, salt, and yeast—right in your main mixing bowl. Don’t worry about mixing them perfectly flat; we just want everything introduced. In a separate little cup, combine your warm milk, water, and melted butter. Now, pour that wet mix into the dry stuff. Mix it with a sturdy wooden spoon until it just barely comes together. I mean it—stop mixing when you still see a few streaks of flour! That’s how we keep them soft and chewy muffins. Cover that sticky mess up and let it rest in a warm spot for a full hour. That hour is when the yeast goes to work building the structure and the flavor for your homemade breakfast bread.
Shaping and Cooking Your Stovetop English Muffins
When the dough has doubled, it’s time for the magic ingredient: give that baking soda a gentle fold right into the dough. Next, turn the dough out onto a lightly floured surface. Gently pat or roll it out until it’s about a half-inch thick. You’ll need a round cutter—a 3-inch one is perfect for that classic shape. After you cut your rounds, it’s time for the stovetop! Heat up your cast iron skillet or griddle over medium-low heat. Crucially, we cook these dry—no oil needed! Cook them for 8 to 10 minutes on the first side until they look golden brown, not dark brown. Flip them gently and cook the other side the same amount of time. This slower cook time, crucial for griddle cooked bread, ensures the middle gets fully cooked and airy. Find some great tips on this cooking method here: easy homemade English muffin guide.
Tips for Success: Mastering the Classic Nooks and Crannies Bread
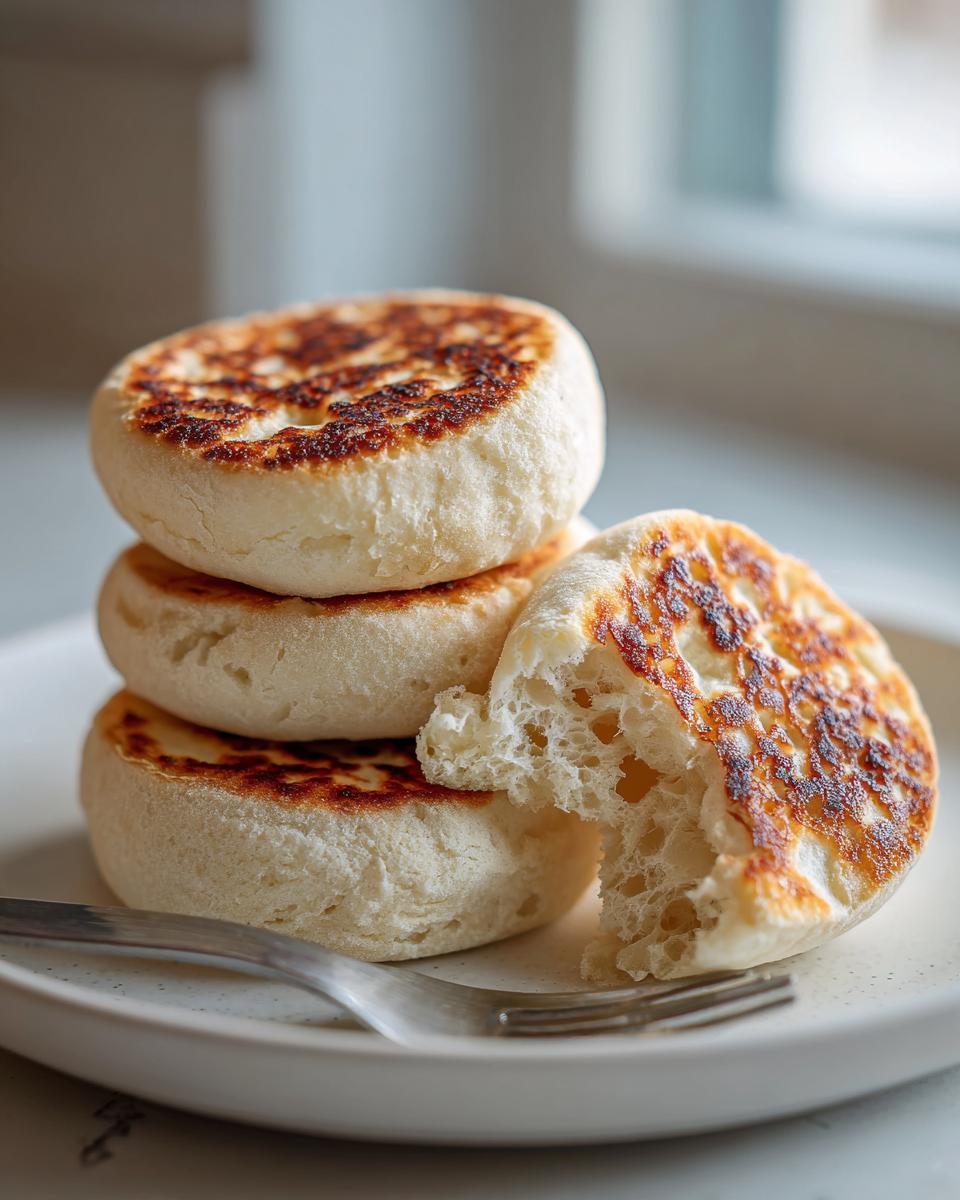
Now that you’ve baked your batch of beautiful, golden rounds, it’s time for the most important final step. If you cut these fluffy beauties with a sharp knife, you essentially close up all those beautiful airways we worked so hard to create! That’s the secret to getting that true, glorious, house-made texture when you make homemade english muffins.
Please, please, please—use a fork! Take a fork, pierce the sides all the way around the warm muffin, and use the fork tines to gently pull the two halves apart. You will be amazed at the internal structure you reveal. It’s just magical to see those open tunnels, perfect for soaking up butter. It truly makes these the best breakfast sandwich bread you’ve ever had.
Another crucial piece of advice is about heat control on your griddle. Since we aren’t adding any oil or butter to the pan when we cook them, the heat transfers very directly. I recommend checking the skillet temperature often. If the muffins start turning dark brown too fast—say, in just four or five minutes—it means your griddle is too hot. Turn it down a notch! We want a nice, slow bake to ensure the heat penetrates all the way through the center, guaranteeing a soft and chewy muffin, not just a cooked exterior. These little details are what separate a good bake from an unforgettable one. If you want to practice your gentle handling skills on something else delicious, my recipe for soft, buttery rolls is a great next step!
Serving Suggestions for Your Delicious Homemade Breakfast
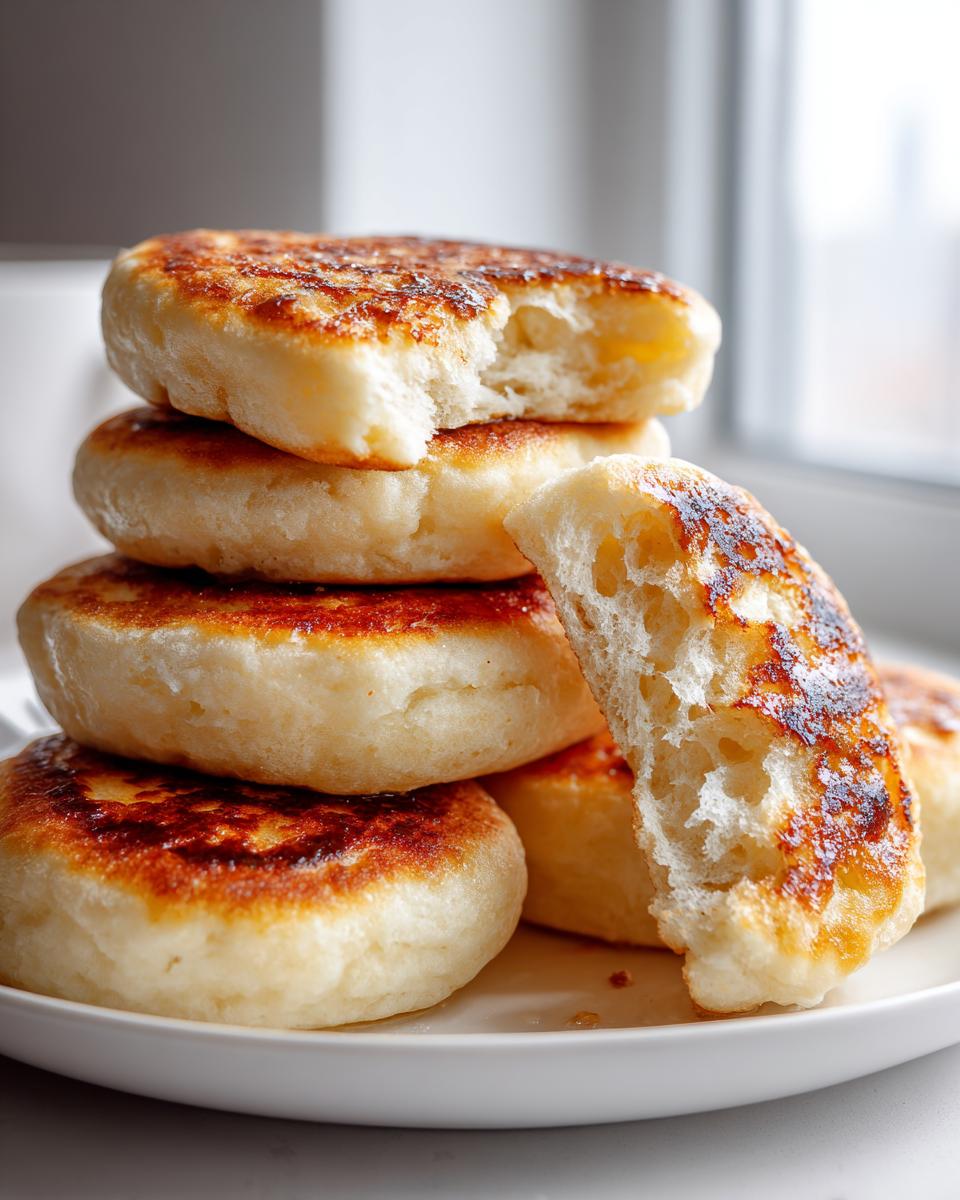
You’ve done the hard part—you’ve got warm, craggy homemade english muffins cooling on the rack! Now, how should you enjoy this delicious homemade breakfast creation? Honestly, the absolute classic way remains tough to beat. Toast them until they are just beginning to crisp up slightly, then spread a generous amount of good quality butter on both halves, letting it melt right down into those nooks and crannies.
Of course, good jam or homemade marmalade is always welcome too! But if you really want to show off your baking skills, you must use these as the base for your morning meal. They make the absolute best breakfast sandwich bread because their structure holds up perfectly to runny yolks and cheese without getting soggy right away. I always pile mine high with a crisp fried egg and maybe a slice of sharp cheddar.
If you’re having a big brunch or just want to make the meal feel extra special, don’t forget a side dish. Nothing cuts through that richness quite like something savory and crispy on the side. You might want to try whipping up a batch of my crispy oven-roasted breakfast potatoes—they are simple and always a huge hit at the table!
Storage and Reheating Instructions for Homemade English Muffins
Now that you’ve made a beautiful batch of the best english muffin recipe, we need to make sure they stay just as wonderful tomorrow! Luckily, these homemade english muffins keep pretty well, but like all good homemade bread, they are best eaten the day they are made. That perfect exterior crispness really fades after about 24 hours, so try to enjoy a few right away!
If you have leftovers, don’t even think about putting them in the refrigerator right away. Cold air makes bread go stale so much faster! Keep them tightly wrapped in a paper bag on the counter for up to two days. If you know they will take longer than that, I highly recommend slicing them all and popping them into a freezer-safe bag. They freeze like a charm, often lasting for three months this way.
When you’re ready to eat a frozen one, you have two lovely options. The easiest way is to pop the frozen half right into your toaster slot. That gets a nice crisp exterior and warms the inside beautifully. If you prefer them soft—the way they are fresh off the griddle—you can gently warm them on a baking sheet in a 300°F oven for about five to seven minutes. This thaws them gently and keeps that fluffy interior intact. They truly taste the best when warmed up before you slather them with butter!
Frequently Asked Questions About Homemade English Muffins
It’s so common to have questions when you branch out into making your own bread, and I’m happy to walk you through anything that’s puzzling you! I always want you to feel confident bringing these recipes into your kitchen. Whether you are wondering about making them healthier or comparing methods, I’ve gathered the questions I get most often about these perfect homemade english muffins. If I haven’t covered what you need, please reach out to me over at my contact page, and I’d be delighted to help!
Can I make these no knead english muffins ahead of time?
Yes, you absolutely can! Since this is a yeast dough, it actually benefits from a slow, cold rise. Once the dough is mixed (before you add that baking soda!), you can tightly cover the bowl and place it in the refrigerator for up to 24 hours. This slow fermentation deepens the flavor wonderfully. When you’re ready to cook, just let the dough sit on the counter for about 30 minutes to warm up slightly, stir in the baking soda, cut them out, and cook as written. It makes waking up to fresh bread so much easier!
What is the difference between these and sourdough english muffins recipe?
That’s a great question, especially since sourdough is so popular lately! The main difference comes down to the leavening agent. My recipe uses baker’s yeast combined with a small amount of baking soda to get that nice rise quickly—which is why we call them quick english muffin recipe! A true sourdough english muffins recipe relies entirely on a sourdough starter for its lift, which takes much longer—sometimes days for the dough to mature. While sourdough is delicious and tangy, my recipe is much faster and easier for those who just want that perfect, fluffy homemade batch today without maintaining a starter.
I saw a great example of how different methods impact the outcome over at I Heart Naptime—it really shows you where time investment pays off differently in baking!
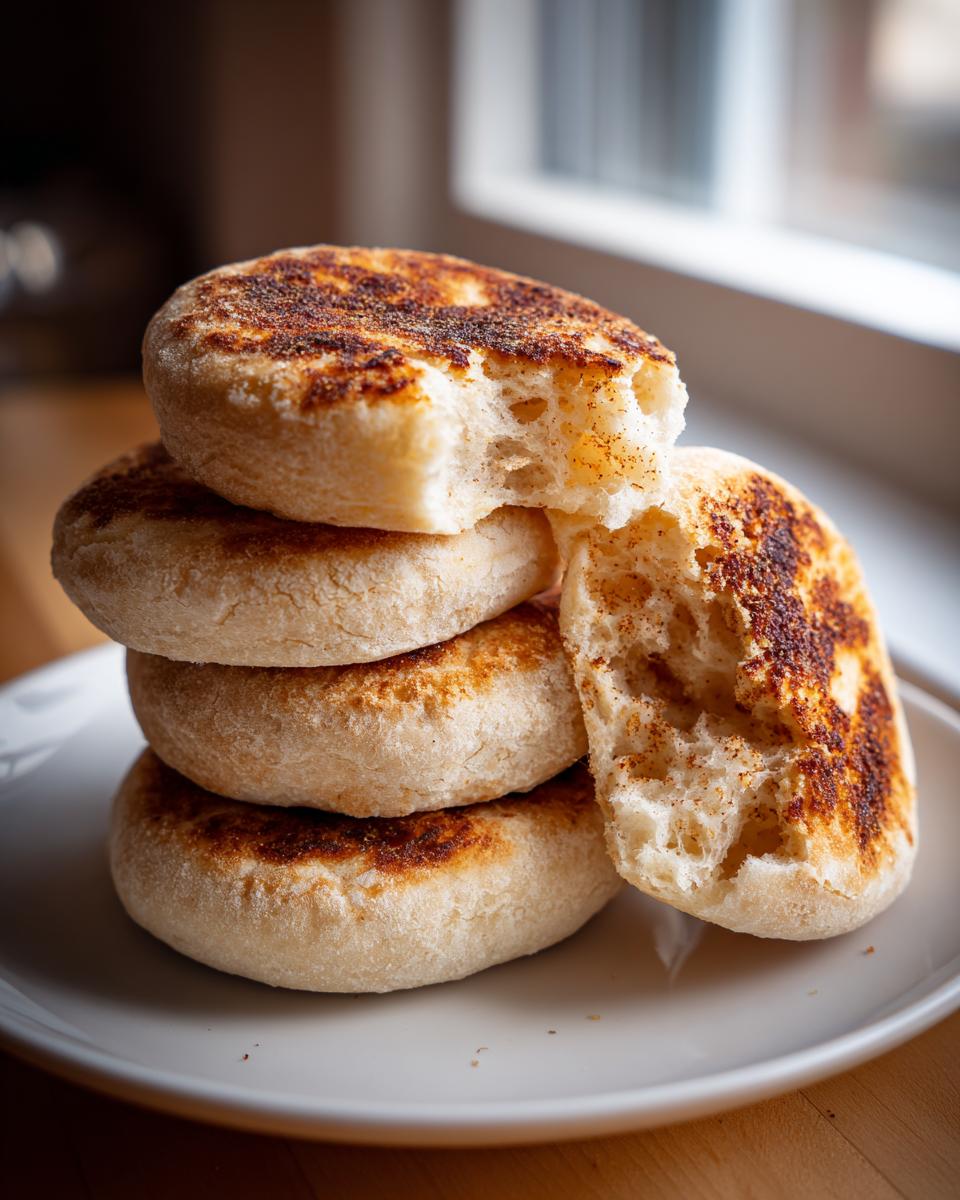
Why do my homemade english muffins recipe turn out pale instead of golden?
If your muffins look pale when they come off the griddle, nine times out of ten, your heat is too low! Remember, we are essentially dry-frying them, and we want a slow, gentle heat. If the heat is too low, the muffin cooks all the way through before the surface has enough time to develop that beautiful golden crust. Try turning your heat up just slightly to medium-low and letting them sit for those full 8 to 10 minutes per side. You must give them time to toast nicely on that flat surface!
Are these the best breakfast sandwich bread, or should I save them for toast?
They are definitely the best breakfast sandwich bread choice! Their sturdy structure—thanks to not being overly kneaded—means they hold up wonderfully to eggs, bacon, tomato slices, and cheese. While they are magnificent toasted with jam, when you use them for a sandwich, you get that satisfying chewiness that holds all the fillings in, which is something a regular piece of toast just can’t replicate. They are versatile, but when you build a sandwich, you really see why they are so beloved.
Nutritional Information Estimate for Homemade English Muffins
Now, I know some of you are planning out your week, and that means keeping an eye on what goes into our bodies. Since these are so delicious, I wanted to give you a little snapshot of what you can expect from one of my homemade english muffins, based on the ingredients listed in the recipe. Think of these numbers as a helpful guideline for your delicious homemade breakfast planning!
I always stress that these values are estimates. If you swap out the sugar for a zero-calorie sweetener, or if you use a different brand of flour, those numbers will shift a bit! The recipe yields about 8 muffins, and looking at the estimates below, they are a solid mid-range choice for a morning treat—not too heavy, but certainly satisfying enough to anchor a great breakfast sandwich.
- Serving Size: 1 muffin
- Calories: about 180
- Total Fat: about 3 grams (with 2 grams of that being Saturated Fat)
- Carbohydrates: about 33 grams
- Fiber: 1 gram
- Protein: about 6 grams
- Sugar: 3 grams
- Cholesterol: 10 mg
For a staple like homemade breakfast bread, I think those stats are quite respectable! The protein and fat content help keep you fuller longer, which is certainly better than reaching for a highly processed sugary pastry. Enjoy them toasted with butter, knowing you made them wonderfully from scratch!
Share Your Homemade Breakfast Bread Creations
Well, we’ve done it! We’ve taken simple pantry ingredients—flour, milk, yeast—and turned them into something truly special: real, honest-to-goodness homemade english muffins. I hope you feel so proud of the batch you just pulled off that griddle! Seeing that pale golden crust and knowing those fluffy insides are waiting for butter or a hearty egg makes all the effort worthwhile, doesn’t it?
Now, as a former teacher, I truly believe in seeing the finished project! I would absolutely love to hear how your first batch of fluffy english muffins turned out. Did you manage to see those signature nooks and crannies when you split them with a fork? Did they become the base for an amazing homemade breakfast bread sandwich?
Please, leave a rating for the recipe right here on the page—it helps other home cooks feel confident trying it out. And if you snapped a picture of your beautiful breakfast spread, share it with me! You can connect with me directly over on my About Page, where you’ll find all my stories about cooking from the heart. Happy baking, everyone, and enjoy every single bite of that delicious, homemade goodness!
PrintThe Best Easy Homemade English Muffins with Classic Nooks and Crannies

Make soft, fluffy English muffins from scratch on your stovetop. This easy recipe delivers the classic texture perfect for breakfast sandwiches or toast with butter.
- Prep Time: 20 min
- Cook Time: 25 min
- Total Time: 1 hour 45 min
- Yield: 8 servings 1x
- Category: Breakfast
- Method: Griddling
- Cuisine: American
- Diet: Vegetarian
Ingredients
- 2 cups all-purpose flour
- 2 tablespoons granulated sugar
- 1 teaspoon salt
- 1 packet (2 1/4 teaspoons) active dry yeast
- 3/4 cup warm milk (about 110°F)
- 1/4 cup warm water (about 110°F)
- 2 tablespoons unsalted butter, melted, plus more for the griddle
- 1 teaspoon baking soda
Instructions
- In a large bowl, whisk together the flour, sugar, salt, and yeast.
- In a separate small bowl, combine the warm milk, warm water, and melted butter. Pour the wet ingredients into the dry ingredients. Mix with a wooden spoon until just combined into a sticky dough. Do not overmix.
- Cover the bowl with plastic wrap and let the dough rise in a warm place for 1 hour, or until doubled in size.
- Gently stir the baking soda into the dough. This will cause some bubbling.
- Turn the dough out onto a lightly floured surface. Pat or gently roll the dough to about 1/2 inch thickness.
- Use a 3-inch round cutter to cut out the English muffins. Gather the scraps, gently press them together, and cut out any remaining rounds.
- Heat a dry cast iron griddle or large skillet over medium-low heat. You are dry frying these, not using oil.
- Place the cut rounds onto the preheated griddle, leaving space between them. Cook for 8 to 10 minutes per side, until golden brown. You are looking for a pale, cooked edge, not a dark brown crust.
- Transfer the cooked muffins to a wire rack. Let them cool slightly before splitting them open with a fork to reveal the nooks and crannies.
- Serve toasted with butter and jam, or use them for your favorite breakfast sandwich.
Notes
- For the best ‘nooks and crannies’ texture, split the muffins using a fork rather than a knife. This preserves the airy interior structure.
- If your griddle seems too hot and the muffins are browning too quickly before cooking through, reduce the heat slightly. Slow cooking is key for a soft interior.
- You can substitute half the all-purpose flour with whole wheat flour for a slightly heartier texture.
Nutrition
- Serving Size: 1 muffin
- Calories: 180
- Sugar: 3
- Sodium: 350
- Fat: 3
- Saturated Fat: 2
- Unsaturated Fat: 1
- Trans Fat: 0
- Carbohydrates: 33
- Fiber: 1
- Protein: 6
- Cholesterol: 10