
Oh, friends, let’s talk dips. Don’t you just crave that perfect bowl of hummus? You know the one—so impossibly smooth and creamy, the kind you usually only find at that little Mediterranean spot downtown? Well, I’m here to tell you to hang up your takeout menu! After thirty years of teaching kids how to patiently master the alphabet, I bring that same steady hand and clarity to the kitchen, and trust me, making restaurant-quality **Classic homemade hummus** is easier than you think. It’s nature’s best little package of protein and flavor, and we’re going to nail that silky texture together. You won’t believe how amazing these simple ingredients taste when you use my trick! For more quick snacks like this, you can check out my thoughts over on my easy appetizer page.
- Why This Classic Homemade Hummus is Your New Go-To Recipe
- Gathering Ingredients for Classic Homemade Hummus
- Carla's Homemade Hummus Tutorial for Perfect Texture
- Tips for the Best Hummus Recipe Results
- Serving Suggestions for Your Healthy Chickpea Snacks
- Variations on Classic Homemade Hummus Flavor
- Making Tahini Dressing Ideas with Leftover Ingredients
- Storing Leftover Classic Homemade Hummus
- Frequently Asked Questions About Making Hummus
Why This Classic Homemade Hummus is Your New Go-To Recipe
When I was teaching, I always told my students that reliability matters, and that goes for recipes too! This isn’t just *a* recipe; it’s the dependable one you turn to when you need a guaranteed win. Store-bought hummus is fine in a pinch, I suppose, but it tastes like it was made with speed instead of love. This version tastes like it came straight from a high-end deli!
Here’s why you’ll want to make this the standard for all your snacking needs:
- Unbeatable Texture: We achieve that airy, cloud-like, smooth creamy hummus just by paying attention during the blending time. It’s truly transformative.
- Real Fuel: This is such a powerhouse! You get tons of fiber and protein from the chickpeas, making this the perfect solution for those afternoon slumps when you need a truly healthy chickpea snack.
- Flavor You Control: You add exactly the right amount of garlic and lemon. No funny preservatives or weird aftertastes here, just that bright, fresh flavor I love.
For more great ways to get wholesome, quick food on your table, take a peek at my ideas for quick healthy lunch ideas!
Gathering Ingredients for Classic Homemade Hummus
Good food starts with good ingredients, and that’s something I learned growing up watching my dad work the farm. You don’t need a massive shopping list for this recipe, but you do need the right items. We aren’t doing any cooking here—it’s all assembly—so the quality of what goes in really shines through. Remember, for the best flavor development, especially for any future tahini dressing ideas you might dream up, take the time to choose a high-quality, good-tasting tahini. It makes all the difference!
Essential Components for Smooth Creamy Hummus
- 1 (15-ounce) can chickpeas, drained and rinsed
- 1/2 cup tahini
- 1/4 cup fresh lemon juice
- 2 cloves garlic, minced
- 2 tablespoons ice water (or more, for thinning)
- 1/2 teaspoon ground cumin
- 1/2 teaspoon salt
- 2 tablespoons olive oil, plus extra for serving
Carla’s Homemade Hummus Tutorial for Perfect Texture
Now we get to the fun part—the magic of turning simple beans into gold! Since I used to teach kids how to read, I believe every recipe needs crystal clear steps. Don’t rush this part, especially when aiming for that incredible smooth creamy hummus texture. Your food processor is going to do most of the heavy lifting, but our careful additions are what make the difference between gritty paste and velvety goodness.
Step 1: Combining the Base Ingredients
First things first, let’s get all the main players into your food processor. That means tossing in the drained and rinsed chickpeas, the tahini, the fresh lemon juice, the minced garlic, the cumin, and the salt. Once everything is gathered in there, pulse it or let it run for a full minute. Don’t forget to stop and scrape down the sides so all those good bits get incorporated.
Step 2: The Secret to Smooth Creamy Hummus Texture
Here is where 90% of people go wrong! While the machine is still running—and I mean *running*—slowly drizzle in those 2 tablespoons of ice water right through the little tube at the top. That cold shock while blending helps emulsify everything beautifully. Keep processing for a good two to three minutes straight. Trust me on the time; this whipping action creates that light, luxurious texture.
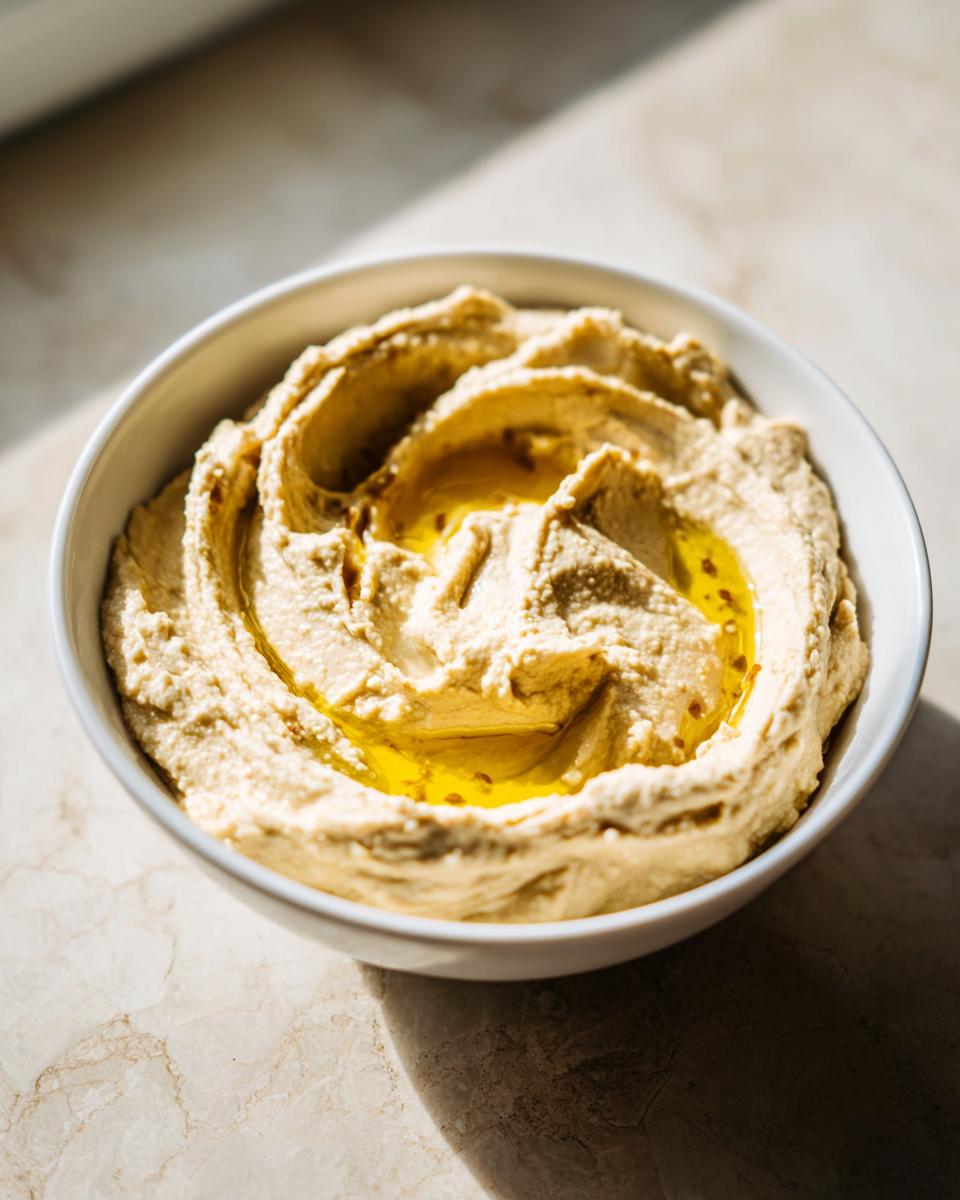
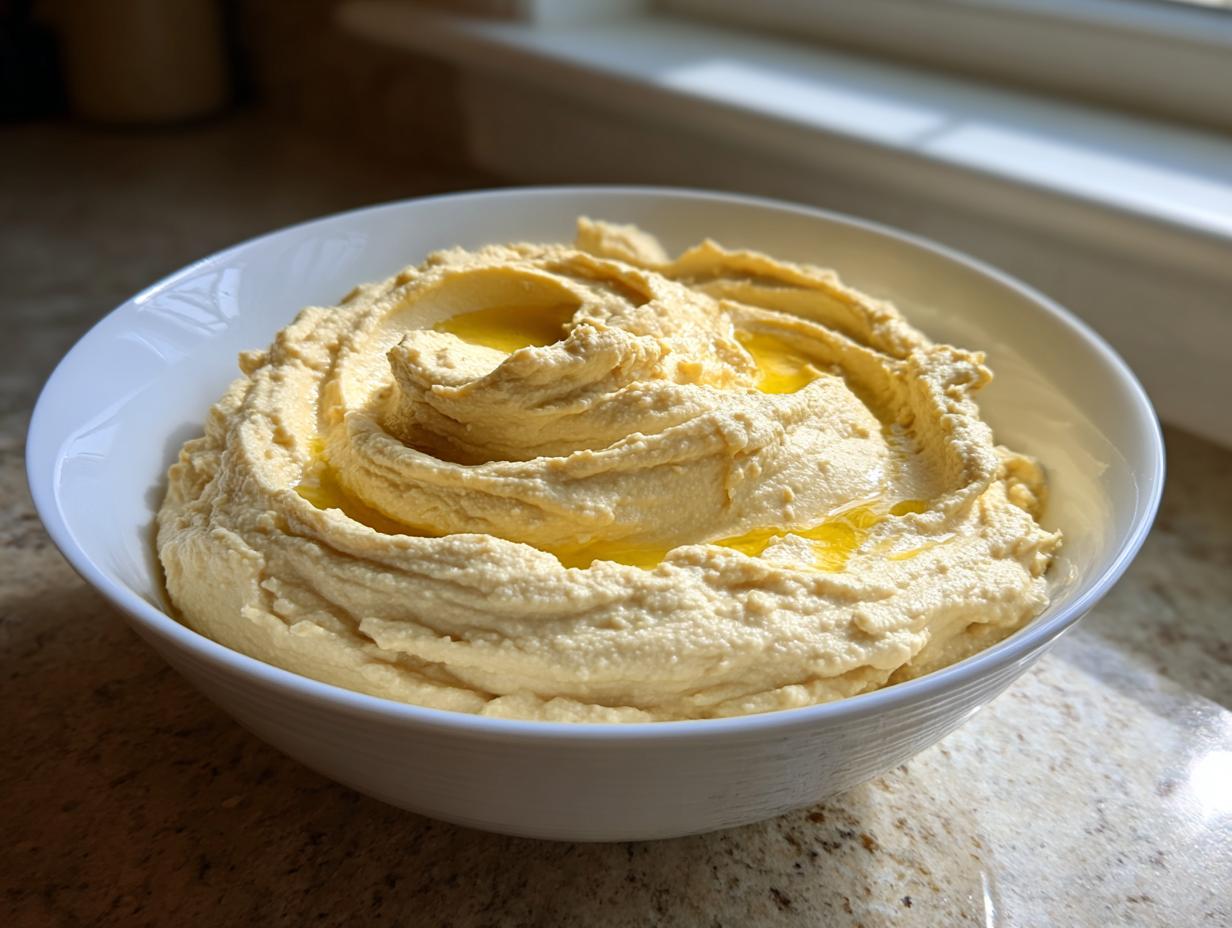
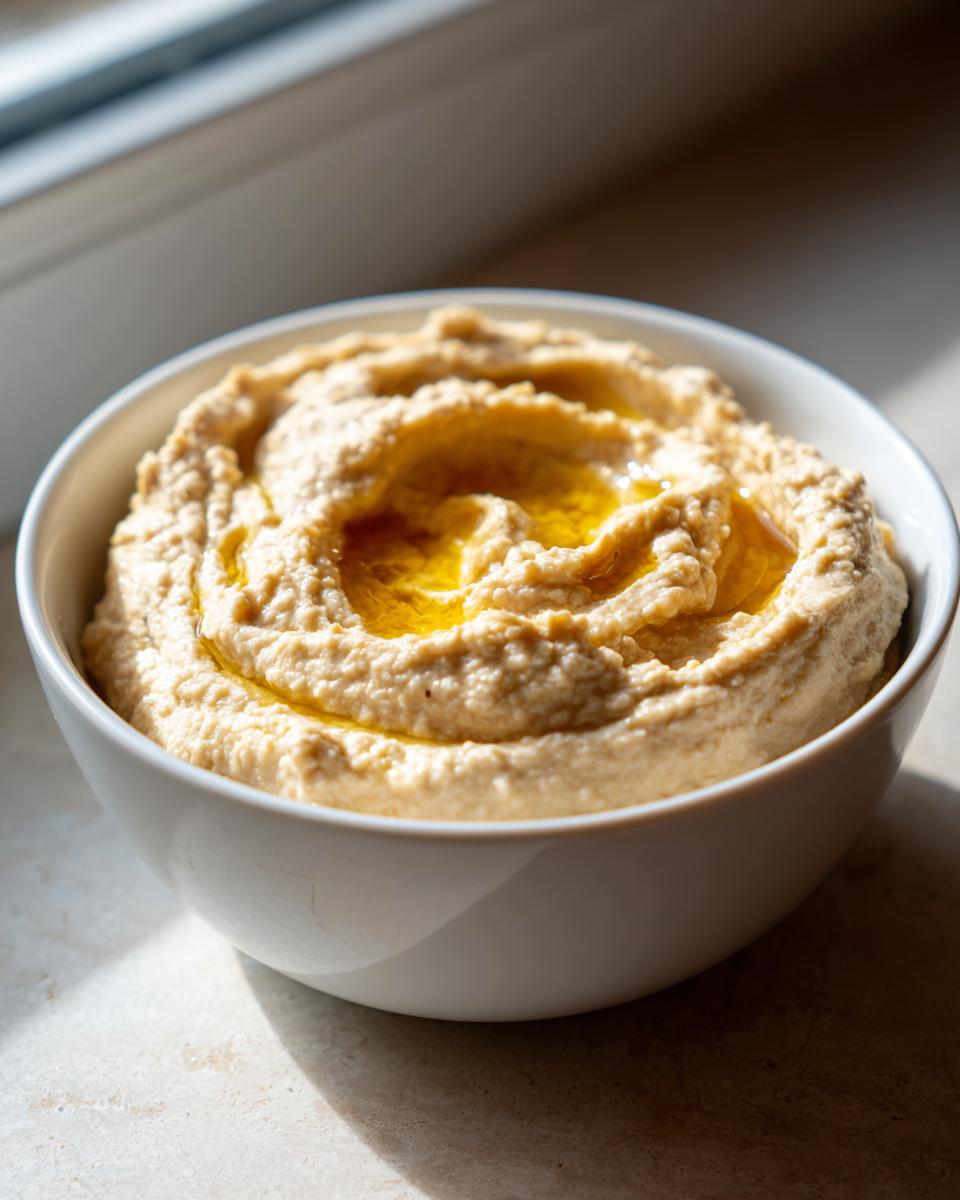
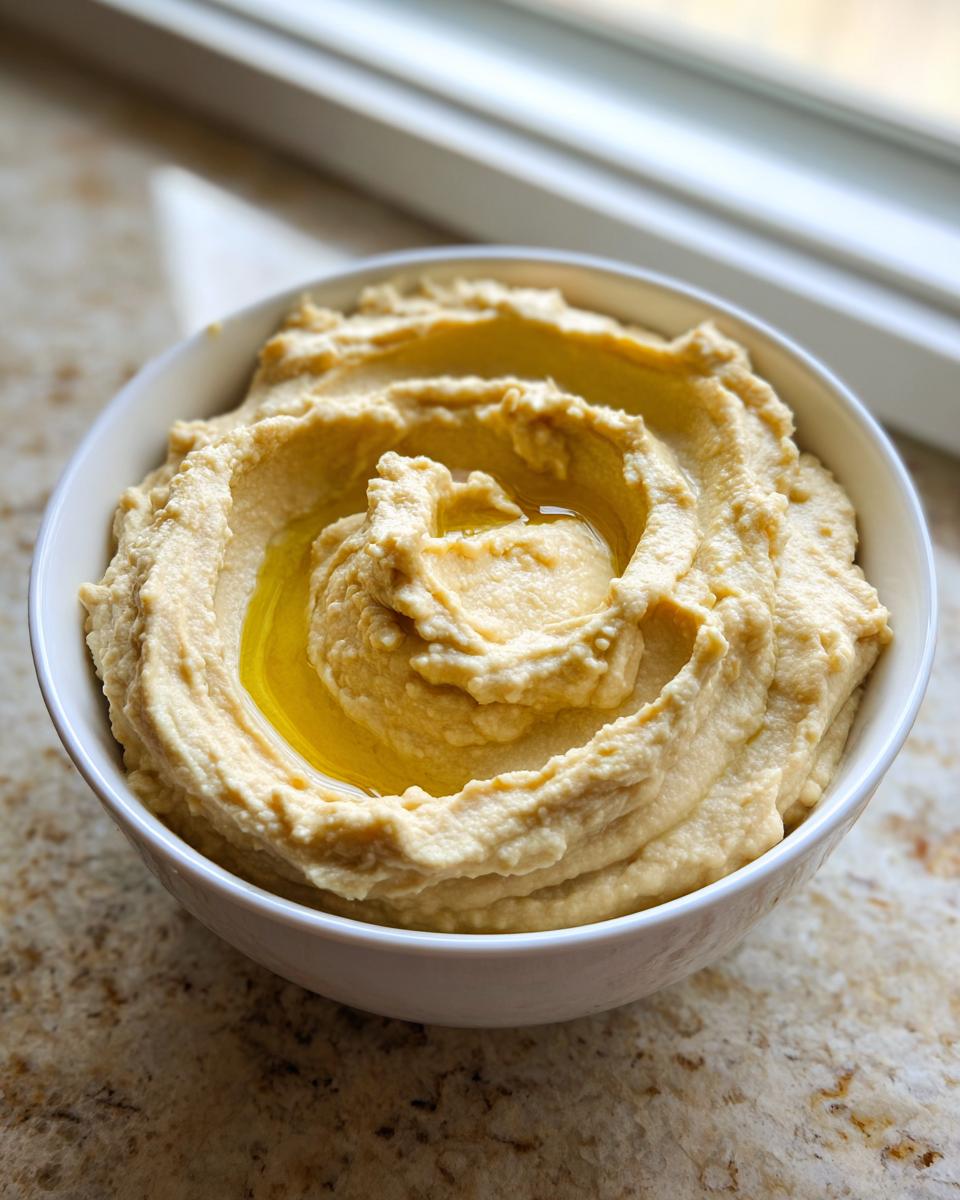
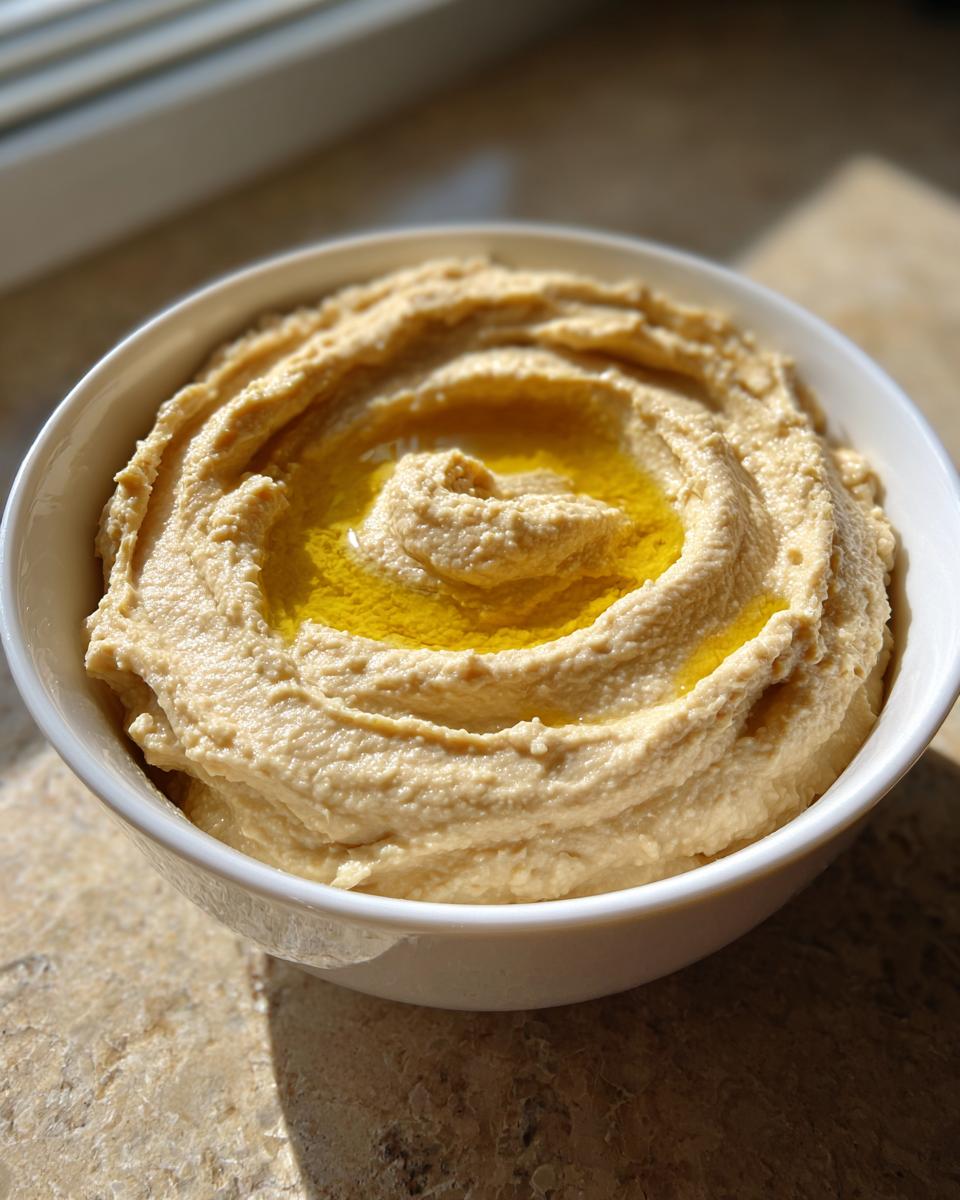
Step 3: Final Adjustments and Serving the Classic Homemade Hummus
Is it perfect? Give it a taste! You might need another pinch of salt or maybe another little squeeze of lemon to really brighten it up. If it seems too thick—which sometimes happens depending on how well you drained your chickpeas—just add one more tablespoon of ice water and let it blend until it’s exactly how you like it. Scoop that beautiful spread into a serving bowl, finish it with a generous drizzle of good olive oil, and you are ready to serve! If you need inspiration for what to serve it with, check out my appetizers section!
Tips for the Best Hummus Recipe Results
If you followed the last section perfectly, you probably have some amazing hummus already! But I learned over the years, especially when teaching, that the best results come from paying attention to the little details. These aren’t rules, just my best advice for taking your batch from good to truly exceptional. If you’re looking for ways to incorporate this healthy snack into your meal prep, you might enjoy swapping ideas in my section on simple weeknight dinners.
My notes from the kitchen scribbled on the back of old report cards tell me two things are absolute must-dos for that incredible texture.
First, and this is tedious, but oh my goodness, it works: peeling the chickpeas. Yes, you read that right! After you drain and rinse them, take a minute to rub them gently in a clean towel or just pick off those papery skins. They won’t all come off, but removing the ones that do makes a noticeable difference in achieving that velvety smooth finish. It takes patience—something I always preached in the classroom—but it’s the secret to truly professional-grade hummus.
Second, remember what I said about the tahini? This is not the spot to skimp. If your tahini tastes bitter or dusty on its own, your whole batch of hummus will taste that way. You want a wonderfully smooth, nutty flavor coming from that ingredient. High-quality tahini is the backbone for the best flavor development, ensuring your final product is vibrant and delicious.
Also, don’t worry too much about the water temperature mentioned in the recipe; if you don’t have ice water, just use the coldest tap water you can get. The main thing is that the liquid you add while processing is cool!
Serving Suggestions for Your Healthy Chickpea Snacks
Now that you have this gorgeous, velvety dip, your biggest challenge is deciding what to eat it with! Pita bread is classic, of course, especially toasted until it’s nice and crisp. But don’t stop there. This is such a wonderful, high-protein snack that works in so many unexpected ways.
I love swirling a big spoonful onto a toasted sandwich instead of mayo—it offers such a creamy, savory lift! It’s also fantastic as a thick dip for colorful vegetables like bell pepper strips, cucumbers, or carrot sticks. If you’re looking for more ways to build a wholesome meal around your creations, check out the tips I’ve gathered on my quick healthy lunch ideas page. This hummus makes any simple salad suddenly feel like a gourmet meal!
Variations on Classic Homemade Hummus Flavor
Once you’ve mastered the foundational recipe—that perfect, smooth base—you can start having some real fun! I always encourage my grandchildren to play around once they understand the core steps. This hummus recipe is sturdy, so it handles add-ins beautifully without losing its luxurious texture. It’s a fantastic canvas for your own creativity!
Want a rich, smoky flavor? Try adding a tablespoon of roasted red pepper during the final blending stages. For a vibrant green boost, toss in a handful of fresh spinach or parsley right at the end. Remember, the key is to add these flavorful ingredients *after* you’ve achieved that ultra-smooth base so they blend in evenly without disrupting the creaminess we worked so hard for.
Making Tahini Dressing Ideas with Leftover Ingredients
Sometimes I make a huge batch because I just can’t stop blending, and I always end up with a little extra tahini or maybe even a bit of leftover hummus base. Don’t you dare let that good tahini go to waste! Since we talked about selecting a really high-quality tahini for the best hummus recipe, I wanted to give you a quick tip for making a light, bright dressing using just a few simple pantry staples. It’s wonderful drizzled over roasted vegetables or even a simple grain bowl!
To whip up a quick dressing, take about a quarter cup of your good tahini and whisk it vigorously with about two tablespoons of fresh lemon juice and a pinch of salt. Now, here is the trick: slowly add cold water, maybe a teaspoon at a time, whisking constantly until it lightens in color and becomes thin enough to drizzle. If you need more robust flavors, feel free to dip into my recipe for a delicious bread dip, though this dressing is much lighter! You can find some great pairing ideas when you look at my balsamic and olive oil bread dip post for inspiration.
Storing Leftover Classic Homemade Hummus
The only downside to making the best hummus recipe is that sometimes you end up with too much—though honestly, I rarely have that problem! If you do have leftovers of your classic homemade hummus, pop it into an airtight container right away. It keeps beautifully in the fridge for up to five days. Just keep in mind that when it gets cold, it firms up quite a bit. Don’t panic! Before you serve it the next day, let it sit out on the counter for about 15 minutes. If it still seems too stiff, stir in just a teaspoon of cold water or a tiny squeeze of lemon. That small addition brings its velvety texture right back to life!
Frequently Asked Questions About Making Hummus
As a former teacher, I know you might have questions when you try something new! That’s perfectly normal. Over the years, I’ve collected the most common concerns people have when trying to match the texture of their favorite store-bought dips. Don’t worry, we can troubleshoot anything together! For more simple dips and snacks, remember to check out my guide on easy appetizers snacks.
Why is my hummus not smooth creamy hummus?
Usually, this comes down to just a couple of things we talked about! Did you remember to process it for the full two to three minutes after adding the ice water? That mechanical action is so important. If you’re still struggling, the biggest game-changer is taking the time to peel those chickpea skins off. It sounds fussy, but it guarantees that ultra-smooth result every single time.
Can I make this classic homemade hummus without a food processor?
You sure can, but I won’t lie—it’s going to be work! A heavy-duty blender works better than a food processor sometimes, as long as you can pour liquids in while it’s running. If all you have is muscle power, you’ll need to use a sturdy bowl and a potato masher, or even a fork to start, and then whisk like crazy. Just expect it to be slightly more textured rather than perfectly smooth. It will still taste delicious, though!
What is the best way to store this for healthy chickpea snacks later?
The storage method is super simple! Pop your finished hummus into a clean, airtight container. It stays fresh and delicious in the refrigerator for up to five days. Just remember what I mentioned before: if it gets too firm after chilling, just whisk in a tiny splash of cold water or lemon juice right before serving to bring back that creamy texture we aimed for!
PrintCarla’s Classic Homemade Hummus: The Secret to Creamy Texture
Learn how to make smooth, creamy hummus at home using simple ingredients. This recipe delivers a high-protein, healthy chickpea snack that tastes better than store-bought.
- Prep Time: 10 min
- Cook Time: 0 min
- Total Time: 10 min
- Yield: 4 servings 1x
- Category: Appetizer
- Method: Food Processing
- Cuisine: Middle Eastern
- Diet: Vegetarian
Ingredients
- 1 (15-ounce) can chickpeas, drained and rinsed
- 1/2 cup tahini
- 1/4 cup fresh lemon juice
- 2 cloves garlic, minced
- 2 tablespoons ice water (or more, for thinning)
- 1/2 teaspoon ground cumin
- 1/2 teaspoon salt
- 2 tablespoons olive oil, plus extra for serving
Instructions
- Place the drained chickpeas, tahini, lemon juice, minced garlic, cumin, and salt into a food processor.
- Process the mixture for one minute, scraping down the sides as needed.
- With the food processor running, slowly drizzle in the ice water through the feed tube. Continue processing for two to three minutes until the mixture is very smooth. This step is key for creamy hummus.
- Taste the hummus and add more salt or lemon juice if needed.
- If the hummus is too thick, add one more tablespoon of ice water and process until you reach your desired consistency.
- Transfer the smooth hummus to a serving bowl. Drizzle with olive oil before serving.
Notes
- For the creamiest result, peel the skins off the chickpeas after draining. This takes extra time but makes a noticeable difference.
- If you do not have ice water, use cold tap water.
- Use high-quality tahini for the best flavor in your tahini dressing ideas.
Nutrition
- Serving Size: 1/4 cup
- Calories: 220
- Sugar: 2
- Sodium: 250
- Fat: 16
- Saturated Fat: 2
- Unsaturated Fat: 14
- Trans Fat: 0
- Carbohydrates: 16
- Fiber: 5
- Protein: 7
- Cholesterol: 0