
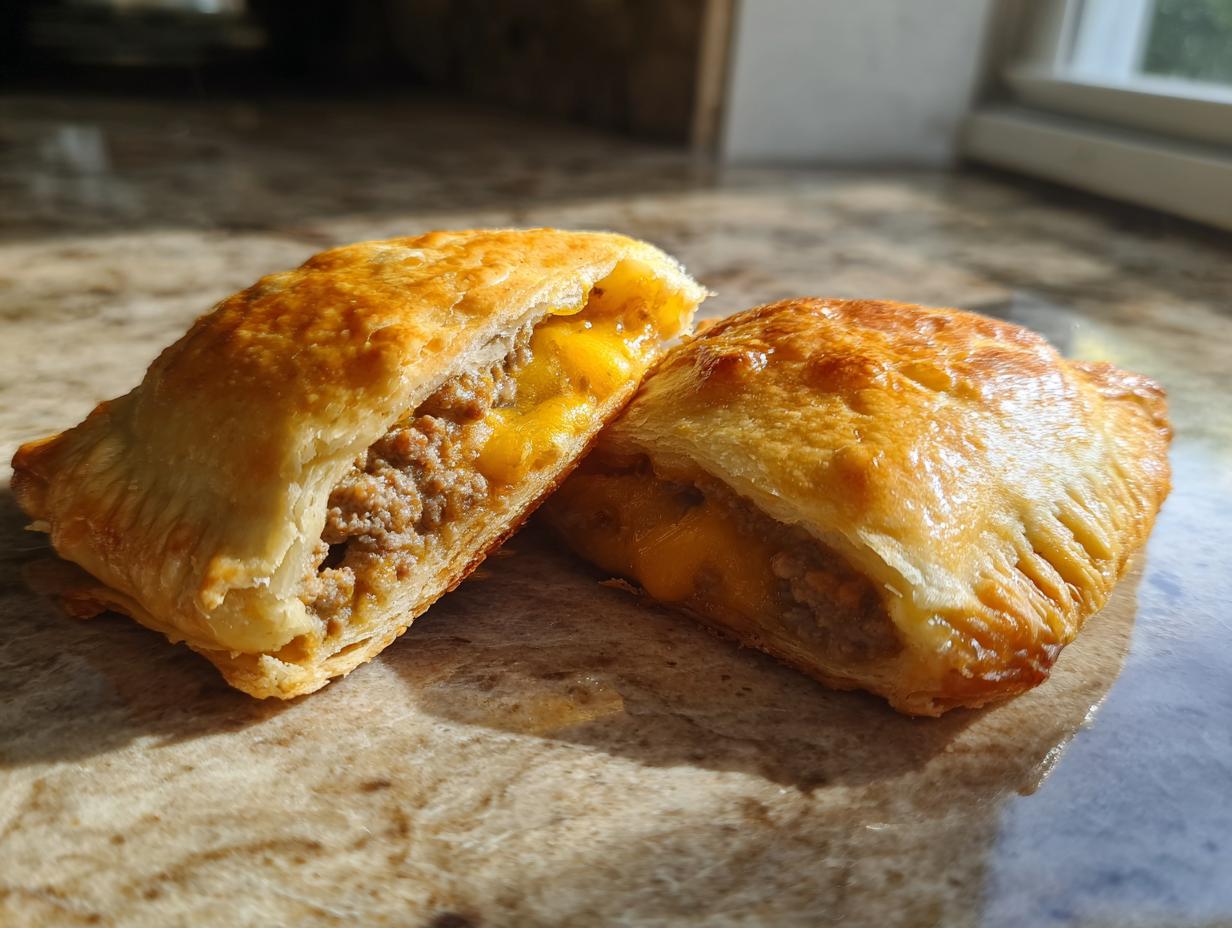
When you crave the satisfying flavor of a grilled hamburger but need something quick that won’t fall apart in your hands, we turn to the wonderful world of baked pockets. I’ve spent years perfecting meals that are reliable, delicious, and suitable for everything from a Tuesday night dinner chaos to a big Game Day snack spread. Forget about those lackluster, store-bought frozen items you might be used to; making your own homemade cheeseburger pockets is surprisingly fast and tastes a million times better. Trust me, these flaky, cheesy parcels, stuffed exactly how your family likes them, are about to become a new staple in our kitchen rotation. If you’re looking for similar easy, handheld treats, check out my collection of easy appetizers and snacks for more ideas!
- Why You Will Love These Homemade Cheeseburger Pockets
- Gathering Ingredients for Your Cheeseburger Pockets Recipe
- Step-by-Step Guide to Making Easy Cheeseburger Pockets
- Tips for Perfect Cheeseburger Pockets Every Time
- Make Ahead Freezer Meals: Storing Your Cheeseburger Pockets
- Serving Suggestions for Your Cheesy Pockets Recipe
- Frequently Asked Questions About Cheeseburger Pockets
- Estimated Nutrition for Homemade Cheeseburger Pockets
- Share Your Best Cheeseburger Pockets Creations
- Estimated Nutrition for Homemade Cheeseburger Pockets
- Share Your Best Cheeseburger Pockets Creations
Why You Will Love These Homemade Cheeseburger Pockets
I developed this recipe because sometimes, dinner needs to be fast, fun, and require minimal cleanup. Once you try these, I promise you won’t go back to the boxes in the freezer aisle. These are the kind of meals that actually make me look forward to busy nights!
- These are perfect as one of those simple weeknight dinners everyone enjoys. When you see the total time is just over 30 minutes, you’ll understand why!
Quick Assembly for Busy Evenings
Seriously, from chopping the onion to sliding the pan into the oven, we are looking at maybe 33 minutes total time. This makes them one of my go-to options for those nights when soccer practice runs late or homework is taking forever. They bake up so fast!
Perfect Handheld Dinner Solutions
There is just something wonderful about a handheld cheeseburger that doesn’t leave you swimming in grease or juggling lettuce. Everything is neatly tucked away inside that flaky pastry. They are fantastic for packing up as easy lunch ideas the next day, or eating straight off the baking sheet while watching a ball game.
Gathering Ingredients for Your Cheeseburger Pockets Recipe
Getting ready to bake is half the fun, and with these cheesy pockets recipe ingredients, you probably have most things on hand already. Accuracy here is key to making sure your filling stays neatly inside the dough. Everything you need for a wonderful comfort food pockets experience is listed below. This simple ingredient list is why they come together so quickly! If you love cheesy things, you absolutely must check out my recipe for creamy cheddar potato cheese soup sometime.
Ground Beef Filling Components
For that classic burger taste, we rely on simple, powerful seasonings. You’ll need one pound of ground beef and one small onion, which you’ll want to make sure is finely chopped so it cooks down nicely. We season it up with one teaspoon of salt, half a teaspoon of pepper, one teaspoon of garlic powder. Don’t forget the half teaspoon of Worcestershire sauce! The absolute most important thing I tell everyone is to drain off any excess grease after browning. Soggy filling means sad pockets!
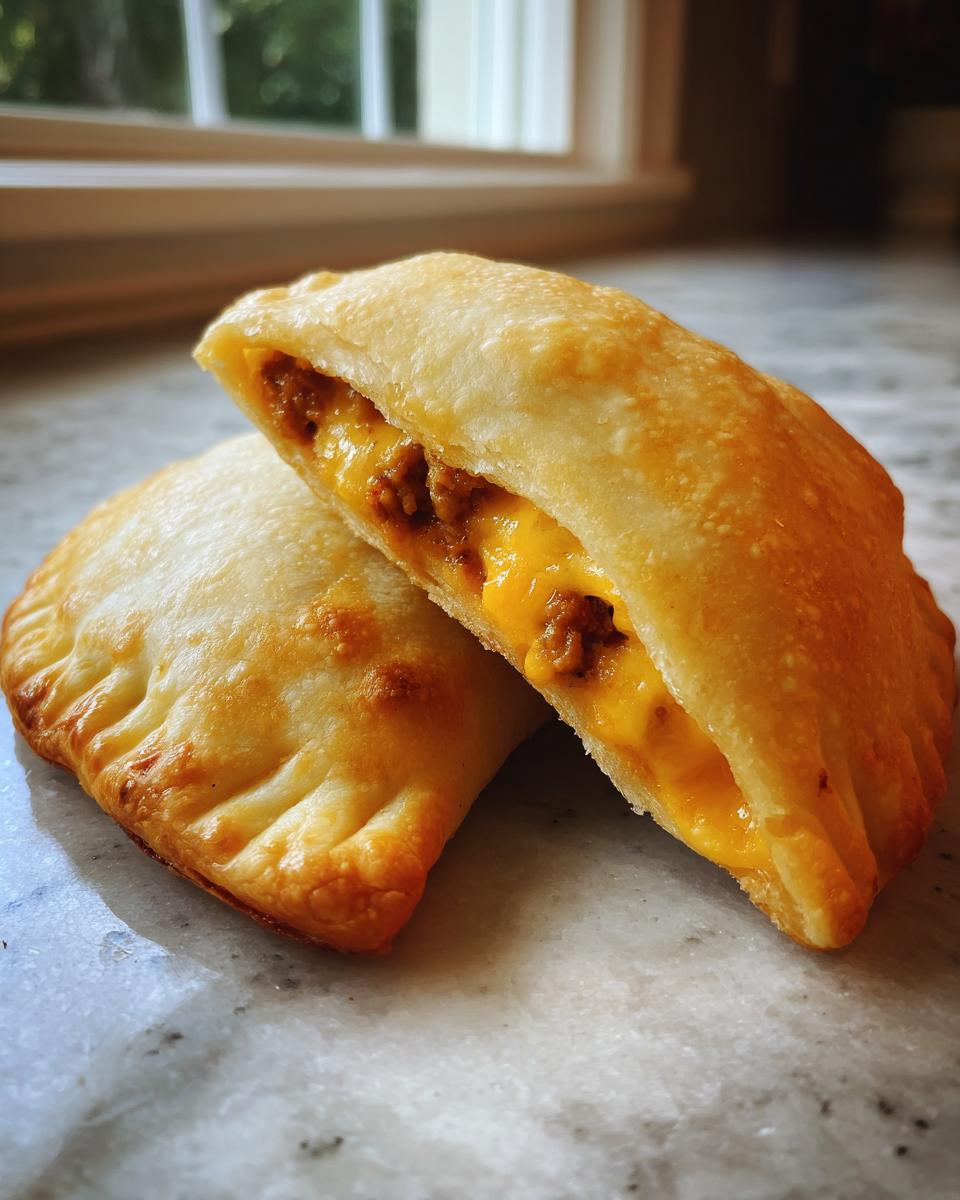
Dough and Cheese for Cheesy Pockets Recipe
For the dough, we are relying on that wonderful, flaky, store-bought convenience—one (8 ounce) package of refrigerated crescent roll dough. That’s what gives us that beautiful, golden crust. You’ll also need one cup of shredded cheddar cheese, or whatever cheese melts best for you. And finally, for that professional golden sheen on top, an egg wash made from one egg beaten with one tablespoon of water is essential for these easy cheeseburger pockets.
Step-by-Step Guide to Making Easy Cheeseburger Pockets
Alright, this is where the magic happens! Making these easy cheeseburger pockets follows a simple rhythm, much like setting up a fun activity for the grandkids. We want everything warmed up and ready to go before we even touch that delicate dough.
Preparing the Savory Filling
First thing’s first: preheat your oven to 375 degrees Fahrenheit. I always line my baking sheet with parchment paper; it saves so much scrubbing later! Now, grab your skillet. Over medium heat, toss in that ground beef and your finely chopped onion. Cook them together until the beef has browned up nicely and the onions are soft—don’t rush this part, as good browning equals good flavor! Once cooked, you absolutely must drain away every bit of excess grease. Soggy filling spills out and makes your pastry sad. After draining, stir in your seasonings—the salt, pepper, garlic powder, and Worcestershire sauce. Take the skillet off the heat and let this mixture cool down just a little bit. If the meat is scorching hot, it will melt the cheese too fast and make the crescent dough tear when you fold it.
Assembling and Sealing the Cheeseburger Pockets
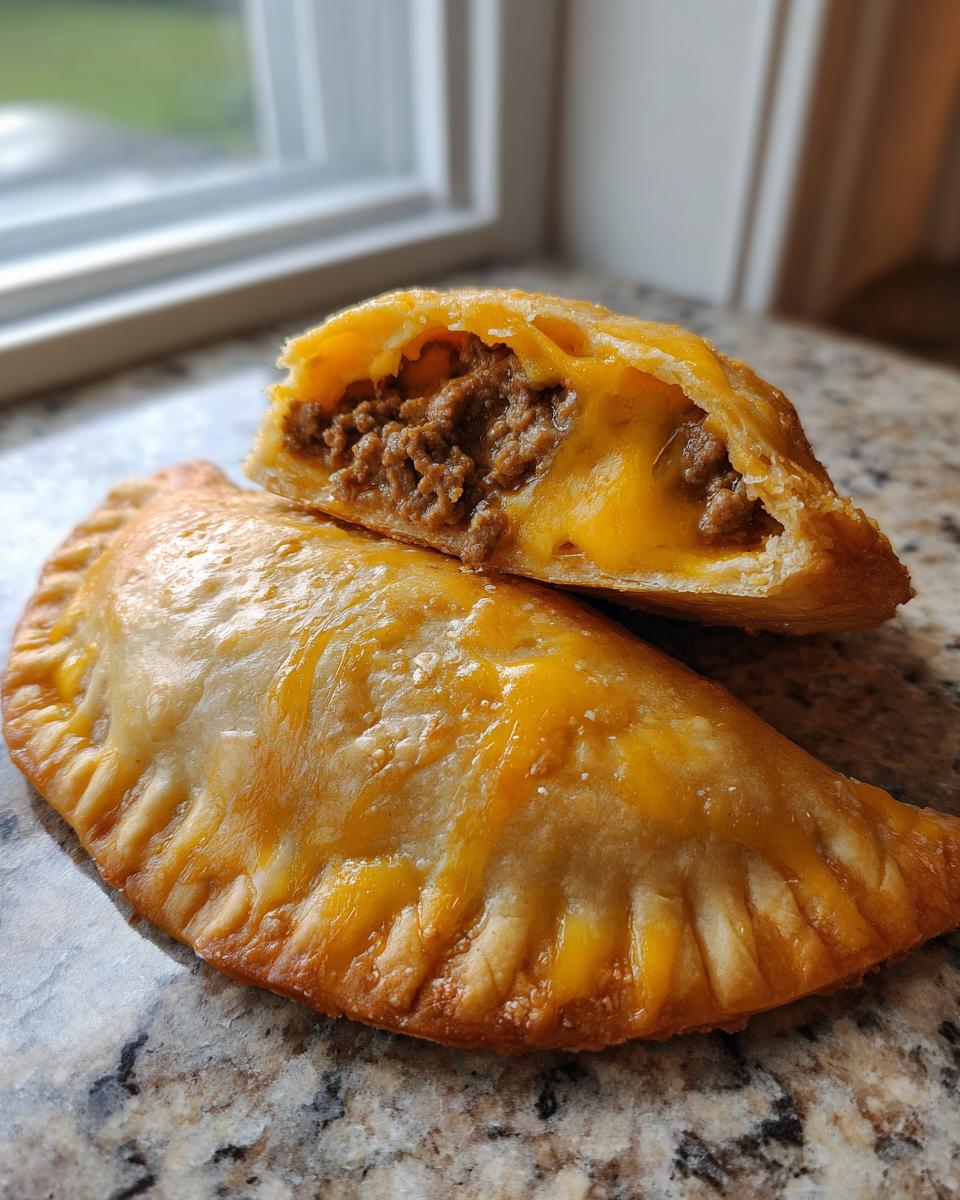
Next, unroll your crescent roll dough carefully. You’ll want to separate it into 8 distinct triangles. If you can, try separating them one at a time rather than unrolling the whole sheet at once; that dough is fragile! On the wide end of each triangle, spread about two tablespoons of your cooled beef mixture. Remember to leave a little border—maybe an inch—around the edges. Sprinkle that tablespoon of cheddar right over the top of the meat. Now, fold that small tip of the dough over the filling, and then roll it snugly up toward the wider end, creating that perfect seal. I use a fork to press down hard along the edges—this is your guarantee for those wonderful handheld dinner solutions that don’t burst open!
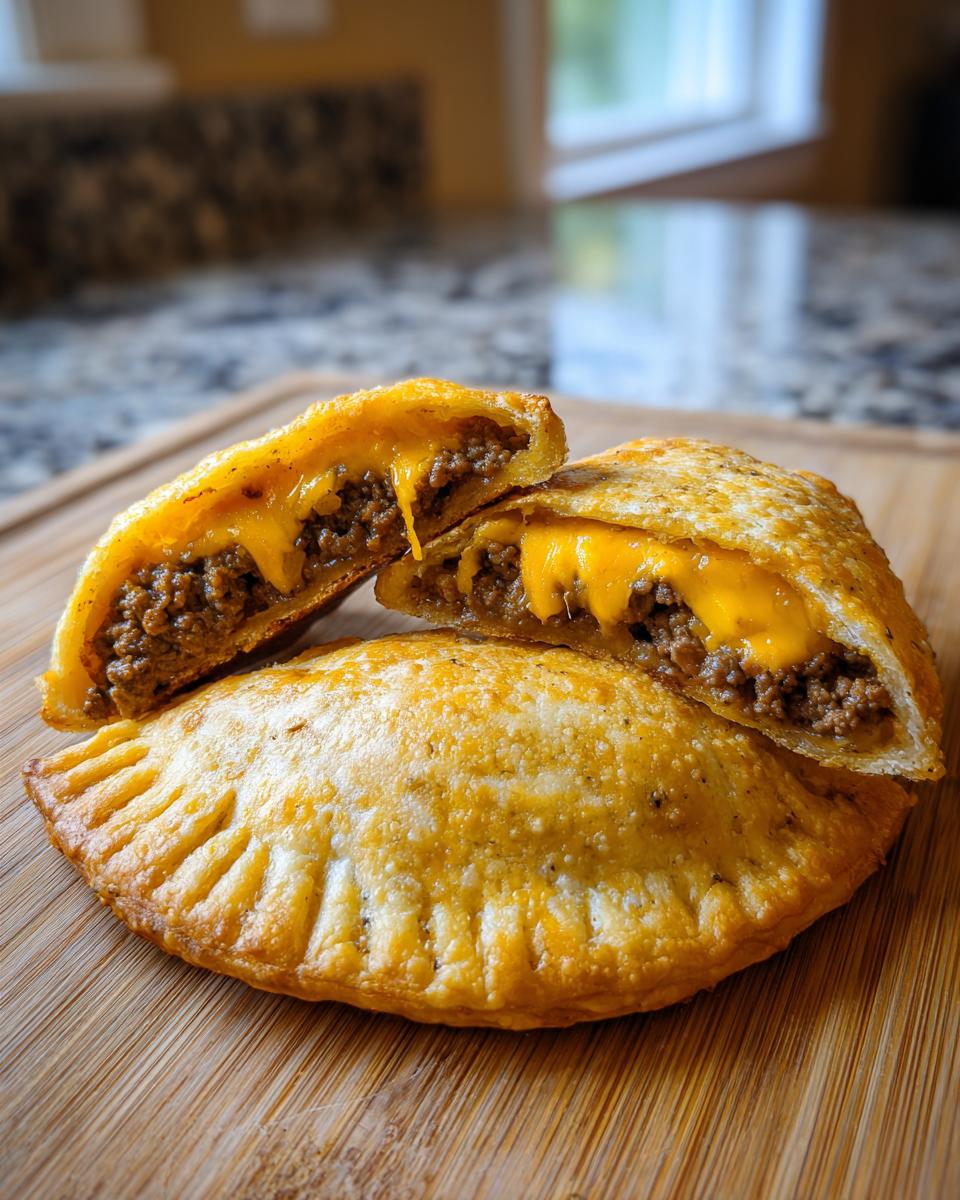
Baking for Golden Perfection
Place all your beautifully sealed crescent roll cheeseburger pockets seam-side down on that lined baking sheet. Time for the golden touch! Whisk that egg and water together for your wash, and gently brush a thin layer right over the tops of the dough. This gives them that bakery look. Pop the sheet into your preheated oven and bake for about 15 to 18 minutes. You’re looking for them to be puffed up and deeply golden brown all over. Let them rest for just a few minutes before diving in; the cheese needs a second to settle before you enjoy these easy sheet-pan meals!
Tips for Perfect Cheeseburger Pockets Every Time
I always tell folks that while the recipe is straightforward, a few little tricks I picked up teaching school lunch programs make all the difference in turning good cheeseburger pockets into great ones—the kind that your whole family asks for time and again. These aren’t complicated steps, just seasoned know-how for making the best family friendly meals.
The best tip for deep flavor is customization. You absolutely have to try adding a dash of mustard powder right into your seasoned beef mix; it gives you that tangy burger punch without making the filling wet. Also, if you have picky eaters, you can add very finely diced pickles to the meat mixture—they sort of disappear, but they add a bright spot of flavor. Remember what I said about sealing? Press those edges firmly with a fork! A little egg wash on top isn’t just for color; it helps seal those seams tight so none of that gooey cheddar escapes while baking. For serving later, a drizzle of my best burger sauce recipe really takes these over the top!
Make Ahead Freezer Meals: Storing Your Cheeseburger Pockets
Because these handheld versions are so quick to assemble, they are absolutely perfect for planning ahead! I always have a batch ready in the freezer for those days where I simply don’t have time to cook, but still want to serve up something truly homemade rather than ordering takeout. They make for truly excellent easy lunch ideas when you need something ready to heat and go.
The process for making these into make ahead freezer meals is super simple, but you have to keep the freezing and baking steps separate, which keeps things organized. You’ll assemble the pockets completely—fill them, seal them with the fork, brush them with the egg wash—everything right up until that baking step.
Once they are sealed up tight, lay them out on a parchment-lined baking sheet, but don’t wash them yet! Place the whole sheet into the freezer until those little pockets are completely solid, which usually takes a couple of hours. Once they are rock hard, you can transfer them right into a heavy-duty, freezer-safe bag or container. When you’re ready to eat them later, just pull out what you need! Since they are frozen solid, you bake them straight from the freezer. You just need to add about 5 to 10 minutes extra onto that regular baking time, keeping that oven at 375 degrees Fahrenheit the whole time. That way, you get fantastic, hot, cheesy goodness in under 30 minutes, even if you pulled them out of the ice box just minutes before.
If you like making things ahead, you might also enjoy looking through my recipes for easy breakfast recipes too!
Serving Suggestions for Your Cheesy Pockets Recipe
Now that you have these perfect, golden cheesy pockets recipe wonders piping hot out of the oven, what do you serve them with? Since these pockets are packed with beef and cheese, they stand perfectly well on their own as a handheld dinner solution, but sometimes you want a little extra something for dipping!
When I serve these to the grandkids, I keep it simple. They love ketchup, of course, and a little bit of mustard. But if you’re serving these up for a family gathering or game day, you need a dip that really sings. My absolute favorite pairing is a cool, tangy dip to cut through that richness. You must try pairing them with my dill pickle dip—it’s surprisingly refreshing and just hits the spot with the savory ground beef.

If you are trying to round this out into a full dinner, a simple side salad goes a long way. Think crunchy lettuce, a few slices of cucumber, and a light vinaigrette dressing. It keeps the meal feeling light even though the pockets themselves are pure comfort food!
Frequently Asked Questions About Cheeseburger Pockets
It’s funny how often folks ask the same things once they get comfortable in the kitchen! That’s wonderful! It means you’re engaging with the spirit of the recipe. I’ve gathered up the most common questions I get about these wonderful homemade cheeseburger pockets right here. If you tried the recipe and maybe saw a little something pop out, or wondered about swapping ingredients, this is for you!
Can I use puff pastry instead of crescent roll dough for these cheeseburger pockets?
Oh, you certainly can try, but I have to give you a little heads-up! Crescent roll dough yields that specific pillowy, slightly buttery texture that people associate with these kinds of pastries. If you use puff pastry, you are going to get something much, much flakier—almost shatteringly crisp rather than tender. It’s delicious in its own right, but it’s a different kind of experience for these cheesy pockets recipe treats. Since puff pastry often bakes a little faster, keep a close eye on them, maybe checking around the 13-minute mark!
What is the best cheese for these handheld cheeseburgers?
Cheddar is my tried-and-true favorite—it has that sharp, comforting flavor that pairs perfectly with the seasoned beef, and it melts beautifully. However, if you want to switch things up for your next batch of handheld cheeseburgers, you’ve got options! Monterey Jack is an excellent melter, very mild, and it gives you that super gooey stretch. Sometimes, I even go half cheddar and half Monterey Jack. Just make sure you are using a cheese that melts well, not something crumbly like feta!
How do I keep my cheeseburger pockets from leaking filling while baking?
This is the number one concern, and it all comes down to two things, I’ve found. First, and I cannot stress this enough: make sure you drain every bit of grease from that cooked beef mixture. Truly blot it dry! If there’s liquid sitting in there, it will steam the dough and push its way out. Second, sealing is everything for these easy cheeseburger pockets. Don’t just fold the edges over; press them firmly together with your fingers first, and then seal that edge down hard with the tines of a fork. That fork crimp creates a solid barrier to keep that melted cheese contained. If you’re curious about other tips for making sure your food comes out perfectly, Emma over at Simple Dinners has some great general baking wisdom on her site, too.
Estimated Nutrition for Homemade Cheeseburger Pockets
I always try to give folks a general idea of what they are looking at nutritionally, though I’m working with an estimate here since everyone’s ground beef fat content and brand of crescent rolls varies, of course. Creating meals that are both satisfying and reasonably balanced is important for family health, which is why I always bake them myself instead of buying pre-made!
For one serving—that’s one pocket—here’s what you can generally expect:
- Calories: About 310 calories, which is fantastic for a filling, handheld dinner solution!
- Protein: A strong 16 grams per pocket.
- Fat: Around 18 grams.
- Carbohydrates: About 20 grams.
It’s a solid, comforting meal that keeps the family full without being overly heavy. For more ideas on making meals that fit specific goals, you can always browse my collection of easy creamy chicken enchiladas recipes, which are surprisingly versatile!
Share Your Best Cheeseburger Pockets Creations
I genuinely hope these instructions help you create the very best batch of cheeseburger pockets for your own family tonight! When you try them out, I would absolutely love to hear how they turned out. Did you add extra mustard powder like I suggested? Did your kids enjoy them for a quick lunch the next day? Please leave a comment below and let me know—it helps me keep refining these reliable recipes for everyone!
If you took a picture of your perfectly golden, sealed pockets, share it on social media and tag me, please! Knowing that my recipes are ending up on your tables brings me so much joy. If you need to get in touch about anything else, you can always use the contact form here: Reach out to Carla when you need help!
PrintEasy Homemade Cheeseburger Pockets

Make these simple, handheld cheeseburger pockets using ground beef and crescent dough for a quick, comforting family meal or game day snack. They taste like your favorite burger wrapped in flaky pastry.
- Prep Time: 15 min
- Cook Time: 18 min
- Total Time: 33 min
- Yield: 8 servings 1x
- Category: Dinner
- Method: Baking
- Cuisine: American
- Diet: Vegetarian
Ingredients
- 1 pound ground beef
- 1 small onion, finely chopped
- 1 teaspoon salt
- 1/2 teaspoon black pepper
- 1 teaspoon garlic powder
- 1/2 teaspoon Worcestershire sauce
- 1 cup shredded cheddar cheese
- 1 (8 ounce) package refrigerated crescent roll dough
- 1 egg, beaten (for egg wash)
- 1 tablespoon water (for egg wash)
Instructions
- Preheat your oven to 375 degrees Fahrenheit. Line a baking sheet with parchment paper.
- In a large skillet over medium heat, cook the ground beef and chopped onion until the beef is browned and the onion is soft. Drain off any excess grease.
- Stir the salt, pepper, garlic powder, and Worcestershire sauce into the cooked beef mixture. Remove from heat and let cool slightly.
- Unroll the crescent roll dough onto a clean surface. Separate the dough into 8 triangles. Do not unroll the entire sheet at once; work with one section at a time if needed.
- Spoon about 2 tablespoons of the cooled beef mixture onto the wider end of each dough triangle, leaving a 1-inch border.
- Sprinkle about 1 tablespoon of cheddar cheese over the beef mixture on each triangle.
- Fold the narrow tip of the dough over the filling, then roll the dough up toward the wide end, sealing the edges tightly by pressing them together with a fork. This creates your handheld dinner solution.
- Place the sealed pockets seam-side down on the prepared baking sheet.
- In a small bowl, whisk together the beaten egg and 1 tablespoon of water to create an egg wash. Brush the tops of the pockets lightly with the egg wash.
- Bake for 15 to 18 minutes, or until the pockets are golden brown and puffed.
- Let the cheeseburger pockets cool for a few minutes before serving warm.
Notes
- For make ahead freezer meals, assemble the pockets completely, place them on a baking sheet, and freeze until solid. Transfer the frozen pockets to a freezer-safe bag. Bake from frozen, adding 5-10 minutes to the baking time.
- You can add finely diced pickles or a dash of mustard powder to the beef mixture for extra classic cheeseburger flavor.
- These are excellent served with a side of ketchup or your favorite dipping sauce.
Nutrition
- Serving Size: 1 pocket
- Calories: 310
- Sugar: 2
- Sodium: 450
- Fat: 18
- Saturated Fat: 8
- Unsaturated Fat: 10
- Trans Fat: 0
- Carbohydrates: 20
- Fiber: 1
- Protein: 16
- Cholesterol: 55