
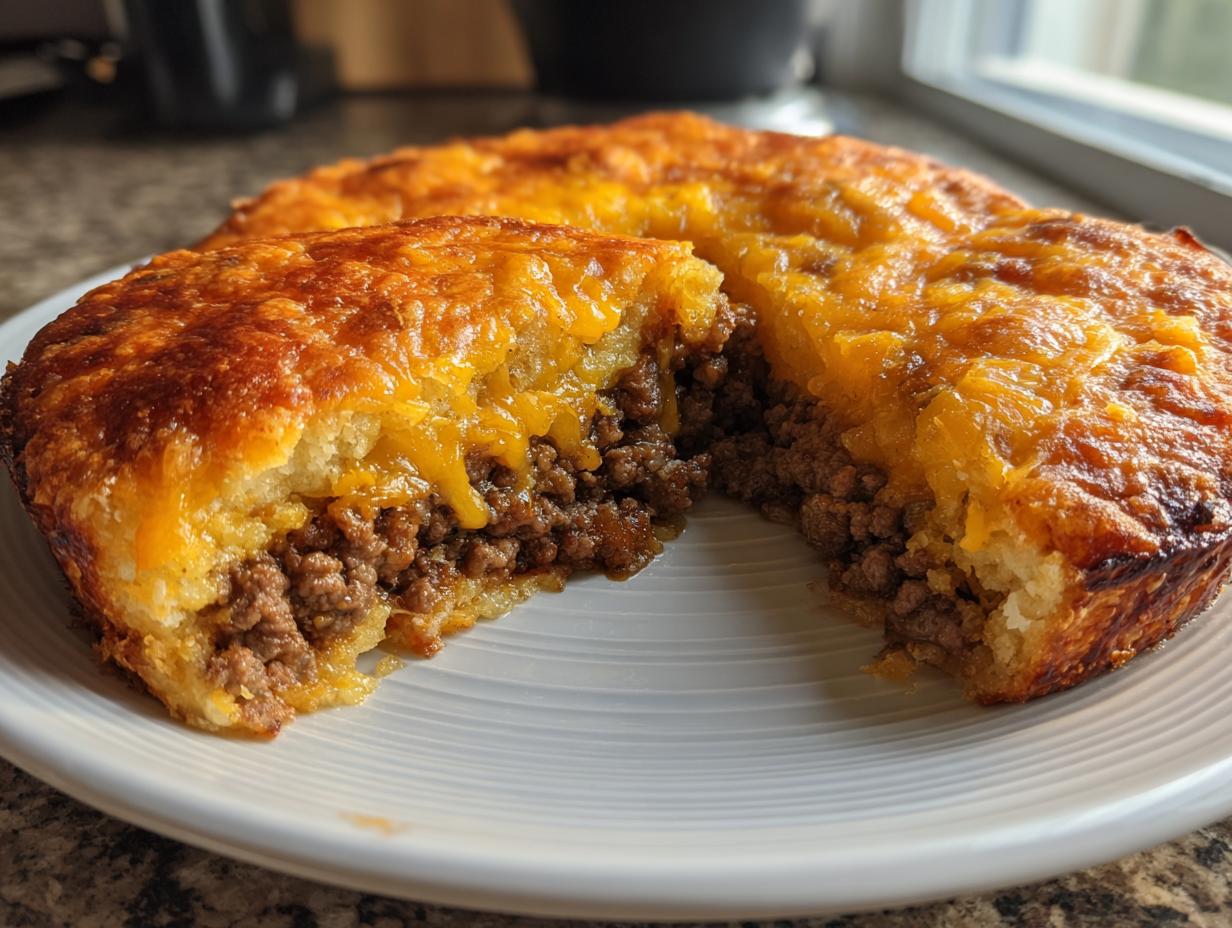
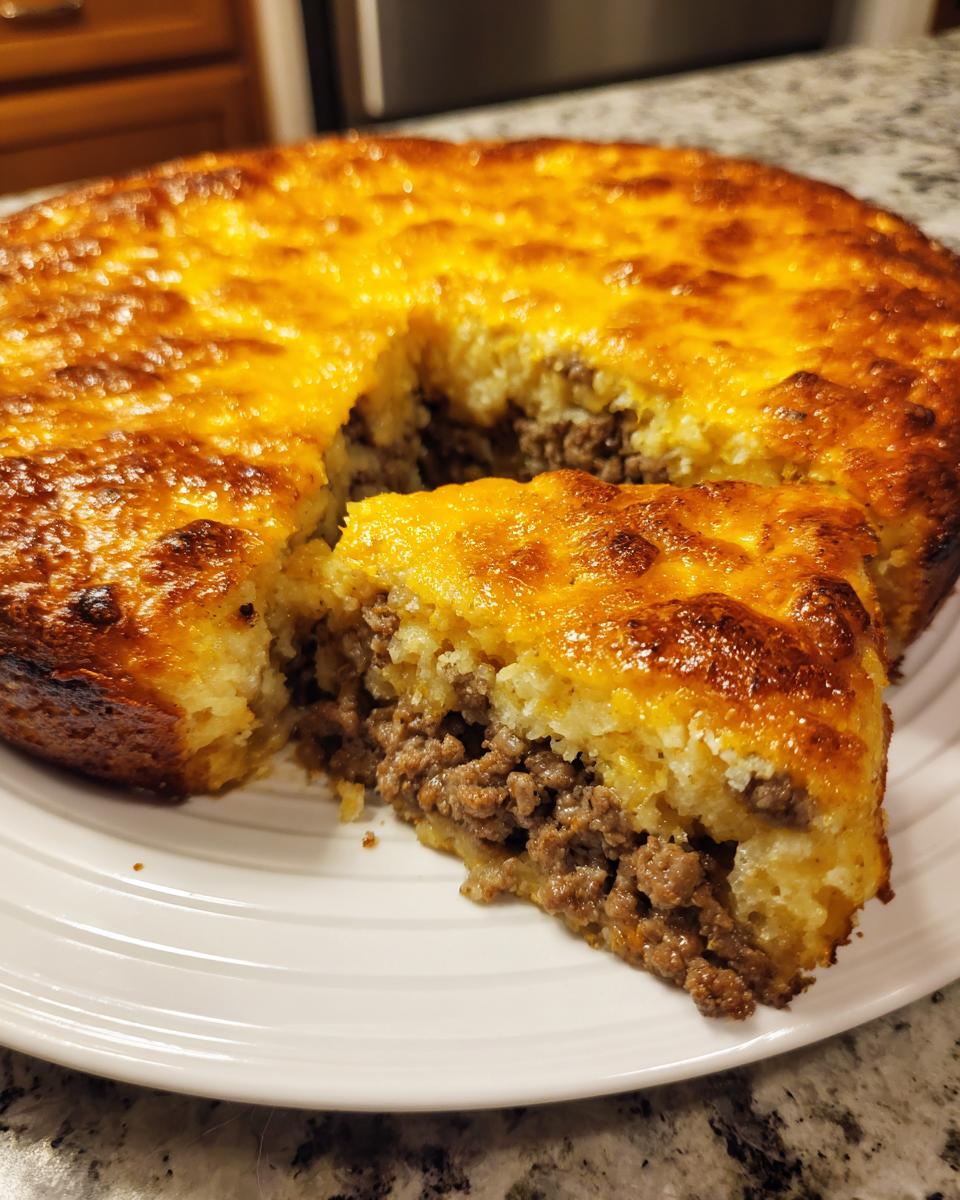
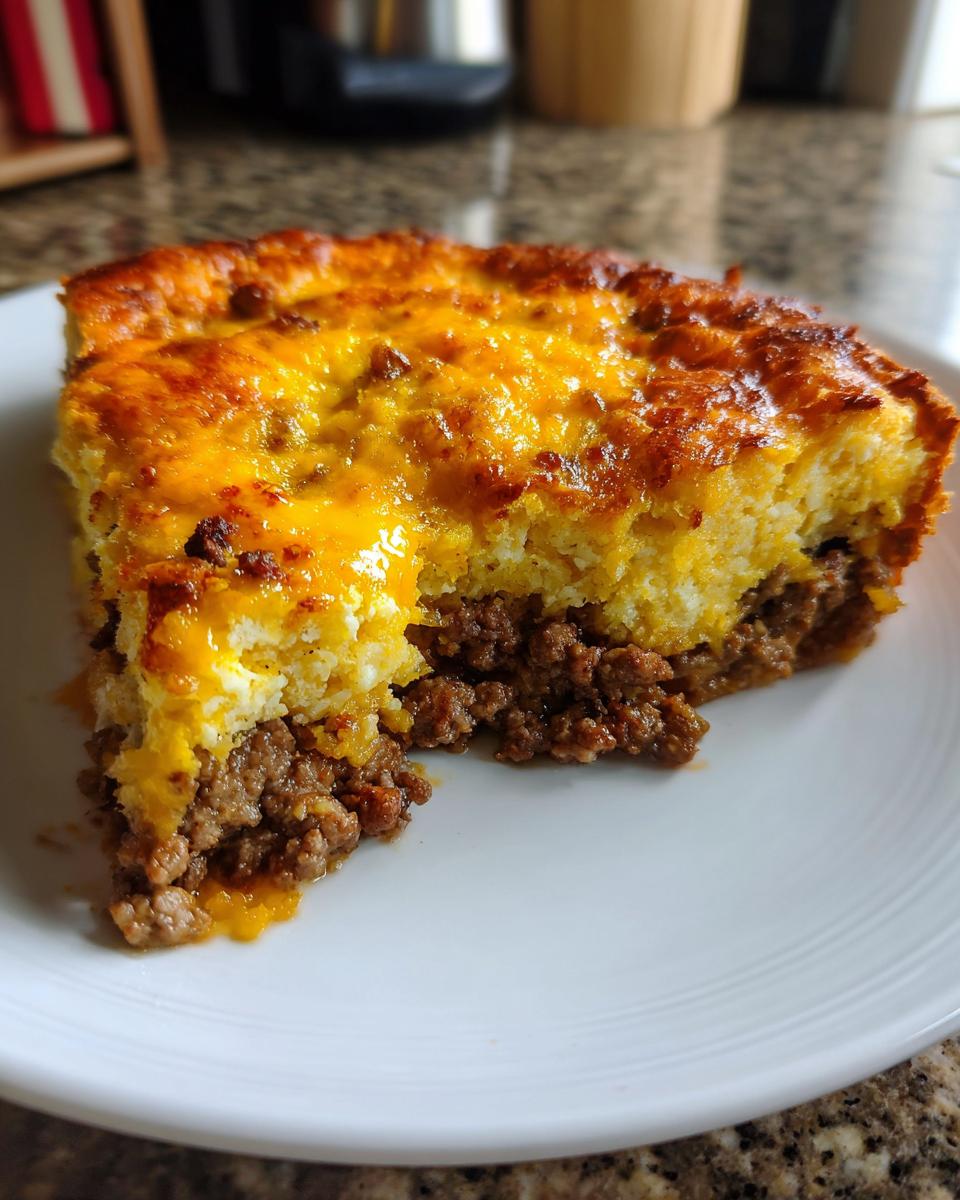
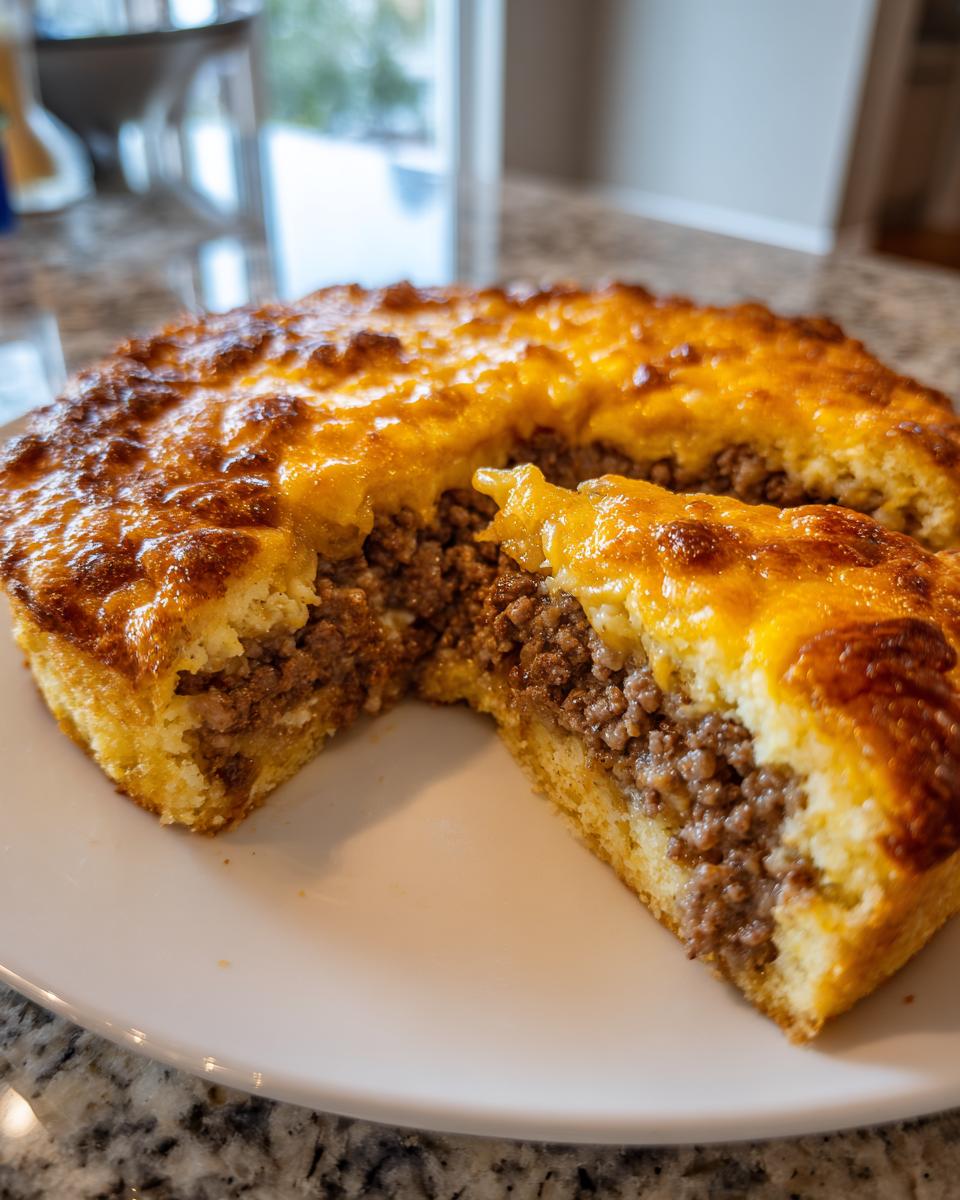
It feels like every Tuesday night, I stare into the fridge wondering how I can get a tasty meal on the table in under an hour without creating a mountain of dishes. I know so many of you busy cooks feel that pinch! That’s why I keep a few secret weapons tucked away in the pantry, and today I’m sharing my absolute favorite for those hectic evenings: the cheeseburger pie bisquick. After thirty years in the classroom, I learned that the best lessons—and the best recipes—are the ones that are simple to follow, clear in their instructions, and always turn out delicious. This savory pie tastes exactly like your favorite diner burger, tucked under a fluffy, golden biscuit topping. If you like one-pan meals that cook up fast, you’ll want to check out my easy sheet pan mini meatloaf muffins, too, but this pie is what you need tonight!
- Why This Cheeseburger Pie Bisquick Recipe is a Weeknight Hero
- Gathering Ingredients for Your Cheeseburger Pie Bisquick
- Simple Savory Pie Instructions: Making the Cheeseburger Pie Bisquick
- Expert Tips for the Perfect Cheeseburger Pie Bisquick Topping
- Making Variations of Your Cheeseburger Pie Bisquick
- Storing and Reheating Leftover Cheeseburger Pie Bisquick
- Common Questions About Making a Cheeseburger Pie Bisquick
- Serving Suggestions for Your Homestyle Cheeseburger Pie Bisquick
- Nutritional Snapshot of This Comfort Food Pie Baking
Why This Cheeseburger Pie Bisquick Recipe is a Weeknight Hero
When you’re trying to get dinner on the table before Mom or Dad has to start yelling about homework, you need a recipe that delivers big flavor fast. This cheeseburger pie bisquick truly earns its keep in my rotation. It’s the kind of meal that makes everyone gather around the table happily, and it’s designed precisely for busy cooks! It reminds me of the simple, rewarding meals I used to put together after a long day of teaching.
- Speedy Prep Time: With only about 15 minutes of hands-on prep, you can brown the meat and mix the biscuit topping while the oven warms up. It’s one of the best quick dinner recipes using Bisquick I rely on.
- The Clean-Up is a Dream: Seriously, most of the work happens in just one skillet, followed by one pie dish. That means less scrubbing after a long day—a huge win for any family friendly weeknight meal plan!
- Crowd-Pleasing Flavors: Ground beef, melty Cheddar cheese, ketchup, and mustard? It’s the flavor profile of a perfect hamburger! Even the pickiest eaters at my table never complain about digging into this savory bake.
- Reliable Biscuit Topping: Because we trust that box of Bisquick, you never have to worry about a soggy bottom or a complicated pastry crust. The topping bakes up beautifully golden and fluffy every single time.
Gathering Ingredients for Your Cheeseburger Pie Bisquick
When I share a recipe that uses a specialty mix like Bisquick, I want to make sure you have everything handy so the process flows beautifully. For this classic cheeseburger pie bisquick, you’re grabbing familiar fridge and pantry staples alongside your baking mix. You’ll need about a pound of ground beef and one small onion that you’ll want to have finely chopped before you start cooking. Make sure you have your seasonings ready—salt and pepper, of course—along with staples like ketchup and yellow mustard for that authentic burger tang. We top it all off with a cup of shredded cheddar cheese. Remember, the magic comes together when you mix the 2 cups of Bisquick with the correct portion of milk and one egg for the biscuit topping. It’s straightforward, I promise! If you need some quick little bites to tide the family over while this bakes, check out my favorites for easy appetizers and snacks.
Simple Savory Pie Instructions: Making the Cheeseburger Pie Bisquick
This is where the magic happens, and trust me, it’s so much easier than making a traditional pastry crust! As a former teacher, I’ve broken this down into two easy parts. The goal is to get that rich, seasoned ground beef mixture ready first, and then top it with the fluffy Bisquick coating. Don’t rush the initial browning, but don’t hang around fussing either! Once you’ve mastered this cheeseburger pie bisquick process, you’ll whip this up before you can even decide what takeout to order from. If you want to see how I approach other easy baked meals, check out my thoughts on simple savory pie instructions.
Preparing the Oven and Beef Filling for Your Cheeseburger Pie Bisquick
First things first: get your oven warming up to 400 degrees Fahrenheit and lightly grease a 9-inch pie plate. While that’s heating, let’s get that tasty base going. You’ll brown your roughly one pound of ground beef right alongside your chopped onion in a skillet over medium heat. Once the beef is nicely browned, and I mean really browned, you must drain off every bit of excess grease. Trust me on this—grease pooling at the bottom is the enemy of a perfect ground beef pie with biscuit topping! After draining, stir in your salt, pepper, and just a half cup of water. Let that simmer gently for about five minutes until most of that liquid has soaked into the meat mixture.
Assembling and Baking the Cheeseburger Pie Bisquick
Now, pull that skillet off the heat! Time for the melted goodness. Stir in the cheddar cheese, that essential bit of ketchup, and the yellow mustard until everything looks happy and married together. Spread that seasoned beef mixture right into the bottom of your waiting pie plate. Next, whisk up your topping batter—just the 2 cups of Bisquick, milk, and egg whisked until just combined in a separate bowl; don’t overmix this batter! Gently pour that thick Bisquick batter evenly right over the top of the beef filling. Slide that pie into the 400-degree oven and let it bake for about 20 to 25 minutes. You’re looking for that topping to be gorgeously golden brown and cooked all the way through. A quick 5 minutes on the counter to rest, and dinner is served!
Expert Tips for the Perfect Cheeseburger Pie Bisquick Topping
Even though this is a super simple meal, a few little tricks I learned from teaching home economics make all the difference in turning a good cheeseburger pie bisquick into a truly memorable one. I remember one particularly chaotic evening when my middle child had soccer practice, my husband was late from work, and I had forgotten to thaw any meat for dinner. I realized I had ground beef in the freezer, and boom—I whipped up this pie! It saved the night because the topping stayed perfectly fluffy, which is what we are focusing on here.
Keep these tips in mind for your next batch of Bisquick crust dinner ideas. If you want that true burger experience, stir in about a quarter cup of finely chopped dill pickles right into the beef mixture before you pour the batter over it. The tang is wonderful! And don’t feel locked into cheddar; Colby Jack or Monterey Jack work beautifully if you prefer a milder, gooier melt throughout the filling. These small adjustments ensure your savory pie is exactly how your family likes it!
Making Variations of Your Cheeseburger Pie Bisquick
While the original cheeseburger pie bisquick recipe is fantastic just the way it is—simple, comforting, and fast—sometimes you just want to jazz things up a little bit, right? That’s the joy of cooking at home; you get to be the captain of your own dinner ship! Because the Bisquick topping is such a neutral, reliable base, it pairs beautifully with lots of different additions to the beef filling. It’s fun to watch how these small swaps turn it into a completely new cheesy beef savory bake.
My kids always ask for bacon, so that’s often my first call! Adding a half cup of crispy, crumbled bacon bits right into the browned ground beef and cheese mixture gives you an instant flavor upgrade. You don’t even need extra salt because the bacon brings plenty of savory goodness. Another simple trick is grabbing the Worcestershire sauce. Just a splash—maybe a teaspoon or two—stirred into the simmering beef mixture adds a deep, savory richness that mimics what you might get on a gourmet burger.
And of course, we talked about cheese swaps already, but don’t forget about textures! If you like a little crunch, toss in a half cup of thinly sliced red onion or even some finely chopped bell peppers along with the onion when you’re browning the beef. You end up with something that feels a little heartier, almost like a classic baked casserole, but with that wonderful lift from the Bisquick crust on top. It’s all about making the recipe work for your family’s taste buds that night!
Storing and Reheating Leftover Cheeseburger Pie Bisquick
One of the best parts about making a hearty dish like this cheeseburger pie bisquick is knowing you have leftovers for a quick lunch or another easy dinner later in the week. I always bake a little extra just so I can have some the next day! Because this recipe is so sturdy, it holds up really well when stored, which just builds my trust in this simple casserole.
If you have uneaten wedges, just let the pie cool down completely on the counter first. Then, wrap the slices tightly—and I mean really tight—in plastic wrap, followed by a layer of aluminum foil or placing them in an airtight container. You can keep these leftovers in the refrigerator for up to about three or four days. They reheat beautifully in the microwave when you’re in a rush.
Now, if you’re like me and sometimes just need a meal stashed away for a true emergency, this pie freezes like a champ! I follow the same wrapping procedure—tight plastic wrap, then foil—and you can realistically keep these portions good in the deep freeze for up to three months. When it’s time to eat the frozen portion, make sure you give it a full overnight thaw in the refrigerator before reheating. If you reheat straight from frozen, the topping tends to dry out before the center warms up the way you want it to.
When you’re ready to enjoy that slice again, pop it into a 350-degree oven until it’s warmed through. This gentle heat setting helps the biscuit topping warm back up without burning, keeping the texture much better than a frantic blast in the microwave. It’s almost as good as the first time around! If you need a comforting soup to pair with your reheated slice, my creamy cheddar potato cheese soup is always fantastic alongside this savory bake.
Common Questions About Making a Cheeseburger Pie Bisquick
I know when I first started baking with Bisquick, I had a lot of little questions swirling around. It’s not quite the same as using ready-made pie dough, so it’s natural to wonder about substitutions or how to change things up. I’ve gathered the most frequent questions I get from folks trying this recipe for the first time—especially those looking for a reliable easy cheeseburger casserole!
Can I use something other than Bisquick for the topping?
That’s a fair question! Bisquick is what makes this recipe so incredibly easy and reliable for a quick comfort food pie baking night. If you absolutely can’t find it, you can technically make a quick drop biscuit batter from scratch using flour, baking powder, salt, butter, and milk or buttermilk. However, the consistency will be slightly different, and you’ll lose that signature ease. I really suggest sticking to the Bisquick if you can, as it’s formulated perfectly to create that fluffy, golden crust we love over the savory beef filling.
What if I don’t want to use ground beef?
Oh, absolutely! While this is called a cheeseburger pie, it’s wonderfully versatile. If you want to use ground turkey or ground chicken, it works just fine! You might want to add a little splash more mustard or even half a teaspoon of Worcestershire sauce to the meat mixture when you are simmering it, just to deepen the flavor profile since poultry is milder than beef. If you prefer no meat at all, you could substitute plant-based ground crumbles or even use a layer of cooked lentils and sautéed mushrooms for a vegetarian filling instead, though you’ll need to reduce the cooking time for the filling since they won’t need as much simmering time.
Do I need to use a 9-inch pie plate?
You really should stick to a 9-inch pie plate, or something very close to that depth and diameter. The ratio of the beef filling to the biscuit topping batter is designed specifically for that size. If you use a much shallower dish, you might have leftover topping batter, or if you use a deeper dish, the topping might not cook quite as evenly in the center. Since the Bisquick batter is poured right over the top, getting the right surface area is important for that 20 to 25-minute bake time we aim for!
Can I prepare the beef mixture ahead of time?
Yes, preparing the beef filling ahead of time is a fantastic trick for busy cooks! You can brown the beef, onion, drain the grease, and stir in all the seasonings, cheese, ketchup, and mustard up to two days in advance. Just keep that mixture totally cooled, cover it tightly, and store it in the refrigerator. When you are ready to bake your cheeseburger pie bisquick, spread the cold mixture into your greased pie plate, mix up your fresh Bisquick batter, pour it on top, and pop it in the oven. You may need to add 5 or so extra minutes to the baking time since the filling is starting cold, but don’t worry, it will still bake up beautifully!
Serving Suggestions for Your Homestyle Cheeseburger Pie Bisquick
Now that you’ve mastered the absolute best cheeseburger pie bisquick, the next challenge is figuring out what to serve alongside it! Since this pie is already packed with protein, cheese, and that wonderful starchy biscuit topping, we don’t need anything heavy or fussy. Remember, my whole purpose here is to give you genuinely easy, reliable recipes that qualify as quick supper ideas for busy cooks, so these sides are designed to be just as simple!
When I serve this savory bake, I like to keep a few classic hamburger pairings in mind, but lighten them up a bit since everything is contained in one wonderful dish. A little freshness really cuts through the richness of the beef and cheddar cheese perfectly.
- A Simple Green Salad: This is my go-to pairing. I just toss some crisp romaine lettuce with sliced cucumbers and maybe some halved grape tomatoes. Forget fancy vinaigrettes! A light drizzle of red wine vinegar and good olive oil, maybe a sprinkle of salt and pepper, is all you need to keep things simple and bright.
- Steamed or Roasted Green Vegetables: If you have an extra ten minutes, tossing some broccoli or green beans with a little garlic powder and roasting them until tender-crisp is marvelous. Or, if you are really in a rush, steaming is fantastic. Broccoli, especially, stays vibrant and crunchy when lightly steamed, providing a great textural contrast to the soft filling and topping.
- Quick Pickle Relish: If you loved the dill pickle suggestion for inside the pie, serve some on the side! A spoonful of sweet or dill pickle relish on top of each slice right before serving mimics that classic fast-food experience and adds a welcome burst of acidity.
- Plain Potato Chips: Yes, you read that right! Sometimes, a simple, crunchy potato chip on the side is exactly what a hearty, cheesy dinner needs. It’s comforting, it’s easy, and sometimes the simplest things are the best companions to a great cheeseburger pie bisquick.
Nutritional Snapshot of This Comfort Food Pie Baking
I always like to give you an idea of what you’re serving up when you put one of my recipes on the table. When you’re making something comforting like this cheeseburger pie bisquick, you know it’s going to be satisfying! Here is a general breakdown of the estimated nutrition facts per slice, based on the standard 9-inch pie cut into 6 servings.
Now, I want to be very clear here, just like I was in the classroom when assigning math problems: these numbers are estimates, folks! They can certainly change based on the type of ground beef you use—leaner meat versus regular—or the specific brand of Bisquick or cheese you reach for in your pantry. Think of this as a helpful guide, not a precise laboratory analysis. It’s a tasty, hearty meal that fits wonderfully into a balanced diet when paired with fresh sides, like the ones I suggested earlier!
If you’re looking for how this compares to other baked favorites, you might also want to check out my recipe for chicken pot pie casserole sometime!
- Serving Size: 1 slice
- Calories: Approximately 450
- Protein: About 28 grams
- Total Fat: Around 25 grams (with 11 grams of that being Saturated Fat)
- Carbohydrates: Approximately 30 grams
- Sugar: About 5 grams
- Sodium: Roughly 750mg (This is why I always suggest watching the salt when browning the beef!)
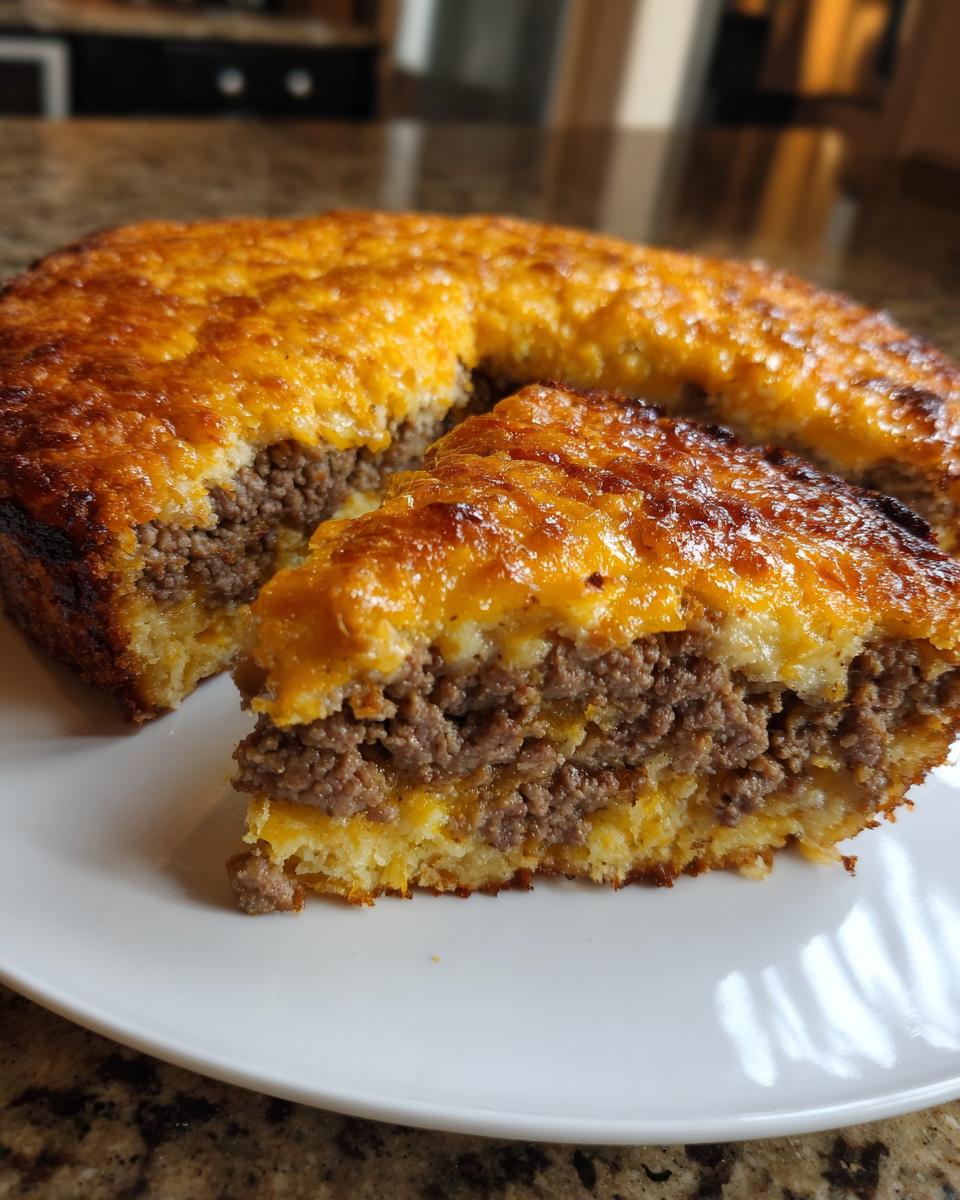
Classic Cheeseburger Pie with Bisquick Topping

Make this easy ground beef and cheese pie using Bisquick for a simple, comforting weeknight dinner. It tastes like your favorite cheeseburger baked in a flaky crust.
- Prep Time: 15 min
- Cook Time: 25 min
- Total Time: 40 min
- Yield: 6 servings 1x
- Category: Dinner
- Method: Baking
- Cuisine: American
- Diet: Vegetarian
Ingredients
- 1 pound ground beef
- 1 small onion, chopped
- 1 teaspoon salt
- 1/2 teaspoon black pepper
- 1/2 cup water
- 1 cup shredded cheddar cheese
- 1/4 cup ketchup
- 1 tablespoon yellow mustard
- 2 cups Bisquick mix
- 2/3 cup milk
- 1 egg
Instructions
- Preheat your oven to 400 degrees Fahrenheit. Lightly grease a 9-inch pie plate.
- Brown the ground beef and onion in a skillet over medium heat. Drain off any excess grease.
- Stir in the salt, pepper, and water. Bring to a simmer and cook for 5 minutes, allowing the liquid to mostly absorb.
- Remove the skillet from the heat. Stir in the cheddar cheese, ketchup, and mustard until combined. Spread this mixture evenly into the bottom of the prepared pie plate.
- In a separate bowl, whisk together the Bisquick mix, milk, and egg until just combined to form a thick batter.
- Pour the Bisquick batter evenly over the beef mixture in the pie plate.
- Bake for 20 to 25 minutes, or until the topping is golden brown and cooked through.
- Let the pie cool for 5 minutes before slicing and serving.
Notes
- For extra flavor, add 1/4 cup of finely chopped dill pickles to the beef mixture before topping with the batter.
- You can substitute Colby Jack or Monterey Jack cheese for the cheddar if you prefer a milder flavor.
- This recipe freezes well; cool completely, wrap tightly, and freeze for up to three months. Thaw overnight and reheat at 350 degrees Fahrenheit until warmed through.
Nutrition
- Serving Size: 1 slice
- Calories: 450
- Sugar: 5
- Sodium: 750
- Fat: 25
- Saturated Fat: 11
- Unsaturated Fat: 14
- Trans Fat: 1
- Carbohydrates: 30
- Fiber: 2
- Protein: 28
- Cholesterol: 85