
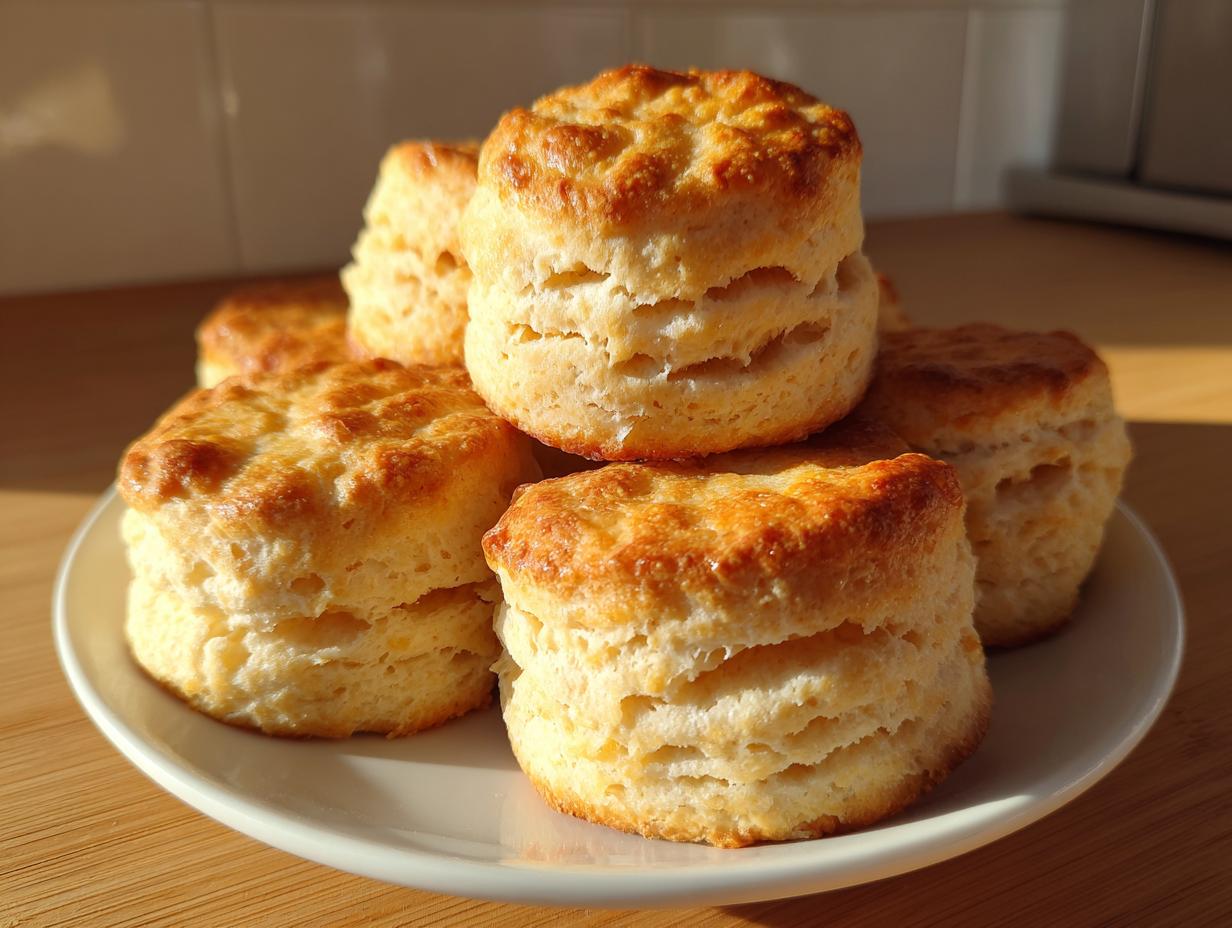
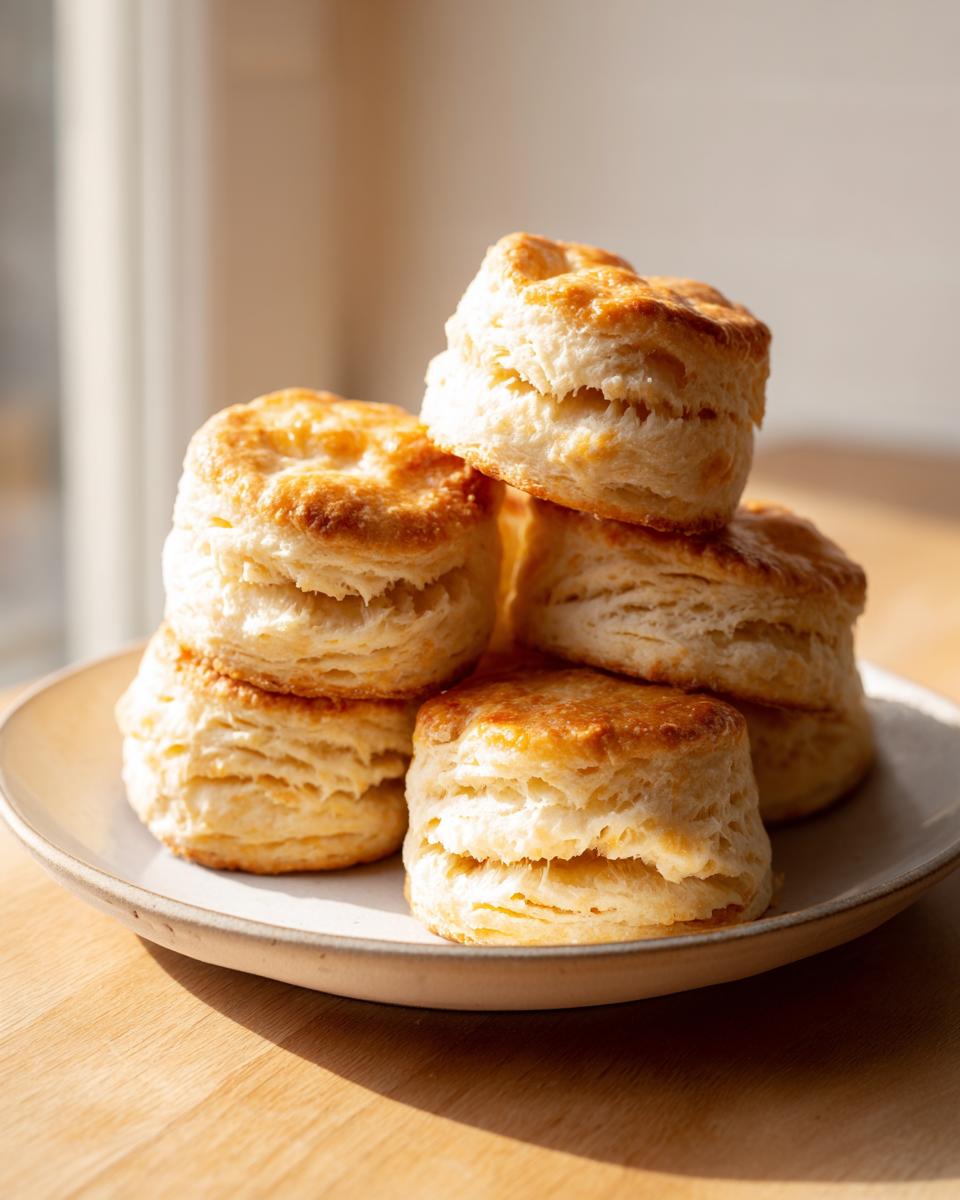
There is nothing quite as comforting as walking into a kitchen filled with the aroma of something hot, buttery, and made completely from scratch. That’s the very essence of what we’re trying to capture here at Cooking by Carla. And when it comes to true comfort food baking, nothing beats a stack of truly magnificent homemade biscuits. Forget those flat, dry hockey pucks you sometimes get from a mix. I’m going to show you how to master the tall, flaky, Southern-style buttermilk biscuits that practically float right off the plate. My mother taught me that good food doesn’t need complicated steps, just patience and cold ingredients, and that old-fashioned approach truly makes the best biscuit every time.
You can read all about how my time as a teacher helped me lay out recipes clearly because I know how frustrating confusion in the middle of baking can be. You can learn more about my cooking philosophy here, but for now, let’s talk layers. These biscuits are tender, impossibly fluffy, and have those gorgeous buttery cracks you just dream about. If you follow these steps closely, you’ll have the best buttermilk biscuits you’ve ever made.
- Why This Southern Style Biscuits Recipe Works So Well
- Gathering Ingredients for Perfect Buttermilk Biscuits
- The Buttery Biscuit Technique: Step-by-Step Buttermilk Biscuits
- Tips for Success with Tender Baking Recipes
- Serving Suggestions for Warm Biscuits for Dinner and Breakfast
- Storage and Reheating Buttermilk Biscuits
- Frequently Asked Questions About Baking with Buttermilk
- Estimated Nutritional Information for Buttermilk Biscuits
- Share Your Fluffy Buttermilk Biscuits Creations
Why This Southern Style Biscuits Recipe Works So Well
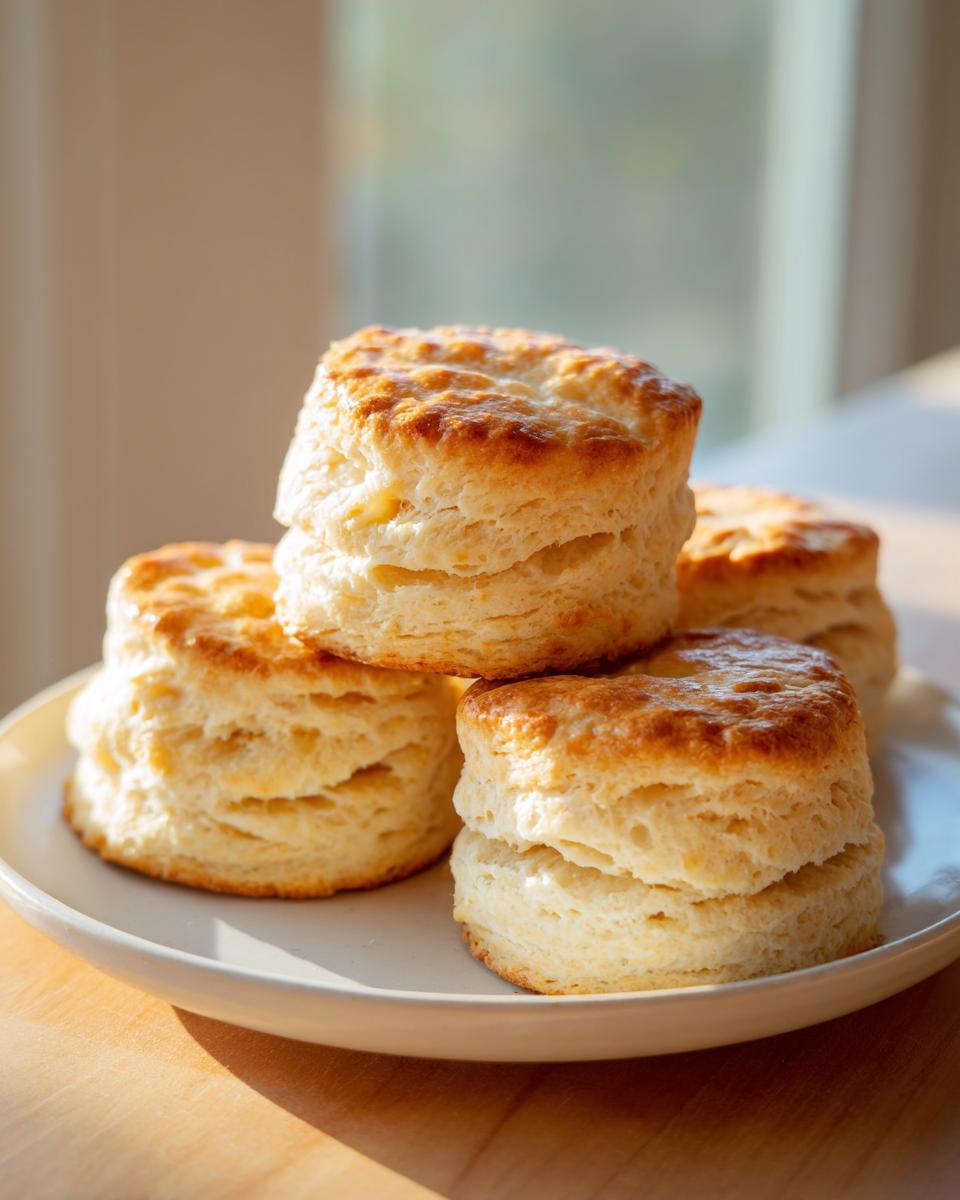
The secret to those tall, show-stopping biscuits isn’t some fancy gadget; it’s all about technique, my dears. We are chasing extreme flakiness and tenderness, and that happens when fat stays cold. If the butter melts into the flour before it hits the hot oven, you end up with a dense cookie instead of a fluffy biscuit. That’s why you’ll see me stress chilling everything right up until the last second.
The second major trick, which gives us those beautiful internal layers even though we keep it simple, is the folding. It’s just a basic technique, really, folding the dough over onto itself a couple of times. This simple move stacks the dough and the little pockets of cold butter, setting you up for maximum rise high biscuits. It’s the classic way to achieve that wonderful texture that everybody loves in a great homemade biscuit recipe.
Gathering Ingredients for Perfect Buttermilk Biscuits
Alright, before we even think about mixing anything, make sure your workspace is ready. Just like with my scones, preparation is half the battle, especially when we’re aiming for fluffy.
The most important thing you need to do right now is chill everything until it’s nearly frozen. That means your butter and your buttermilk must be ice cold. I mean it—keep that 6 tablespoons of unsalted butter cut into small pieces sitting in the freezer for ten minutes while you gather the flour, baking powder, salt, and sugar. That chilling effort is the whole secret to those flaky layers you want!
When you measure out your 3/4 cup of buttermilk, make sure it’s straight out of the fridge, too. If your ingredients are warm, the butter will smear, and we’ll lose the steam pockets that push our biscuits up high. Get everything ready so you can work fast once we start bringing it all together.
The Buttery Biscuit Technique: Step-by-Step Buttermilk Biscuits
Now that everything is ice cold, we move fast. This is where my years of teaching come in handy—we’re going to follow these steps exactly so you don’t overwork the dough, which is the number one reason biscuits turn tough. Remember, we want these to be melt-in-your-mouth tender! If you’re planning on making some delicious smothered chicken later, you’ll want those perfect biscuits ready to soak up that gravy.
Mixing Dry Ingredients and Cutting in the Butter for Fluffy Buttermilk Biscuits
First things first: get your dry ingredients whisked together really well in a big bowl. We want the baking powder distributed evenly! Next, drop in those cold little cubes of butter. You’ll use your pastry blender or your fingertips to work the butter in. Don’t try to blend it completely smooth. We are looking for a texture that resembles coarse crumbs, but you absolutely must still see some chunks of butter about the size of a small pea. Those bits of cold butter are what melt in the oven to create steam and those lovely flaky layers later on.
Creating Layers: Folding Dough for Rise High Biscuits
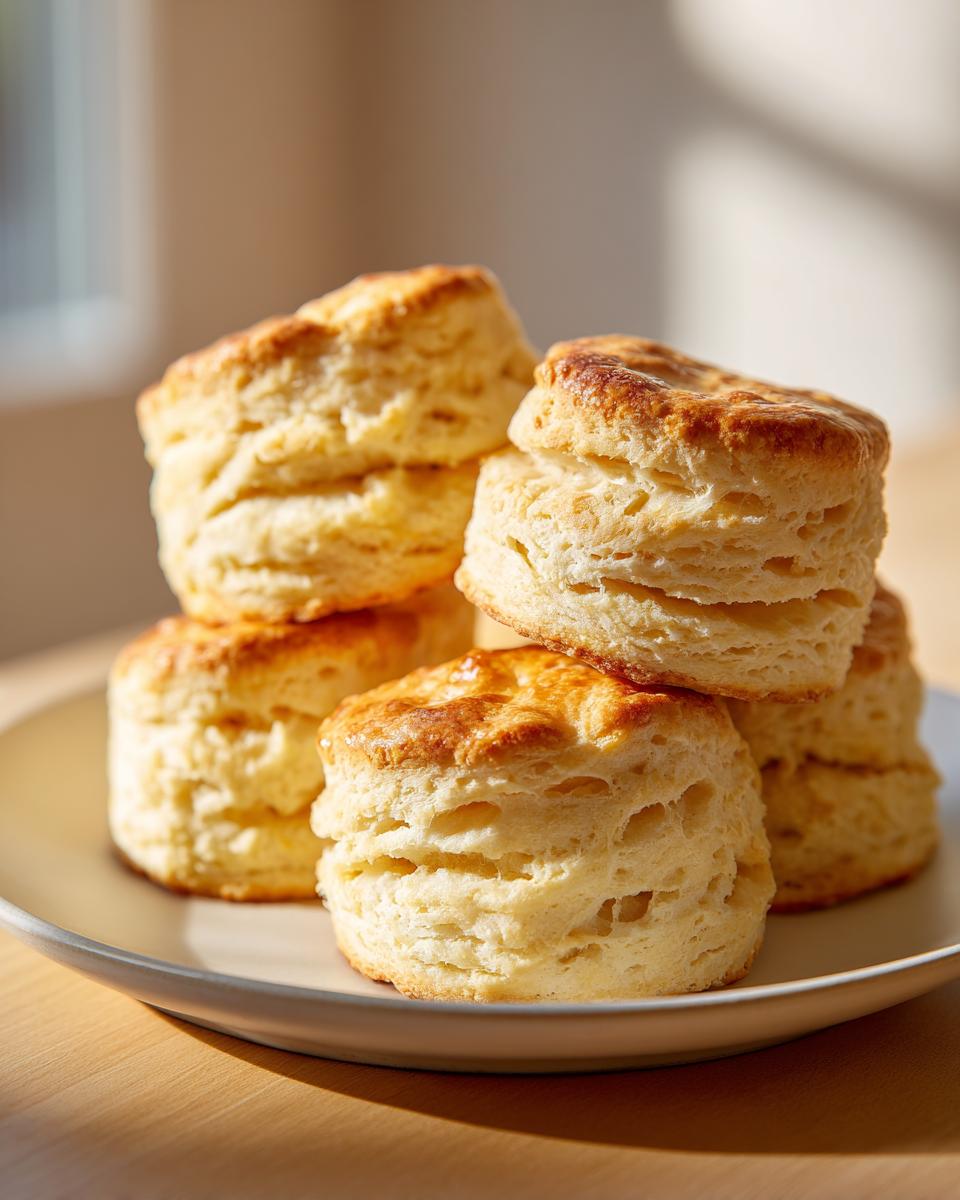
Once the butter is cut in, it’s time for the buttermilk. Pour that cold liquid in all at once and use a fork to stir just until the dough starts clinging together. It still looks rough, and that’s perfect—do not mix it until it’s smooth! Turn the whole shaggy mass out onto a lightly floured countertop. Now, gently pat it into a rough rectangle about an inch thick. Take the short side and fold it over the middle, then fold the other short side over the top, just like folding a business letter. This creates layers.
We do this folding step twice more, turning the dough ninety degrees between each fold, to build structure. This move stacks the dough and the little pockets of cold butter, setting you up for maximum lift. It’s the classic way to achieve that wonderful texture people swoon over in true Southern style biscuits.
Cutting and Baking Your Buttermilk Biscuits
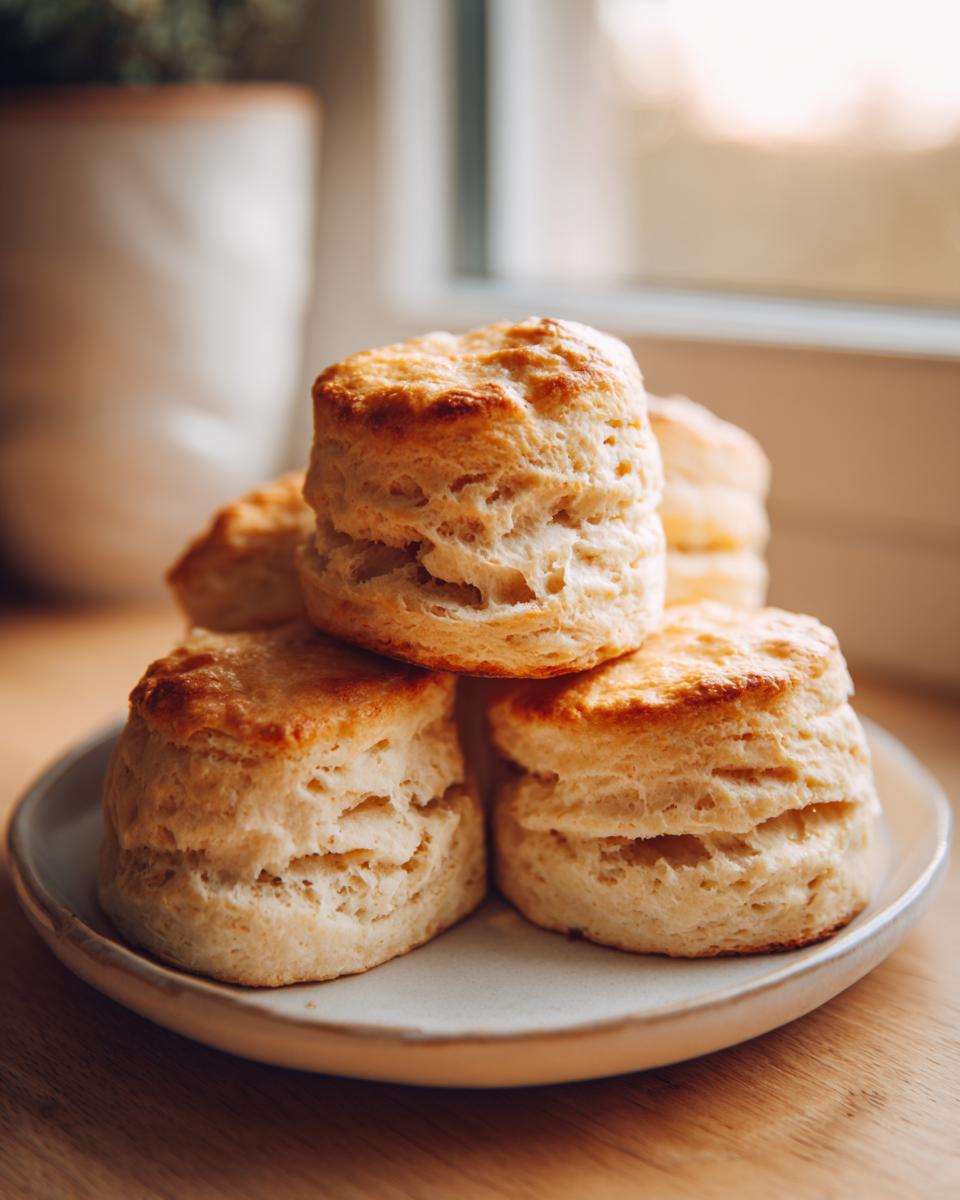
Oh, the oven needs to be preheated to 425 degrees Fahrenheit, don’t forget that part! Time to cut! Take your 2-inch biscuit cutter and press it *straight* down into the dough. This is crucial: Do not twist the cutter! Twisting seals the edges closed, and that stops the biscuit from rising tall and puffing up perfectly. If you’re baking them for soft sides, place them right next to each other on that prepared parchment-lined sheet. If you want a little crispy edge all around, give them an inch of space, but I usually like mine touching for that true soft-side comfort.
Brush the tops very lightly with just a tiny bit more of that cold buttermilk—it helps them brown nicely. Pop them into that hot oven for about 12 to 15 minutes. When they come out, they should be gorgeously golden brown and cooked through.
Tips for Success with Tender Baking Recipes
Now, I know that when you’re trying to get that perfect texture in tender baking recipes, it feels like there are a million little rules. But trust me, the two big ones I always preach about are keeping things cold and cutting cleanly.
If you forget everything else, just remember: cold butter and cold buttermilk are non-negotiable for those flaky layers we talked about. I once tried sneaking this recipe in quick on a hot July afternoon when the butter was already a bit dull looking. Well, the resulting biscuits were flat and tasted almost greasy. They were edible, sure, but not *special*—just sad, heavy discs! Never again!
And please, when you use your biscuit cutter, press straight down and lift straight up. Don’t twist! Twisting is like putting a tiny little wall around the edge that stops the dough from puffing up nicely in the oven. We want those high, fluffy sides, and a clean cut is how you get it. You can find another great tip for keeping fat cold over in my pie crust guide, as the principle is exactly the same!
Serving Suggestions for Warm Biscuits for Dinner and Breakfast
These tall, flaky buttermilk biscuits are the perfect canvas for whatever you’re serving! If you’re having them for breakfast, you absolutely must slice one while it’s still piping hot and slather it with good quality butter and sweet jam or maybe some local honey. That warm, fluffy interior just drinks it right up.
But don’t save them just for the morning! They make the best side for a hearty supper. Trust me, there is no better pairing for a thick bowl of soup or stew than a few of these buttery rounds ready to sop it all up. They are especially wonderful beside a plate of smothered chicken, and you can find my recipe for easy homemade gravy right here.
No matter the time of day, these fit right in. If you’re looking for more ideas for that first meal, check out all my easy breakfast recipes!
Storage and Reheating Buttermilk Biscuits
These biscuits are always best enjoyed the moment they come out of the oven, right? But if you have any leftovers, don’t fret! Store uneaten buttermilk biscuits in an airtight container at room temperature for up to two days. Putting them in the fridge tends to dry them out prematurely.
To bring back that fresh-baked tenderness, I usually give them a quick zap in the microwave wrapped in a damp paper towel, or better yet, warm them briefly in a 350-degree oven until they’re soft again. That little burst of heat revives the butter beautifully.
Frequently Asked Questions About Baking with Buttermilk
Even after giving you the full rundown, I always get a few helpful questions from folks diving into scratch baking for the first time. That’s completely understandable! Baking is a little bit science, and a little bit magic, so let’s clear up the most common things people ask when making these delicate treats.
Can I substitute regular milk for buttermilk in these buttermilk biscuits?
That’s a very common query! True buttermilk is slightly acidic, and that acid does wonderful things when it meets the baking powder—it helps give our biscuits that lift and tenderness. If you look in the fridge and only have regular milk, don’t panic! You can make a substitute.
For every cup of buttermilk you need, just mix 1 cup of regular milk with 1 tablespoon of white vinegar or fresh lemon juice. Let that sit on the counter for about five to ten minutes until it looks slightly curdled. It won’t be *exactly* the same as the real stuff, but it works in a pinch! For more tips on using this ingredient, you can check out my full guide on baking with buttermilk.
How do I make my homemade biscuits flaky instead of dense?
If you remember nothing else from this whole recipe, remember this: Keep it cold and cut straight! We want those distinct layers, and that comes from keeping your butter in tiny, hard pieces until they hit the heat. If your butter is soft, it just mixes right into the flour, and you lose the internal structure. That’s what causes dense biscuits.
Secondly, when you use that biscuit cutter, press down firmly and pull it straight up. Don’t wiggle or twist—that seals the edges shut and prevents the biscuit from rising up to its potential. Following those two steps is how you master how to make biscuits flaky every single time!
Can I use this recipe for Quick Breakfast Breads if I use self-rising flour?
Oh, you certainly can make this recipe work for quick breakfast breads if you only have self-rising flour on hand! Self-rising already contains salt and baking powder, so you need to adjust the dry mix accordingly.
If you swap out your all-purpose flour for self-rising flour, you need to just leave out the 1 tablespoon of baking powder and the 1 teaspoon of salt listed in the standard recipe. Now, since most self-rising flours already contain salt, you should skip adding that extra teaspoon entirely to avoid having biscuits that taste too salty. That keeps the essential buttermilk magic intact!
Estimated Nutritional Information for Buttermilk Biscuits
I’m happy to share the nutritional estimates for these lovely biscuits, though remember, since this is home baking, things can shift slightly depending on the brand of butter or flour you use! These figures are just a guideline for enjoying your homemade biscuits.
- Serving Size: 1 biscuit
- Calories: 220
- Fat: 11g
- Carbohydrates: 27g
- Protein: 4g
- Sugar: 2g
These estimates apply to one biscuit from the recipe yields. These are meant to be enjoyed as part of a comforting meal, be it breakfast or supper!
Share Your Fluffy Buttermilk Biscuits Creations
I just love seeing your creations! That’s why I put so much care into making sure these recipes work perfectly for you, whether you’re striving for those high, flaky results or just need a quick, delicious side for dinner. When you make a batch of these buttermilk biscuits, please come back and tell me how they turned out!
Did they rise high? Did you use jam or go straight for the gravy? Rating the recipe helps other home cooks like you decide to dive in—it’s one of the best ways we build this wonderful community here at Cooking by Carla.
If you have any questions that weren’t answered up above, please don’t hesitate to drop a question in the comments below. Maybe you have a unique way you like to serve them! If you need to reach out for something specific, you can always find my contact page right here. Happy baking, friends!
PrintTall and Flaky Southern Buttermilk Biscuits
Make tender, flaky Southern buttermilk biscuits that rise high. This recipe uses cold ingredients and simple folding techniques to achieve maximum layers and a buttery flavor perfect for breakfast or dinner.
- Prep Time: 15 min
- Cook Time: 15 min
- Total Time: 30 min
- Yield: 8 servings 1x
- Category: Breakfast
- Method: Baking
- Cuisine: American
- Diet: Vegetarian
Ingredients
- 2 cups all-purpose flour
- 1 tablespoon baking powder
- 1 teaspoon salt
- 1 teaspoon sugar
- 6 tablespoons cold unsalted butter, cut into small pieces
- 3/4 cup cold buttermilk, plus more for brushing
Instructions
- Preheat your oven to 425 degrees Fahrenheit. Line a baking sheet with parchment paper.
- In a large bowl, whisk together the flour, baking powder, salt, and sugar.
- Cut the cold butter into the dry ingredients using a pastry blender or your fingertips until the mixture resembles coarse crumbs with some pea-sized pieces of butter remaining.
- Pour in the cold buttermilk all at once. Stir gently with a fork until the dough just comes together. Do not overmix.
- Turn the dough out onto a lightly floured surface. Gently pat the dough into a rectangle about 1 inch thick.
- Fold the dough into thirds, like a letter. Turn the dough 90 degrees and repeat the folding process one more time. This creates layers.
- Pat the dough out to a thickness of about 3/4 inch. Use a 2-inch biscuit cutter to cut out rounds. Press the cutter straight down without twisting to keep the biscuits tall.
- Place the cut biscuits close together on the prepared baking sheet. For softer sides, place them touching; for crispier sides, space them apart.
- Brush the tops lightly with a little extra buttermilk.
- Bake for 12 to 15 minutes, or until the biscuits are golden brown on top and cooked through.
- Serve warm, perhaps with jam or gravy.
Notes
- Keep your butter and buttermilk as cold as possible. This is key for flaky layers.
- Do not twist the biscuit cutter when cutting the dough; press straight down for a clean edge that allows the biscuit to rise evenly.
- For extra richness, brush the tops of the baked biscuits with melted butter immediately after removing them from the oven.
Nutrition
- Serving Size: 1 biscuit
- Calories: 220
- Sugar: 2
- Sodium: 350
- Fat: 11
- Saturated Fat: 7
- Unsaturated Fat: 4
- Trans Fat: 0
- Carbohydrates: 27
- Fiber: 1
- Protein: 4
- Cholesterol: 25