
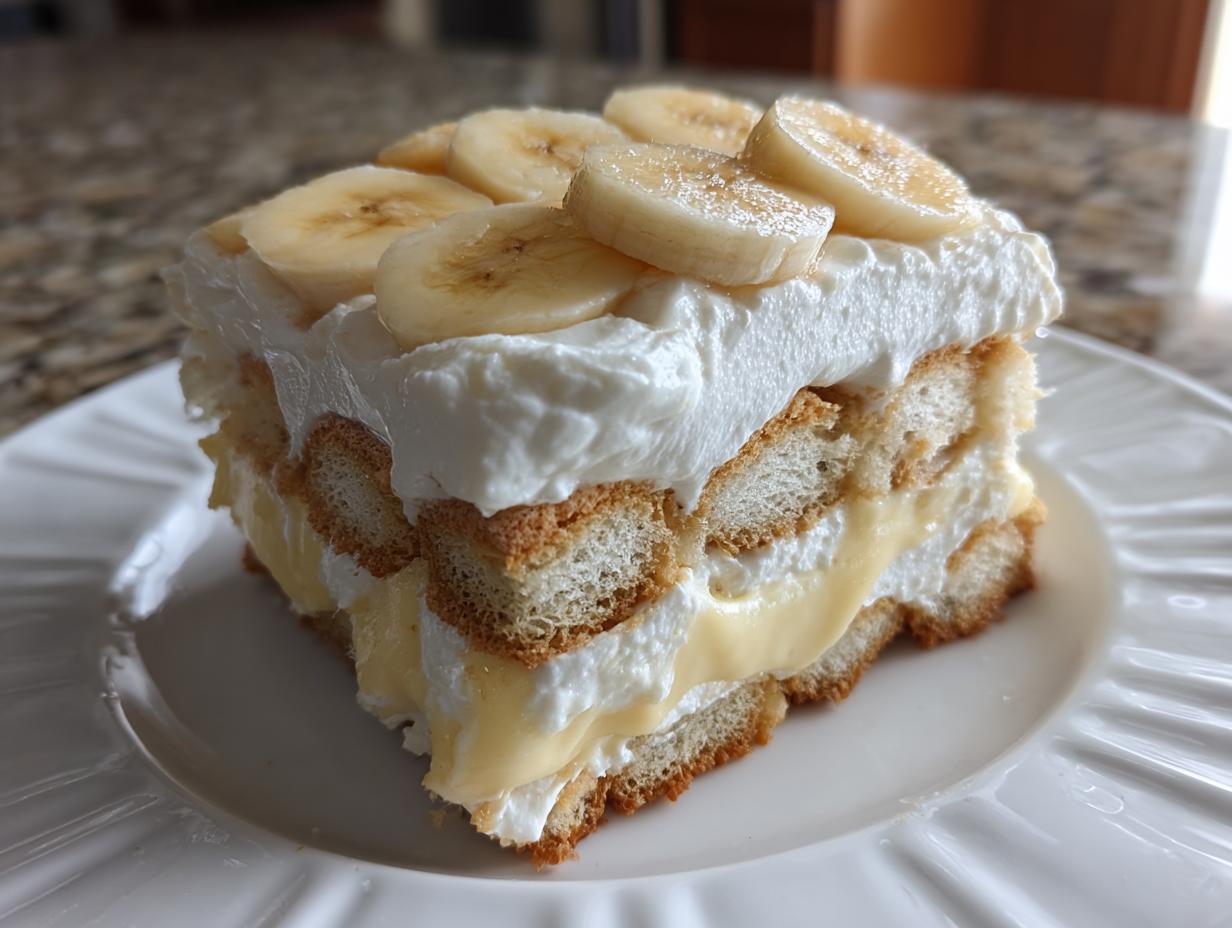
When the craving hits for true comfort food, nothing beats a classic, spoon-tender dessert that tastes like sweet memories. Forget those quick mixes you grab off the shelf; we are making the best old-fashioned Southern banana pudding recipe here, and we’re making it completely from scratch! My teaching background really comes in handy here because I want to make sure every step for this creamy banana pudding is crystal clear. Trust me, with a little patience learning to make this rich vanilla custard base, you’ll have a dessert that brings the whole family running to the kitchen. You can see more about where this love for simple, excellent food comes from over on my About page.
- Why This Old-Fashioned Banana Pudding is the Best Ever
- Ingredients for Your Homemade Banana Pudding from Scratch
- How to Prepare This Classic Banana Pudding Recipe
- Tips for the Ultimate Banana Pudding Success
- Variations on Classic Banana Pudding
- Serving Suggestions for Your Banana Pudding
- Storage and Reheating for Layered Banana Dessert
- Frequently Asked Questions About Banana Pudding
- Nutritional Estimates for This Creamy Vanilla Pudding Dessert
Why This Old-Fashioned Banana Pudding is the Best Ever
If you’re looking for the best ever banana pudding, you’ve found it because we aren’t cutting any corners! This recipe totally skips those instant pudding mixes. We are using a traditional method to create a rich, deeply flavorful custard base instead. That’s the secret to getting that truly creamy banana pudding texture that just melts in your mouth. It takes a little more time, but trust me, your family will notice the difference immediately!
The Secret to Truly Creamy Banana Pudding
That unbelievably smooth texture comes from using four real egg yolks combined with slow, steady heat. When you cook that homemade custard base, you’re creating something special that you just can’t get from a box. It thickens slowly and coats the back of your spoon beautifully. My teaching focus always comes back to technique—slow and steady stirring is what ensures that gorgeous, creamy result!
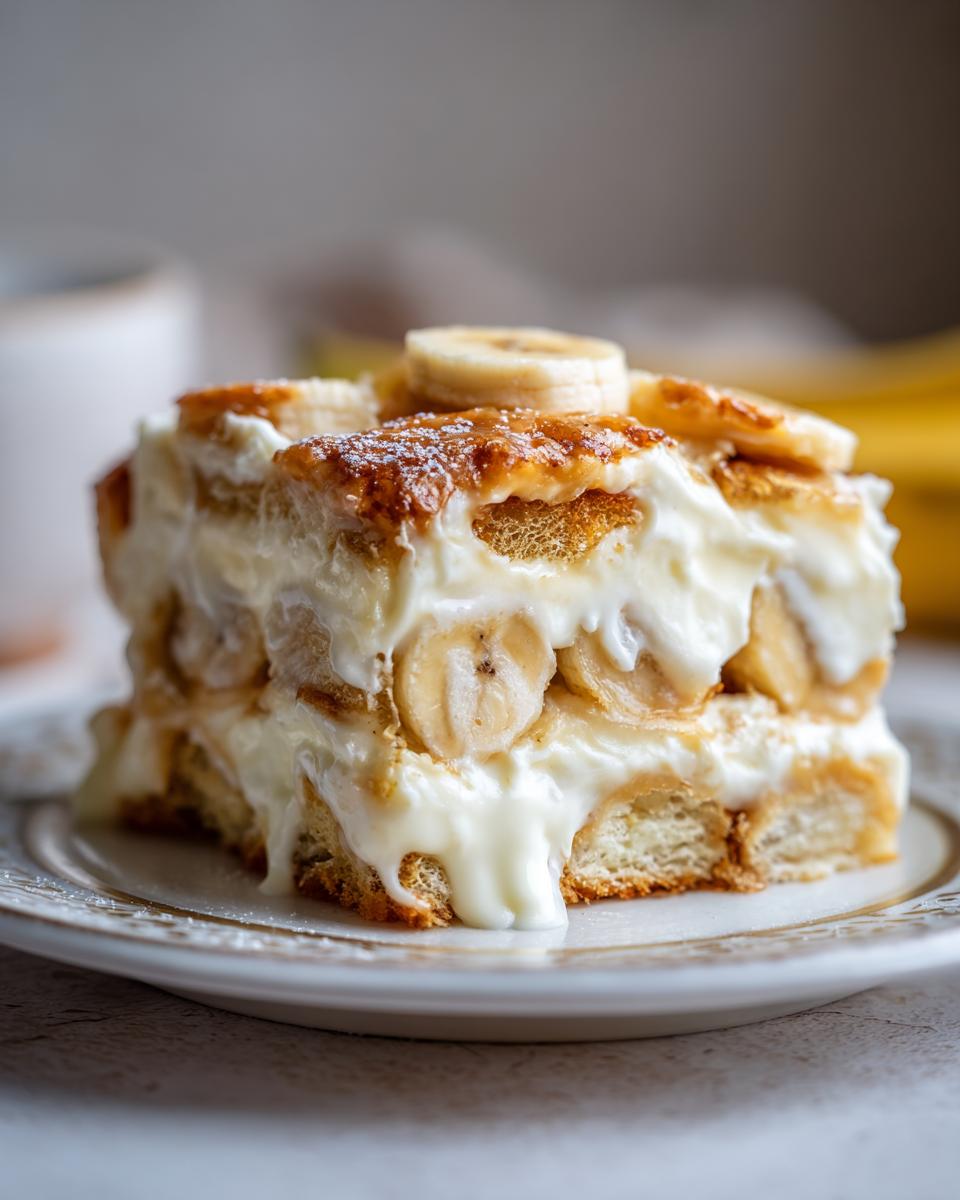
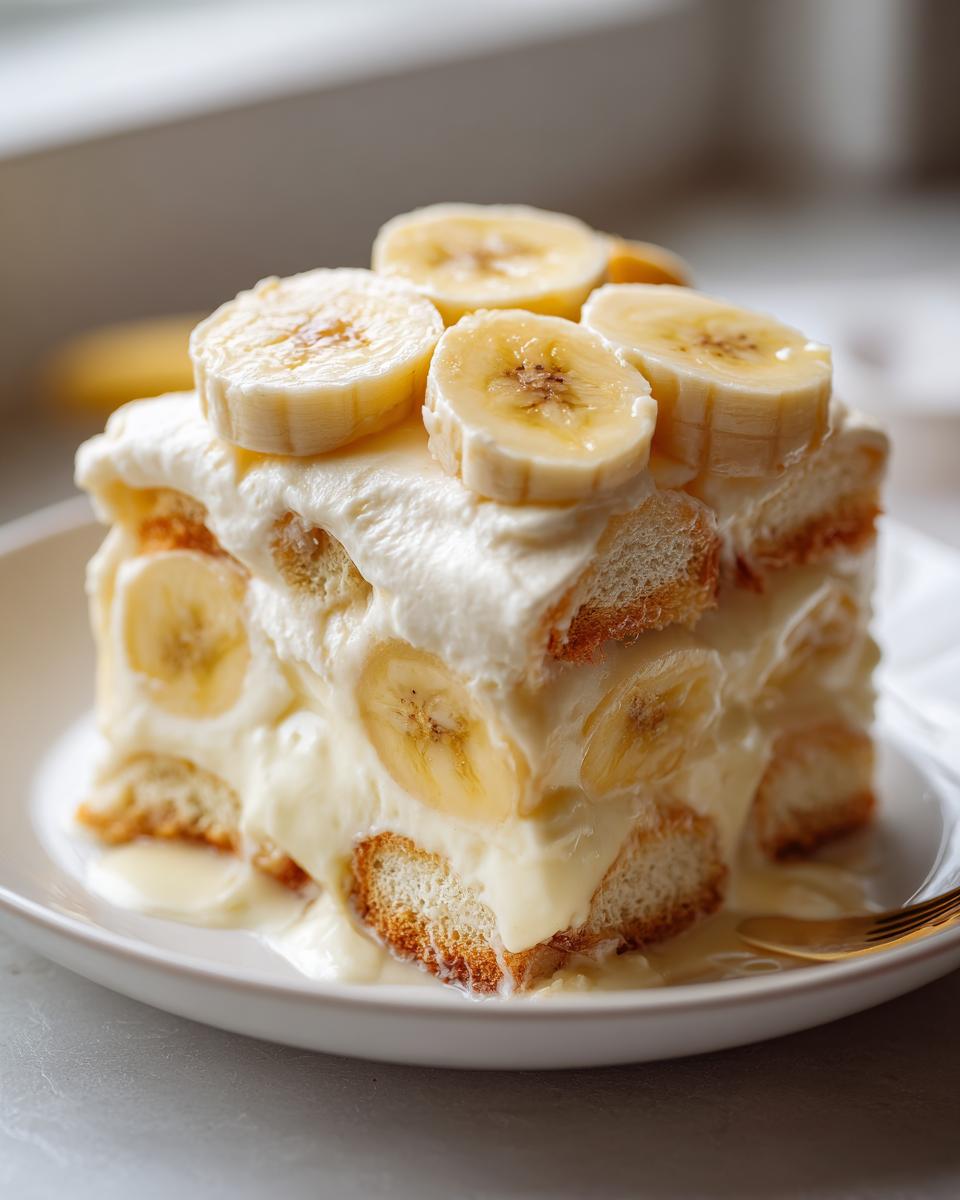
Perfecting the Layered Banana Dessert Texture
The magic of this layered banana dessert isn’t just the pudding; it’s what happens to those vanilla wafers! You have to be patient and let it chill for at least four hours. That chilling time lets the wafers absorb the creamy pudding and soften up until they are almost cake-like. If you cut into it too soon, you just get crunchy wafers floating in soup. We want creamy perfection!
Ingredients for Your Homemade Banana Pudding from Scratch
To truly make a homemade banana pudding from scratch that sings, you can’t skimp on the good stuff. Because we aren’t using any shortcuts, the quality of these components really matters! Using real butter and whole milk means your pudding base will have that rich, comforting mouthfeel we’re aiming for. If you’d like another recipe where homemade quality really shines, check out my easy homemade chocolate pudding guide!
Here’s exactly what you need gathered before we start cooking:
- 1 cup granulated sugar
- 1/2 cup all-purpose flour
- 1/4 teaspoon salt
- 4 large egg yolks
- 3 cups whole milk
- 1 teaspoon vanilla extract
- 1/2 cup (1 stick) unsalted butter, cut into pieces
- 4-5 ripe but firm bananas, sliced
- 1 box (11 ounces) vanilla wafers
Ingredient Clarity: Bananas and Wafers
Let’s talk about the stars of the show! For the bananas, remember they need to be ripe enough for sweetness, but still firm enough to hold their shape when layered—mushy bananas are a no-go here. For the wafers, you absolutely need those classic vanilla wafers. That standard 11-ounce box makes just the right amount to cover your layers perfectly. Don’t try to substitute a crunchy cookie; it won’t soften right!
How to Prepare This Classic Banana Pudding Recipe
Alright, let’s get down to business and make this absolute show-stopper of a classic banana pudding recipe! This isn’t just mixing stuff in a bowl; we’re building layers of flavor and texture right on the stovetop. Remember when I taught my grandkids how to make French toast? This custard-making process requires that same watchful patience. We’ve got a few important steps here for the actual cooking, so pay close attention to the heat!
Making the Rich Stovetop Custard for Banana Pudding
First, whisk your sugar, flour, and salt right in your saucepan—that dry mixing is important! Now, the most crucial part: tempering the egg yolks. Whisk those yolks gently, then slowly pour in about one cup of the milk while stirring like crazy. This stops them from scrambling, which is the biggest fear with any old fashioned pudding recipe! Once tempered, pour that mixture back into the saucepan with the remaining milk. Cook it over medium heat, but you must stir constantly, maybe 8 to 10 minutes, until it’s thick enough to coat the back of your spoon. No rapid boiling here, we just need it thick!
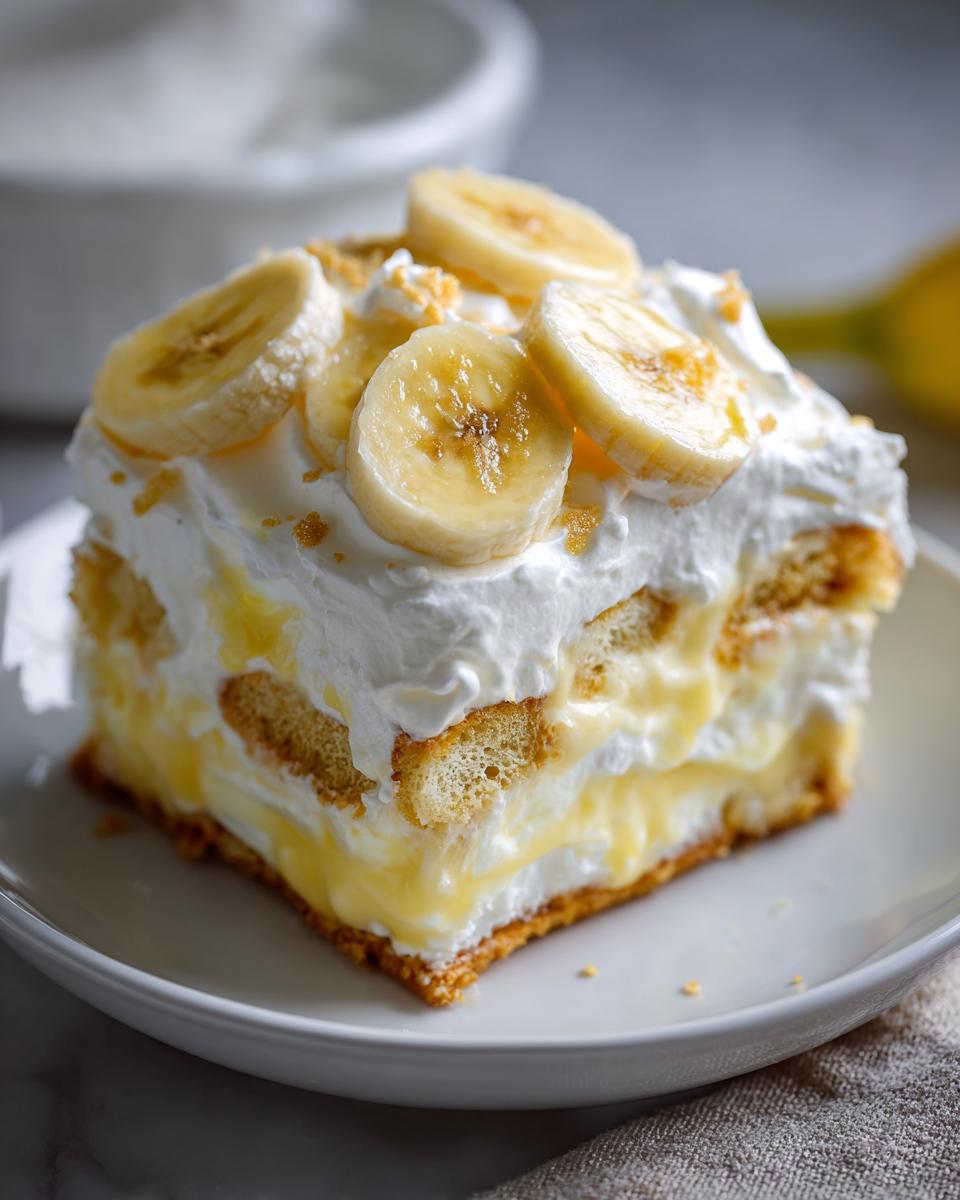
Assembling and Chilling Your Southern Banana Pudding
Once that rich custard cools completely—and I mean *completely*—it’s time for assembly! In a big glass bowl, start layering: spread a layer of wafers, then add your banana slices, and drown it all in that gorgeous, thick pudding. Repeat that stack until you run out, making sure you finish with a final layer of cold pudding on top. Then, you have to cover it tightly and let it rest! While you *can* eat it after four hours, I’m telling you, chilling your southern banana pudding overnight is what transforms it. That time lets the wafers melt into that perfect, dreamy, cake-like consistency.
Tips for the Ultimate Banana Pudding Success
Making this rich dessert can sometimes feel tricky, but I’ve got a few tricks from my kitchen that make sure your comfort food pudding recipes turn out perfectly every single time. The biggest thing for the custard? Covering it immediately! When you take that hot pudding off the stove, press a sheet of plastic wrap right down onto the surface. Seriously, touch the pudding with the plastic. This simple step stops that rubbery skin from forming while it cools.
Also, watch those bananas! You need them ripe for flavor, but if they get too brown before you layer them, they turn to mush. If you happen to be prepping ahead because you’re short on time for a crowd, slice the bananas and toss them very gently in a little bit of lemon juice first. It won’t change the flavor much, but it keeps them looking bright until assembly time. This old-fashioned approach might take a little longer than a quick banana dessert hack, but the payoff is huge!
For a little texture upgrade on top, give my favorite crumb topping idea a try sometime—you can find the basic idea for mixing butter, flour, and sugar over on my coffee cake recipe; just use it dry on top instead of baked!
Variations on Classic Banana Pudding
Now that you’ve mastered the base recipe, you might want to play around a little! Even dedicated fans of the Magnolia Bakery banana pudding copycat style sometimes like a little twist. The best part about this homemade custard is how well it takes on small changes.
If you want to make it lighter and fluffier, fold in about two cups of fresh, stiffly whipped heavy cream right after the pudding has chilled. This gives it an airy texture that’s wonderful for parties. Or, try swapping out those vanilla wafers! Some folks love using crispy shortbread cookies or even softened vanilla Golden Oreos for a slightly different crunch. If you’re after something nearly no-bake, you might love how similar the base flavors are to my no-bake banana cream pie recipe!
Serving Suggestions for Your Banana Pudding
Because this old-fashioned pudding is so rich and satisfying, you don’t need much alongside it! If you’re serving this banana pudding for a crowd at a big summer gathering or potluck, I like to lighten up the rest of the spread. Think crisp, fresh fruit salads or maybe a light green salad instead of heavy sides.
If you want to make this beautiful dessert look a bit fancier for guests, skip the big bowl! Spooning the layers into individual small jars or clear glasses totally elevates it—it looks just like those fun, popular takes on the banana pudding cups recipe. It makes serving easier too, which is always a win in my book! If you need some easy platter ideas to go alongside your dessert spread, I’ve got a great list of easy appetizers you can make while the pudding chills.
Storage and Reheating for Layered Banana Dessert
This beautiful layered banana dessert tastes best when it has had time to set, but how long can you keep it around? Since we used real milk and eggs in that custard, you need to treat it like any other dairy dessert. Pop it in the fridge, covered tightly—and I mean *tightly*! Plastic wrap pressed right against the top layer is still my favorite way to keep it fresh.
Honestly, for that perfect balance where the wafers are soft but not completely dissolved, I think 2 to 3 days is the sweet spot for this vanilla wafer dessert. After that, the bananas start getting a little sad and brownish. You absolutely don’t want to try reheating this beauty; it’s meant to be served perfectly cold straight from the icebox!
Frequently Asked Questions About Banana Pudding
It’s natural to have questions when you move away from using a box mix! I get asked all the time about timing and ingredient swaps for this recipe. Answering these little things is important so you get a wonderful result on your first try, which builds confidence for every batch after. If you’re tackling dinner too, I have some great ideas for pairing sides over on my quick lunch ideas page you might enjoy!
Can I make this easy no bake banana pudding ahead of time?
Oh, you absolutely should make it ahead! This is not a dessert you rush. You need at least four hours minimum chilling time, but honestly, making this treats you best when you assemble it the night before. Letting it chill overnight lets those vanilla wafers soak up all that creamy goodness perfectly.
What is the difference between this and Paula Deen banana pudding recipe?
That’s a popular comparison! Many famous recipes, including some variations of the Paula Deen banana pudding recipe, lean heavily on instant pudding mixes or even sweetened condensed milk for structure. This recipe, however, is focused purely on making a rich, traditional custard base from scratch using egg yolks and flour. That’s why we call this the classic banana pudding recipe—it’s fully homemade and just richer!
Nutritional Estimates for This Creamy Vanilla Pudding Dessert
Now, I know when you’re making a true comfort food like this, you probably aren’t worried about the macros, but I like to give you the full picture anyway! Since we are making everything homemade—from the custard to the layering—these numbers are just estimates, of course. The details can shift depending on the brand of butter or the exact size of your bananas, but here is a good baseline for one serving.
- Serving Size: 1 cup
- Calories: 380
- Sugar: 45g
- Fat: 16g
- Protein: 7g
Remember, these figures are calculations based on the ingredients listed in the recipe and are meant as a helpful guide, not gospel! Enjoy every bite of this wonderful creamy vanilla pudding dessert.
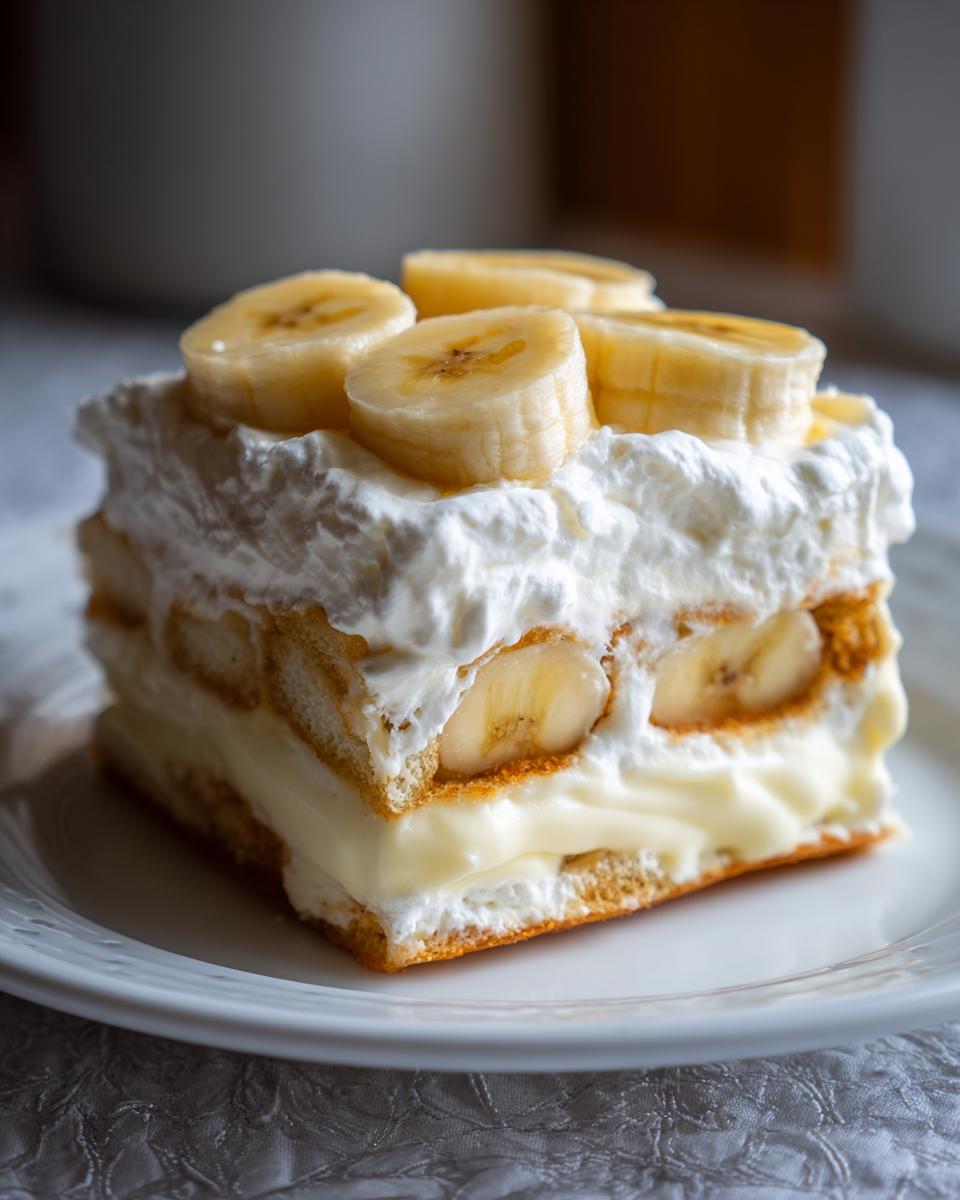
PrintThe Best Old-Fashioned Southern Banana Pudding
Make a creamy, layered banana pudding using classic techniques. This recipe features rich vanilla pudding, fresh bananas, and softened vanilla wafers for a comforting dessert.
- Prep Time: 25 min
- Cook Time: 15 min
- Total Time: 4 hours 40 min
- Yield: 8 servings 1x
- Category: Dessert
- Method: Stovetop Cooking and Chilling
- Cuisine: American
- Diet: Vegetarian
Ingredients
- 1 cup granulated sugar
- 1/2 cup all-purpose flour
- 1/4 teaspoon salt
- 4 large egg yolks
- 3 cups whole milk
- 1 teaspoon vanilla extract
- 1/2 cup (1 stick) unsalted butter, cut into pieces
- 4–5 ripe but firm bananas, sliced
- 1 box (11 ounces) vanilla wafers
Instructions
- In a medium saucepan, whisk together the sugar, flour, and salt.
- In a separate bowl, whisk the egg yolks lightly. Slowly whisk about 1 cup of the milk into the egg yolks to temper them.
- Pour the tempered egg mixture back into the saucepan with the remaining milk and sugar mixture.
- Cook over medium heat, stirring constantly with a wooden spoon or whisk, until the mixture thickens enough to coat the back of the spoon. Do not let it boil rapidly. This takes about 8 to 10 minutes.
- Remove the saucepan from the heat. Stir in the vanilla extract and the butter until the butter is completely melted and incorporated.
- Pour the hot pudding into a large bowl. Press plastic wrap directly onto the surface of the pudding to prevent a skin from forming. Cool the pudding completely in the refrigerator, about 2 hours.
- Once chilled, gently stir the pudding to smooth it out.
- Assemble the pudding in a large glass bowl or individual serving dishes. Create a layer of vanilla wafers, followed by a layer of sliced bananas, and then top with a layer of the cooled pudding. Repeat the layers until all ingredients are used, ending with a layer of pudding.
- Garnish the top layer with a final scattering of vanilla wafers.
- Cover the dish and chill in the refrigerator for at least 4 hours, or preferably overnight. This allows the wafers to soften into a cake-like texture.
- Serve cold.
Notes
- For a richer flavor, use homemade vanilla pudding instead of instant mixes.
- Select bananas that are ripe but still hold their shape when sliced. Overripe bananas will become mushy.
- If you prefer a slightly firmer texture, you can substitute half of the milk with heavy cream.
Nutrition
- Serving Size: 1 cup
- Calories: 380
- Sugar: 45
- Sodium: 180
- Fat: 16
- Saturated Fat: 8
- Unsaturated Fat: 8
- Trans Fat: 0.5
- Carbohydrates: 58
- Fiber: 2
- Protein: 7
- Cholesterol: 105