
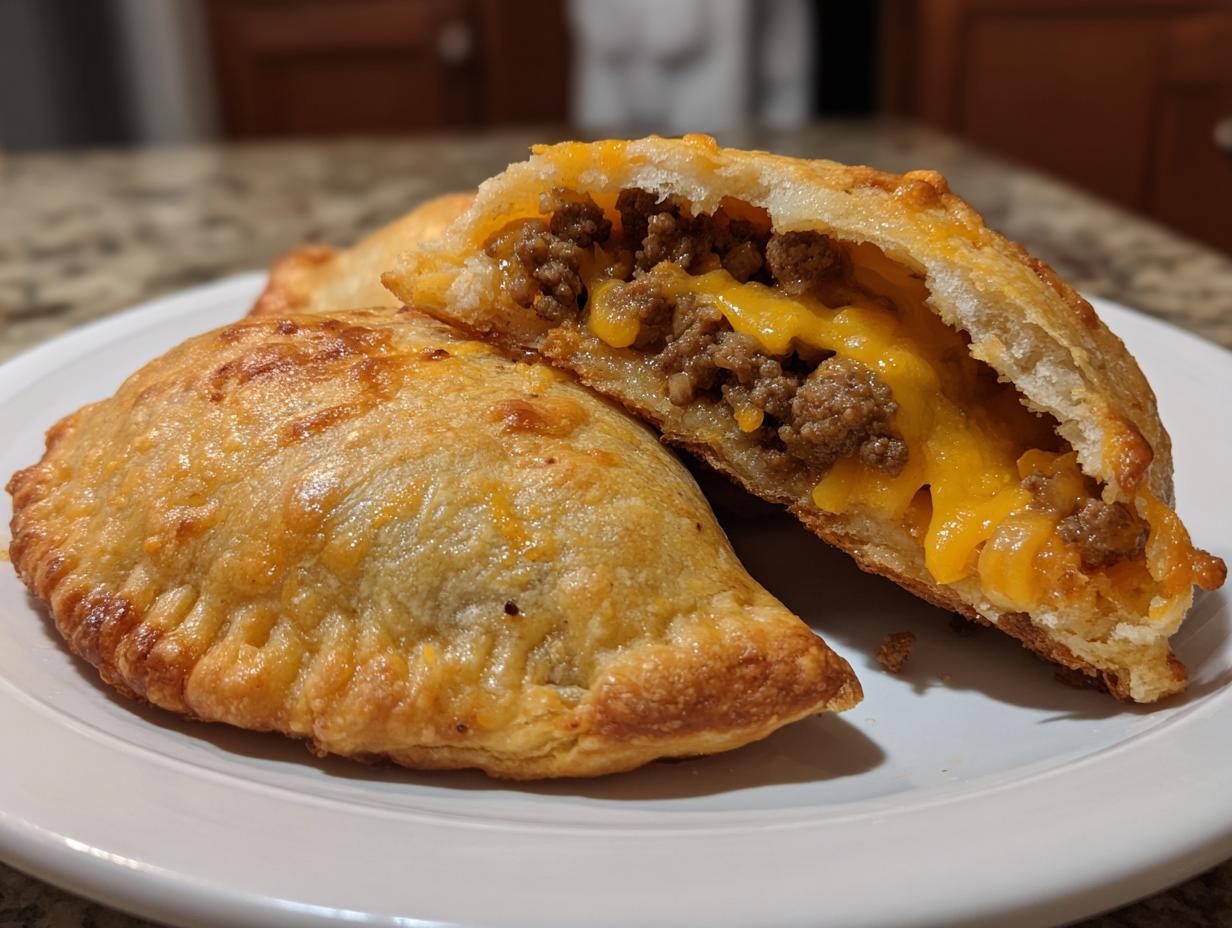
Oh, I just love when a dinner can solve two problems at once: making sure everyone gets a comforting, familiar flavor, and making sure cleanup is a breeze! If you’re tired of flipping patties and dealing with melting cheese sliding everywhere, you are in the absolute right place. We are taking that amazing classic taste and tucking it snugly inside a golden, flaky pastry shell. Trust me when I say these easy and delicious bacon cheeseburger pockets are about to become a staple in your home. They cook up beautifully, they stay sealed, and yes, they are perfect for packing up! If you ever need a hearty soup version, you can check out my recipe for easy cheeseburger soup, but today, we are keeping it handheld!
- Why This is the Best Bacon Cheeseburger Pockets Recipe
- Gathering Ingredients for Your Bacon Cheeseburger Pockets
- Step-by-Step Instructions for Homemade Burger Pockets
- Tips for Perfect Baked Burger Pockets
- Serving Suggestions for Handheld Bacon Cheeseburgers
- Make Ahead and Storage for Bacon Cheeseburger Pockets
- Frequently Asked Questions About These Savory Pastry Stuffed Burgers
- Nutritional Estimates for Your Quick Weeknight Burger Pockets
- Share Your Homemade Bacon Cheeseburger Pockets
Why This is the Best Bacon Cheeseburger Pockets Recipe
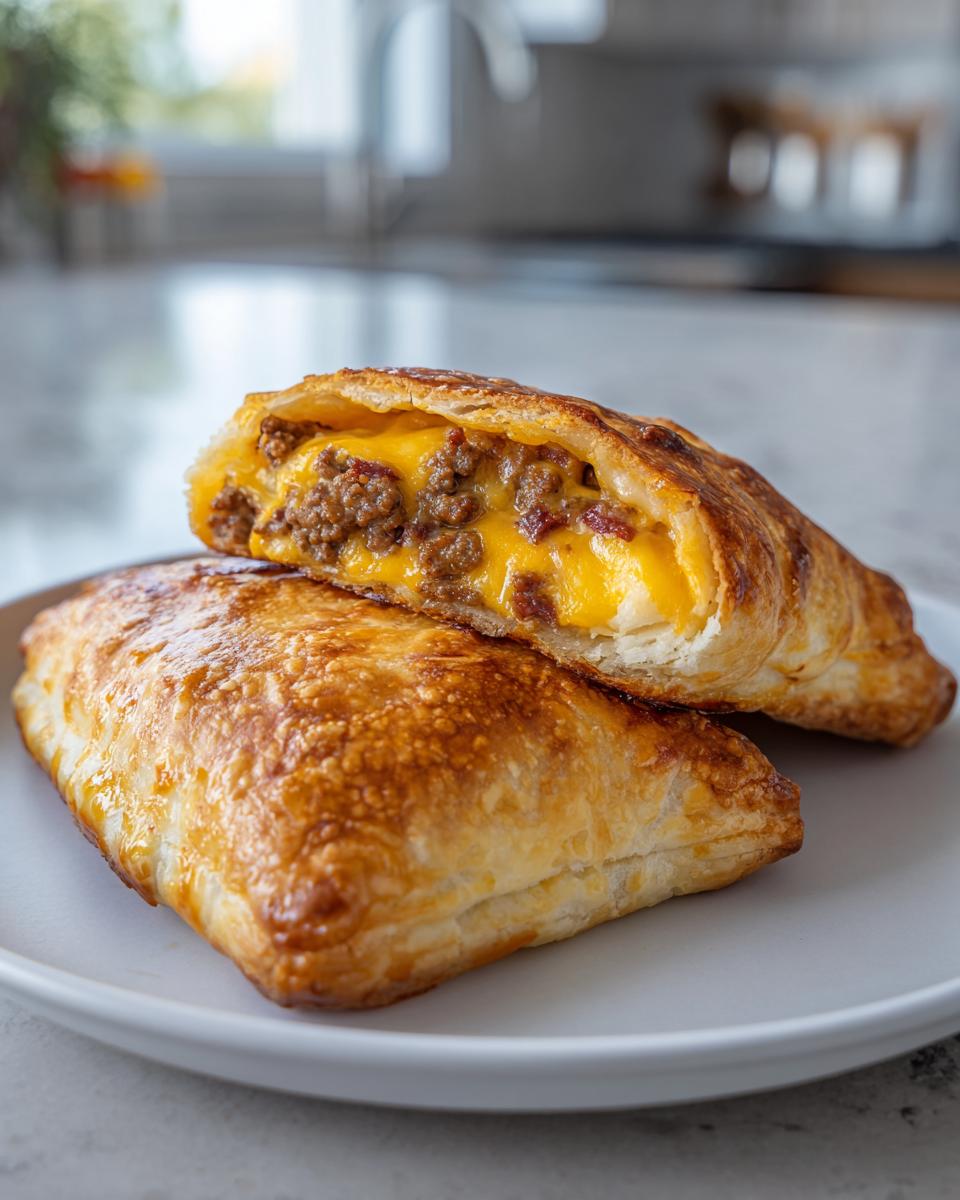
When I teach my grandkids recipes, I always look for that sweet spot between amazing flavor and minimal fuss. This is certainly it! This easy bacon cheeseburger pockets recipe proves you don’t need fancy pastry skills to get a fantastic result. We’re using store-bought crescent roll dough, which is our little secret for making these quick weeknight burger pockets happen in under 40 minutes total. The filling is deeply savory—it’s got that salty crunch from the bacon and sharp melt from the cheddar. If you love the flavor combo, you absolutely have to try my chicken, bacon, and ranch wrap sometime!
These are flavorful enough for a family dinner but simple enough that you can whip them up when you need something fast. You just cook the meat, mix in the good stuff, wrap it, and bake. That’s really the whole process!
Perfect for Lunchboxes and Portable Snacking
This sealed pocket design is what truly sets these apart from regular burgers. Once they’re baked, they hold their shape beautifully, and the filling stays put. That makes them a lifesaver for packing up. Forget soggy sandwiches—these lunchbox friendly burger snacks are sturdy and taste great even after they’ve cooled down to room temperature. I often make a double batch just so I can pack them up for my husband’s lunch the next day!
Gathering Ingredients for Your Bacon Cheeseburger Pockets
Now that you know how simple these are, let’s get our supplies gathered. When you’re dealing with dough like this, having everything measured and ready—what we call ‘mise en place’—makes the assembly process fly by. We want to keep that filling inside where it belongs, after all!
Here is what you’ll need for our 8 stuffed burger pockets:
- 1 pound ground beef (I usually use 85/15, it keeps the moisture up!)
- 1 teaspoon salt
- 1/2 teaspoon black pepper
- 1/2 teaspoon garlic powder
- 4 slices bacon, cooked and crumbled (make sure that bacon is nice and crisp!)
- 1 cup shredded cheddar cheese (sharp or medium works best here)
- 1/2 cup finely chopped onion (small pieces are key so you don’t tear the dough)
- 1 (8 ounce) package refrigerated crescent roll dough (this is our secret casing!)
- 1 large egg, beaten (for our shiny finish)
- 1 tablespoon water
Ingredient Notes and Substitutions for Stuffed Burger Pockets
You can certainly customize these a bit, but sticking close to the plan ensures you get that perfect structure inside your stuffed burger pockets. If you are truly short on time, using real, good-quality bacon bits instead of cooking your own bacon slices saves a few minutes, but the flavor won’t be quite as robust. For the cheese, cheddar is standard, but Monterey Jack melts beautifully too. Avoid using cheese that’s too soft, like fresh mozzarella, or it might ooze out too fast.
And please, drain that beef really well! If there’s excess grease, it steams the dough underneath instead of letting it bake up flaky and golden. A little bit of fat is good for flavor, but too much ends up splashing out and burning on the bottom of your baking sheet. We want crispy bottoms, not sloppy ones!
Step-by-Step Instructions for Homemade Burger Pockets
Putting these homemade burger pockets together is genuinely straightforward. Think of it like making little savory turnovers, but filled with all the goodness of a burger night! The biggest thing I stress here is preparation. Get your oven hot, line that sheet pan right away, and make sure your filling isn’t steaming hot when it hits that delicate dough.
We are aiming for a total cooking time that keeps everything perfectly cooked through without burning that crescent dough. If you’ve ever made my mini meatloaf muffins, the sheet pan technique is very similar!
Cooking the Filling for Delicious Bacon Cheeseburger Pockets
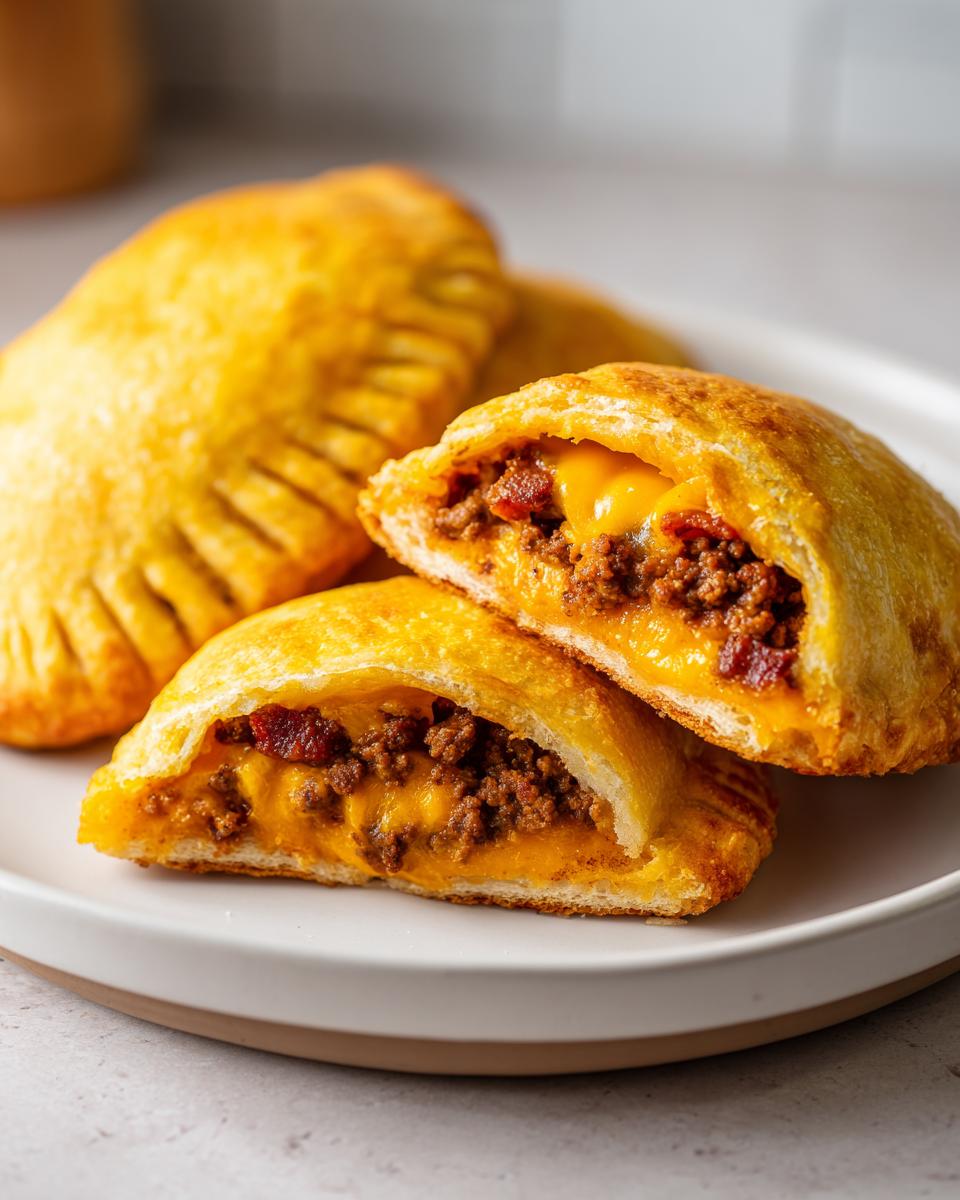
First things first, we need that robust, savory base. Get your skillet hot over medium heat. Brown the ground beef nicely with your salt, pepper, and garlic powder. You really want to cook it until it’s fully browned—no pink bits left! Crucially, drain off every bit of excess grease you can manage. Seriously, blot it with a paper towel if you have to! Once drained, take the skillet completely off the heat. We stir in the bacon, cheese, and onion next. Taking it off the burner stops the cheese from getting melty while you’re still mixing.
Assembling and Sealing Your Crescent Roll Bacon Cheeseburger Bombs
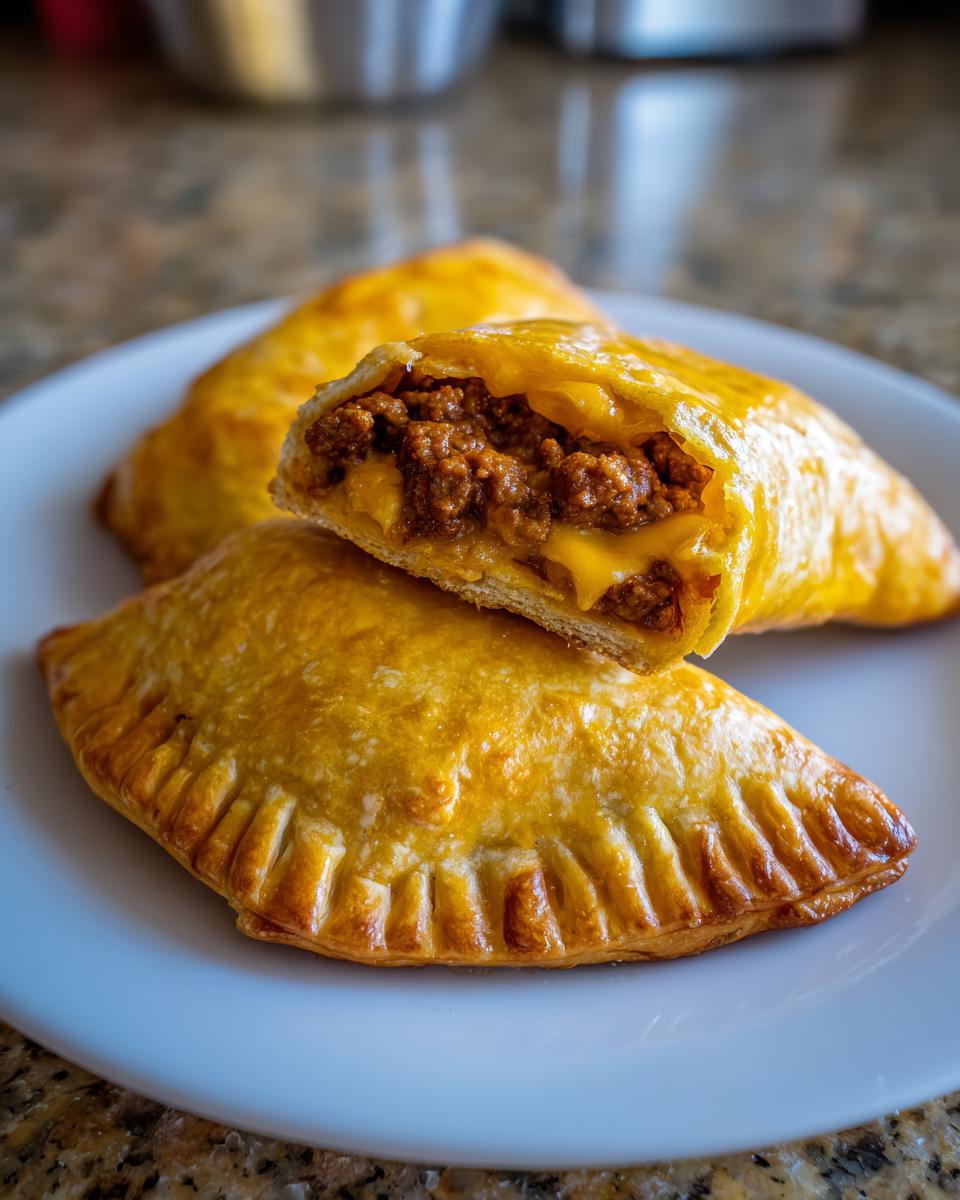
Once that filling has cooled down just enough that it won’t melt the dough instantly, it’s time to build your pockets. Unroll that package of crescent dough—they generally give you 8 perfect triangles. Spoon about two tablespoons of your meat mixture directly onto the wide end of each triangle. Don’t overstuff them, or they’ll burst! Fold the dough over to make a neat little triangle shape. Now, here’s the most important part for keeping things tidy: press those edges together firmly with your fingers until they seal tight. Then, take a fork and gently crimp all the way around the edge. This creates those wonderful, secure crescent roll bacon cheeseburger bombs that absolutely won’t leak!
Tips for Perfect Baked Burger Pockets
Getting these baked burger pockets to come out looking as good as they taste is all about those final little touches. Since we aren’t frying these, we rely on two key things to ensure they’re not just cooked through but wonderfully golden brown and shiny on top. Don’t skip the step where you prep the surface, either—a little care here prevents a sticky mess later! They are certainly more robust than maybe handling delicate things like my fluffy buttermilk biscuits.
Using the Egg Wash for Golden Bacon Cheeseburger Pockets
That beaten egg mixed with a splash of water is our secret weapon that professional bakers use all the time. The egg wash does two things: it encourages a deep, beautiful golden color as it bakes, and it gives the top of your pocket a lovely shine. Just whisk that egg and tablespoon of water together until it’s fully combined. Then, use a pastry brush to lightly coat the entire top surface of each sealed packet. It ensures every one of our bacon cheeseburger pockets looks inviting!
Serving Suggestions for Handheld Bacon Cheeseburgers
We’ve got these perfect, sealed pockets—now, what do we dip them in? Since these handheld bacon cheeseburgers are so satisfying on their own, you don’t need a heavy meal alongside them. Keep it simple, just like we do for busy weeknights in my house. A small bowl of ketchup and mustard is mandatory, but if you want to elevate the dipping experience, absolutely make a batch of homemade sauce!
I have a wonderful recipe for a sauce that captures all that classic diner flavor; you can find my best burger sauce recipe right here on the site. A side of crispy sweet potato fries or even just some simple carrot sticks makes for a perfectly balanced meal for the kids. It’s all about balance, even when serving up comfort food!
Make Ahead and Storage for Bacon Cheeseburger Pockets
I truly believe the best meals are the ones you don’t have to stress about when the dinner rush hits! That’s why I’m thrilled to share that these are fantastic make ahead bacon cheeseburger treats. You can assemble the whole thing—fill the dough, seal it up tight with that fork crimp—refrigerate them on the baking sheet for up to 12 hours, covered tightly with plastic wrap.
When it comes time to bake them straight from the fridge, don’t panic! They just need a little extra time in the oven to warm through properly. I always add about 2 or 3 extra minutes to the baking time listed in the main steps. This ensures that the dough cooks as evenly as if it had rested on the counter. They freeze well too, just let them thaw completely in the fridge before adding those extra minutes to the bake time!
Frequently Asked Questions About These Savory Pastry Stuffed Burgers
It’s always smart to ask a few questions before you start baking! That’s how we avoid little kitchen mishaps down the road. Here are some common things folks ask me about making these wonderful, handheld treats. If you’ve got other great ideas for additions, feel free to share them in the comments below! And if you’re looking for even more fun, easy options, check out my roundup of easy appetizers and snacks!
Can I use biscuit dough instead of crescent dough for my bacon cheeseburger pockets?
Oh, you absolutely can use biscuit dough for these! Pillsbury Grands work just fine if that’s what you have. Just remember that biscuit dough is a bit thicker than the thin crescent sheets. Because the dough is heartier, your finished bacon cheeseburger pockets might come out a little fluffier and less “turnover-like.” You might need to bake them for an extra minute or two, so keep an eye on that golden color!
How do I prevent my bacon cheeseburger pockets from leaking during baking?
Leakage is the nemesis of all pocket recipes! The two biggest things you need to nail are sealing and temperature. First, make sure your meat filling has cooled down somewhat—warm, not piping hot. Second, press those edges together hard with your fingers, and then use a fork to firmly crimp the entire seam. That fork press really locks things down, turning them into sturdy, well-sealed little parcels. These checks help avoid any messy bursts in the oven!
Are these supreme burger pockets recipe suitable for freezing?
Yes, indeed! These supreme burger pockets recipe items freeze wonderfully, which is great for grabbing a ready-made lunch later. You have two options: If you freeze them unbaked, assemble them completely, place them on a baking sheet, and freeze until hard. Then, transfer them to a freezer bag. When ready to bake from frozen, let them sit on the counter for about 30 minutes before popping them into the oven, adding about 5 minutes to the bake time. If you freeze them baked, just make sure they are totally cooled before freezing, and reheat in a toaster oven for the best texture!
Nutritional Estimates for Your Quick Weeknight Burger Pockets
Now, I always tell folks when they check out my recipes that I’m a cook, not a nutritionist! That’s an important distinction. The exact counts for calories, fat, and sodium can change so much depending on whether you used 80/20 or 93/7 ground beef, or what brand of crescent rolls you bought. So, please take these numbers as a friendly guideline rather than strict medical advice.
But, based on the ingredients listed for our 8 quick weeknight burger pockets, here is a general estimate per serving (which is one pocket):
- Serving Size: 1 pocket
- Calories: 350
- Fat: 22 grams
- Saturated Fat: 9 grams
- Protein: 19 grams
- Carbohydrates: 18 grams
- Sodium: 550 mg
These are hearty little snacks, perfect for keeping you satisfied between meals! If you are watching your sodium, be sure to use low-sodium bacon and maybe even skip adding extra salt during the browning process, as the bacon and cheese already provide plenty of flavor.
Share Your Homemade Bacon Cheeseburger Pockets
Well, that’s it, my friends! You have successfully created homemade, delicious, and unbelievably easy bacon cheeseburger pockets. I truly hope these become a standard feature in your home rotation, whether it’s for a quick lunch or a fun, kid-approved dinner.
Now that you’ve tried them, I would absolutely love to hear how they turned out for you! Did you add jalapeños to the filling like I sometimes do when the mood strikes? Or maybe you used smoked gouda instead of cheddar? Tell me everything!
Please leave a rating right here on the recipe page using the five stars—it helps other folks know these are dependable and tasty. And if you snap a picture of your perfectly sealed, golden pockets, come over and share it with me on our contact page here! Seeing how you bring these classics into your own kitchens is always the best part of my day.
PrintEasy Bacon Cheeseburger Pockets with Crescent Rolls

Make these handheld bacon cheeseburger pockets using refrigerated crescent roll dough for a quick and satisfying meal or snack. They are perfect for lunchboxes or weeknight dinners.
- Prep Time: 15 min
- Cook Time: 18 min
- Total Time: 33 min
- Yield: 8 pockets 1x
- Category: Dinner
- Method: Baking
- Cuisine: American
- Diet: Low Fat
Ingredients
- 1 pound ground beef
- 1 teaspoon salt
- 1/2 teaspoon black pepper
- 1/2 teaspoon garlic powder
- 4 slices bacon, cooked and crumbled
- 1 cup shredded cheddar cheese
- 1/2 cup finely chopped onion
- 1 (8 ounce) package refrigerated crescent roll dough
- 1 large egg, beaten (for egg wash)
- 1 tablespoon water
Instructions
- Preheat your oven to 375 degrees Fahrenheit. Line a baking sheet with parchment paper.
- In a skillet over medium heat, cook the ground beef with salt, pepper, and garlic powder until fully browned. Drain off any excess grease.
- Remove the beef from the heat. Stir in the crumbled bacon, shredded cheddar cheese, and chopped onion until combined. Let the mixture cool slightly.
- Unroll the crescent roll dough onto a clean surface. Separate the dough into 8 triangles.
- Spoon about 2 tablespoons of the meat mixture onto the wider end of each dough triangle. Do not overfill.
- Fold the dough over the filling to form a triangle shape. Press the edges firmly together to seal. You can crimp the edges with a fork for extra security.
- Place the sealed pockets seam-side down on the prepared baking sheet.
- In a small bowl, whisk together the beaten egg and water to create an egg wash. Brush the tops of the pockets evenly with the egg wash.
- Bake for 15 to 18 minutes, or until the dough is golden brown and cooked through.
- Let the pockets cool slightly on the baking sheet before serving.
Notes
- For a crispier exterior, you can lightly spray the tops of the pockets with cooking spray before applying the egg wash.
- You can prepare these ahead of time; assemble them completely, cover, and refrigerate for up to 12 hours before baking. Add 2-3 minutes to the baking time if baking directly from the refrigerator.
- Serve these handheld bacon cheeseburgers with your favorite burger condiments like ketchup or mustard on the side for dipping.
Nutrition
- Serving Size: 1 pocket
- Calories: 350
- Sugar: 2
- Sodium: 550
- Fat: 22
- Saturated Fat: 9
- Unsaturated Fat: 13
- Trans Fat: 0
- Carbohydrates: 18
- Fiber: 1
- Protein: 19
- Cholesterol: 65