

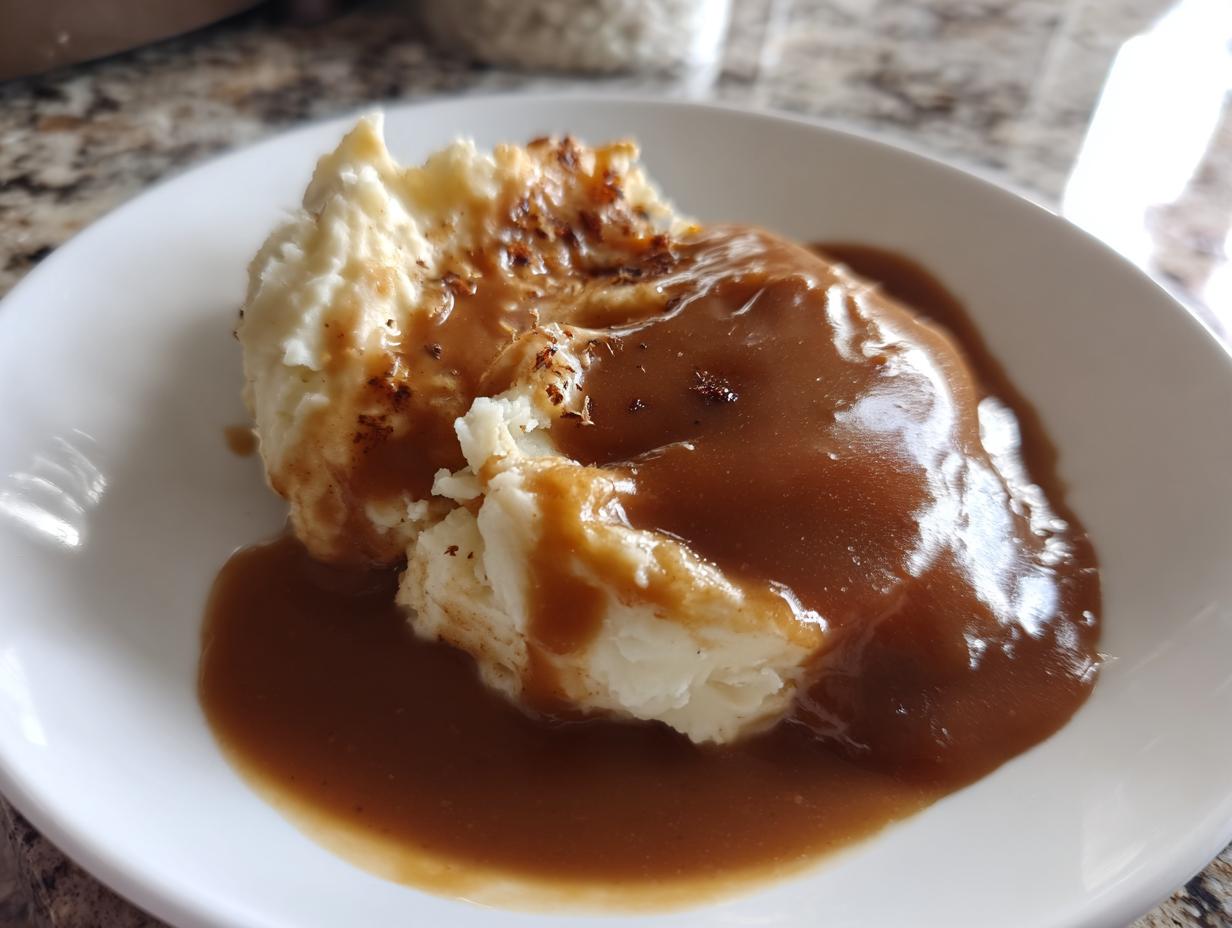
There’s just nothing quite like that moment when you pour a thick, savory ribbon of gravy over a mound of creamy mashed potatoes. It’s instant comfort, isn’t it? For me, that moment is the true marker of a wonderful homestyle meal. But here’s the thing: sometimes you want that perfect sauce, and you just don’t have the drippings from a roast sitting in the pan. Don’t you worry one bit! This recipe for homemade brown gravy is my tried-and-true method for making a rich, velvety sauce completely from scratch. I lean on this gravy without drippings recipe at least once a week, whether it’s for biscuits or meatloaf. It proves that the best comfort food often comes from simple pantry staples when you use the right technique!
- Why This Is the Best Homemade Brown Gravy Recipe (No Drippings Needed)
- Ingredients for Your Classic Homemade Brown Gravy
- How to Make Homemade Brown Gravy Step-by-Step
- Tips for the Best Homemade Gravy Success
- Serving Suggestions for Your Rich Savory Sauce
- Storage and Reheating Instructions for Homemade Brown Gravy
- Frequently Asked Questions About Gravy Without Drippings
- Estimated Nutritional Information
- Share Your Homestyle Gravy Recipe Experience
Why This Is the Best Homemade Brown Gravy Recipe (No Drippings Needed)
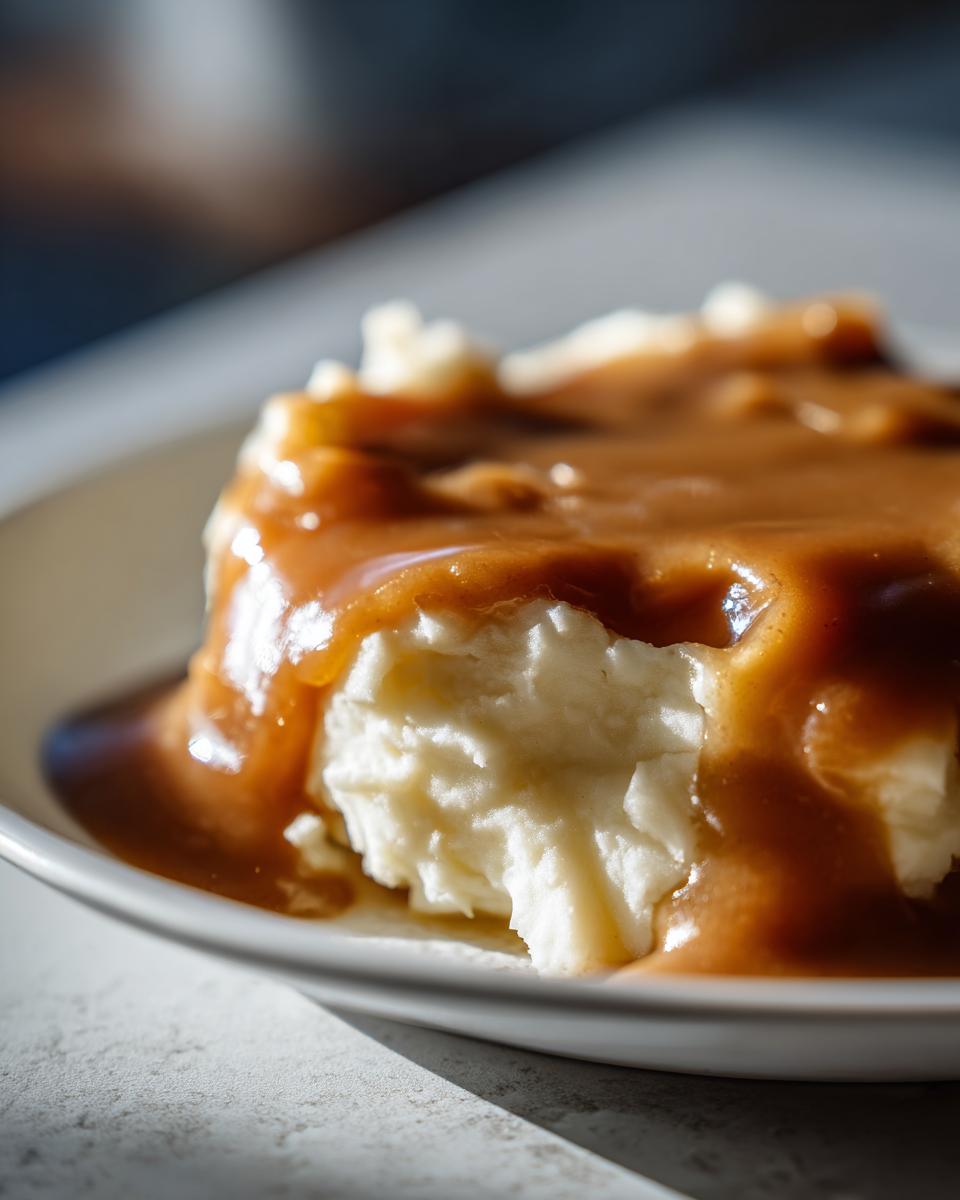
I developed this recipe because I needed a dependable, homemade brown gravy that didn’t rely on a Sunday roast. It’s the best homemade gravy for those busy weeknights! We focus on creating a deeply flavorful foundation using a proper brown roux base, which results in that amazing texture you crave. If you need to whip up a batch for some quick stovetop gravy, this is your go-to number one.
Achieving That Velvety Texture
The secret to avoiding those frustrating lumps is the ratio of butter to flour—making a perfect 1-to-1 roux. The key is whisking nonstop when you add the cold broth slowly, just like I show in the steps below. This process traps air and ensures every particle of flour gets perfectly hydrated, resulting in that beautiful, velvety meat gravy consistency we’re aiming for.
Flavor Profile: Rich Savory Sauce from Pantry Staples
Forget dried-up packets; this is a true rich savory sauce built from scratch. Since we aren’t using drippings, our flavor comes entirely from cooking the flour just right, plus the broth you select. I usually grab beef broth for the deepest flavor, but honestly, a good chicken or even vegetable broth makes this a wonderful pantry staple gravy that works for everyone at the table. If you like exploring gravy types, you might also enjoy my easy chicken gravy recipe without drippings!
Ingredients for Your Classic Homemade Brown Gravy
When you’re making something this fundamental, you need to trust your ingredients. These are the building blocks for the absolute best homemade gravy. I always measure these out before I even turn on the burner—it takes the stress right out of the final steps!
Here is what you’ll need for about four cups of beautiful, rich gravy:
- 6 tablespoons unsalted butter (Using unsalted lets me control the final saltiness, which is important!)
- 6 tablespoons all-purpose flour
- 4 cups beef broth (Remember, you can substitute this with good quality chicken or vegetable broth if you need a vegetarian option.)
- 1 teaspoon salt
- 1/2 teaspoon black pepper
- 1/4 teaspoon dried thyme
- 1/4 teaspoon garlic powder
That’s it! See? No mystery powders or strange flavorings here. Just simple components coming together to make magic. Trust me, when you use real butter like this, you can immediately tell the difference in the final simple sauce for mashed potatoes.
How to Make Homemade Brown Gravy Step-by-Step
Making this homemade brown gravy is a lesson in patience—but only for a minute or two! If you follow these steps exactly, you’ll breeze through this and have a perfect, lump-free sauce on your table in under 20 minutes total. It truly is the quickest way to get that rich flavor going without relying on drippings.
Creating the Brown Roux Gravy Base
First things first, get that medium saucepan over medium heat and melt all your butter. Once it’s humming nicely, whisk in the flour right away. Now, this is where we develop our flavor, folks! You need to cook this mixture—this is your brown roux gravy—for a good two or three minutes, whisking constantly. I always watch the color closely; you want it to shift gently from pale white to a lovely light brown shade, kind of like pale peanut butter. If you rush this part, your gravy will taste like raw flour, and we certainly don’t want that!
Simmering for the Perfect Thickening Gravy Techniques
Once the roux is the right color, take a breath, and slowly start pouring in that cold broth. And I mean *slowly*! Whisk like your life depends on it until everything is combined and you see no lumps. That’s the basis of our superior thickening gravy techniques. After that, just let it bubble gently, whisking every now and then. Letting it simmer on low for five to eight minutes is what thickens it up beautifully and makes this a wonderful quick stovetop gravy. You’ll know it’s done when it coats the back of a spoon nicely!
Tips for the Best Homemade Gravy Success
Now that you know the steps for your homemade brown gravy, let’s talk about perfecting it because every kitchen and every broth is slightly different! Taking the time to learn these little tricks is what moves you from just making gravy to making the best gravy. These are the little insider notes I rely on when I’m cooking dinner, ensuring my sauce is always silky and deeply flavorful.
Adjusting Color and Consistency
Sometimes you want a lighter-colored sauce, and sometimes you want something that looks like it came from a Sunday roast in the 1950s. If you tasted your gravy and it’s just a little too pale for your liking—maybe not brown enough for your roast beef companion recipe—try cooking that initial roux just a touch longer! We’re talking maybe two or three extra minutes, just until it hits that deep peanut-butter rich brown. Be careful not to burn it! Conversely, if you let it cool down and it gets thick as glue—don’t panic! Just warm up a tiny bit of extra broth or even just some good hot water, whisk it in bit by bit, and watch it loosen right back up to a perfect pourable consistency.
Making a Pantry Staple Gravy Mix for Later
This is such a handy trick for making sure you always have the starting point for a pantry staple gravy on hand. You can actually combine all your dry ingredients ahead of time, which cuts your prep time down dramatically on busy nights. Just mix together the 6 tablespoons of flour, salt, pepper, thyme, and garlic powder—all the non-liquid stuff—and stash it in a sealed jar. When you’re ready to cook, you just melt your butter, whisk in the pre-measured dry mix, and proceed with adding that broth like normal. It’s nearly instantaneous!
Serving Suggestions for Your Rich Savory Sauce
Now that you have this gorgeous, rich savory sauce ready to go, you need the perfect dish to drape it over! This type of gravy truly defines what a classic comfort food sauce should be. It goes beyond just being a side dish; it’s the glue that holds a great dinner together.
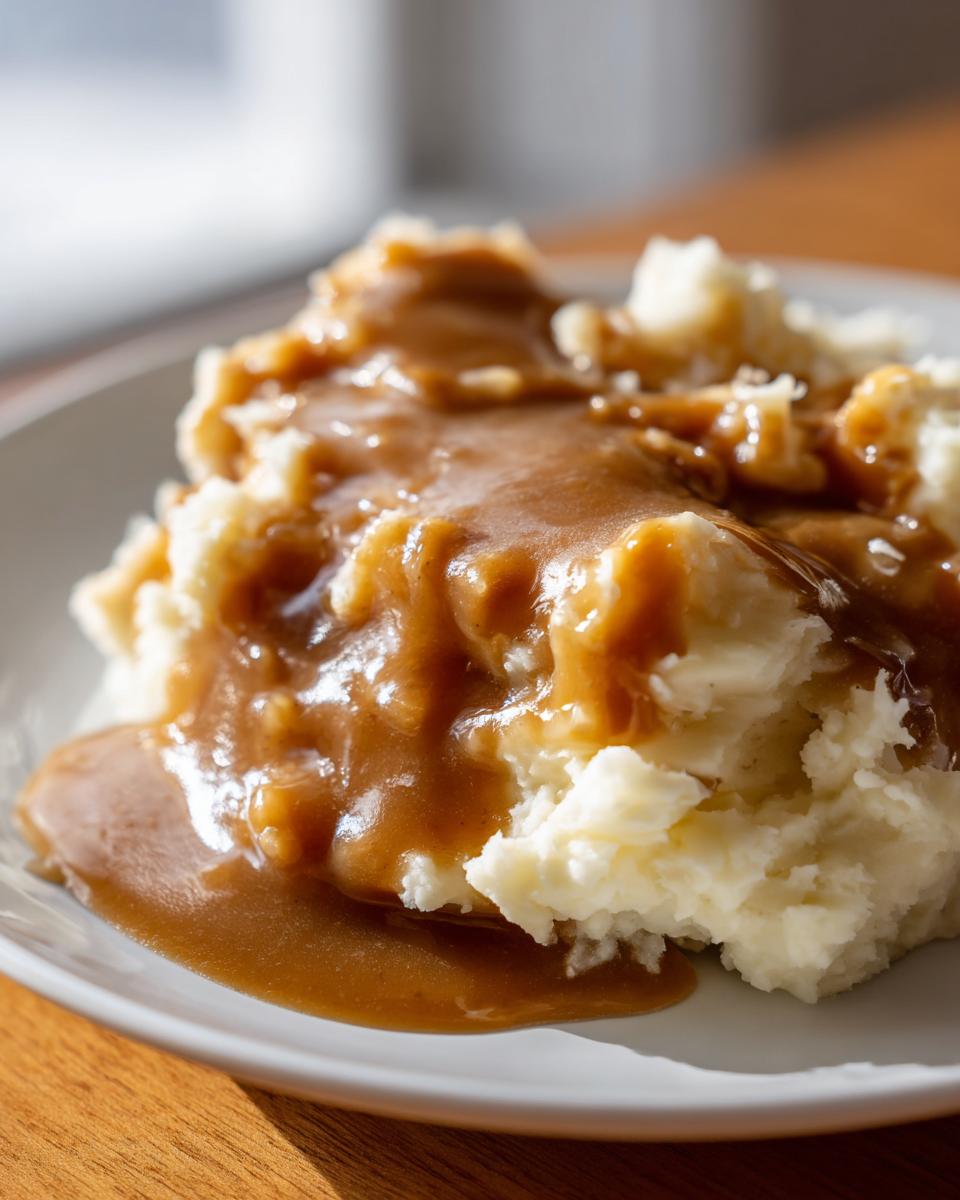
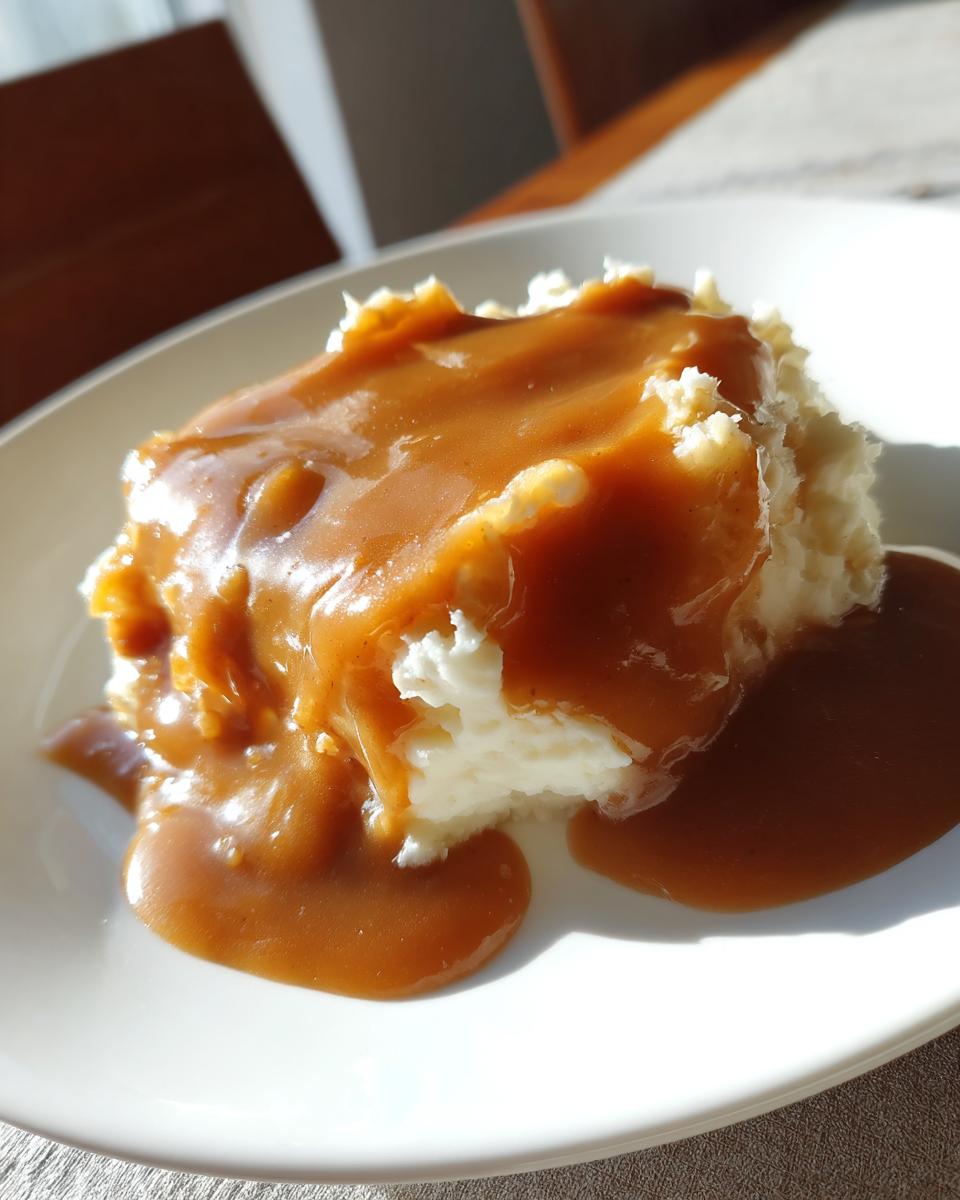
Of course, the number one request I get is for mashed potatoes—and you simply can’t beat a mound of fluffy garlic mashed potatoes recipe smothered in this. But don’t stop there! This is the perfect roast beef companion recipe, working just as beautifully over leftover roast or even meatloaf.
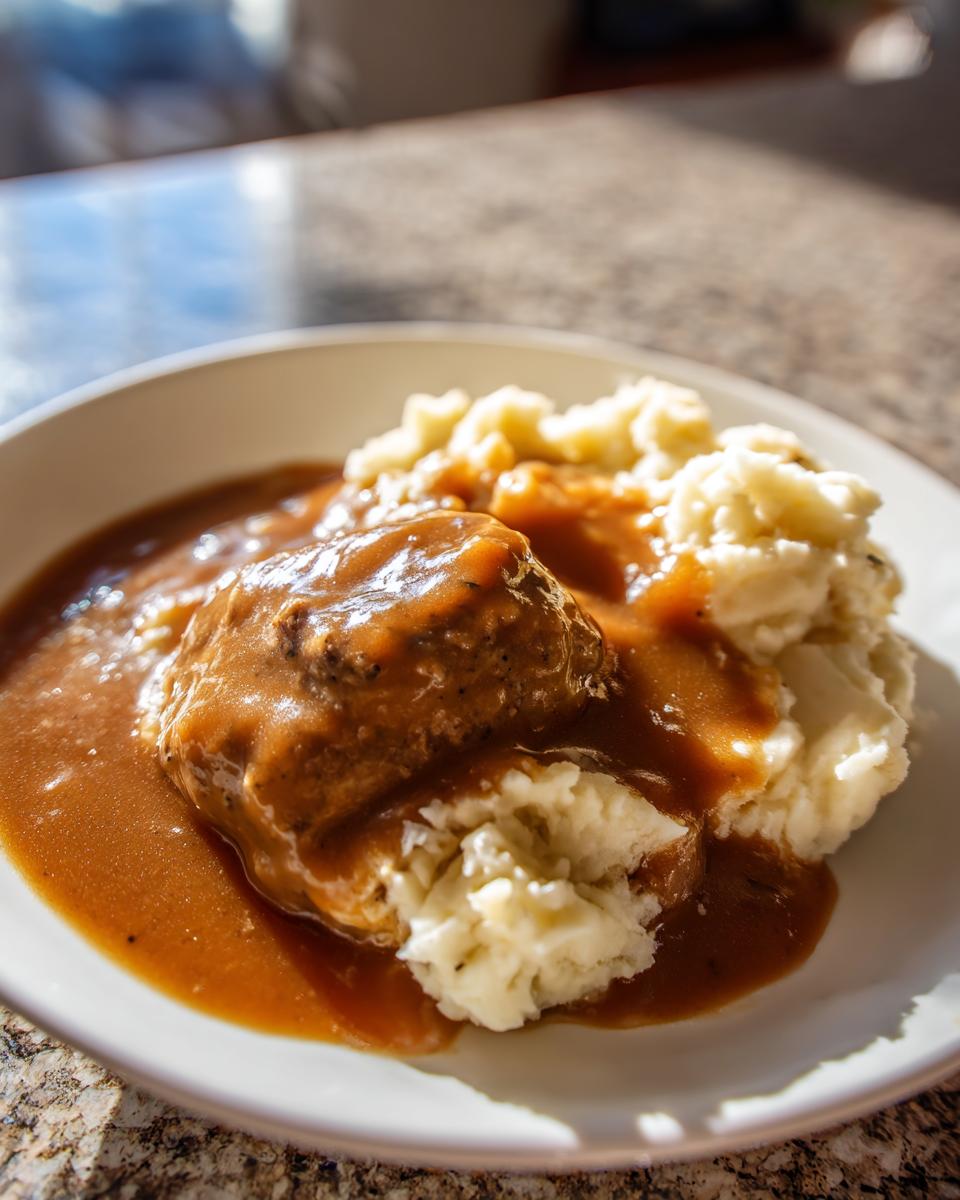
And oh, my dears, if you are serving biscuits, you MUST try this. A drizzle of this rich gravy over warm, flaky buttermilk biscuits is pure heaven. It works beautifully as a simple sauce for mashed potatoes, but trust me, it elevates everything it touches!
Storage and Reheating Instructions for Homemade Brown Gravy
One of the wonderful things about this sauce—whether you made it as a full homemade brown gravy recipe or just a small batch—is that it keeps beautifully! Gravy is the ultimate dinner side dish gravy because you can easily make it ahead. We often have leftovers, and I hate seeing good flavor go to waste!
To store it, just let the gravy cool down a little bit on the counter first. Don’t seal up a piping hot container, as that creates condensation, and we want to avoid extra liquid later. Pop it into an airtight container, and it will happily stay in the refrigerator for about three to four days. If you made a huge batch for a holiday, you can even freeze it! It lasts great in the freezer for up to three months.
How to Reheat Your Gravy for Smoothness
Here is where you need to pay attention! When gravy cools, especially one made from a roux like this, it definitely firms up—sometimes turning into a solid block. If you try to reheat it in the microwave directly, you risk scorching the bottom while the top stays solid. It can also sometimes seize up and get a little pasty.
My gentle method is best: Put the cooled gravy into a small saucepan over low heat. You need to add a splash of liquid—warm water or broth works best—for every cup you’re reheating. Stir it constantly as it warms. It might look thick at first, but keep stirring and adding just a tiny bit more liquid until it melts back into that beautiful, rich, and smooth sauce you remember. Patience here is key; keep the heat low, and you’ll have perfect gravy again in minutes. No lumps, no scorching, just pure comfort!
Frequently Asked Questions About Gravy Without Drippings
I always love getting questions about this recipe because it means so many of you are trying to make homemade brown gravy from scratch! Dealing with gravy can feel intimidating when you’re learning how to make gravy from scratch, but I promise this foolproof method eliminates most of the trouble spots. Here are the top things folks ask me about making this easy brown gravy recipe at home.
Can I use cornstarch instead of flour for this easy brown gravy recipe?
You absolutely *can* use cornstarch, but you have to change your technique a bit! Flour and butter create a beautiful roux, which gives our gravy its signature deep, savory flavor and slightly opaque look—that’s the brown roux gravy we love. Cornstarch is much more potent and works instantly when mixed with cold liquid to create a slurry. If you swap it for the flour, you miss that wonderful depth of flavor the cooked roux provides. I always recommend sticking to the butter and flour base for this classic style, but if you are in a huge pinch, a cornstarch slurry whisked in at the end will thicken it up!
How do I get a deeper brown color in my homemade brown gravy?
This comes down entirely to how long you’re willing to cook that roux! When I teach this, I tell my students to cook that butter and flour mixture until it’s the color of nice, light peanut butter. That yields a beautiful medium brown. If you want that really deep, dark, almost Thanksgiving-level brown color, you keep stirring and cooking that roux on medium-low heat until it looks more like milk chocolate brown. Keep a close eye on it during those extra few minutes, though, because once it goes from deep brown to black, it’s ruined! But that deeper color means you’ve cooked out all the flour taste and built up serious savoriness.
What is the best broth to use for the richest savory sauce?
For the absolute deepest, richest savory sauce flavor, you simply cannot beat a good quality beef broth. It has a hearty, meaty note that really rounds out the flavor profile perfectly. However, if you are making this as a vegetarian meal, or if you just have chicken broth on hand, that works perfectly well too! If you use chicken broth, it will yield a slightly lighter color and flavor, but it’s still delicious over potatoes. Just ensure whatever broth you pick is low-sodium if possible, because we are adding salt separately!
If you want to dive into more great tips on getting sauces just right, there are some excellent resources out there like the great folks over at Eating on Dime. I also have a great little guide on homemade applesauce that uses some similar pantry principles if you’re looking for another easy side!
Estimated Nutritional Information
Now, I always want to give you a good idea of what’s in the food we make here in the kitchen, even when it’s something as simple and comforting as this homemade brown gravy. Keep in mind that these values are just estimates based on the ingredients listed, especially since broth sodium levels can vary so much! If you use less salt or a low-sodium broth, your numbers will change slightly, of course, but this gives you a great baseline for your meal planning.
This information helps you understand what you’re serving up when you present this lovely classic comfort food sauce!
- Serving Size: 1/2 cup
- Calories: 135
- Fat: 10g
- Saturated Fat: 6g
- Carbohydrates: 8g
- Protein: 3g
- Sodium: 550mg (This can vary the most! Add less salt if needed.)
- Sugar: 1g
- Cholesterol: 25mg
These figures assume you used standard unsalted butter and a medium-sodium broth. When you make this easy brown gravy recipe, you are in control of the ingredients, which is always better than opening a packet, I always say!
Share Your Homestyle Gravy Recipe Experience
There you have it, dear cooks! My reliable, simple, and downright delicious method for a beautiful homemade brown gravy that doesn’t rely on pan drippings at all. This recipe is a staple for me because it guarantees that perfect, rich, savory flavor whenever I need it—whether it’s for a busy Tuesday dinner or when I need a quick simple sauce for mashed potatoes.
Now, I’ve shared all my secrets for getting the roux just right and achieving that silky smooth finish. But cooking is all about sharing and learning, isn’t it? I truly want to know how this batch turned out for you at your table.
Did you try the trick of letting the roux cook a little longer for that deep, dark color? Or maybe you made a variation using chicken broth instead of beef? Please come back and tell me all about it in the comments below! Your feedback helps other home cooks feel confident trying this how to make gravy from scratch recipe.
If you took a lovely picture of your gravy draped over biscuits or a roast, I’d love to see it! While I can’t see photos here, feel free to reach out to me directly through my contact page if you have specific questions or want to share your success story. Happy cooking, and may your table always be full of comforting flavors!
PrintClassic Homemade Brown Gravy (No Drippings Needed)

Make rich, savory homemade brown gravy from scratch using a simple roux and broth. This easy stovetop gravy recipe yields a velvety sauce perfect for mashed potatoes, meatloaf, or roast beef, without needing any meat pan drippings.
- Prep Time: 5 min
- Cook Time: 15 min
- Total Time: 20 min
- Yield: About 4 cups 1x
- Category: Side Dish
- Method: Stovetop
- Cuisine: American
- Diet: Vegetarian
Ingredients
- 6 tablespoons unsalted butter
- 6 tablespoons all-purpose flour
- 4 cups beef broth (or chicken or vegetable broth)
- 1 teaspoon salt
- 1/2 teaspoon black pepper
- 1/4 teaspoon dried thyme
- 1/4 teaspoon garlic powder
Instructions
- In a medium saucepan, melt the butter over medium heat.
- Whisk the flour into the melted butter. Continue whisking and cook this roux for 2 to 3 minutes until it turns a light brown color. This step develops the deep flavor.
- Slowly pour in the beef broth, whisking constantly to prevent lumps from forming.
- Bring the mixture to a simmer, still whisking occasionally.
- Reduce the heat to low and let the gravy simmer for 5 to 8 minutes, or until it thickens to your desired consistency. Stir often to keep the bottom from scorching.
- Whisk in the salt, pepper, thyme, and garlic powder. Taste and adjust seasonings as needed.
- Remove from heat and serve your rich, savory sauce immediately over your favorite comfort food.
Notes
- For a darker, richer color, cook the roux for an extra 2 to 3 minutes until it reaches a deep peanut butter color.
- If the gravy becomes too thick upon standing, whisk in a splash of warm broth or water until you reach the right texture.
- To make a gravy mix for later use, combine the dry ingredients (flour, salt, pepper, thyme, garlic powder) and store in an airtight container. When ready to use, melt the butter, whisk in the dry mix, and proceed with adding the broth.
Nutrition
- Serving Size: 1/2 cup
- Calories: 135
- Sugar: 1
- Sodium: 550
- Fat: 10
- Saturated Fat: 6
- Unsaturated Fat: 4
- Trans Fat: 0
- Carbohydrates: 8
- Fiber: 0
- Protein: 3
- Cholesterol: 25