
When the weather turns crisp and you start craving that perfect hug in a dessert, nothing beats the comfort of apple and cream cheese baked together. Life gets busy, especially when you’re teaching a classroom full of third graders or wrangling five grandchildren, so I believe in making life simpler without sacrificing flavor. That’s why I’m showing you how to make my favorite shortcut treat: delicious apple cheesecake bars with crescent rolls. We’re skipping the fussy pastry work and using that handy packaged dough to give us a flaky, buttery base every single time. Trust me, these layered apple treats taste like they took hours, but they really only take minutes of hands-on time. If you love easy recipes that feed a crowd, be sure to check out my easy Christmas poke cake recipe too!
- Why You Will Love These Quick Apple Creamy Squares
- Essential Ingredients for Your Apple Cheesecake Bars with Crescent Rolls
- Equipment Needed for This Simple Crescent Dough Baking Idea
- Step-by-Step Instructions for Perfect Apple Cheesecake Bars with Crescent Rolls
- Tips for Success When Making Apple Cheesecake Bars with Crescent Rolls
- Variations for Your Layered Apple Dessert Recipe
- Storage and Make Ahead Tips for Apple Cheesecake Bars with Crescent Rolls
- Frequently Asked Questions About This Easy Apple Cheesecake Dessert
- Nutritional Estimates for Serving Apple Cheesecake Bars
Why You Will Love These Quick Apple Creamy Squares
It’s recipes like this that make me so happy to share with all of you. When I was teaching, I didn’t have hours to spend on dessert after grading papers. This recipe cuts right to the chase and gives you maximum reward for minimal effort. People always ask me for crescent roll dessert recipes that aren’t just sticky buns, and this is my answer!
- Talk about a baked apple dessert shortcut—using that refrigerated dough means you skip the mixing, chilling, and rolling of traditional pastry.
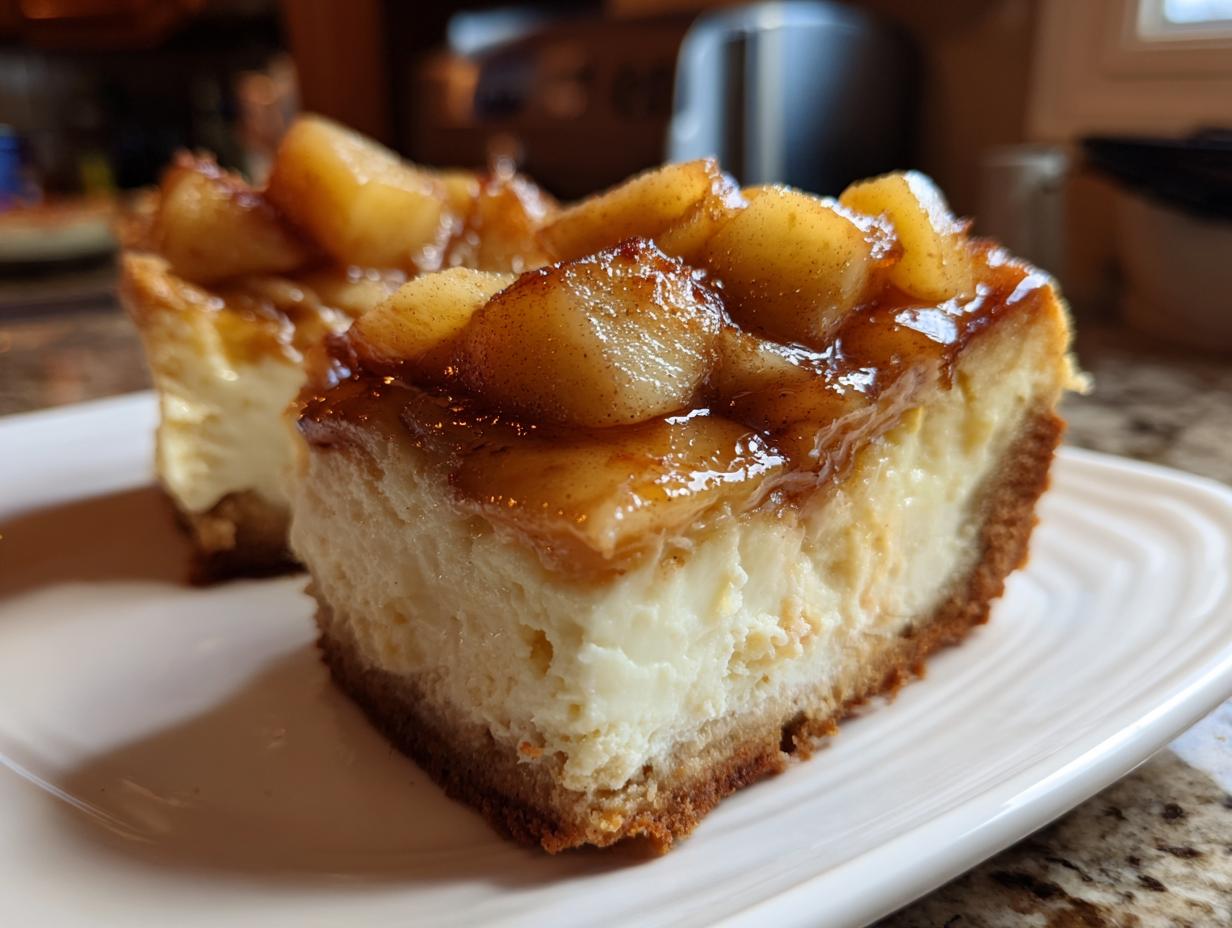
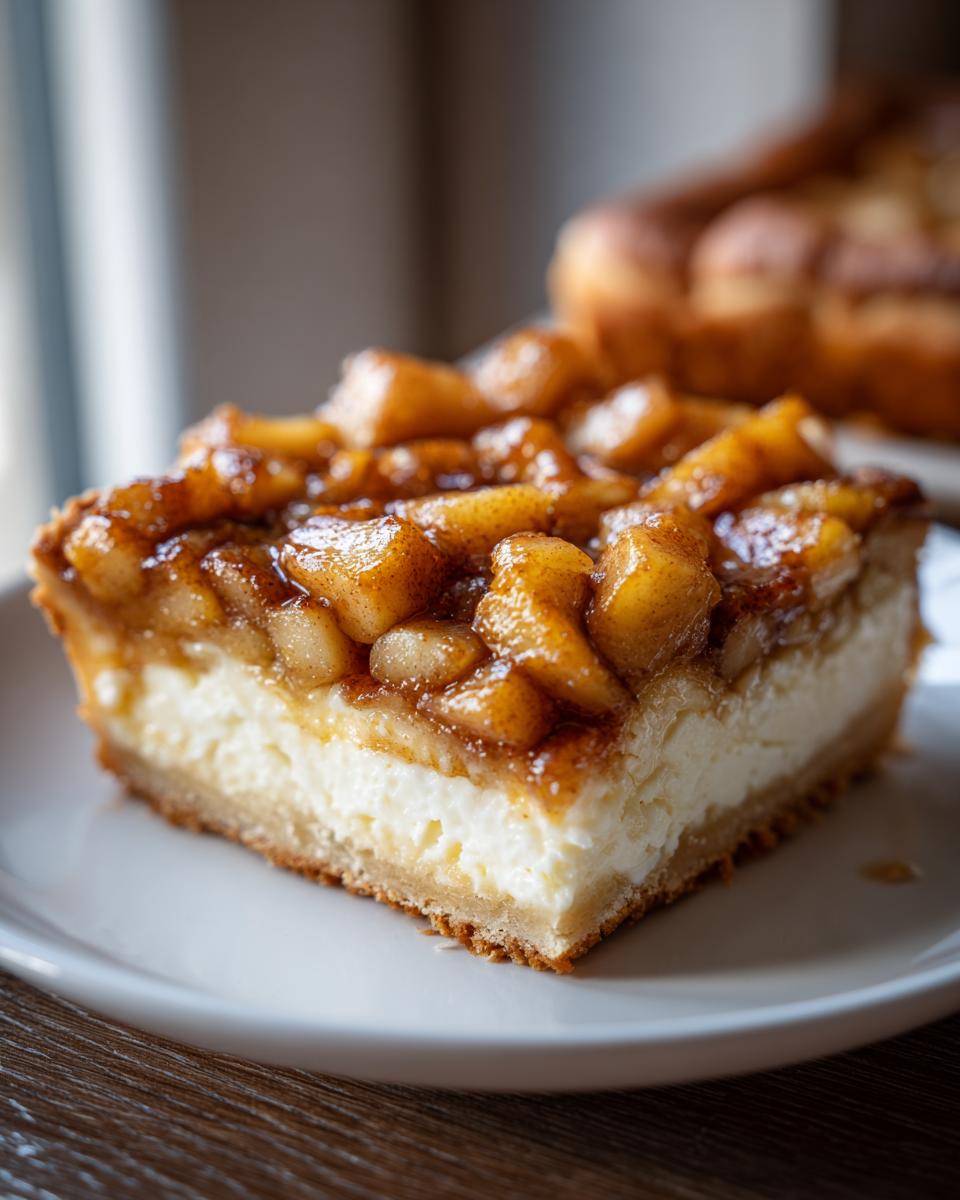
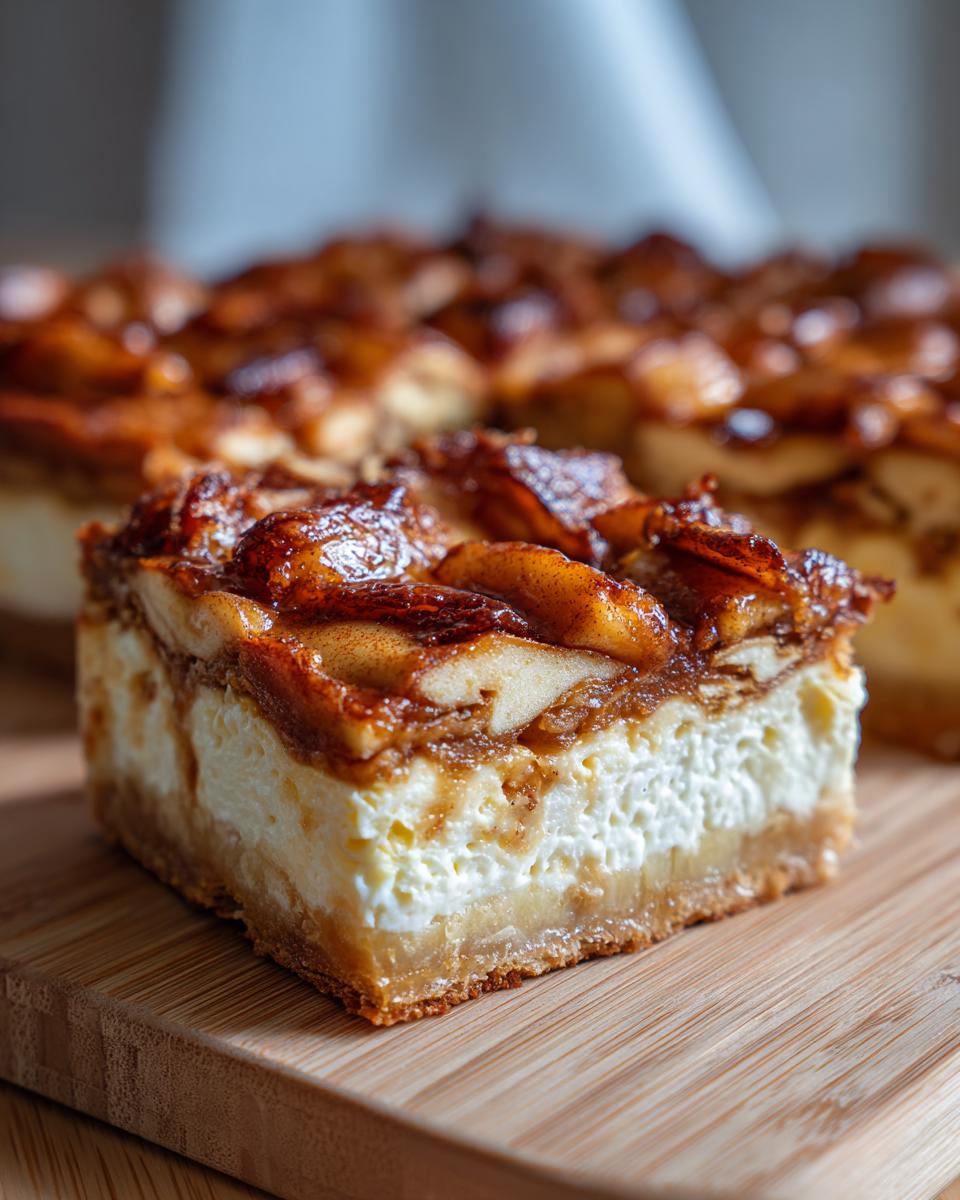
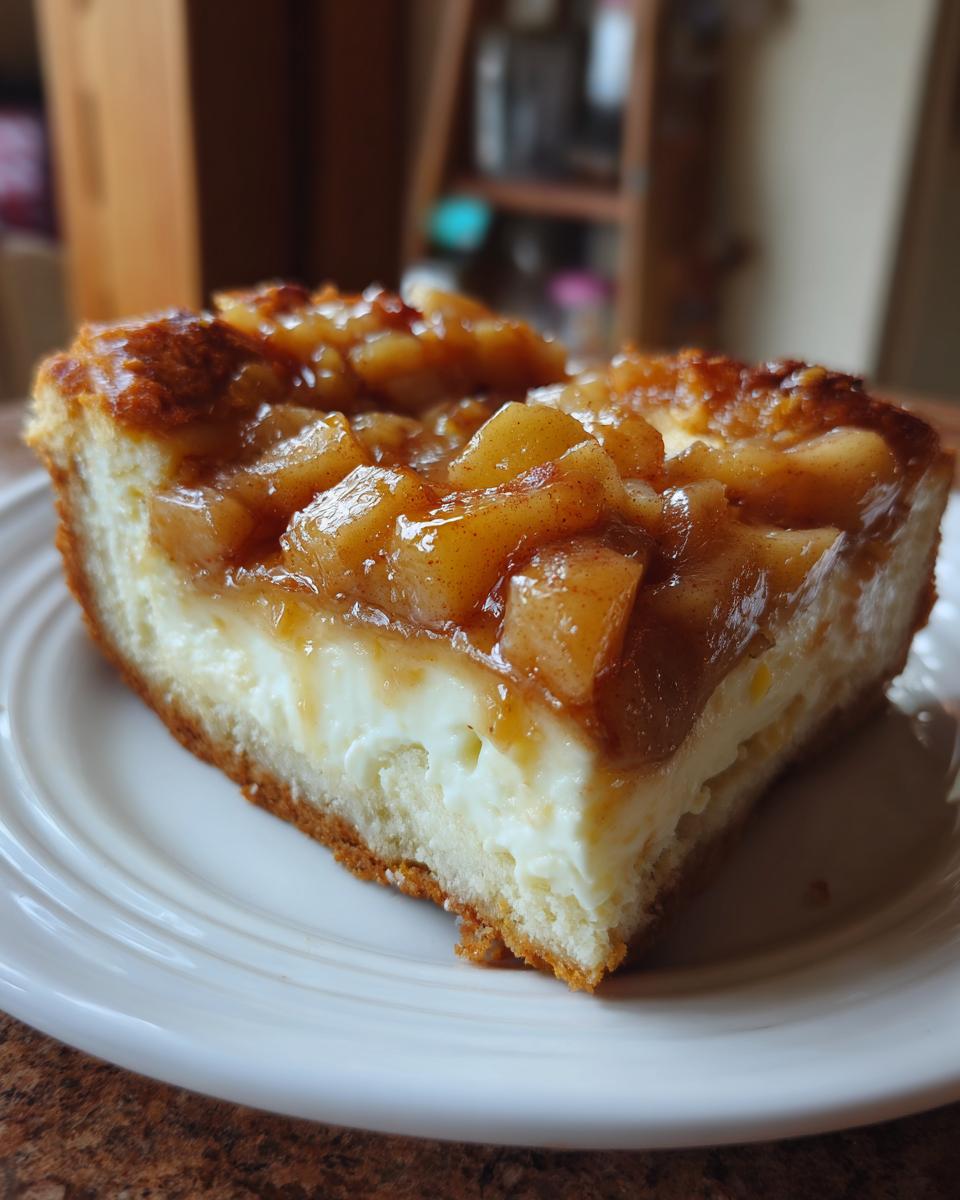
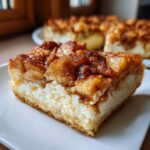
- You get three perfect textures layered right in one pan: a beautifully flaky crust, a smooth sweet cream cheese pastry layer, and tender spiced apples on top.
- It’s the perfect family friendly apple treat—sweet enough for dessert but homey enough for an afternoon snack with coffee.
- These bake up fast! You’re looking at less than an hour from start to finish, making them ideal for unexpected company or when you need a simple holiday apple bake.
- It’s an incredibly versatile no fuss apple pastry; use whatever apples you have on hand and adjust the spices to your liking.
Honestly, the smell when these are baking is something else. It’s apple pie meets creamy indulgence. If you’re looking for other snacks that require almost no effort, take a peek at my easy appetizers and snacks page!
Essential Ingredients for Your Apple Cheesecake Bars with Crescent Rolls
Now, listen close because the beauty of this recipe is that it relies on pantry staples and one key store-bought shortcut. The ingredients list is small, but every part plays a role in building up those delicious layers. Before you even think about touching that dough, make sure your cream cheese is truly softened—I mean no resistance when you press it. Lumpy cheesecake filling is the bane of my existence, and room-temperature cream cheese is the only fix!
For our base, we need that standard 8-ounce package of crescent roll dough. No fussing with butter and flour here, thank goodness. For the apples, I always reach for Granny Smiths if I can find them, since their tartness really shines next to the sweet cheese filling. But Honeycrisp or Fuji work beautifully too. If you’re looking for amazing flavor combinations, you must see my recipe for ultimate creamy white chocolate cheesecake, which uses similar principles!
- 1 (8 ounce) package crescent roll dough
- 1 (8 ounce) package cream cheese, softened to perfection
- 1/2 cup granulated sugar
- 1 large egg
- 1 teaspoon vanilla extract
- 1/2 teaspoon ground cinnamon
- 1/4 teaspoon ground nutmeg
- 2 cups sliced apples (Granny Smith is my top pick!)
- 1/4 cup packed brown sugar
- 1 tablespoon all-purpose flour
- Optional: Powdered sugar for dusting when serving
Equipment Needed for This Simple Crescent Dough Baking Idea
When you’re aiming for super simple, you don’t need a cabinet full of weird gadgets. Honestly, a good sturdy bowl and a 9×13 pan are the heroes here. When I teach these kinds of recipes, I always stress having the right foundation. You want to make sure everything fits together nicely, especially when you’re dealing with delicate layers like this one.
It’s about being prepared so that assembly feels like playing with layers instead of frantic searching for a missing whisk!
- A standard 9×13 inch baking pan. This size gives the perfect ratio for the crust, filling, and apple topping, keeping them nice and balanced.
- A medium mixing bowl for whipping up that gorgeous cream cheese layer.
- A smaller bowl for tossing your sliced apples with the brown sugar and spices—keeps things tidy!
- A whisk or an electric hand mixer for the cheesecake portion. While you can do it by hand, getting that cream cheese perfectly smooth is much easier with a little help.
- A rubber spatula for carefully spreading the cream cheese mixture evenly over the dough base.
Step-by-Step Instructions for Perfect Apple Cheesecake Bars with Crescent Rolls
Getting these layers right is the key to having the best experience with these apple cheesecake bars with crescent rolls. When I first tried adapting a traditional recipe to use packaged dough, I messed up the crust twice! But I learned from my mistakes, and now I want to save you the trouble. We want that bottom layer to bake up sturdy and flaky, not soggy, so pay attention to those first couple of steps. If you’re worried about the dough splitting, I have a great tip for you. If you love shortcuts that taste homemade, this recipe is just like my cinnamon roll apple pie recipe—pure joy!
Preparing the Pan and Crescent Roll Crust
First things first: get your oven ready! We need it heated to 350 degrees F well before we put the pan in. While that’s warming up, grab your 9×13 pan and give it a light grease coating. Now for the fun part—the dough. Carefully unroll that package of crescent dough. You have to press it firmly into the bottom of your prepared pan. Press them right up against each other and pinch or smooth over every single perforation where the triangles meet. We are creating one uninterrupted crust base for this wonderful dessert using packaged dough; those tiny gaps will let the cream cheese seep through, and we don’t want that!
Mixing the Sweet Cream Cheese Pastry Layer
This part is pure magic! Remember how I talked about room temperature cream cheese? This step relies on it. In your bowl, you’re mixing the softened cream cheese with the granulated sugar, one large egg, and all of that lovely vanilla extract. Use your whisk or mixer and beat it until it’s absolutely smooth and creamy—truly no lumps remaining! It should look pale, fluffy, and inviting. Once it’s perfect, take your spatula and gently spread this rich layer right over your sealed crescent roll crust. Be gentle so you don’t tear up the dough underneath!
Tossing the Spiced Apple Filling
Now for the star of the show! In a separate, smaller bowl—keeps the mess contained, you know—toss your two cups of sliced apples. You want all those apple pieces totally coated in that mix of brown sugar, flour, cinnamon, and nutmeg. The tiny bit of flour is important, folks; it helps soak up some of the juices released by the apples as they bake, keeping your cheesecake layer from getting waterlogged. Once the apples are coated, just arrange them evenly over the cream cheese.
Assembling and Baking Your Apple Cheesecake Bars with Crescent Rolls
Everything’s layered perfectly now! Pop the entire pan into the preheated 350-degree oven. You’ll bake this treasure for about 30 to 35 minutes. How do you know when they’re done? Look for two clear signs: the edges of that crescent crust should look nicely golden brown, and when you gently wiggle the pan, the center of the cheesecake layer should look mostly set, not jiggly like Jell-O. But here is the most crucial piece of advice I can give you: DO NOT try to slice these right out of the oven! You must let these cool completely, ideally on a wire rack before even thinking about cutting them. That setting time is non-negotiable for bars that hold their shape beautifully.
Tips for Success When Making Apple Cheesecake Bars with Crescent Rolls
As a former teacher, I always want to give you the tools you need to avoid classroom confusion—or in this case, kitchen disappointments! These little tips are what separate a good batch of no fuss apple pastry from a truly memorable one. I learned these the hard way over the years, so please take this advice to heart.
First, let’s talk apples again. While you can certainly use those sweet varieties, I really, really urge you to mix it up. Use at least half Granny Smith apples. The tartness is what cuts through the richness of the cream cheese and keeps the whole bar from tasting overwhelmingly sweet. It’s all about balance, dear ones!
Second, that cooling time is everything. I know you’re eager! Who wants to wait when something smells that incredible? But if you cut them warm, that beautiful cheesecake layer will run all over the place. Trust me, let them cool on the counter until they reach room temperature, and then I even chill mine for an hour before slicing. That’s when they set up into clean, perfect squares.

Third, if you are in a total rush, feel free to grab canned apple pie filling instead of peeling and slicing fresh apples. It works! Just make sure you drain off all the extra syrup. You might even toss the filling with a tiny dash of extra nutmeg to give it that homemade spice kick back. It’s a wonderful way to keep this a super speedy treat.
Finally, when you’re spreading that cream cheese layer, use a gentle hand. You don’t need to pound it down onto the dough. Just spread it lightly to cover. This allows for a better bake and ensures that bottom crust stays flaky instead of getting dense or tough. And when you’re ready for a festive drink alongside these bars, you absolutely must try serving them with my best holiday sangria recipe for parties!
Variations for Your Layered Apple Dessert Recipe
The beauty of using simple, reliable foundations like crescent roll dough is that you can absolutely dress it up! My base recipe for these apple cheesecake bars with crescent rolls is wonderful just as it is, but if you like to tinker—and I know many of you do—you have so many options to make this your own signature treat. Think of this recipe as a wonderful canvas waiting for your personal artistic touch.
The apple filling can take on many personalities depending on what you add right into the spice bowl. If you are looking for a deeper, warmer flavor profile that feels extra cozy, try swapping the nutmeg for just a quarter teaspoon of ground cardamom. I know! It’s unexpected, but that floral spice mixed with cinnamon is divine against the cream cheese.
Now, let’s talk toppings, because this is where you can really turn this into a showstopper dessert. While a simple dusting of powdered sugar is lovely, a drizzle of salted caramel takes these to a whole new level. You just need to warm up some store-bought caramel sauce until it’s pourable—make sure the bars are completely cool first, or you’ll have a puddle! If you love that depth, you might want to look at my recipe for a completely different treat, my caramel apple trifle recipe, just for inspiration!
If you’re feeling ambitious and want a bit more texture contrast, try making a simple streusel topping to sprinkle right over the apples before baking. Mix together a few tablespoons of flour, a little more brown sugar, and a tablespoon or two of cold, cubed butter using your fingers until you get little crumbles. Sprinkle that lightly over the top layer of apples. It bakes up into a lovely, crunchy contrast to the soft filling, turning it into more of a delicious shortbread style dessert. It’s the easiest way to transform your layered apple dessert recipe without adding any extra work later!
Storage and Make Ahead Tips for Apple Cheesecake Bars with Crescent Rolls
One of the best parts about a baked dessert like this—besides how easy it is to make, of course—is that these apple cheesecake bars with crescent rolls hold up beautifully! I always think about when I can sneak one in later, or how far ahead I can bake for a holiday gathering. My philosophy is always: if you can bake it ahead, do it! It saves so much stress on the actual day.
I’ve included storage notes in my make ahead cheesecake fruit bars section as well, but for these specific bars, here’s exactly what I do to keep everything tasting fresh and wonderful.
Refrigerating for the Best Flavor and Texture
Remember how I stressed letting them cool completely before slicing? That’s especially important if you plan on chilling them. Once they are totally cool to the touch, slice them into neat rectangles. Store the bars in a single layer in an airtight container in the refrigerator. They will stay perfectly fresh for about four to five days. If you stack them, make sure you put a sheet of wax paper between the layers so the creamy topping doesn’t stick to the crust below it. Honestly, I think the flavor deepens slightly after a day in the fridge; that cinnamon and cream cheese just meld together perfectly.
Can I Freeze These Bars?
Yes, absolutely! These are fantastic for batch baking and freezing, which makes them an excellent option for busy holiday weeks or when you just want a sweet treat on hand. The key to freezing is slicing them *before* you freeze them. Once they are cooled, slice them up, place them on a baking sheet lined with parchment paper, and flash freeze them for about an hour until they are solid. Then, transfer the frozen squares to a heavy-duty freezer bag. They should keep well for up to three months. When you want one, just pull it out and let it thaw on the counter for maybe 30 minutes, or right in the fridge if you’re patient!
Serving and Reheating Suggestions
These bars are delicious served straight from the fridge—the cheesecake layer is firmer and almost fudge-like, which contrasts nicely with the apples. If you prefer them softer, let them sit on the counter for 15 or 20 minutes before serving. There’s really no need to reheat them, but if you’re serving them in the dead of winter and want them slightly warm, you can microwave an individual bar for just 10 to 15 seconds. Just don’t overheat them, or you’ll lose that lovely set in the cream cheese layer!
Frequently Asked Questions About This Easy Apple Cheesecake Dessert
When developing these reliable recipes, I always anticipate the questions that pop up in a busy home cook’s mind. It’s like teaching—you have to address the potential misunderstandings before they even happen! These apple cheesecake bars with crescent rolls are so straightforward, but a couple of tweaks can make all the difference between good and fantastic. If you’re looking for more straightforward baking ideas, check out my collection of easy apple dessert recipes for inspiration!
Can I use puff pastry instead of crescent rolls for the crust?
That’s a great question about substituting packaged doughs! You certainly *can* use puff pastry, but you’ll end up with a much different result. Crescent roll dough, especially when you press it together firmly, yields a slightly denser, bread-like, flaky base. Puff pastry, on the other hand, is going to lift a lot more, becoming very airy and delicate when baked. If you use puff pastry, you might want to prick it all over with a fork before adding the filling so it doesn’t balloon up too much. For my recipe, I really prefer the sturdiness of crescent rolls because they hold up well to the creamy filling; puff pastry is better suited for lighter fruit fillings!
How do I prevent the cheesecake layer from cracking?
Nobody likes a cracked top on a dessert meant to be smooth! Luckily, with these bars, it’s much easier to manage than a full-sized cheesecake. The main culprit for cracking is often over-baking or sudden temperature changes. Make sure you don’t bake them until the center is completely solid—they should still have a tiny bit of wobble, or that beautiful cream cheese layer will seize up and crack as it cools. The most important thing you can do, which I harp on until my grandkids roll their eyes, is the gradual cooling process. Let them cool on the counter first, then chill. That slow transition prevents cracking!
What is the best way to serve these apple cheesecake bars?
For these quick apple creamy squares, the serving temperature really changes the texture experience. If you love a firmer, almost buttery texture where the filling holds its shape perfectly, serve them straight from the refrigerator. They slice cleanly and taste wonderfully refreshing that way. If you prefer a softer, slightly more decadent bite—where the cream cheese is almost melting—let them sit out on the counter for about 20 minutes before you bring them out. As for toppings, a light dusting of powdered sugar is classic, but a drizzle of warmed caramel sauce—which I mentioned earlier—is my absolute favorite way to elevate this simple treat!
Nutritional Estimates for Serving Apple Cheesecake Bars
Now, I always like to give you an idea of what you’re working with nutritionally, although when it comes to family treats, I try not to stress too much over the details! As a grandmother who loves feeding her family, I focus more on making sure the ingredients are wholesome and the love is abundant. These figures are estimates, mind you, pulled based on the ingredients I listed using standard calculations. We are talking about using packaged dough and cream cheese, so they are definitely a rich, satisfying treat!
Keep in mind these estimates are for one standard bar, based on the recipe yielding about 12 servings. If you cut larger pieces—and goodness knows I’ve been tempted!—those numbers will change slightly. These lovely apple cheesecake bars with crescent rolls are best enjoyed as an occasional indulgence, not an everyday food group, but they are certainly worth every single bite!
- Serving Size: 1 bar
- Calories: Approximately 280 per bar
- Total Fat: 16g (with 9g of that being Saturated Fat)
- Carbohydrates: 31g
- Sugar: 22g
- Protein: 5g
- Cholesterol: 50mg
This data gives you a ballpark idea, but remember, this recipe is all about comfort and ease. It’s a reliable, wonderful dessert that proves you don’t need a complicated recipe to bring smiles to the table. Happy baking!
PrintApple Cheesecake Bars with Crescent Rolls
Make these simple apple cheesecake bars using pre-made crescent roll dough for a quick, comforting dessert. This recipe delivers a flaky crust, a creamy filling, and a sweet apple topping.
- Prep Time: 15 min
- Cook Time: 35 min
- Total Time: 50 min
- Yield: 12 servings 1x
- Category: Dessert
- Method: Baking
- Cuisine: American
- Diet: Vegetarian
Ingredients
- 1 (8 ounce) package crescent roll dough
- 1 (8 ounce) package cream cheese, softened
- 1/2 cup granulated sugar
- 1 large egg
- 1 teaspoon vanilla extract
- 1/2 teaspoon ground cinnamon
- 1/4 teaspoon ground nutmeg
- 2 cups sliced apples (such as Granny Smith or Honeycrisp)
- 1/4 cup packed brown sugar
- 1 tablespoon all-purpose flour
- Optional: Powdered sugar for dusting
Instructions
- Preheat your oven to 350 degrees F. Lightly grease a 9×13 inch baking pan.
- Unroll the crescent roll dough and press it into the bottom of the prepared pan, sealing any perforations to form a solid crust.
- In a medium bowl, beat the softened cream cheese, granulated sugar, egg, and vanilla extract until the mixture is smooth and creamy.
- Spread the cream cheese mixture evenly over the crescent roll crust.
- In a separate small bowl, toss the sliced apples with the brown sugar, flour, cinnamon, and nutmeg until the apples are coated.
- Arrange the spiced apple slices evenly over the cream cheese layer.
- Bake for 30 to 35 minutes, or until the edges of the crust are golden brown and the cheesecake layer is set.
- Remove the pan from the oven and let the bars cool completely on a wire rack before slicing. This cooling time is important for the filling to set properly.
- Dust with powdered sugar before serving, if desired.
Notes
- For a richer flavor, use a mix of sweet and tart apples.
- If you want a caramel drizzle, warm up store-bought caramel sauce and pour it over the cooled bars.
- Do not skip the cooling time; the cheesecake layer firms up as it cools.
- You can substitute pre-made apple pie filling for the fresh apples and spices if you need an even faster shortcut.
Nutrition
- Serving Size: 1 bar
- Calories: 280
- Sugar: 22
- Sodium: 210
- Fat: 16
- Saturated Fat: 9
- Unsaturated Fat: 7
- Trans Fat: 0
- Carbohydrates: 31
- Fiber: 1
- Protein: 5
- Cholesterol: 50