
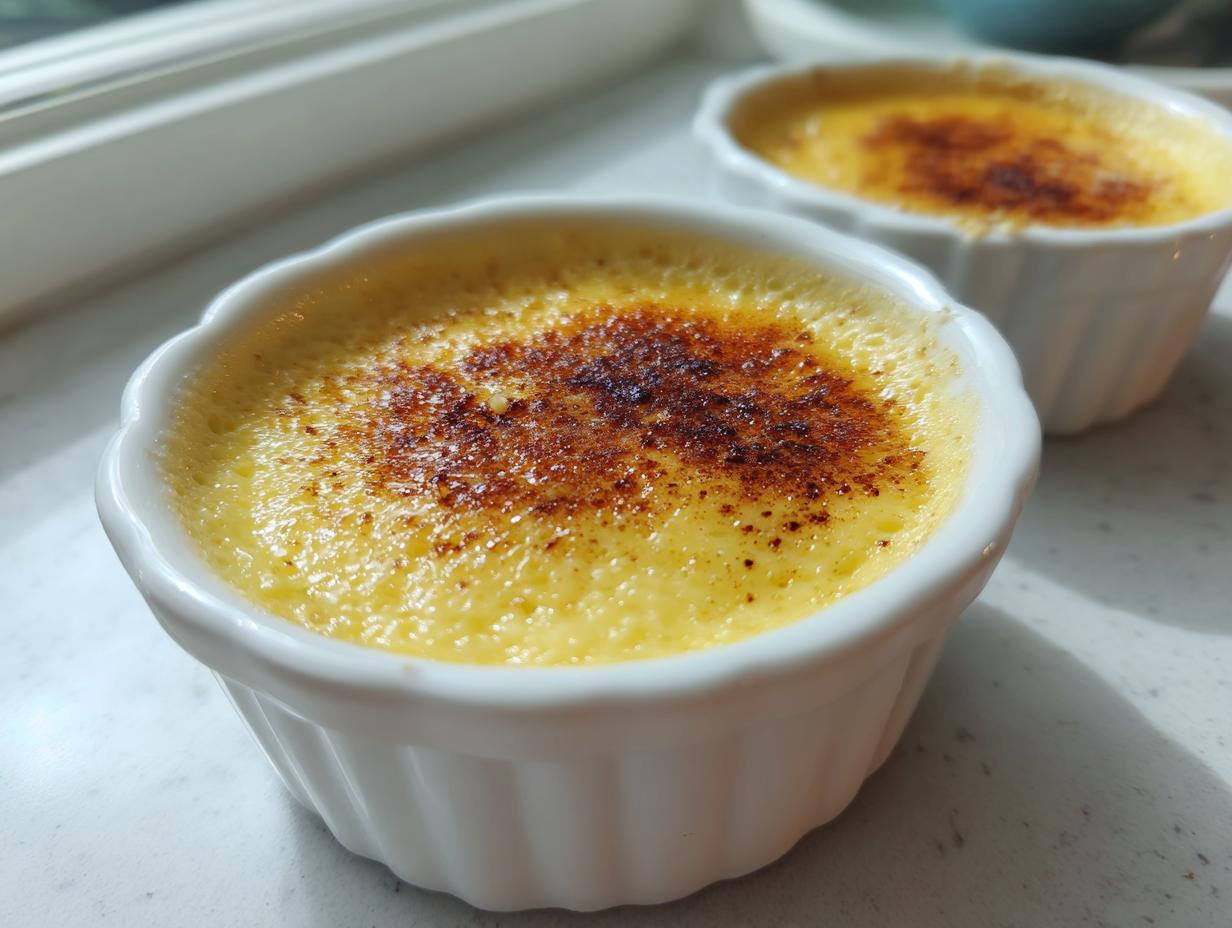
Sometimes, all you need is that perfectly smooth, sweet taste that reminds you of being taken care of. I’ve tried every fancy dessert out there, but nothing beats the deep comfort of a truly great, old-fashioned dessert served just for you. That’s why I want to share my absolute favorite way to make vanilla custard cups. This isn’t some complicated pastry chef trick; this is the dependable, go-to recipe I learned from my mom, Carla Mae Peterson, right in our Midwest kitchen. It focuses on simple ingredients making something spectacular.
We’re aiming for that creamy baked dessert texture that melts in your mouth, not the bouncy stuff you get from a box. Trust me when I say this baked egg custard recipe is foolproof when you follow a few little tricks I learned over the years. Let’s get mixing!
- Why You Will Love These Classic Vanilla Custard Cups
- Gathering Ingredients for Perfect Vanilla Custard Cups
- Step-by-Step Instructions: How to Make Custard Dessert
- Tips for Perfect Vanilla Custard Cups Texture
- Variations on Classic Vanilla Pudding
- Serving Suggestions for Your Creamy Baked Dessert
- Make Ahead Custard and Storage for Vanilla Custard Cups
- Frequently Asked Questions About Baked Egg Custard Recipe
- Nutritional Estimates for This Simple Ramekin Dessert
Why You Will Love These Classic Vanilla Custard Cups
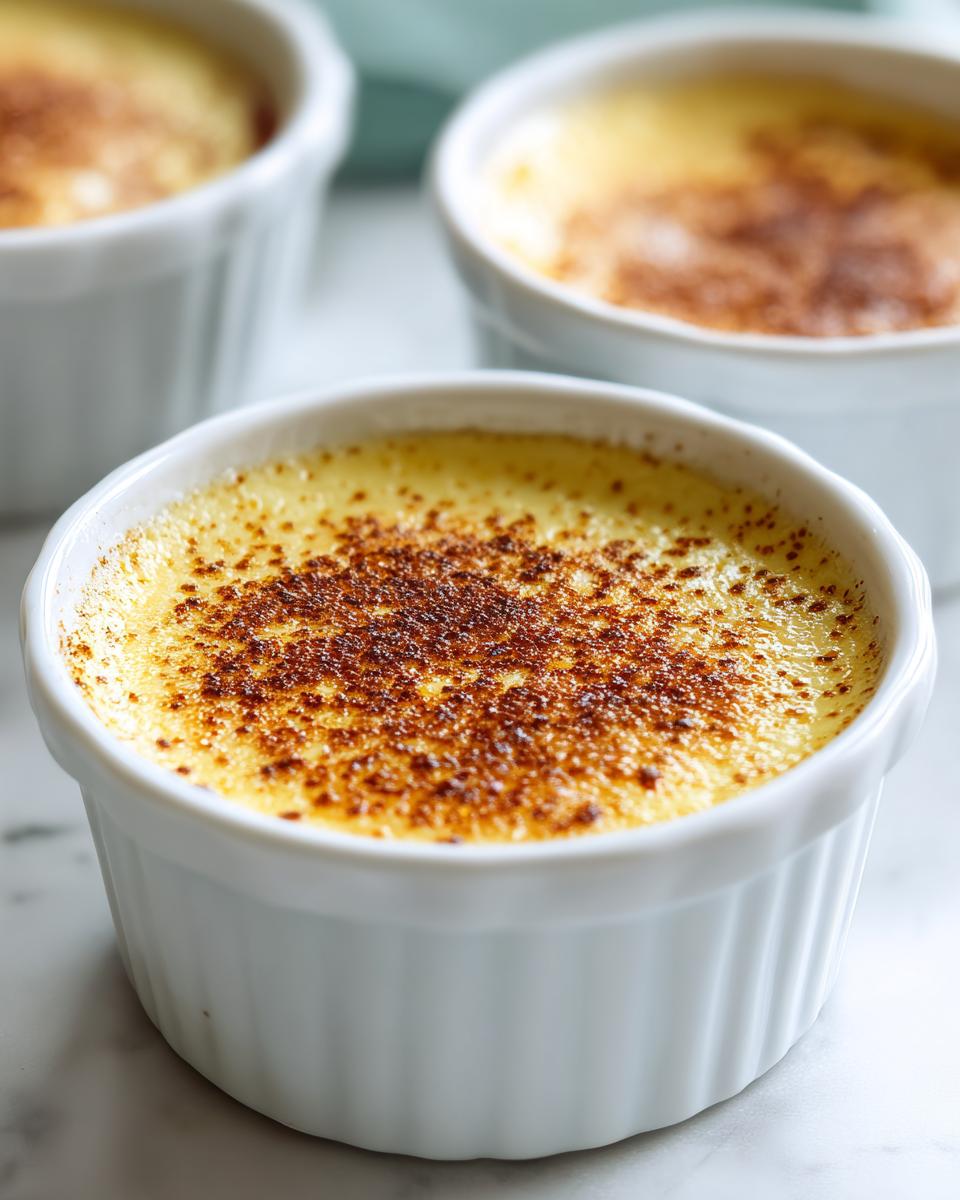
When you need a dessert that looks elegant but comes together with zero fuss, this is the one. I keep coming back to this recipe because it just *works* every single time. Here’s what makes these individual dessert cups so wonderful for my family:
- They bake up perfectly smooth because we use the sacred water bath method—no sinking or cracking here!
- The flavor is pure, classic vanilla, letting the fresh ingredients really shine through.
- Portion control is built right in; these vanilla custard cups are designed for individual enjoyment.
- It’s an old fashioned vanilla dessert made with basic items from your pantry.
- You can mix them up in the afternoon and have them chilled and ready for dessert later that night.
Gathering Ingredients for Perfect Vanilla Custard Cups
When we talk about achieving that unbelievably smooth set custard, it all starts right here, with what you choose to put into the bowl. Since this recipe is so simple, those four core ingredients—eggs, sugar, milk, and vanilla—have to be good quality, or you’ll know it! My mother always stressed using real, pure vanilla extract; none of that imitation stuff if you want a true homestyle custard recipe that sings.
We aren’t whisking these up like we’re scrambling eggs for breakfast; we need gentle combining to keep the air bubbles minimal. That’s why measuring carefully is so important for this creamy baked dessert. Let’s look at exactly what you’ll need to gather before we even touch the stove.
Ingredients for Your Smooth Set Custard
- 4 large eggs
- 1/2 cup granulated sugar
- 1/4 teaspoon salt
- 2 cups whole milk
- 1 teaspoon pure vanilla extract
- Pinch of ground nutmeg for topping (optional)
Make sure you grab whole milk—we aren’t trying to make a diet dessert here! The fat content in whole milk is key to that rich mouthfeel. Also, notice we use just a little bit of sugar; that’s because the eggs and milk do most of the heavy lifting in the flavor department here.
Step-by-Step Instructions: How to Make Custard Dessert
Now that we have our lovely ingredients ready, it’s time to transform them. Don’t let the term ‘bain-marie’ scare you off; it’s just a lovely French term for a water bath, and it’s the secret weapon for guaranteeing you get those perfect, smooth vanilla custard cups. This technique is similar to what we use when making a delicate classic French custard base. We’re aiming for gentle heat all around the mold to avoid little cracks in your wonderfully creamy baked dessert.
Preparing the Ramekins and Oven for Baked Vanilla Custard Cups
First things first, get your oven warming up to 325 degrees Fahrenheit. While that’s heating, arrange your little ramekins—I usually use six of those standard 6-ounce ones—inside a big, sturdy baking pan. This pan needs to be larger than your ramekins so there’s room to pour in the water later. We need hot water for the bath, so go ahead and heat some up on the stove now. Nothing ruins a delicate texture faster than cold water hitting a hot pan! This setup is essential for any good baked egg custard recipe.
Mixing the Custard Base to Prevent Curdling
In a bowl—don’t use an electric mixer here, please!—just whisk your eggs, sugar, and that pinch of salt until it’s mostly uniform. We’re combining, not aerating. My mother always said, “Too many bubbles make a sponge, not a pudding!” Meanwhile, gently warm up your whole milk on the stovetop until you see those tiny bubbles forming around the edges—it should be steaming, but never rolling a boil. Now comes the tempering part, the most crucial step for a perfect creamy baked dessert. Slowly drizzle that warm milk into your egg mixture bit by bit while whisking constantly. Think of it like slowly introducing new friends; fast pours will shock them! Stir in your vanilla, and then, for the ultimate smoothness, strain the whole mixture through a fine-mesh sieve. This removes any bits of unmixed egg or chalazae that could make your custard bumpy.
Baking and Cooling Your Individual Dessert Cups
Carefully pour that silky mixture into your ramekins. Once they are filled, place the whole setup onto the middle rack and pour that hot water into the baking pan until it splashes halfway up the sides of the cups. Bake them for about 35 to 45 minutes. You’re looking for the edges to look set, but if you gently nudge the pan, the very center should still have a tiny wobble left. That jiggle is flavor! Once they look right, carefully fish them out of the hot water—use tongs, trust me! Let them cool on a wire rack completely before covering and chilling them for at least four hours. That rest period is when they firm up into the divine little vanilla custard cups we want.
Tips for Perfect Vanilla Custard Cups Texture
If you’ve ever made custard and ended up with something that tastes suspiciously like scrambled eggs, you know how frustrating that can be! Achieving that signature ultra-smooth texture in your vanilla custard cups is mostly about temperature control. My best advice, which I learned the hard way, is to never let that milk boil when warming it up. Anything hotter than steaming risks scrambling those precious eggs when you combine them.
Also, please don’t skip the straining step I mentioned earlier! It feels like an extra chore, but straining through a fine-mesh sieve is non-negotiable if you want a truly beautiful, unblemished surface on your individual dessert cups. It catches any little bits that didn’t blend perfectly. For extra peace of mind on avoiding rubbery results, remember that the custard is done when it still has that slight center jiggle. If you want to see another recipe where I used similar techniques to ensure a flawless result, check out my thoughts on making a fail-proof egg custard recipe.
Variations on Classic Vanilla Pudding
While this classic recipe is perfect just the way it is—truly the best vanilla custard—sometimes the cook in me just needs to play a little! Thankfully, because the base is so pure, it handles simple flavor accents beautifully without ruining that perfectly smooth set. You can easily swap out that pure vanilla extract for a half teaspoon of almond extract for a slightly different, almost marzipan-like note. That’s a wonderful way to change things up without affecting the baking whatsoever.
If you wanted to lean into the brown sugar flavors we often see in a richer dessert, you could substitute half of the granulated sugar with light brown sugar. This gives the baked custard cups a deeper, more molasses-tinged flavor, making it almost like a refined version of a stovetop vanilla custard. And if you’re feeling extra bright, a little bit of finely grated lemon or orange zest stirred in with the milk gives these individual dessert cups such a lovely, surprising lift!

To see how I use vanilla in another classic comfort dessert, take a peek at my recipe for vanilla pudding chocolate chip cookies—a fun way to integrate these flavors!
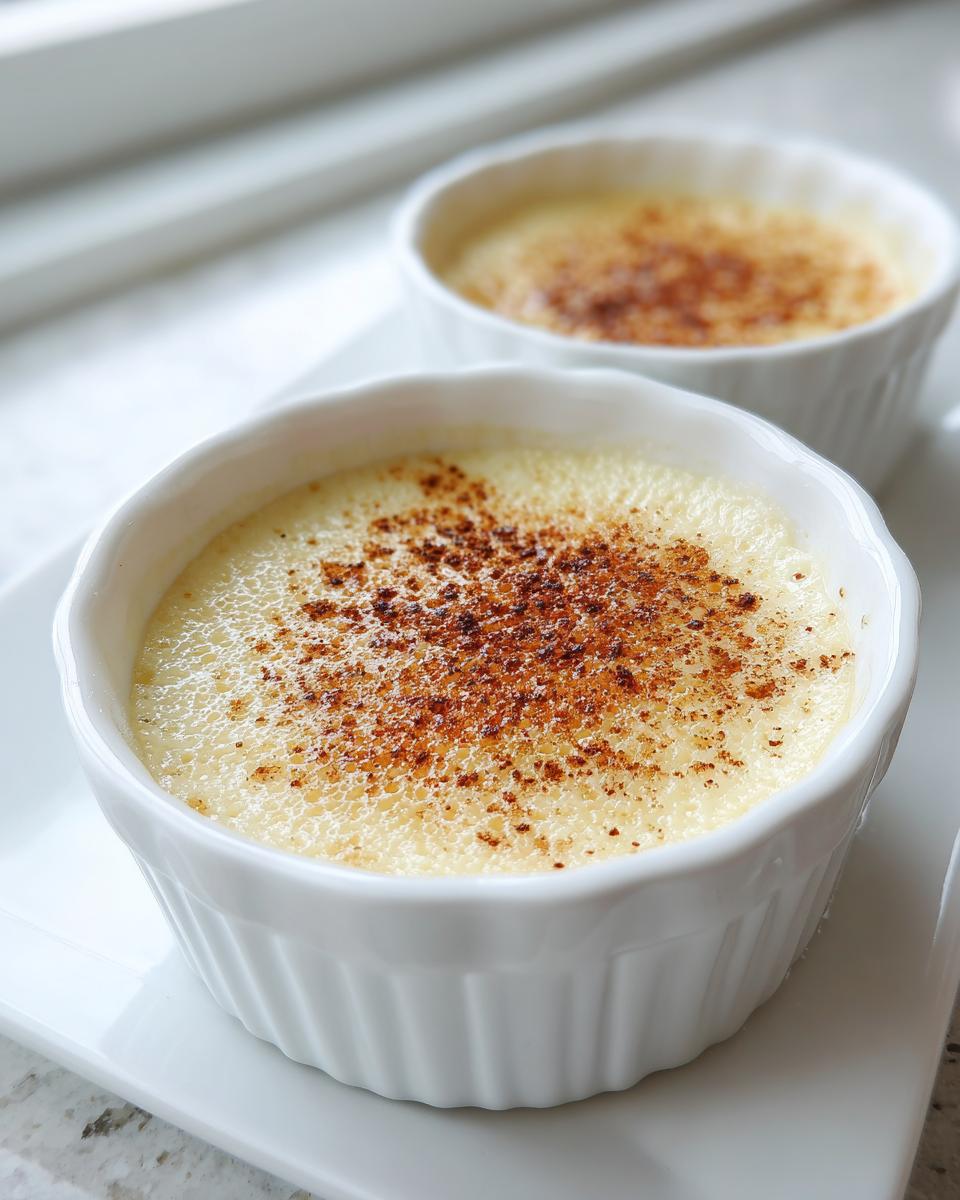
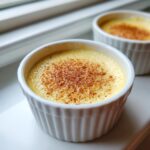
Serving Suggestions for Your Creamy Baked Dessert
Once those vanilla custard cups have chilled completely and are perfectly firm, it’s time for the final flourish! Honestly, they are divine with just a gentle dusting of that nutmeg we put in the batter, but I always like to present them nicely, especially if company is coming over. Piping hot coffee seems to cry out for something decadent alongside it.
For easy elegance, try placing a few fresh raspberries or blueberries right on top; the tartness cuts through the richness beautifully. If you want something truly indulgent, a drizzle of homemade caramel sauce works wonders. If you need an idea for that sauce, I have a lovely recipe right here! These individual dessert cups look gorgeous on a serving platter, even with just a sprinkle of cinnamon.
Make Ahead Custard and Storage for Vanilla Custard Cups
This is where this recipe really shines for busy home cooks like me! Knowing I can prepare something delicious early and not worry about it later is a huge help, especially when hosting. The good news is that these vanilla custard cups are one of the best make ahead desserts you can ask for.
You absolutely must chill them for at least four hours for the best texture, but honestly, they taste even better the next day once they are completely cold and firm. I usually pull mine out of the fridge about 20 minutes before serving just to take the deep chill off. You can safely store these individual dessert cups, covered tightly with plastic wrap, in the refrigerator for up to three days. That little bit of sugar and all those eggs act as a natural stabilizer!
Now, here’s where I have to draw a firm line: do not try to freeze them! Baked custard doesn’t enjoy the freezer much. Freezing and thawing ruins that beautiful, smooth set texture we worked so hard to achieve, and they often separate when they thaw out. Stick to the fridge, and you’ll have perfect vanilla custard cups ready whenever you need them.
Frequently Asked Questions About Baked Egg Custard Recipe
I always get questions about custard because people worry it’s too tricky. I promise, once you understand just a little bit about how eggs and heat interact, you’ll be making this easy homemade custard all the time! Here are the things folks ask me most often when they try making these wonderful individual dessert cups.
Can I use heavy cream instead of milk for these vanilla custard cups?
You absolutely can! If you swap out the whole milk for heavy cream, you’ll end up with a much richer, almost spoonable dessert—it will be less like the classic texture and more decadent. Just be aware that heavy cream has a higher fat content, so your total baking time might be slightly shorter because the fat slows down the setting process just a touch. It makes for a lovely, creamy baked dessert!
Why did my baked custard recipe crack on top?
Cracking happens almost every single time if you skip the water bath. The direct, dry heat of the oven cooks the outside edges of the custard way too fast, making them firm up while the middle is still liquid. When the center finally cooks, it expands and pushes against those hard edges, causing a crack. Also, if your oven temperature is running too high, that can cause issues. That’s why we use the baking custards in water bath method—it insulates the ramekins!
Is this recipe for stovetop vanilla custard or baked?
This specific recipe is for a baked custard recipe, meant to be slow-cooked gently in ramekins placed in a water bath. While you can certainly make a stovetop version, those tend to be looser—more like a thick sauce or pudding that you eat warm or slightly chilled. If you’re looking for that firm, individual cup that holds its shape perfectly once cooled, baking is the way to go for these vanilla custard cups.
Nutritional Estimates for This Simple Ramekin Dessert
I always appreciate knowing what’s on the plate, but please remember that these figures are estimates based on the standard ingredients I use here. If you use a different brand of milk or add extra sugar to your vanilla custard cups, those numbers will shift a bit! Baking is precise, but we all have slight variations in our pantries, right?
Overall, this is a lovely, comforting dessert that uses minimal sugar, relying on the eggs and milk for richness. It’s a nice, manageable portion in these simple ramekin desserts compared to slicing into a huge cake!
- Serving Size: 1 cup
- Calories: 165
- Sugar: 16g
- Sodium: 110mg
- Fat: 7g
- Saturated Fat: 4g
- Carbohydrates: 16g
- Protein: 9g
As you can see, you get a really nice punch of protein from the eggs and milk in this creamy baked dessert. Enjoy your treat!
PrintClassic Baked Vanilla Custard Cups
Make individual servings of smooth, creamy baked vanilla custard using simple ingredients. This recipe yields a comforting, homestyle dessert perfect for any occasion.
- Prep Time: 15 min
- Cook Time: 45 min
- Total Time: 60 min
- Yield: 6 servings 1x
- Category: Dessert
- Method: Baking
- Cuisine: American
- Diet: Vegetarian
Ingredients
- 4 large eggs
- 1/2 cup granulated sugar
- 1/4 teaspoon salt
- 2 cups whole milk
- 1 teaspoon pure vanilla extract
- Pinch of ground nutmeg for topping (optional)
Instructions
- Preheat your oven to 325 degrees Fahrenheit. Place six 6-ounce ramekins into a large baking pan.
- In a medium bowl, whisk the eggs, sugar, and salt together until just combined. Do not over-whisk; you want to avoid incorporating too much air.
- Gently warm the milk in a saucepan over medium heat until small bubbles form around the edges. Do not boil.
- Slowly pour the warm milk into the egg mixture while constantly whisking. Stir in the vanilla extract.
- Strain the custard mixture through a fine-mesh sieve into a measuring cup or pitcher to remove any chalazae or unmixed egg bits, which helps create a smooth set custard.
- Pour the strained mixture evenly into the prepared ramekins.
- Carefully pour hot water into the baking pan until the water reaches halfway up the sides of the ramekins. This water bath creates steam and prevents the custard from cracking or becoming rubbery.
- Bake for 35 to 45 minutes, or until the edges are set but the center still has a slight jiggle when gently nudged.
- Carefully remove the ramekins from the water bath. Let them cool on a wire rack to room temperature.
- Cover the cooled custard cups and chill in the refrigerator for at least 4 hours, or until completely cold and firm. Sprinkle with nutmeg before serving.
Notes
- Straining the mixture is key for achieving a smooth texture in your baked egg custard recipe.
- For best results when baking custards in a water bath, use hot water to fill the pan before placing it in the oven.
- You can prepare this easy homemade custard up to two days ahead of time.
Nutrition
- Serving Size: 1 cup
- Calories: 165
- Sugar: 16
- Sodium: 110
- Fat: 7
- Saturated Fat: 4
- Unsaturated Fat: 3
- Trans Fat: 0
- Carbohydrates: 16
- Fiber: 0
- Protein: 9
- Cholesterol: 115