

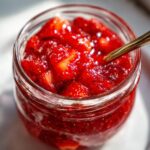
Oh, friends, do I have a recipe that tastes like pure sunshine captured in a jar! If you’ve ever wished you could bottle up the vibrant, fresh flavor of strawberries right off the vine without spending hours over a hot stove, then you are my kind of cook. When summer peaks, I want to preserve that joy immediately. That’s why I insist on sharing this incredibly easy, no-cook **strawberry freezer jam** recipe. As someone who spent thirty years teaching kids to see the simple path through tricky concepts, I promise you, this is the most beginner-friendly jam you will ever make. Forget messy canning; this is reliable, straightforward home cooking designed to taste exactly like fresh berries.
- Why This Easy Strawberry Freezer Jam Recipe Works for You
- Gathering Ingredients for Your Strawberry Freezer Jam
- Step-by-Step: How to Make Strawberry Freezer Jam
- Tips for Making the Best Homemade Strawberry Jam
- Ingredient Notes and Simple Strawberry Spread Substitutions
- Serving Suggestions for Your Strawberry Freezer Jam
- Storage and Thawing Instructions for Strawberry Freezer Jam
- Frequently Asked Questions About Making Freezer Jam
- Share Your Simple Strawberry Spread Success
Why This Easy Strawberry Freezer Jam Recipe Works for You
There’s no need to be intimidated by preserves anymore! This recipe is truly perfect for anyone nervous about the traditional boiling and water-bathing process. I know how much time baking and canning can soak up, which is why I developed this method to be ready for the freezer in about 45 minutes total. We skip all that fuss to give you speed, simplicity, and the best flavor possible. I’ve found that when you keep things simple, you always get a wonderful result. You can find a similar approach to quick results over at this great resource.
- The total active time you’ll spend is under 20 minutes! That’s incredible for homemade goodies.
- Since we aren’t sealing jars with heat, we lock in that vibrant, just-picked taste that cooking usually fades away.
- This recipe is built on trust—it works every single time, even if you’ve never made jam before.
The Secret to Perfect No Cook Jam Flavor
The reason this method impresses everyone who tries it is right there in the name: it’s a No Cook Jam! We skip the boiling step entirely. When you cook fruit down, you lose some of that bright, fresh zing. By just massaging the sugar into the fresh strawberries, we let the fruit release its own juices and set naturally in the freezer. This is the key to a vibrant strawberry freezer jam that tastes like summer!
Beginner Jam Making Success Guaranteed
If you’ve been eyeing those gorgeous jars but worried about the commitment, this is your entry point. I understand life gets busy! This is foolproof Beginner Jam Making. You crush, you stir, you jar. That’s pretty much the whole adventure, and the results are amazing, all done quickly enough for a busy weekday afternoon.
Gathering Ingredients for Your Strawberry Freezer Jam
Alright, let’s talk about what you need because I keep this list short and sweet—I want you focusing on those beautiful berries, not running to five different specialty stores! We need four cups of fresh strawberries that are washed, hulled, and ready for crushing. Then, we use four cups of good, simple granulated sugar and a tiny splash of lemon juice to brighten everything up. If you want a slightly firmer set later on, I’ve included a half-teaspoon of commercial pectin as absolutely optional. You can see a great visual breakdown on their site if you like to see things laid out!
- 4 cups fresh strawberries, hulled and crushed (be ready for a little bright pink mess!)
- 4 cups granulated sugar
- 1 tablespoon fresh lemon juice
- 1/2 teaspoon commercial pectin (Only if you want it a little thicker, otherwise, skip it!)
Step-by-Step: How to Make Strawberry Freezer Jam
Now we get to the fun part where the magic truly happens! Seriously, this process is so straightforward, you’ll wonder why you ever bothered with complicated recipes. Remember, we are making an Easy Freezer Jam Recipe, so there’s no boiling here, just gentle waiting. Follow these steps, and you are minutes away from having glorious fruit preserves! If you’ve mastered other simple techniques like making easy homemade mayonnaise, jam-making will be a breeze!
Preparing the Fruit and Sugar Base for Strawberry Freezer Jam
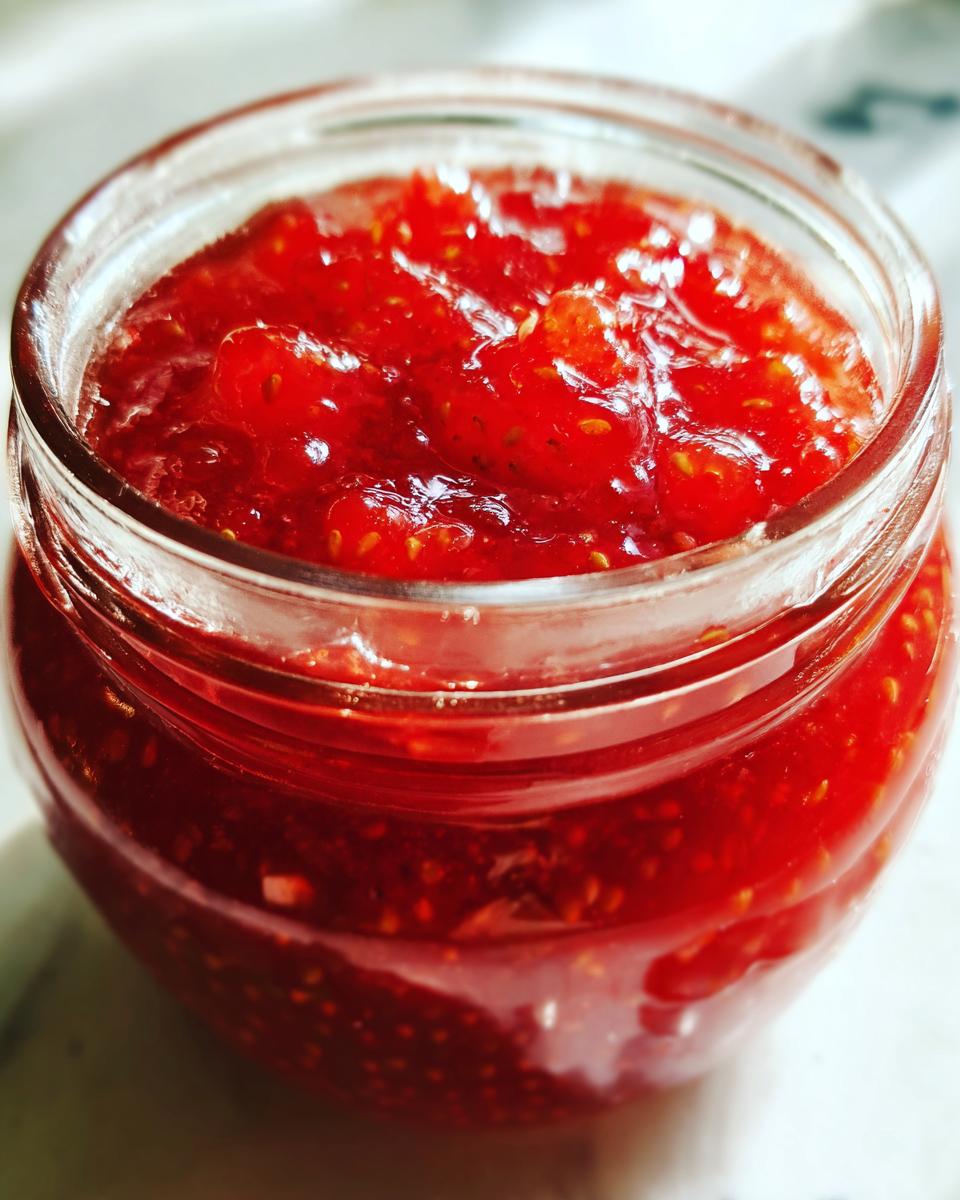
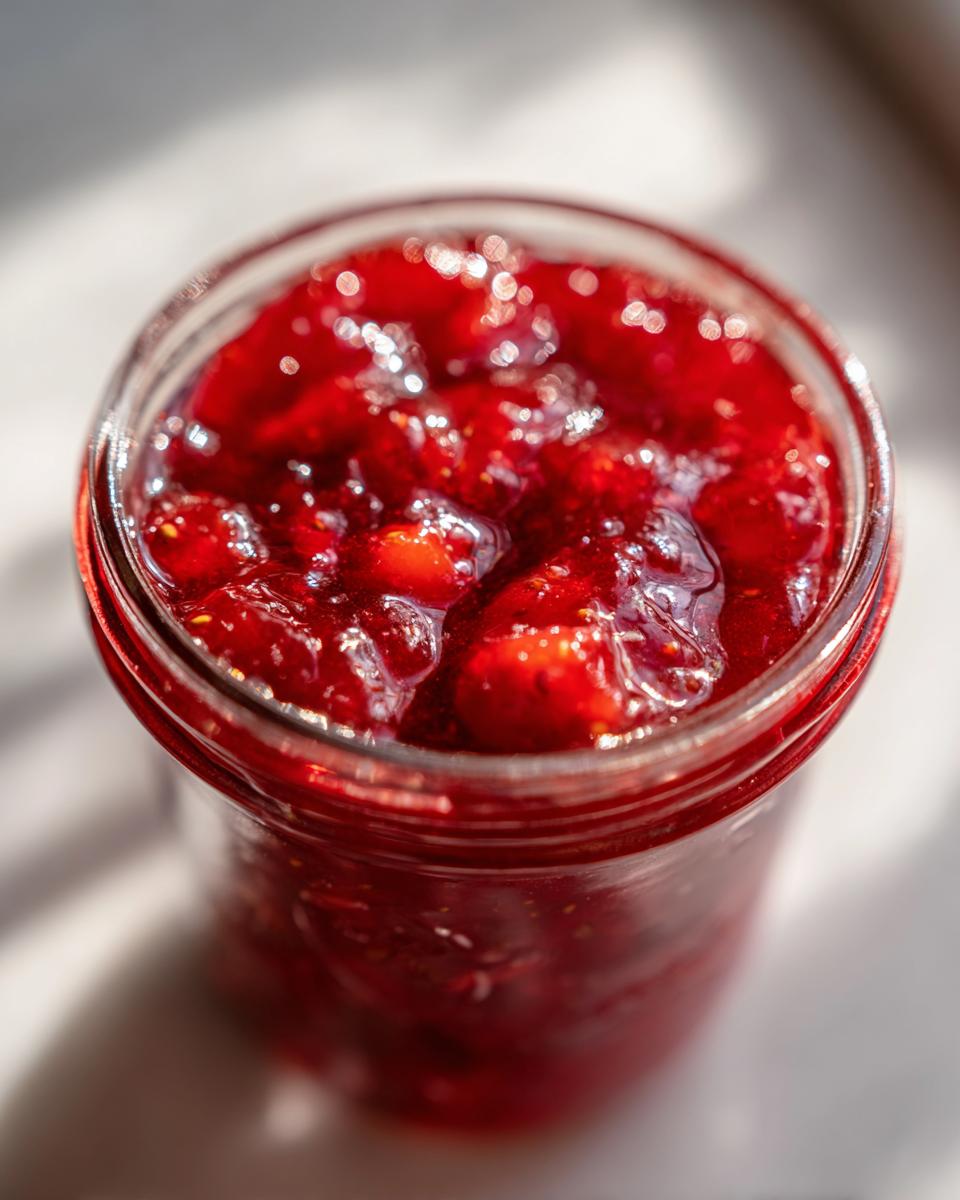
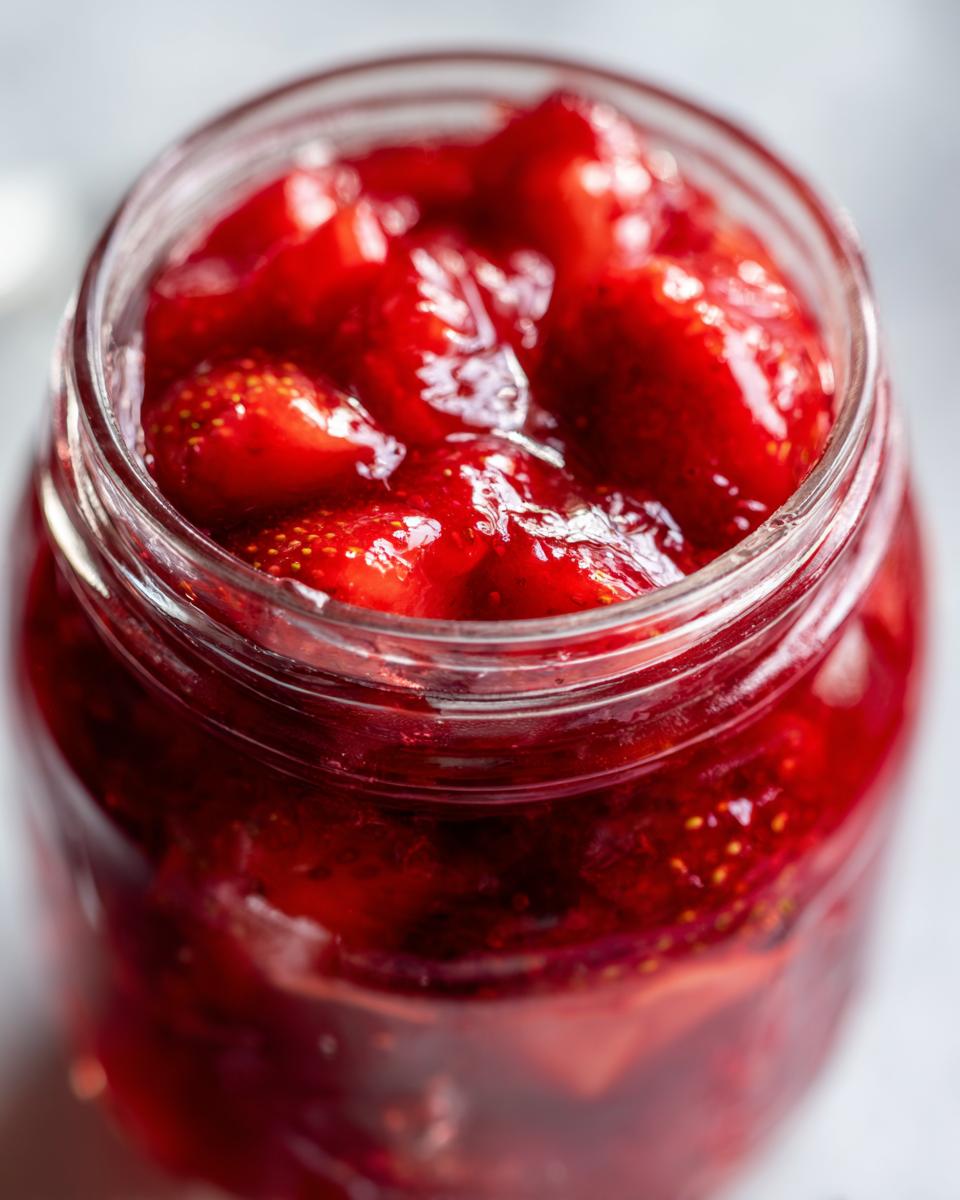
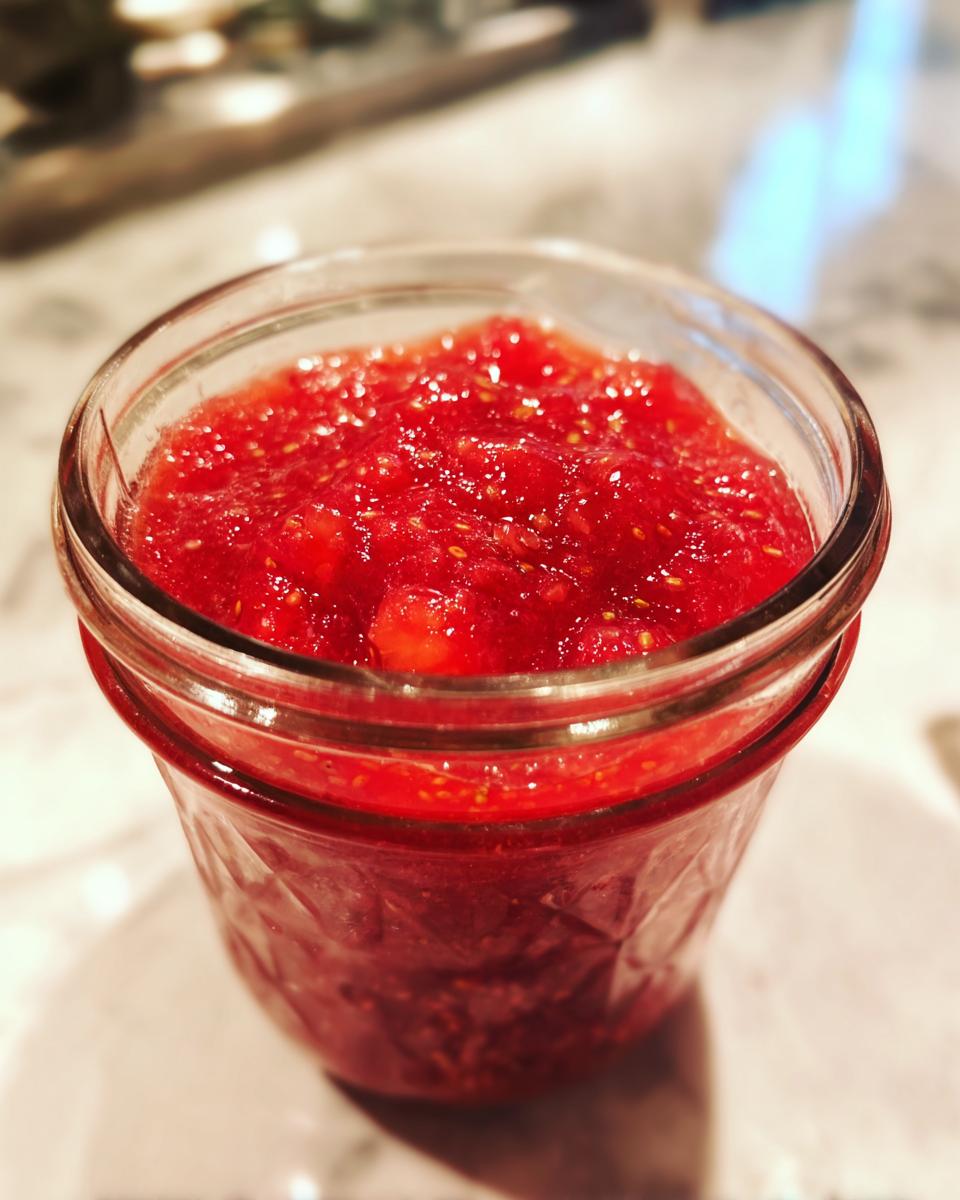
First, get those lovely strawberries ready. You need to wash them well, take off the green tops (hull them), and then crush them up. I usually use a potato masher right in the mixing bowl—it leaves a perfect chunky texture that’s just delightful on toast. If you want it smoother, a quick few pulses in the food processor works too, but don’t overdo it! Once they are mashed the way you like them, stir in all your granulated sugar and that splash of lemon juice. You absolutely must let this sit for a full 15 minutes. You’ll stir it once or twice during that time. This resting period is crucial; it lets the sugar start dissolving shyly into the berry juices.
Setting the Jam: Pectin Addition and Final Rest
After that initial 15 minutes, check your mixture. If you decided to use that optional pectin for a touch more structure, now is when you stir it in thoroughly. If you are going the full No Pectin Jam route, just skip right ahead! We let the entire mixture rest again, this time for about 30 minutes. It’s important to stir it every ten minutes or so during this second rest. You’ll notice the mixture doesn’t look like soup anymore; it’s starting to look slightly thick and glossy. That’s the sugar doing its work pulling everything together!
Jarring and Freezing Your Quick Fruit Preserves
Once the jam has rested and thickened up just a bit, it’s time to jar it. Grab your clean, freezer-safe jars. Ladle the jam in, and this is vital: leave about half an inch of space at the very top—that’s headspace, and it keeps your jars from cracking when the jam expands in the cold. Wipe the rims clean, seal them up, and let them sit on the counter until they reach room temperature. Once they are cool, pop them right into the freezer. For this Quick Fruit Preserves method, remember they need at least four hours in the deep freeze, but honestly, the sooner the better!
Tips for Making the Best Homemade Strawberry Jam
You know, making something good is one thing, but making it the absolute best means paying attention to the little details that come only from experience. Since we skip the heating process for this Homemade Strawberry Jam, the quality of your raw ingredients really shines through. Trust me on this: use the firmest, ripest strawberries you can find. If they are squishy or bruised, they tend to break down too much when you mash them, and you’ll end up with a thinner final product.
Texture management is everything here. If you’re aiming for that perfect, spreadable jar that holds its shape without being tough, the firmness of the berry makes a massive difference. Also, don’t rush the sugar dissolving step! That light stirring we do helps maintain the integrity of the fruit pieces while getting the sugar incorporated perfectly. For some great extra inspiration on strawberry flavor, check out my recipe for homemade strawberry cake—it brings out that same intense berry taste!
If you find your jam is a little runny even after freezing, that usually just means your berries were extra juicy that day. Next time, let the initial sugar mix rest for 20 minutes instead of 15. It also helps to peek at what other wonderful cooks are doing, like the great tips shared by my friend over at Graceful Little Honey Bee.
Ingredient Notes and Simple Strawberry Spread Substitutions
I always get asked if we can play around with what goes into this strawberry freezer jam. Since this recipe skips the cooking phase, we have to be a little careful about substitutions, especially when it comes to the sugar, because that’s what helps it set up without pectin! You can certainly use less sugar if you’re watching intake, but just know your final product will definitely be runnier. That’s okay! If you prefer a low-sugar option, you might need to use that commercial pectin every time, or you could just accept this as a wonderful fruit topping rather than a firm jam.
What about using frozen strawberries instead of fresh? Yes, you absolutely can! This is great for when the summer berries disappear too quickly. If you use them, you don’t need to thaw them first. Just measure your frozen, whole berries, crush them slightly (they’ll need a little more elbow grease or a quick pulse in the food processor), and proceed exactly as written. That fresh flavor is what we are aiming for, and frozen berries captured at their peak do a wonderful job!
If you are really keen on experimenting with sweeteners, I suggest you check out how others manage sweeteners for toppings; for instance, this recipe offers some insight into low-sugar approaches. But for my standard recipe, the granulated sugar is what creates that perfect texture for this Simple Strawberry Spread.
A quick note on lemon: Don’t skip the lemon juice! It adds necessary acidity. If you ever find yourself needing that acid kick in another recipe, like my soft, buttery glaze for scones, remember that citrus really brightens a sweet dish. For jam, it just helps balance the sweetness!
Serving Suggestions for Your Strawberry Freezer Jam
Once you’ve got that wonderful, vibrant batch of freezer jam thawed out, the biggest challenge is deciding what to put it on first! Truly, this is such a versatile Strawberry Dessert Topping, but I have my absolute favorites. That first spoonful is always saved for a thick slice of homemade bread, especially my sourdough pancakes. It melts just slightly on the warm surface—perfection for your morning toast!
But don’t think it stops at breakfast! Swirl a spoonful into plain Greek yogurt for a quick, naturally flavored snack. It’s delightful mixed into simple vanilla ice cream, or you can even use it as a bright glaze over cheesecake if you’re feeling fancy. Honestly, this homemade jam just makes everything taste like summer again, no more, no less.
Storage and Thawing Instructions for Strawberry Freezer Jam
One of the best parts about making this no-cook preserve is just how long it lasts! Because we aren’t canning this batch, we rely on the freezer’s deep chill to keep everything tasting fresh. I’ve had jars of this strawberry freezer jam safely tucked away for almost a full year, and when thawed, they taste just as bright as the day I mixed them up. That’s the beauty of rapid freezing—it keeps the fresh berry flavor locked in tight!
Now, let’s talk about when you want to use it. You can’t just grab it straight from the freezer and spoon it onto your biscuits; it needs a little transition time. The only way I recommend thawing your jam is slowly and safely in the refrigerator. Just move the sealed jar from the freezer to the fridge the night before you plan to use it! This overnight thaw works perfectly. If you need it faster, you can place the sealed jar in a bowl of cold water for an hour or two, but please, never use the microwave or hot water.
I always make sure to label my jars right away with the date, which, as a former teacher, helps me keep track of everything! Since we aren’t processing these jars, they are strictly for the freezer or the fridge (where they’ll keep for about three weeks once thawed). If you are looking for storage ideas for other things, I share how I keep my artisan bread fresh that relies on bread-specific storage, but for jam, the freezer is your best friend for long-term enjoyment.
Frequently Asked Questions About Making Freezer Jam
I always hear from folks who have a great batch of strawberries but a few lingering questions before they commit to mixing up a batch of strawberry freezer jam. These questions usually pop up because we are skipping the traditional cooking step, so I want to clear up any doubts you might have about this easy method!
Can I use frozen strawberries for this recipe?
Oh, yes, you absolutely can! This is one of my favorite ways to make this Homemade Strawberry Jam when the fresh season is over. If you use frozen berries, you don’t even need to thaw them first. Just measure them while they are frozen, crush them lightly (they resist a bit more than fresh, which is fine!), and proceed with the recipe. It’s a fantastic way to keep enjoying this wonderful Canning Alternative Recipe year-round!
Why is my strawberry freezer jam runny after thawing?
That’s the most common worry because we aren’t using a thickener or boiling it down! If your jam is runny, it usually means one of three things: either your strawberries were exceptionally watery that day, or you didn’t let the sugar-fruit mixture sit long enough for the sugar to dissolve and pull out the juice. The third reason is perhaps you left out the lemon juice. If you want a guaranteed firmer set, you can always add that optional commercial pectin mentioned in the recipe. If you made something close to a 3 Ingredient Jam without it, a slightly softer set is just part of the deal, but it’s still delicious on your toast!
What is the shelf life using this freezer method?
If you keep this batch sealed tight and stored in a deep freezer—nice and cold—you can enjoy this Easy Freezer Jam Recipe for up to a year! I’ve checked mine way past the six-month mark, and the flavor is still bright and true to the berry. Once you thaw it in the refrigerator, though, treat it like fresh opened produce; it should be eaten within three weeks. It’s best used within six months for that peak, fresh taste.
Can I make a true 3 Ingredient Jam by skipping the lemon juice?
You could technically try to make a 3 Ingredient Jam by only using strawberries, sugar, and maybe pectin, but I really, truly advise against skipping that teaspoon of lemon juice. It’s not just there for flavor, though it does brighten up the sweetness beautifully! The acid from the lemon helps balance the high sugar content which is crucial for preserving safety and flavor, even in the freezer. Think of it as that little bit of zest that keeps the whole batch exciting. You can find tips on other kitchen essentials over at my guide on quick gravies, but trust me on the acidity here!
Share Your Simple Strawberry Spread Success
Now that you have seen just how simple it is to capture the taste of summer goodness right in your own kitchen, I truly want to know what you think! This recipe for strawberry freezer jam is the one I turn to whenever I have a big haul of berries, and I hope it becomes your reliable favorite, too. Has this recipe shown you just how easy Beginner Jam Making can be?
Please, if you give this a try, come back and leave me a rating—those stars really help other home cooks feel confident trying a new recipe! And if you make a batch of this glorious, fresh-tasting Simple Strawberry Spread, take a picture! I absolutely love seeing your kitchen creations, whether you’re drizzling some on your toast or prepping jars to give as gifts. You can send photos or just say hello over on my contact page. I always appreciate hearing from you!
Don’t forget, if you’re looking for more speedy ways to make great food, remember that so many of these fruit-preserving ideas cross over into other quick recipes we love, like the helpful guide on no-fuss fruit recipes you might find interesting!
PrintEasy No-Cook Strawberry Freezer Jam
Capture the fresh taste of summer strawberries quickly with this simple, no-cook strawberry freezer jam recipe. This beginner-friendly method requires few ingredients and no canning fuss.
- Prep Time: 15 min
- Cook Time: 0 min
- Total Time: 45 min
- Yield: About 4 half-pint jars 1x
- Category: Preserves
- Method: No-Cook
- Cuisine: American
- Diet: Vegetarian
Ingredients
- 4 cups fresh strawberries, hulled and crushed
- 4 cups granulated sugar
- 1 tablespoon fresh lemon juice
- 1/2 teaspoon commercial pectin (optional, for a firmer set)
Instructions
- Prepare the strawberries: Wash, hull, and crush the fresh strawberries in a bowl until you have a chunky consistency. You can use a potato masher or pulse them briefly in a food processor.
- Combine sugar and fruit: Stir the granulated sugar and lemon juice into the crushed strawberries. Let this mixture sit for 15 minutes, stirring occasionally, until the sugar begins to dissolve.
- Add pectin (if using): If you choose to use pectin for a firmer set, stir the pectin into the fruit mixture now.
- Rest the mixture: Allow the jam mixture to sit for another 30 minutes, stirring every 10 minutes. The mixture will thicken slightly as the sugar dissolves and the fruit releases its juices.
- Jar the jam: Ladle the jam mixture into clean, freezer-safe jars or containers, leaving about 1/2 inch of headspace at the top.
- Cool and freeze: Let the jars cool to room temperature on the counter. Once cool, seal the containers and place them in the freezer. This jam is ready to use after freezing for at least 4 hours.
Notes
- This recipe captures the pure flavor of fresh fruit because you skip the cooking step.
- For the best texture, use ripe, firm strawberries.
- This homemade strawberry jam keeps well in the freezer for up to one year.
- Thaw overnight in the refrigerator before serving on your morning toast or mixing into yogurt.
Nutrition
- Serving Size: 2 tablespoons
- Calories: 90
- Sugar: 23g
- Sodium: 1mg
- Fat: 0g
- Saturated Fat: 0g
- Unsaturated Fat: 0g
- Trans Fat: 0g
- Carbohydrates: 23g
- Fiber: 0g
- Protein: 0g
- Cholesterol: 0mg