
Oh, you wait until you taste garlic transformed by the oven! Raw garlic bites hard, but when you slow-roast it, all that sharp edge melts away into the sweetest, richest flavor you can imagine. It’s smoky, it’s mellow, and it turns a simple jar of mayonnaise into something truly special. I’ve taught my grandkids how simple this is, and trust me, this is the definitive, easy-to-follow roasted garlic aioli recipe that guarantees you get that beautiful, stable, creamy texture every single time. Forget runny dips; we are making real aioli from scratch today, the kind that tastes like it came from a fancy restaurant, but you made it right there on your own countertop. It’s simply the best sandwich spread recipe!
Back when I was teaching, I used to make big batches of this for potlucks; it’s always the first thing to disappear! It’s shockingly simple when you break it down, especially if you rely on steady whisking instead of a machine. If you want to learn how to make a fantastic homemade garlic aioli recipe that holds up beautifully, keep reading, and I’ll walk you through my whisking secrets. If you want to try another simple creamy base, check out my easy homemade mayonnaise recipe!
- Why This Roasted Garlic Aioli Recipe Works Every Time
- Gathering Ingredients for Your Roasted Garlic Aioli Recipe
- Step-by-Step Instructions for the Best Aioli From Scratch
- Tips for Success with Your Creamy Roasted Garlic Sauce
- Variations for Your Homemade Garlic Aioli Recipe
- Serving Suggestions for This Easy Roasted Garlic Dip
- Storage and Shelf Life of Real Garlic Aioli Instructions
- Frequently Asked Questions About the Roasted Garlic Aioli Recipe
- Share Your Creamy Roasted Garlic Sauce Experience
Why This Roasted Garlic Aioli Recipe Works Every Time
Folks often think making aioli from scratch is tough, but that’s usually because they rush the steps or use garlic straight from the bulb. My goal here is to give you a thick, creamy roasted garlic sauce every time that never breaks apart. Once you taste this deep flavor, you’ll agree that this method is much better than just stirring garlic powder into store-bought stuff.
- It yields an incredibly deep, sweet, and smoky roasted garlic condiment flavor.
- The resulting texture is a perfect, stable emulsion—never runny or oily.
- Using room temperature ingredients ensures everything blends smoothly together.
The key to success is patience, especially when we start adding the oils slowly. That steady hand is what separates a good dip from a great one!
The Secret to Smoky Roasted Garlic Condiment Flavor
We roast the garlic at 400 degrees Fahrenheit, wrapped up tight in foil with a little olive oil. This gentle heat caramelizes the natural sugars inside the cloves beautifully! It takes away that intense, sharp bite you get from raw garlic, which is too aggressive for a smooth aioli. When you coax out that sweet pulp, you get all the delicious garlic essence without any harshness.
Gathering Ingredients for Your Roasted Garlic Aioli Recipe
When you’re making something this simple, the ingredients have to be just right, because there’s nowhere for mediocre flavors to hide! My list is short but specific, and treating these components with respect is how we guarantee you get a true, best aioli from scratch.
First, make sure that one large egg yolk is truly at room temperature—this is crucial for a successful emulsion later on. The oils matter too; we use a neutral oil for bulk and texture, then finish with a splash of good extra virgin olive oil for that classic peppery bite. Don’t forget to set aside what you need from the roasted garlic heads too—about two tablespoons of that sweet pulp!
If you’re looking for another recipe that highlights how lovely garlic can be when roasted properly—maybe to serve alongside your aioli—you must try my wonderful garlic butter mushrooms recipe!
Step-by-Step Instructions for the Best Aioli From Scratch
This is where the magic happens, and where patience pays off! We are turning simple ingredients into that rich, creamy roasted garlic sauce you’ve been dreaming about. Remember, we aren’t using a blender or food processor here; it’s all about the steady motion of your arm. If you try to hurry up the oil, your beautiful mixture will separate, and we don’t want that heartache!
Make sure you have everything ready before you start whisking, especially that room-temperature egg yolk. Once you start, you need to keep moving! When you’re done whipping this up, don’t forget to try my easy homemade mayonnaise recipe for another kitchen staple!
Roasting the Garlic: The Flavor Foundation
First things first: preheat that oven to 400 degrees. Take both heads of garlic and use a sharp knife to slice off just the top quarter inch—just enough to expose the tops of the little cloves inside. Drizzle just one tablespoon of olive oil over them and wrap the whole thing super tight in aluminum foil. Roast them for about 35 to 45 minutes until they are wonderfully soft and golden brown.
Achieving a Perfect Garlic Aioli Emulsion
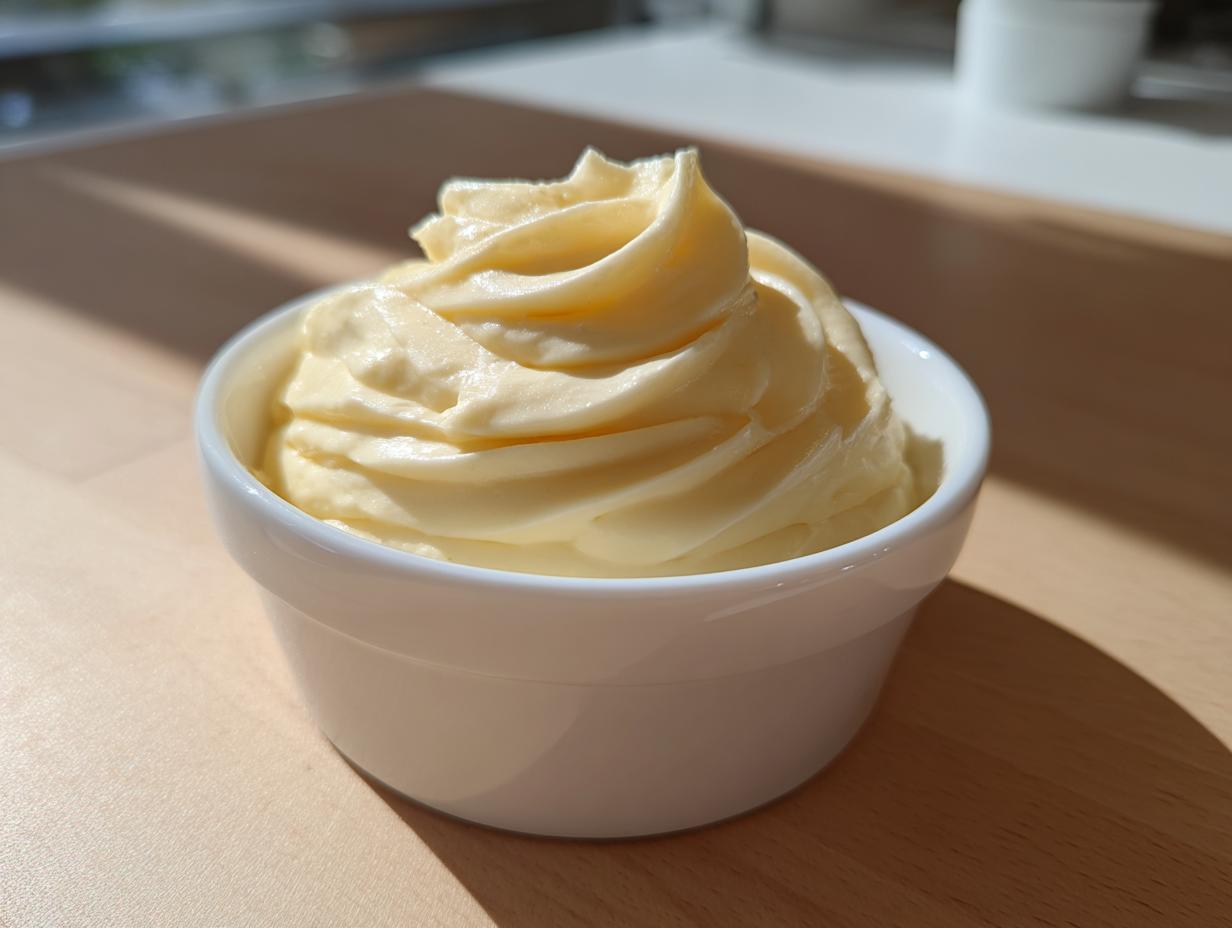
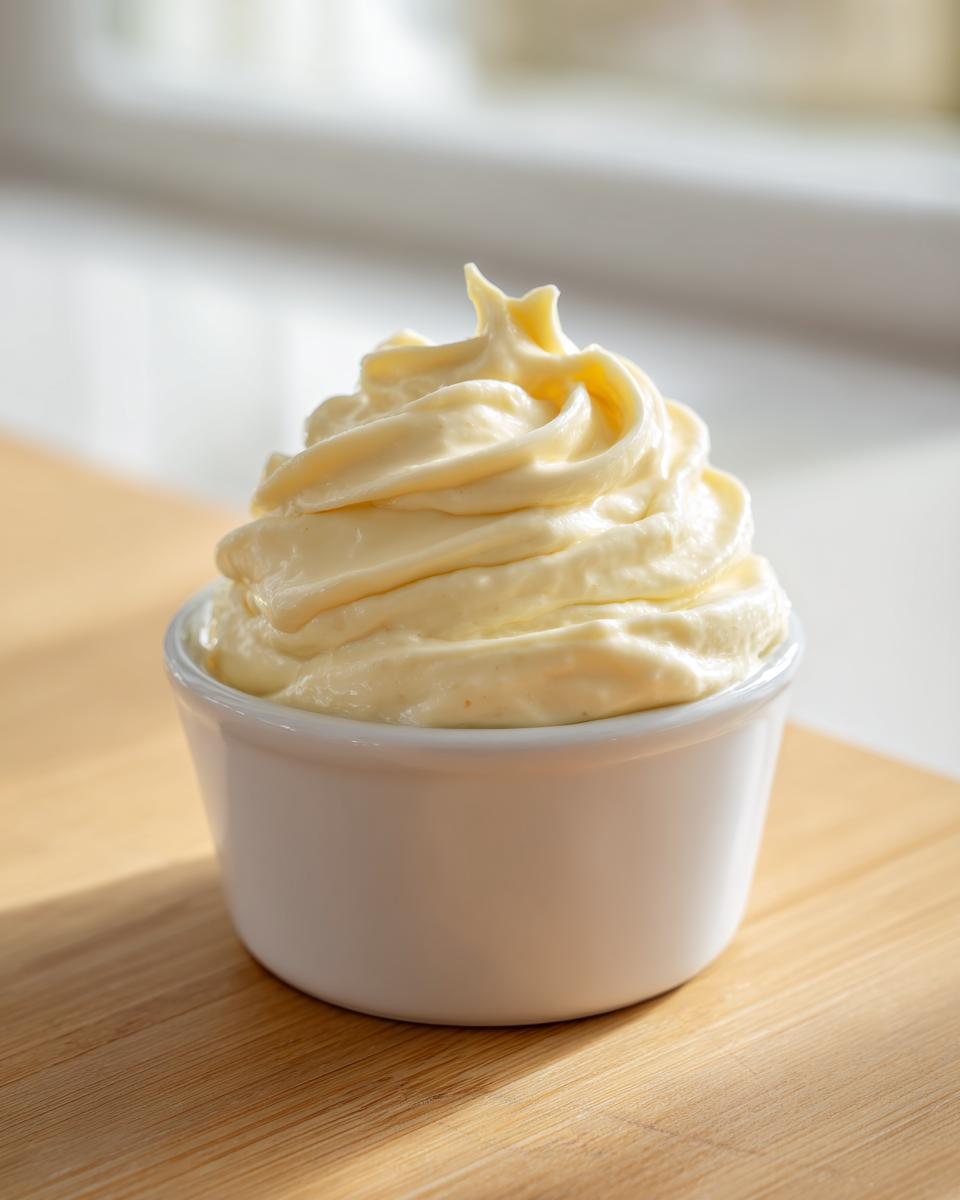
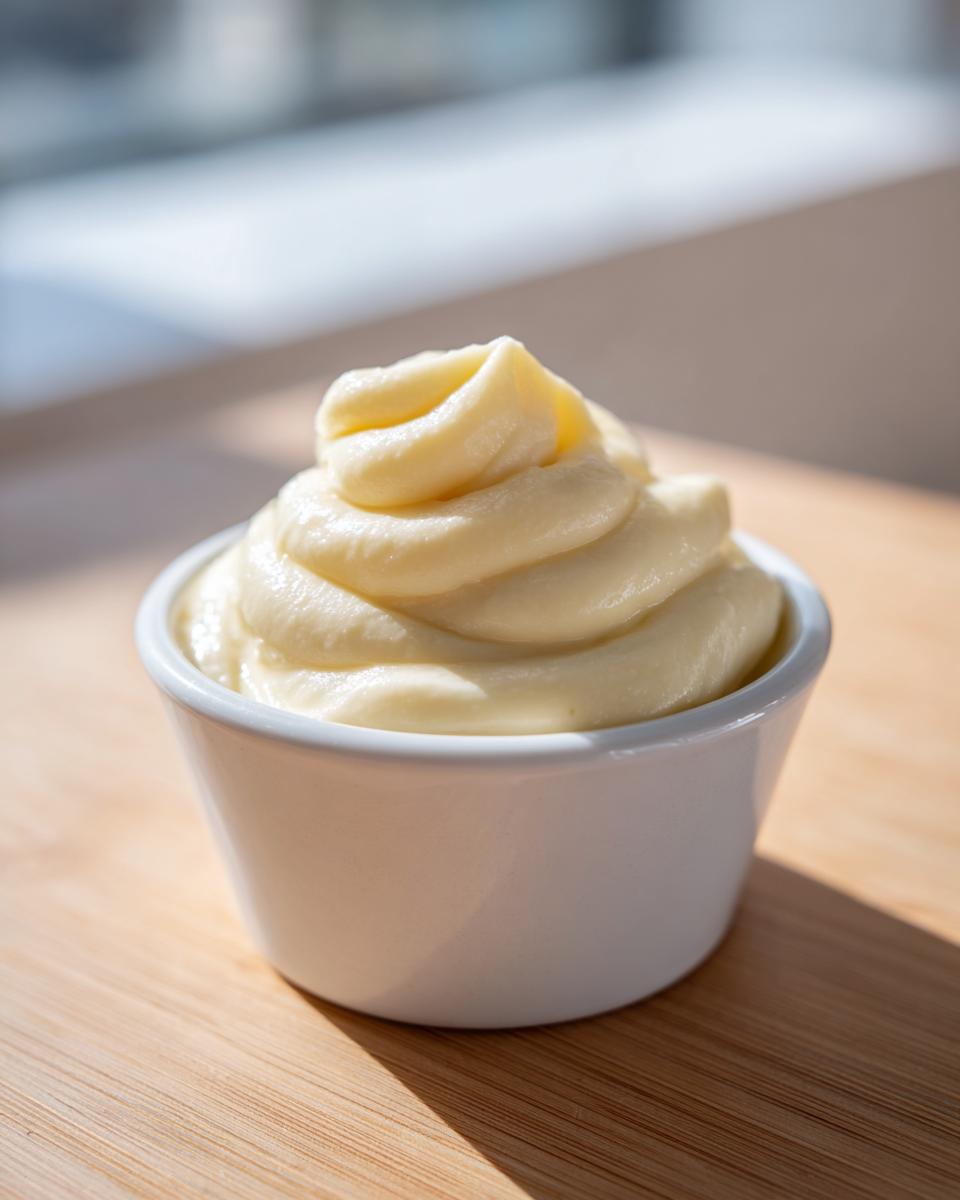
Once the garlic cools, squeeze that sweet pulp out. In your bowl, whisk the yolk, mustard, lemon juice, salt, and pepper together well. Now, listen closely: start adding the neutral oil one single drop at a time while whisking constantly and vigorously. I mean it—drop by drop! This slow start is the absolute secret to getting that stable emulsion for your roasted garlic aioli recipe.
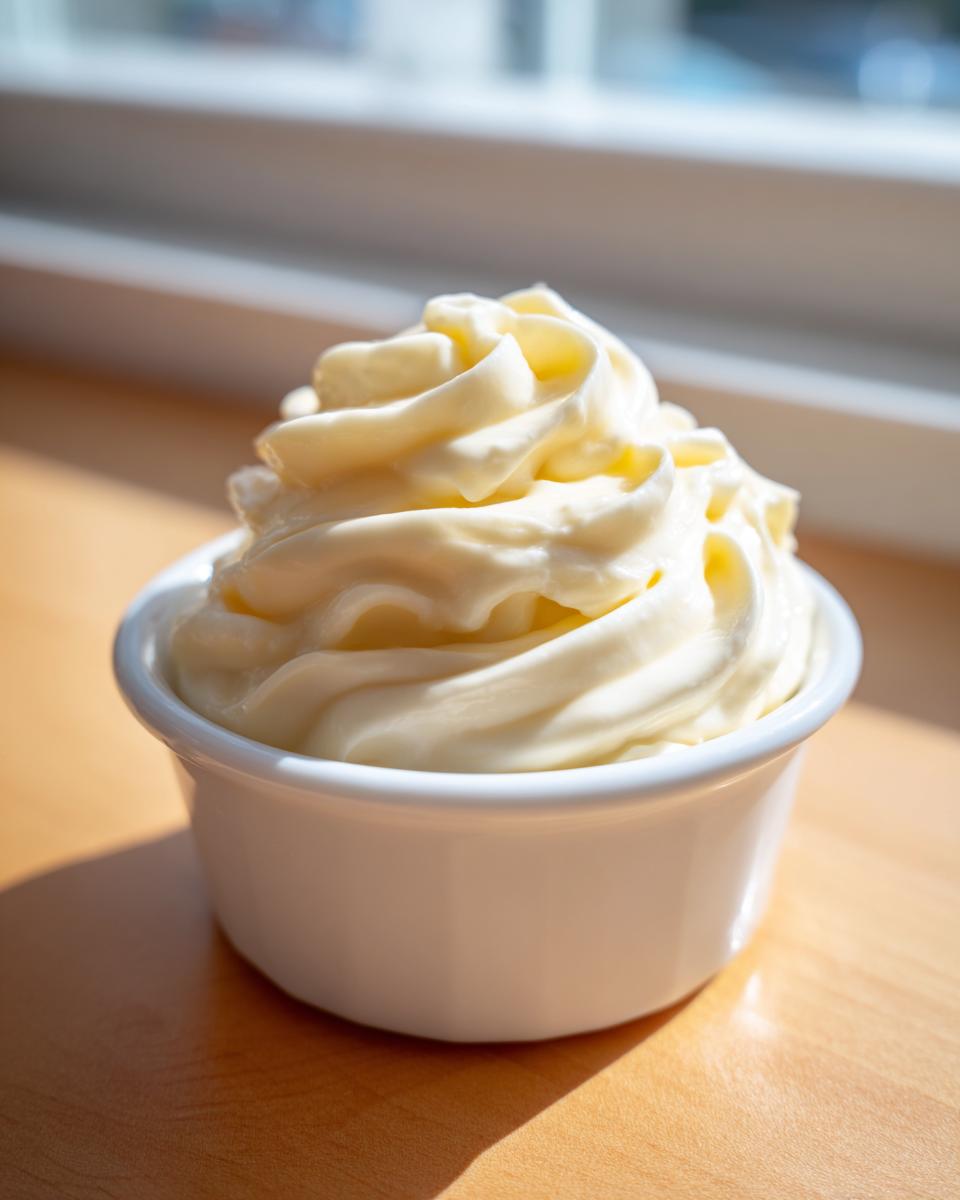
Once you see the mixture lighten up and start holding its shape, you are safe! Then, you can increase that oil to a thin, steady drizzle. Keep that arm moving until all the neutral oil is in, and THEN slowly drizzle in the extra virgin olive oil for the final flavor boost. If you rush those first few additions, your whole homemade garlic aioli recipe will break!
When everything is fully mixed, give it a taste—you might need a tiny pinch more salt or a squeeze more lemon! For a fantastic side dish that pairs perfectly with this dip, check out my easy garlic butter rice recipe.
Tips for Success with Your Creamy Roasted Garlic Sauce
I’ve been making this concoction for decades, and I’ve learned a few tricks to keep things smooth sailing. The absolute most important advice I can give you for this homemade garlic aioli recipe is about the oil you choose. See how I call for half neutral oil and half extra virgin? That’s intentional. If you use only olive oil, the flavor can overwhelm the beautiful roasted garlic, and sometimes it separates more easily.

Now, let’s talk about rescuing a disaster, because even I mess up sometimes! If your sauce looks runny or split—that’s called ‘breaking’—don’t panic and dump it. Take one tiny teaspoon of hot water, put it in a clean bowl, and then slowly, agonizingly slowly, whisk your broken aioli into that water, drop by drop. It will come back together! You can read all my secrets on aioli emulsion troubleshooting if things get really wild.
Always double-check that your egg yolk is fully room temperature, too. Cold yolks just don’t whip up right, and that’s the secret to a truly creamy roasted garlic sauce.
Variations for Your Homemade Garlic Aioli Recipe
Once you master this base roasted garlic aioli recipe, you’ll want to start playing around, and I completely encourage it! The beauty of a creamy roasted garlic sauce is how well it takes on other fresh flavors. My favorite little tweak, especially if I’m serving this dipping sauce with steak, is adding a tiny pinch of smoked paprika right when I mix in the roasted garlic pulp. It ramps up that smoky note beautifully!
If you are serving this with lighter things, like shrimp or chicken, try adding finely chopped fresh chives right at the very end. Parsley works too, but chime in with chives for a little oniony brightness! These fresh herbs make it an absolutely gorgeous garlic herb roasted veggie recipe addition, too. Keep your additions subtle so the sweet, mellow roasted garlic remains the star of the show.
Serving Suggestions for This Easy Roasted Garlic Dip
Now that you have this spectacularly rich, easy roasted garlic dip, the question is: what are you going to put on it? Honestly, I could just eat this with a spoon, but it’s far too good to keep all to myself! This flavor profile is robust enough to stand up to anything from grilled steak to simple roasted vegetables.
My absolute favorite way to enjoy this simple sandwich spread recipe is alongside crispy, salty french fries or homemade potato wedges. Anything crispy just seems to grab onto the creamy texture so perfectly, don’t you think? For sandwiches, it adds such depth—it’s miles better than plain mayo!
If you haven’t perfected your potato technique yet, you absolutely must try my crispy fried potatoes recipe; they are the perfect partner for this aioli. And for great sandwich ideas using this spread, head over to my post on the simple sandwich spread recipe!
Storage and Shelf Life of Real Garlic Aioli Instructions
Now that you’ve made this incredible, real garlic aioli instruction masterpiece, you need to know how to keep it fresh. Because we used fresh egg yolk and real roasted garlic, this isn’t a condiment you want to leave sitting out on the counter all day. Store your finished aioli in a very airtight container—a little glass jar works best—and keep it tucked away deep in the refrigerator.
If you used good, fresh ingredients and kept everything clean during mixing, this homemade dip should stay absolutely delicious for up to one full week. That’s amazing freshness for something you whipped up yourself! It’s much better than anything store-bought, but we always want to err on the side of caution when dealing with dairy and eggs, so don’t push past that week mark.
Frequently Asked Questions About the Roasted Garlic Aioli Recipe
I know folks always have questions when they try a brand-new technique, especially when it comes to making sauces from scratch. Don’t you worry one bit! Most of your questions usually boil down to stability or flavor adjustments. If you have any trouble at all, remember that how to make aioli without a blender is all about that steady whisk!
Can I make this homemade garlic aioli recipe without an egg yolk?
The egg yolk is truly the primary emulsifier that holds this wonderful dip together, so leaving it out changes things quite a bit. If you need a vegan option, I’d suggest trying a teaspoon of aquafaba (that liquid from a can of chickpeas) or a commercial egg replacer instead. Just know that the texture for your homemade garlic aioli recipe won’t be quite as rich or thick.
What is the difference between this and regular mayonnaise?
That’s a great question! Real, old-fashioned aioli is traditionally just garlic and oil emulsified together. Our roasted garlic aioli recipe is similar, but we add that little touch of Dijon mustard and lemon juice, plus that mellow sweetness from the roasted garlic, making it thicker and richer—closer to a flavorful garlic mayonnaise dip, truth be told!
How do I fix aioli emulsion troubleshooting if my sauce separates?
If you end up needing some serious aioli emulsion troubleshooting because your sauce split, don’t toss it! Grab one fresh, clean teaspoon of hot water OR a new room-temperature egg yolk. Then, take your runny, broken aioli and whisk it into that tiny bit of water or fresh yolk, drop by agonizing drop. It usually comes right back together into a nice, creamy sauce.
Share Your Creamy Roasted Garlic Sauce Experience
Well, I certainly hope you enjoyed making this roasted garlic aioli recipe! It truly is one of those condiments that makes everything taste better, from a simple grilled chicken breast to an ordinary bowl of fries. I’d be tickled pink if you took a moment to leave a star rating right below this section, won’t you?
If you made this delicious creamy roasted garlic sauce, please share a photo or tell me what you served it with in the comments. It helps the whole community see how reliable this recipe is! If you have any questions while you were whisking away, feel free to reach out through my contact page; I love hearing from you!
PrintRoasted Garlic Aioli Recipe

Make a creamy, flavorful roasted garlic aioli from scratch. This recipe provides clear steps for roasting the garlic and achieving a stable emulsion for a perfect homemade garlic dip.
- Prep Time: 15 min
- Cook Time: 45 min
- Total Time: 60 min
- Yield: About 1 cup 1x
- Category: Condiment
- Method: Whisking
- Cuisine: American
- Diet: Vegetarian
Ingredients
- 2 heads garlic
- 1 tablespoon olive oil (for roasting)
- 1 large egg yolk, room temperature
- 1 teaspoon Dijon mustard
- 1 teaspoon fresh lemon juice
- 1/2 teaspoon salt, or to taste
- 1/4 teaspoon black pepper
- 3/4 cup neutral oil (like canola or grapeseed)
- 1/4 cup extra virgin olive oil
Instructions
- Preheat your oven to 400 degrees Fahrenheit. Slice about 1/4 inch off the top of each garlic head to expose the cloves. Place the heads on a piece of aluminum foil, drizzle with 1 tablespoon of olive oil, and wrap tightly.
- Roast the garlic for 35 to 45 minutes, or until the cloves are soft and golden brown. Let the garlic cool completely. Squeeze the soft, roasted garlic pulp out of the skins into a small bowl. You should have about 2 tablespoons of pulp. Mash it well with a fork.
- In a medium bowl, whisk together the room temperature egg yolk, Dijon mustard, lemon juice, salt, and pepper until combined.
- Add the mashed roasted garlic pulp to the egg mixture and whisk until incorporated.
- Begin adding the neutral oil very slowly, drop by drop, while whisking constantly and vigorously. This slow addition is key to making aioli without a blender and preventing the emulsion from breaking.
- Once about 1/4 cup of the neutral oil is incorporated and the mixture thickens slightly, you can increase the oil stream to a thin, steady drizzle, still whisking constantly.
- When all the neutral oil is incorporated, slowly whisk in the extra virgin olive oil until the aioli is thick and creamy.
- Taste the creamy roasted garlic sauce and adjust salt or lemon juice as needed. Cover and refrigerate until ready to serve.
Notes
- Use room temperature ingredients, especially the egg yolk, to help the emulsion form correctly.
- If your aioli breaks (looks runny), place one teaspoon of hot water in a clean bowl and slowly whisk the broken mixture into the water, drop by drop, to try and re-emulsify it.
- For a smoky roasted garlic condiment flavor, roast the garlic slightly longer until the edges are very dark brown.
- This homemade garlic aioli recipe keeps well in an airtight container in the refrigerator for up to one week.
Nutrition
- Serving Size: 2 tablespoons
- Calories: 150
- Sugar: 0
- Sodium: 120
- Fat: 16
- Saturated Fat: 2
- Unsaturated Fat: 14
- Trans Fat: 0
- Carbohydrates: 1
- Fiber: 0
- Protein: 1
- Cholesterol: 30