
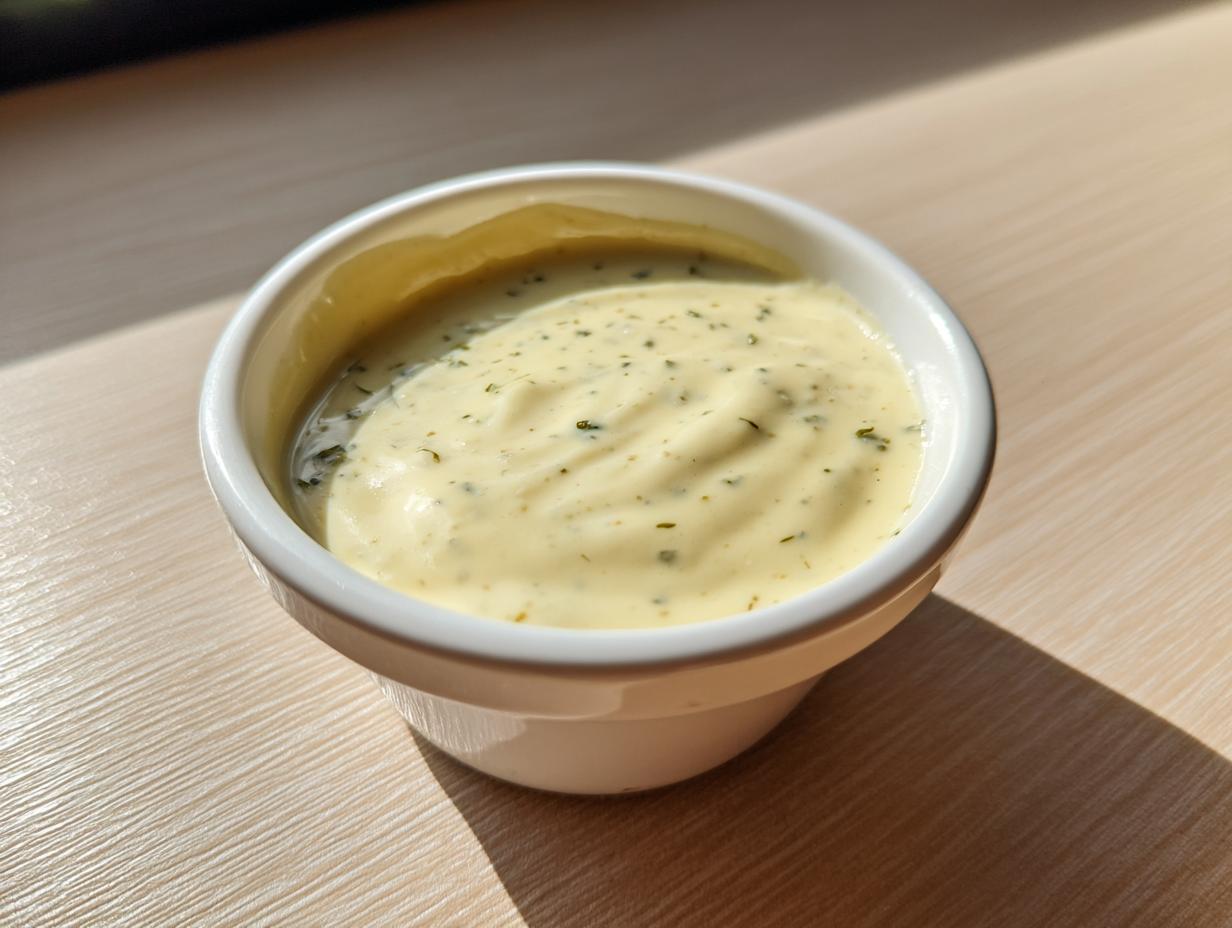
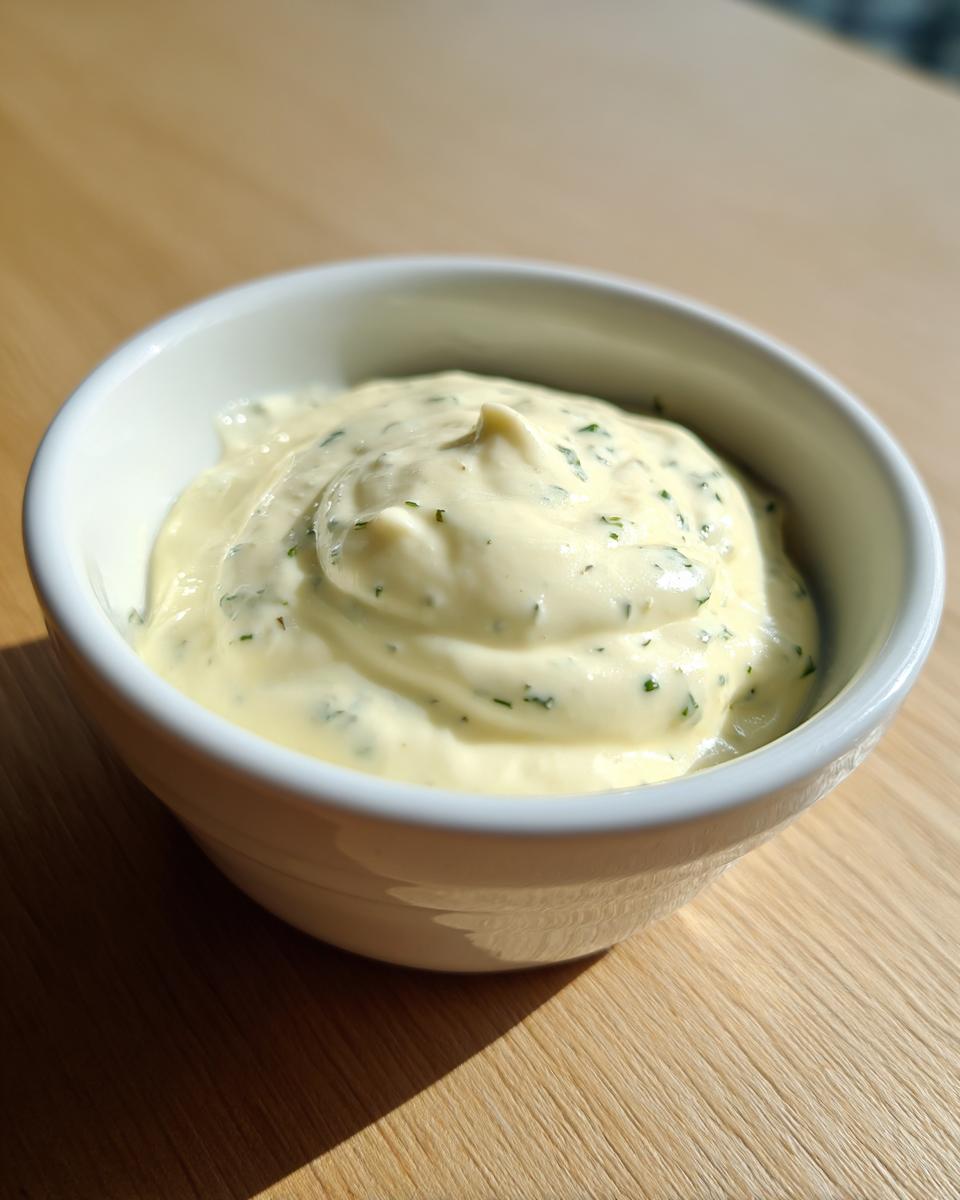
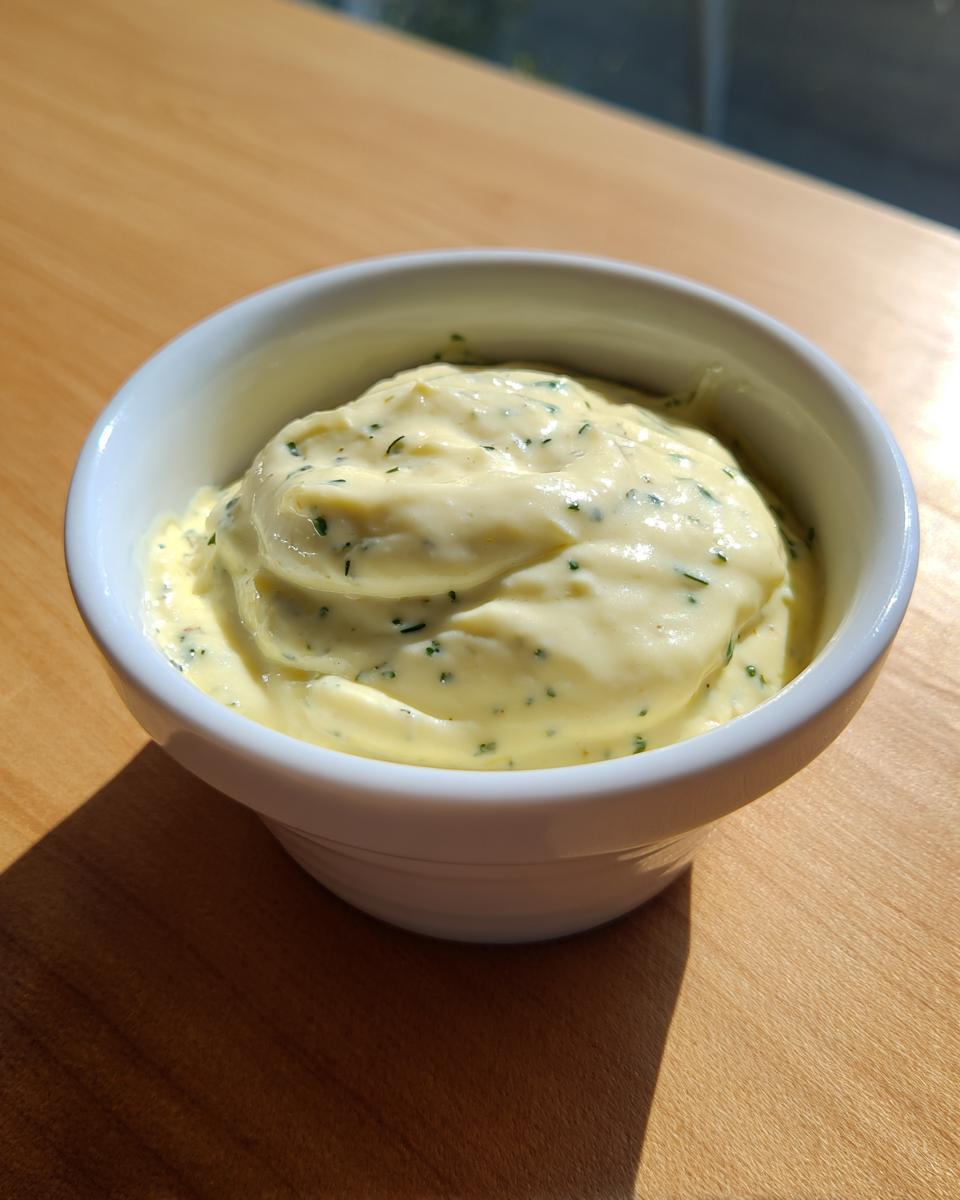
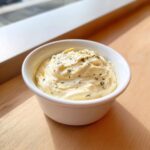
Oh, friends, there is something truly special about a sauce made entirely from scratch. Forget those jars filled with stabilizers and fillers! When you whisk oil and egg yolk together until they transform into something rich and velvety, you aren’t just making a condiment; you’re mastering a little piece of kitchen magic. And that’s what we are doing today. I’m sharing my tried-and-true garlic aioli recipe without mayo. This isn’t some halfway shortcut—this is the real deal, made the old-fashioned way using just fresh eggs, garlic, oil, and patience. Trust me, the satisfaction of seeing that gorgeous, thick emulsion come together right in your bowl is unbeatable. Making this authentic sauce gives you such a boost of confidence! If you like making sauces the hard way—the *right* way—you’ll adore how similar the technique is to making a simple blender hollandaise, only this one requires all your arm power!
- Why You Need This Homemade Garlic Aioli Recipe Without Mayo
- Gathering Ingredients for Your Garlic Aioli Recipe Without Mayo
- Step-by-Step Instructions for Authentic Aioli Recipe From Scratch
- Troubleshooting: Saving a Broken Garlic Aioli Recipe Without Mayo
- Tips for the Best Homemade Garlic Sauce for Fries and More
- Variations on Your Mayo Free Garlic Dip
- Serving Suggestions for This Freshly Made Garlic Condiment
- Storage and Shelf Life for Homemade Aioli
- Understanding the Traditional Mediterranean Aioli Recipe From Scratch
- Nutritional Snapshot of Your Homemade Garlic Aioli
- Share Your Homemade Garlic Spread Without Processed Ingredients
Why You Need This Homemade Garlic Aioli Recipe Without Mayo
I know, I know, asking you to whisk frantically for ten minutes when you could pull a jar off the shelf sounds crazy. But every single cook needs this recipe in their back pocket! When you make this garlic aioli recipe without mayo, you’re controlling every single bite. There’s no mystery meat in this jar, just pure, wonderful ingredients we talked about earlier.
Here’s why going the homemade route is worth the few minutes of work:
- Zero Processed Goop: You are skipping all the stabilizers and preservatives found in store-bought versions. It’s just pure garlic, egg yolk, and good oil.
- Texture Perfection: The texture you achieve from a homemade emulsion is velvety and rich. Nothing commercial can quite match that creamy mouthfeel.
- Flavor Punch: Raw garlic sings when it’s mixed properly into the emulsion. It’s bright, sharp, and unbelievably flavorful compared to jarred sauces.
- Versatility King: This isn’t just for dipping! It’s fantastic on sandwiches or as the base for a lovely dressing. If you ever need a quick binder, you can compare the approach to making homemade mayonnaise, but with that essential garlic kick.
Trust me, once you taste this, you won’t look back at the jarred stuff!
Gathering Ingredients for Your Garlic Aioli Recipe Without Mayo
We’re getting down to the beautiful simplicity of this sauce now. Since we aren’t using any store-bought stabilizers, the quality—and the temperature—of your ingredients matters a great deal! If you’re making this gorgeous egg yolk garlic sauce recipe, the yolks absolutely must be at room temperature. Cold eggs just don’t want to play nice when you’re trying to whip them into a thick sauce. I usually set mine out on the counter about an hour before I start. That little bit of planning shows you have the expertise to make this successfully!
You’ll need just a few things, but make sure your garlic is fresh. We want that intense, bright flavor! These ingredients work wonderfully when paired with simple sides, like some garlic herb roasted veggies, too.
- 2 large fresh egg yolks: Remember, room temperature is crucial for a good, stable emulsion.
- 3 to 4 cloves of fresh garlic: You want them minced very, very fine—almost a paste.
- 1 teaspoon Dijon mustard: This little bit of mustard helps stabilize the emulsion, acting as a backup binder!
- 1 teaspoon fresh lemon juice: This adds the necessary acid to brighten things up.
- 1/2 teaspoon salt: Or, as always, taste and adjust!
- 1 cup neutral oil: Think canola or grapeseed. We use this for structure.
- 1/4 cup extra virgin olive oil: This gets added last for that classic Mediterranean flavor.
Keep everything measured out before you start whisking. Once we begin, we have to keep moving!
Step-by-Step Instructions for Authentic Aioli Recipe From Scratch
This is where the real fun begins, though I have to warn you—you’ll be earning that creamy texture! When learning how to make aioli using only oil and egg, the process is all about patience and speed at exactly the right moments. My secret, learned from many failed attempts in my early days, is that you cannot stop whisking once you start adding the oil. If you have a stand mixer with a whisk attachment, use it! If you’re using a hand whisk like I often do, be prepared for a little arm workout. Don’t worry if your hand gets tired; take a brief pause *before* you add oil, never while you are adding it!
Preparing the Base Emulsion Ingredients
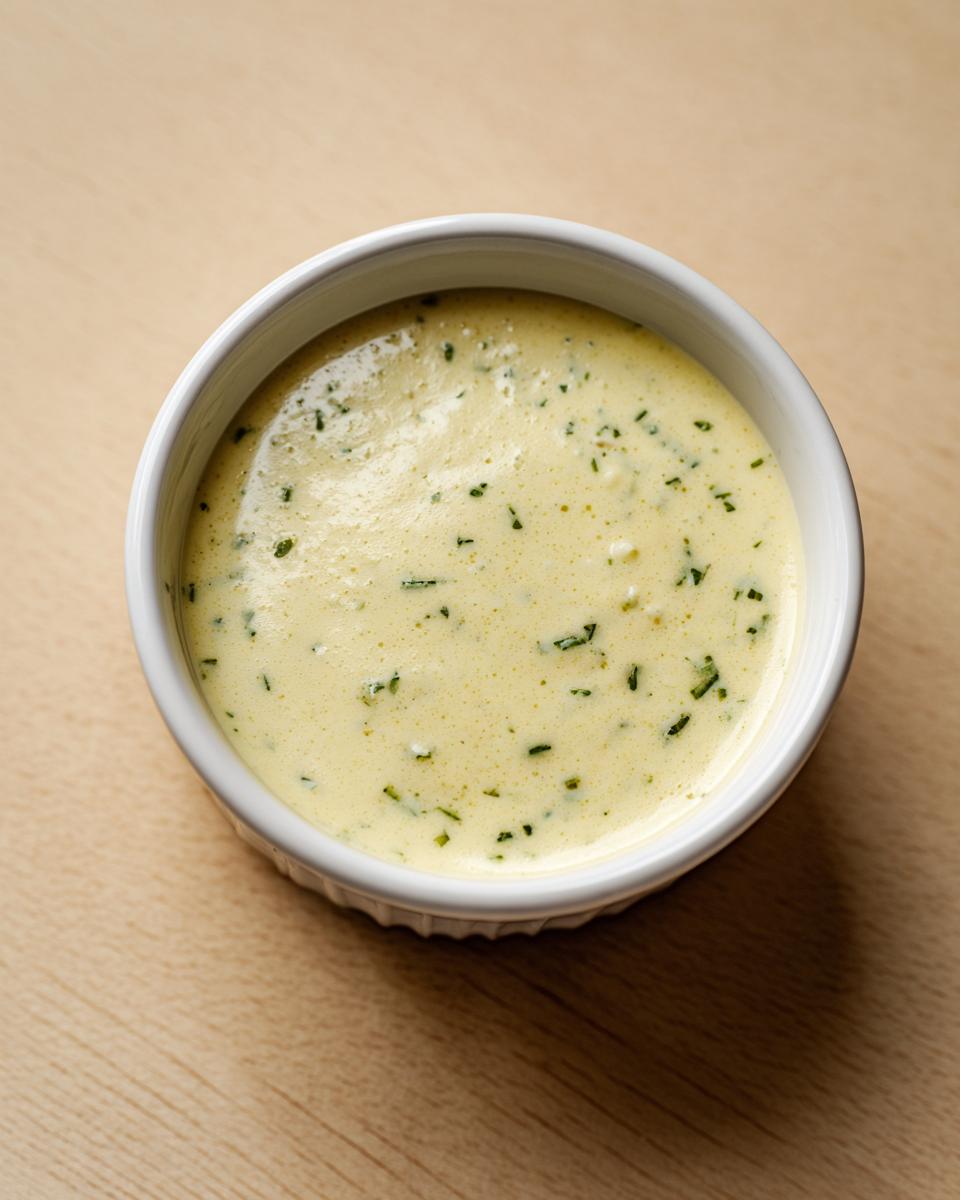
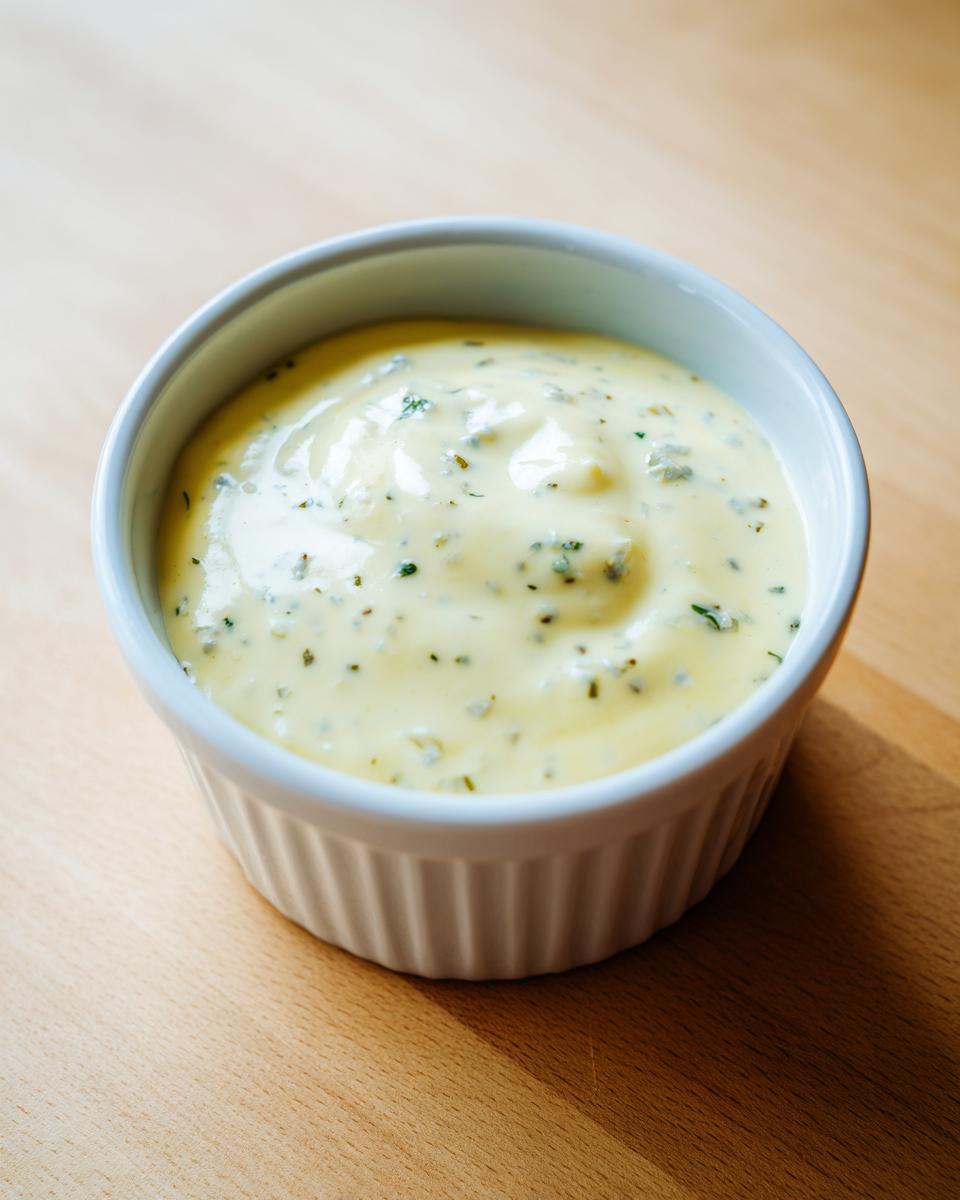
First, get your base materials excited about becoming a sauce. We are combining our room temperature egg yolks, that finely minced garlic paste, the Dijon mustard, lemon juice, and salt right into a sturdy mixing bowl. Whisk this mixture with some gusto until everything is fully incorporated and you see just a little bit of pale color starting to form. That color change means we’ve introduced some air, and we are ready to build our structure. Don’t let that minced garlic sit too long, though; we want it marrying those yolks right away.
The Slow Drizzle: Building Your Garlic Aioli Recipe Without Mayo
This part demands focus! Take your neutral oil and start adding it to the yolk mixture drop by tiny drop. I mean it—literally drip, drip, drip for the first few spoonsful. This slow incorporation is absolutely critical to forming that initial, stable emulsion. Keep whisking quickly and consistently. Don’t let up! Once you see the mixture start to look noticeably thicker, maybe like yogurt, you can breathe slightly easier. Now, shift to adding the neutral oil in the thinnest, most steady stream you can manage, all while keeping that vigorous whisking motion going. We aren’t finished until all of that neutral oil is mixed in and your sauce is noticeably thick enough to coat the back of a spoon. If you link to this easy homemade garlic emulsion in your bookmarks, you’ll remember this step!
Finishing and Resting the Creamy Garlic Sauce Recipe Without Commercial Mayonnaise
Once your neutral oil is fully incorporated, it’s time to stir in that beautiful, flavorful extra virgin olive oil. Just whisk that in slowly until the whole thing is uniformly colored and thickened. Now, taste it! Does it need more salt? A tiny squeeze more lemon? Adjust it now because once it rests, it sets up a bit more. Then, cover your bowl tightly and move it to the refrigerator for at least 30 minutes. While you *can* eat it right away, letting this sauce chill lets the fresh garlic mellow just slightly and allows the whole structure to firm up perfectly. This resting period really helps this creamy garlic sauce recipe without commercial mayonnaise reach maximum deliciousness.
Troubleshooting: Saving a Broken Garlic Aioli Recipe Without Mayo
Oh, if it happens, don’t panic for a second! Every cook—and I mean *every* cook—has had an emulsion break on them, usually because they added the oil a tiny bit too fast. A broken sauce is just separated ingredients, and we know exactly how to coax them back together using the secrets of our easy homemade garlic emulsion.
Here is the lifeline, based on lessons learned the hard way:
- Grab a brand new, clean bowl.
- Put just one teaspoon of warm water (not hot!) into the bottom of that new bowl.
- Take your separated, broken aioli and start whisking it into that warm water, drop by agonizing drop at first.
I know it feels terrifying, but keep whisking slowly and steadily! As it starts to come together again, you can treat the rest of the broken mixture like the oil was in the first place—a very slow drizzle. Sometimes, starting over with a single, fresh egg yolk in a clean bowl and slowly whisking the broken mixture into the yolk works even better, but this water technique is a lifesaver when you’re rushed! You’ve got this!
Tips for the Best Homemade Garlic Sauce for Fries and More
Now that you’ve mastered the emulsion, let’s talk about fine-tuning this sauce so it blows every store-bought version out of the water. My biggest piece of advice for achieving the absolute best homemade garlic sauce for fries revolves around the garlic itself. If you want that intense, traditional bite—the kind that makes your eyes water just a little bit—you need to mash it into a paste with a pinch of salt using the back of a spoon or a mortar and pestle before adding it to the yolks. This releases all the oils right at the start!
Secondly, think about your oils. We use that neutral oil for body and structure, but that slightly grassy, peppery flavor from the extra virgin olive oil? That’s pure character! Don’t skip that second oil; just don’t use *only* EVOO, or the flavor might become too bitter. For consistency, if you want something thicker than typical aioli, just reduce the amount of added neutral oil slightly; the egg yolk can only handle so much, so be conservative.
If you’re serving this over fries, you might also want to thin it slightly with a tiny splash of water right before serving, just for perfect dipping consistency. It’s amazing! If you love a good dip, you should check out my recipe for a fantastic homemade cocktail sauce next!
Variations on Your Mayo Free Garlic Dip
Once you’ve nailed the basic technique for our mayonnaise free garlic dip, you’ll find it’s the perfect blank canvas for adding your own flair! That beautiful, rich base takes well to just about anything. I love experimenting, especially when I’m serving it alongside something simple where the sauce needs to do the talking. Don’t be afraid to make this recipe your own; that’s what cooking is all about!
If you’re looking for ways to jazz up your next batch, here are a few things I toss in sometimes:
- Herbal Brightness: Stir in finely chopped fresh herbs right at the end. Chives and parsley are classics, but dill works beautifully too, especially if you plan on serving this with fish.
- A Little Smoke: A tiny pinch of smoked paprika or a dash of chipotle powder adds an unexpected depth of flavor that pairs wonderfully with the sharp garlic.
- Acid Swap: Forget the lemon sometimes! Swapping the lemon juice out for lime juice transforms the sauce completely. It gives it a real zest, kind of like the flavors in my cilantro lime sauce, but with that thick, emulsified body.
- Spicy Kick: A tiny bit of cayenne pepper or a finely minced jalapeño (seeds removed, unless you’re feeling brave!) gives things a nice little fire.
Remember, always add these flavor boosters right at the end, just after you’ve incorporated that final drizzle of olive oil. That way, you’re not risking the emulsion by pouring in chunky additions too early.
Serving Suggestions for This Freshly Made Garlic Condiment
Now that you have this stunning, bright, and deeply flavorful freshly made garlic condiment sitting beautifully in your fridge, you might be wondering what on earth to do with it besides just dunking everything in sight! Believe me, I get it. A sauce this good deserves the spotlight.
This is where we move beyond just fries, though I will say, pairing it with some good, crispy potatoes—like the ones from my crispy fried potatoes recipe—is non-negotiable! But this aioli shines everywhere else, too. It’s wonderful spooned liberally over grilled fish; the lemon and garlic cut right through any richness.
Think about upgrading your everyday lunch sandwich or wrap. A swipe of this aioli instead of plain mayo turns a simple turkey sandwich into something you look forward to eating. On a burger? Forget about it—it’s a game-changer. We also love drizzling leftover amounts over roasted vegetables, especially asparagus or broccoli, right after they come out of the oven. It melts just slightly, warming the garlic just enough for incredible aroma. It acts as a lovely binder for crab cakes too, keeping things light and bright instead of heavy!
Storage and Shelf Life for Homemade Aioli
Since we made this lovely sauce using raw egg yolks, folks always ask me about how long it lasts. I won’t lie, because I value your trust! This garlic aioli recipe without mayo is best eaten within three to four days. You simply must keep it tightly sealed in an airtight container in the coldest part of your refrigerator. Because there’s no commercial preservative in here, flavor and safety go hand-in-hand with quick consumption. If you’ve ever made refrigerator pickles, you know that freshness matters! If you try to keep it much longer than four days, the texture might start to change or slightly lose that bright punch of flavor.
Understanding the Traditional Mediterranean Aioli Recipe From Scratch
It’s fascinating how a recipe name can change over time! When people ask for a garlic aioli recipe without mayo, they are often searching for the true essence of what aioli was meant to be. Historically, especially along the Mediterranean coasts, this sauce was incredibly pure: just garlic and oil, pounded vigorously until they emulsified. Think about that! No mustard, no lemon juice needed for stabilization—just elbow grease and quality ingredients.
Our method here—using the yolk and a little Dijon help—is a modern, reliable chef’s trick to make sure the average home cook like us gets a beautiful result every time. But knowing the roots of our traditional mediterranean aioli reminds us that sometimes the simplest ingredients, handled correctly, create the biggest flavor.
Nutritional Snapshot of Your Homemade Garlic Aioli
Now, as much as I love talking about flavor and texture, I know many of you count your macros or just like to know what you’re eating when you dip those crispy fries! Since this is a sauce made almost entirely of oil and fat (which is what makes it so delicious and creamy!), the numbers reflect that richness. But here is the good news: it’s naturally gluten-free and has zero sugar! If you’re interested in balancing out your meals with some protein, be sure to check out my recipe for easy high-protein egg bites.
Remember, because we are using varying amounts of oil and the exact size of those yolks can change things, these values are my best estimates for a two-tablespoon serving. Treat these as a helpful guide rather than gospel truth!
- Serving Size: 2 tablespoons
- Calories: Approximately 180
- Fat: About 20 grams (mostly heart-healthy unsaturated fats from the olive oil!)
- Saturated Fat: Around 2.5 grams
- Carbohydrates: Less than 1 gram
- Sugar: 0 grams!
- Protein: About 1 gram
- Sodium: Roughly 150mg (depending on how heavily you salted it!)
See? It’s rich, yes, because aioli is oil-based, but it’s wonderfully clean! No crazy processed ingredients here, just honest, delicious fat to carry that wonderful garlic flavor. That’s the beauty of making something entirely from scratch.
Share Your Homemade Garlic Spread Without Processed Ingredients
Well, now that we’ve made something truly magnificent—a rich, creamy, homemade sauce that proves you don’t need any processed shortcuts—I really want to hear from you! That feeling of accomplishment when you see that perfect emulsion staring back at you is something every home cook deserves to experience. It’s proof that good food really doesn’t have to be complicated, it just needs a little time and love.
Did you manage to whisk it fast enough? Did you try mashing the garlic into a paste first? I’d love to know your successes, and honestly, if you ran into any little snags along the way! We are a community here, and learning from each other is the best part of coming together in the kitchen.
Please take a moment to leave a star rating on this garlic aioli recipe without mayo right below this post. And if you felt brave enough—or if you customized it with smoked paprika, perhaps!—pop over to my contact page here and send me a note about how your homemade garlic spread without processed ingredients turned out. Happy saucing, my friends!
PrintHomemade Garlic Aioli Without Mayo
Make a creamy, authentic garlic sauce from scratch using only egg yolk, oil, and fresh garlic. This recipe delivers a rich, mayonnaise-free garlic emulsion perfect for dipping.
- Prep Time: 10 min
- Cook Time: 0 min
- Total Time: 10 min
- Yield: About 1 cup 1x
- Category: Condiment
- Method: Emulsification
- Cuisine: Mediterranean
- Diet: Gluten Free
Ingredients
- 2 large fresh egg yolks, room temperature
- 3–4 cloves fresh garlic, minced finely
- 1 teaspoon Dijon mustard
- 1 teaspoon fresh lemon juice
- 1/2 teaspoon salt, or to taste
- 1 cup neutral oil (like canola or grapeseed)
- 1/4 cup extra virgin olive oil
Instructions
- Place the room temperature egg yolks, minced garlic, Dijon mustard, lemon juice, and salt into a medium bowl.
- Whisk these ingredients together vigorously until they are well combined and slightly pale.
- Begin adding the neutral oil, drop by drop, while whisking constantly and quickly. This slow addition is key to starting the emulsion.
- Once the mixture starts to thicken noticeably, you can increase the oil stream to a very thin, steady drizzle, still whisking without stopping.
- Continue adding the neutral oil until all of it is incorporated and the mixture is thick.
- Slowly whisk in the extra virgin olive oil until fully combined. This adds flavor.
- Taste the aioli and adjust salt or lemon juice as needed.
- Transfer the finished garlic spread to an airtight container and chill for at least 30 minutes before serving to allow the flavors to meld.
Notes
- Use room temperature ingredients; cold eggs emulsify poorly.
- If the aioli separates (breaks), place one teaspoon of warm water in a clean bowl and slowly whisk the broken mixture into the water, drop by drop, to try and re-emulsify it.
- For a stronger garlic flavor, you can mash the garlic into a paste with a pinch of salt before adding it to the yolks.
Nutrition
- Serving Size: 2 tablespoons
- Calories: 180
- Sugar: 0
- Sodium: 150
- Fat: 20
- Saturated Fat: 2.5
- Unsaturated Fat: 17.5
- Trans Fat: 0
- Carbohydrates: 0.5
- Fiber: 0
- Protein: 1
- Cholesterol: 50