
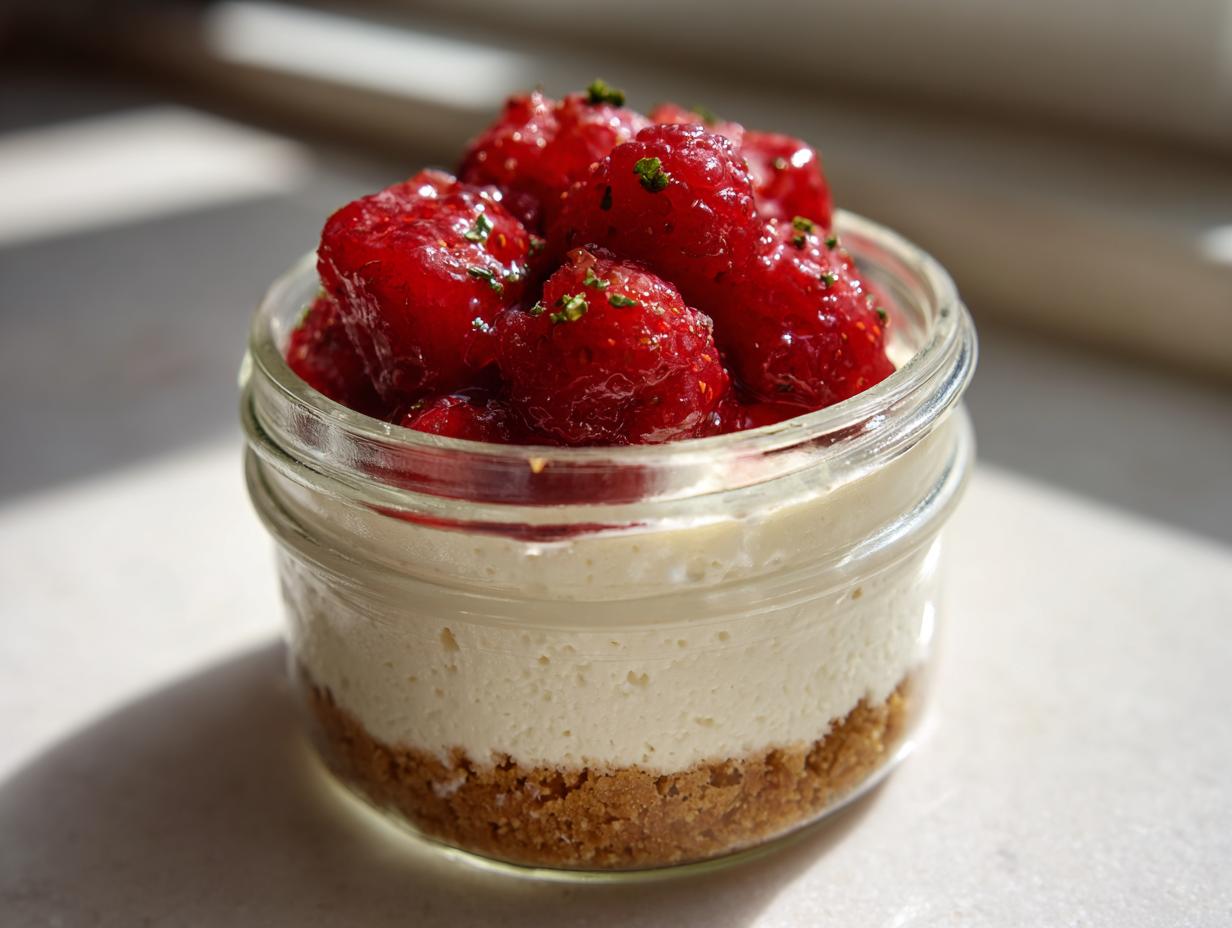
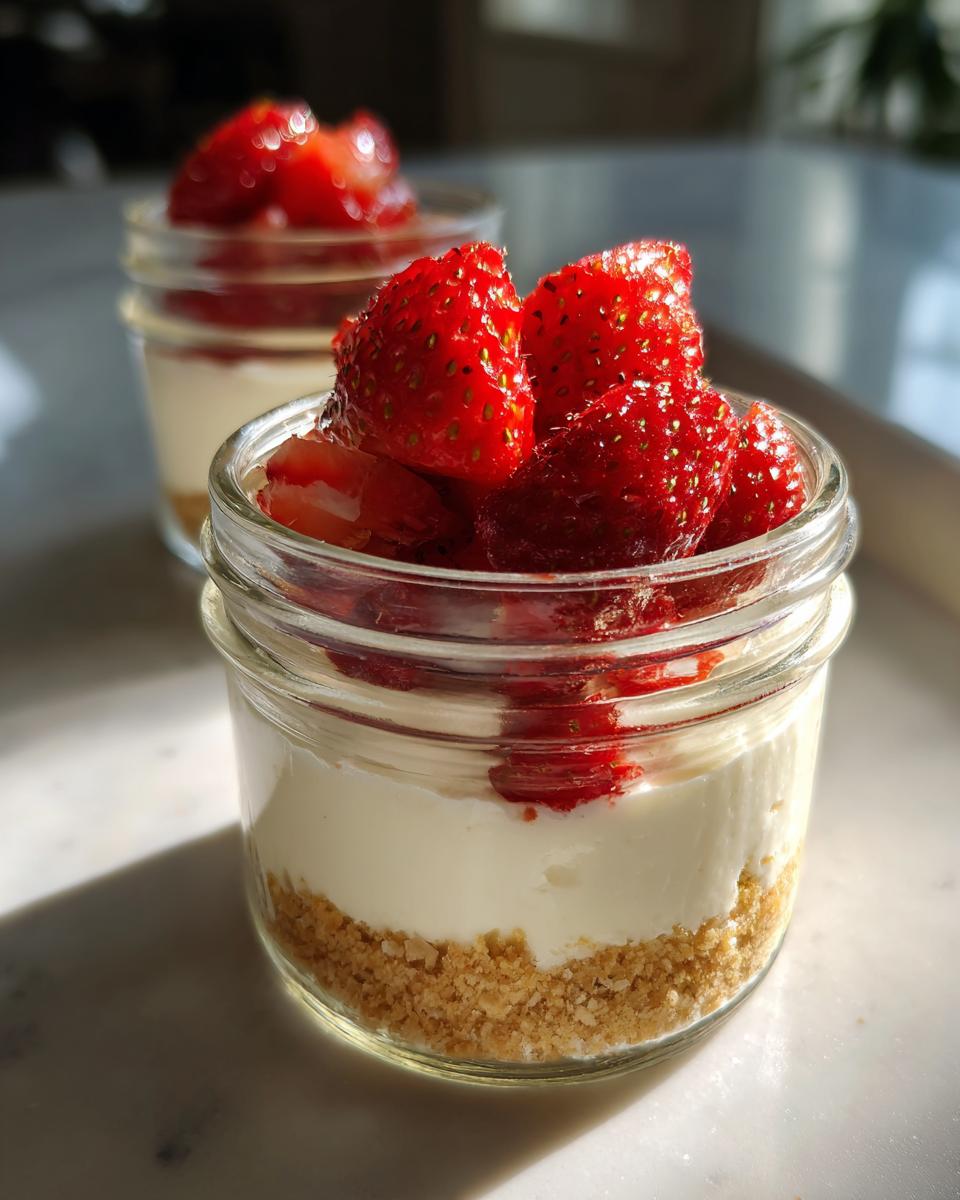
If you’re anything like me, there are times when you just crave that rich, sweet taste of cheesecake, but you don’t want to derail all your hard work keeping things healthy. Over the years, I’ve learned that you don’t have to choose between your goals and a satisfying treat. This recipe proves it! I developed this collection of High-Protein No-Bake Cheesecake Jars when I needed a reliable, quick dessert that packed a serious protein punch. It’s dependable, just like my favorite weeknight meals, and delivers that incredible creamy texture without ever touching the oven. Trust me, this is the guilt-free indulgence you’ve been looking for.
It keeps beautifully, ready when you need it most! If you’re also a fan of lighter sweets, you might want to check out my recipe for easy homemade chocolate pudding for another sweet fix.
- Why This High Protein Cheesecake Recipe Works for Your Goals
- Gathering Ingredients for Your Protein Cheesecake Jars
- Step-by-Step Instructions for Easy No Bake Dessert
- Tips for the Ultimate Creamy Protein Treat
- Making Ahead and Storing Your Meal Prep Dessert
- Understanding the Nutrition of This Healthy Cheesecake
- Frequently Asked Questions About Protein Cheesecake
- Share Your High Protein Dessert Recipes Experience
Why This High Protein Cheesecake Recipe Works for Your Goals
When I create a recipe, especially one aimed at helping folks stick to their fitness goals, dependability is everything. You need to know exactly what you’re getting nutritionally, and you need it to taste fantastic. This is why I rely on this particular Protein Cheesecake setup. I’ve broken down the main reasons this jarred version is such a winner for anyone watching their intake.
It’s fantastic for prepping ahead, and you can find more of my tried-and-true go-to meals in my guide to meal prep desserts.
Macro Friendly Dessert Power
Look at the numbers—you’re getting about 28 grams of protein per jar! That’s huge for a dessert. Because we’re swapping out refined sugar for sweeteners that don’t spike your system, this keeps those macros perfectly aligned with what you need for daily fuel. It truly feels like a special treat, but it delivers on being a very macro friendly dessert.
The Creamy Protein Treat Advantage
Most traditional cheesecakes rely heavily on cream cheese, which is lovely but heavy on the fat. Here, we use a blend of cottage cheese and Greek yogurt. This combination still gives you that luxurious, thick texture—it’s a truly creamy protein treat—but it keeps the fat low and the protein sky-high. It just sings without all the heaviness.
Simple No Bake Protein Dessert Assembly
Honestly, sometimes you just don’t have the time or energy to turn on the oven, especially after a long day. Since this is a no bake protein dessert, the prep time is just about fifteen minutes. Mixing everything up and pressing that crust into the jars takes no time at all. It’s one of my favorite ways to whip up a quick protein snack.
Gathering Ingredients for Your Protein Cheesecake Jars
Now that we know how great these jars are, let’s talk about what you need to pull them together. Remember, since this is a healthy cheesecake alternative, the ingredients are different from a classic recipe, focusing on boosting that protein while keeping things light. Don’t worry if you don’t have everything on hand; substitutions are usually easy! If you are making flavor changes, like adapting this into a Chocolate Protein Cheesecake, you’ll want to double-check your protein powder choice before you start measuring! You can also find more ideas for light sweets, like my recipe for easy homemade chocolate pudding, which shares a similar light texture.
For the No-Bake Crust
We want a nice, sturdy base that holds up in the fridge. For four jars, you’ll mix together:
- 1 cup almond flour
- 2 tablespoons melted butter or coconut oil (use coconut oil if you want a cleaner fat profile)
- 1 tablespoon of your preferred sweetener
Just mix it until it really looks like textured, damp sand. Give it a good press!
For the Creamy Cottage Cheese Cheesecake Filling
This is where all the magic happens. We are using two powerhouses here: low-fat cottage cheese and non-fat Greek yogurt. You will need:
- 1 cup low-fat cottage cheese
- 1 cup plain non-fat Greek yogurt
- 1/2 cup vanilla protein powder (make sure it’s a good quality one!)
- 1/4 cup powdered erythritol or your favorite sugar-free sweetener
- 1 teaspoon vanilla extract, a pinch of salt, and 1 tablespoon of bright lemon juice
That lemon juice is small but mighty; it’s crucial for that authentic tangy cheesecake flavor we all want.
Optional Topping Ideas
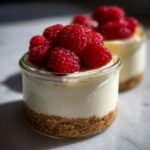
To finish your Gluten Free Cheesecake, keep it simple or get creative. I often just reach for about 1/2 cup of fresh berries—strawberries or blueberries are wonderful. If you aren’t a berry person, a light drizzle of sugar-free maple syrup or even a sprinkle of sugar-free chocolate chips works beautifully.
Step-by-Step Instructions for Easy No Bake Dessert
This is where the real fun starts! Since we aren’t baking, getting the texture right depends entirely on how we mix and how patient we are with the chilling time. This quick assembly is why this recipe is such a winner for a quick protein snack.
You can find lots of straightforward recipes on my guide to pairing things with your sweets, like my favorite easy appetizers and snacks if you are planning a little gathering!
Making and Chilling the Crust Base
First things first, let’s build your foundation. Take those crust ingredients—the almond flour and sweetener you measured out—and mix them really well with your melted butter or oil. Keep stirring them together until the mixture starts clinging together perfectly; it should truly resemble wet sand. Once you have that texture, divide it evenly among your four jars or ramekins. Press it down firmly with the back of a spoon to make sure it’s compact. Now, pop these jars right into the refrigerator. They need a good chill while you focus on that creamy filling.
Blending the Greek Yogurt Protein Dessert Filling
Time to make things smooth! Get your food processor or a sturdy blender ready. Add the cottage cheese, Greek yogurt, protein powder, sweetener, vanilla, lemon juice, and that pinch of salt right in. You absolutely need to blend this until it is completely smooth and creamy. I mean it—no graininess allowed! Stop your machine every minute or so to scrape down the sides with a rubber spatula. We want that luscious, uniform texture that screams Greek yogurt protein dessert.
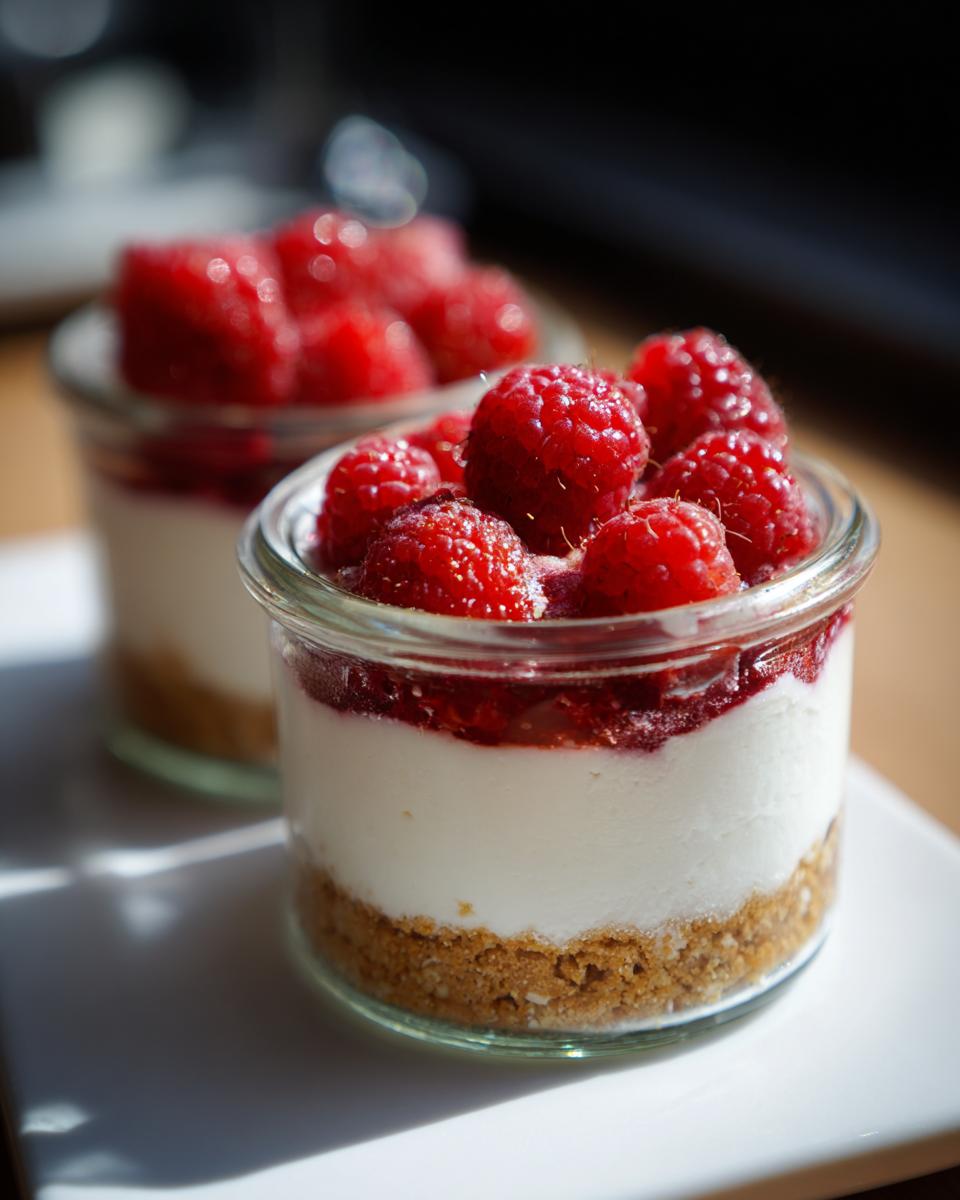
Assembling and Setting the Protein Cheesecake
Once your crusts are chilled, they are ready for their hat! Carefully spoon or pipe that beautiful, thick batter right on top of the crust layer in each jar. Smooth out the tops nicely. Now comes the hardest part of any no bake protein dessert: waiting! Cover the jars tightly (plastic wrap works great) and slide them back into the refrigerator. They must sit for a minimum of 4 hours so they can firm up properly. If you can wait overnight, even better!
Tips for the Ultimate Creamy Protein Treat
Getting that perfect, decadent mouthfeel in a healthy cheesecake can sometimes feel tricky when you’re using cottage cheese instead of heavy cream cheese. But I promise you, with just a couple of small checks, you can achieve a texture that’s absolutely irresistible. These little tricks are the difference between good and truly memorable, which is exactly what we want in a guilt free cheesecake!
If you are making this for a special breakfast treat, make sure you check out my guide on easy breakfast recipes for more ideas.
Achieving Perfect Smoothness with Cottage Cheese Cheesecake
The biggest hurdle with cottage cheese is sometimes its texture. If you find your cottage cheese seems a bit watery right out of the container, you might want to give it a quick rinse under cold water before draining it really well. Also, for the best results with this Cottage Cheese Cheesecake filling, don’t skimp on the blending time! You need a powerful blender or food processor running until you genuinely can’t see those little curds anymore. Patience here ensures a silky, uniform creamy protein treat.
Flavor Variations for Your Protein Cheesecake
While the vanilla base is lovely, you can easily change things up! If you’re craving something deep and rich, simply add about two tablespoons of unsweetened cocoa powder right into the filling mixture when you blend—ta-da, you now have a Chocolate Protein Cheesecake. This works wonderfully if you are looking for High Protein Dessert Recipes that taste a little more decadent. For a brighter flavor, like a Strawberry Protein Cheesecake, you can swirl in a tablespoon of low-sugar berry jam right before chilling, or use strawberry flavored protein powder initially.
Making Ahead and Storing Your Meal Prep Dessert
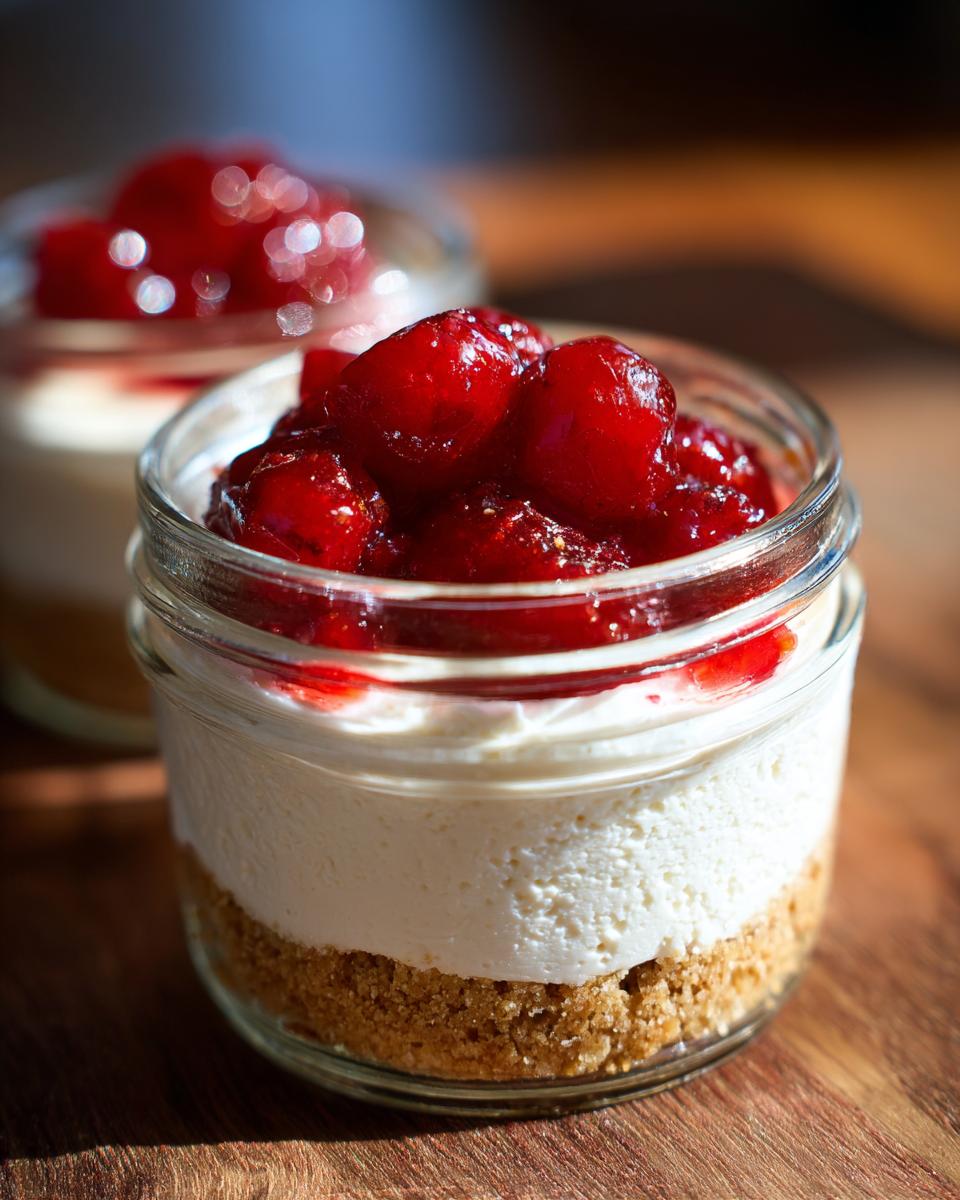
One of the real joys of making these High-Protein No-Bake Cheesecake Jars is that they are truly meant to be made ahead of time. That’s great news for busy folks like us! When I make a double batch, I know I have a dependable, ready-to-go sweet waiting for me when that afternoon sugar craving hits, or when I need a perfect light dessert after dinner. They are the ultimate Meal Prep Dessert because they actually get better as they sit!
Since there’s no baking involved, we don’t have to worry about crusts getting soggy quickly the way traditional cakes do. Remember, after you mix up your jars, they need that crucial 4-hour chill. But once set, they are ready to go!
You can store these covered tightly in the refrigerator for up to four days. Honestly, I find the flavor deepens nicely by day two. If you’re making these for lunches during the week, just tuck one into your cooler bag, and you are set. If you are always looking for ways to save time during the week, you might enjoy some of the helpful tips in my guide to quick healthy lunch ideas for making life just a little bit easier!
Understanding the Nutrition of This Healthy Cheesecake
I always want you to feel great about what you’re eating, and with this Healthy Cheesecake, you absolutely can! Because we substituted heavy ingredients for protein-packed yogurt and cottage cheese and used a sugar replacement, the numbers are really encouraging for anyone watching their fitness goals. Remember, these values are estimates based on using non-fat dairy and erythritol, so your mileage might vary slightly depending on your specific scoops and brands.
Just look at this breakdown per jar:
- Calories: 280
- Protein: 28g (That’s fantastic!)
- Sugar: Just 5g
- Fat: 12g
This is what I call a truly macro friendly dessert—high protein, low sugar, and satisfying enough to stop you from reaching for something less helpful later in the day!
Frequently Asked Questions About Protein Cheesecake
It’s so wonderful that you’re diving into the world of Protein Cheesecake! Whenever I introduce a new type of treat, especially a low calorie cheesecake that relies on different dairy, I always get wonderful questions from my readers. Don’t hesitate to ask if something isn’t clear, because knowing the ‘why’ helps you in the kitchen every time. If you stick to these tips, you’ll get a fantastic result!
When planning your weekly meals, having these prepped ahead of time is a lifesaver. For ideas on how to pair this with easy weeknight meals, check out my guide on simple weeknight dinners.
Can I make this a baked Protein Cheesecake instead of no-bake?
That is a great question! You certainly can, but it changes the entire structure. This specific recipe relies on the chilling power of the protein powder and yogurt to set up firm. If you wanted a baked version, you would need to add eggs and maybe some cornstarch for stability, and frankly, it turns into a completely different recipe—less of a light mousse and more of a dense, classic baked version. I prefer this no bake protein dessert for speed!
What if I don’t like cottage cheese in my Macro Friendly Dessert?
I totally understand that—cottage cheese texture isn’t for everyone, even when blended smooth for a Macro Friendly Dessert! As I mentioned in the notes, if you dislike it, you can substitute it cup-for-cup with regular full or low-fat cream cheese. Just know that the protein count will dip a little, making it slightly less ‘macro friendly’ but still utterly delicious and a fantastic guilt free cheesecake option.
How can I turn this into Protein Cheesecake Bars?
Transforming these jars into Protein Cheesecake Bars is simple! Instead of layering into individual jars, use an 8×8 square pan, or any small dish will do. Line it well with parchment paper, leaving an overhang on the sides so you can lift the whole block out later. Press the crust in, pour the filling over, and then you must increase the chilling time—aim for at least 6 hours, or even better, let it set overnight before slicing into bars!
Share Your High Protein Dessert Recipes Experience
I truly hope these High-Protein No-Bake Cheesecake Jars bring a little joy and satisfaction to your busy week! Cooking is always better when we share what we’ve learned in the kitchen, and hearing from you makes my day. Did you try the vanilla base, or did you dive into a luscious batch of Chocolate Protein Cheesecake? If you made any substitutions or found a perfect topping combination, I want to know about it!
Please take a moment to leave a rating and your thoughts in the comments below. Your feedback helps other home cooks feel confident trying a new healthy dessert. And if you snapped a picture of your perfectly portioned jars, I would be tickled pink if you shared it! You can reach me anytime through my contact page.
If you’re researching the best ways to satisfy that craving healthily, others have had great luck with recipes like the baked version you might find shared over at Galley Bites. Keep cooking with love, and I’ll see you at the next recipe!
PrintHigh-Protein No-Bake Cheesecake Jars
Make these creamy, high-protein cheesecake jars. This no-bake recipe uses Greek yogurt and cottage cheese for a macro-friendly dessert perfect for meal prep.
- Prep Time: 15 min
- Cook Time: 0 min
- Total Time: 4 hr 15 min
- Yield: 4 servings 1x
- Category: Dessert
- Method: No Bake
- Cuisine: American
- Diet: Low Fat
Ingredients
- 1 cup low-fat cottage cheese
- 1 cup plain non-fat Greek yogurt
- 1/2 cup vanilla protein powder
- 1/4 cup powdered erythritol or preferred sweetener
- 1 teaspoon vanilla extract
- 1 tablespoon lemon juice
- Pinch of salt
- For the Crust: 1 cup almond flour
- 2 tablespoons melted butter or coconut oil
- 1 tablespoon sweetener
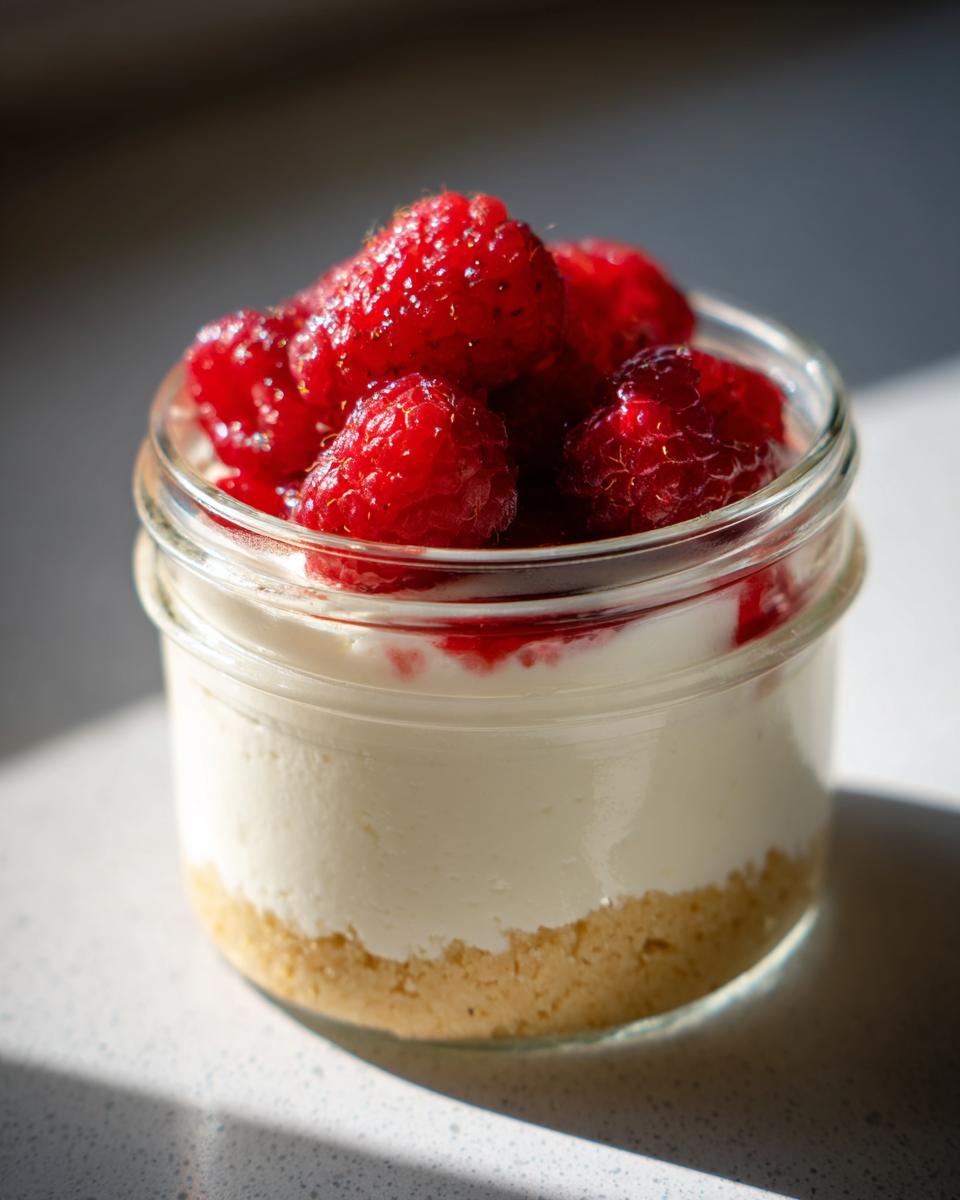
- For Topping (Optional): 1/2 cup fresh berries
Instructions
- Prepare the crust: Mix almond flour, 1 tablespoon sweetener, and melted butter until the mixture resembles wet sand.
- Press the crust mixture evenly into the bottom of four small jars or ramekins. Chill the crusts while you prepare the filling.
- Prepare the filling: Combine cottage cheese, Greek yogurt, protein powder, 1/4 cup sweetener, vanilla extract, lemon juice, and salt in a food processor or high-speed blender. Blend until completely smooth and creamy. Scrape down the sides as needed.
- Taste the filling and add more sweetener if you prefer it sweeter.
- Spoon or pipe the protein cheesecake filling over the chilled crusts in the jars. Smooth the tops.
- Cover the jars and refrigerate for at least 4 hours, or until firm.
- Before serving, top with fresh berries or your preferred topping.
Notes
- For a chocolate version, add 2 tablespoons of unsweetened cocoa powder to the filling mixture.
- If you do not have cottage cheese, you can substitute it with an equal amount of cream cheese for a richer texture, though the protein content will slightly decrease.
- These jars keep well in the refrigerator for up to 4 days, making them excellent for meal prep dessert.
Nutrition
- Serving Size: 1 jar
- Calories: 280
- Sugar: 5
- Sodium: 250
- Fat: 12
- Saturated Fat: 4
- Unsaturated Fat: 8
- Trans Fat: 0
- Carbohydrates: 18
- Fiber: 3
- Protein: 28
- Cholesterol: 20