
You know those meals that are just missing that *one thing*? The one thing that pulls the whole plate together? For me, it’s always been the bread. A grand roast or a simple weeknight stew just tastes better when you’ve got a steaming basket of bread alongside it. And not just any bread—I’m talking about the kind of dinner rolls where you need to make extra because they’re gone before the main course hits the table. Trust me, after thirty years of teaching kids how to follow directions, I know how to write a recipe that works. These irresistible dinner rolls are soft, drenched in butter, and guaranteed to get rave reviews. Forget hockey-puck results; these are the rolls that melt in your mouth.
We put a lot of love into making sure this recipe is foolproof, just like the methods I used in my elementary school classroom. You can find the full ingredients list below, but let me tell you upfront: warming that milk just right is key! If you’re looking for the real deal to wow your holiday guests or just upgrade Tuesday night, you’ve found your new favorite soft, fluffy dinner rolls recipe right here.
- Why These Are the Most Irresistible Dinner Rolls You Will Ever Bake
- Gathering Ingredients for Your Irresistible Dinner Rolls
- Step-by-Step Guide to Fluffy Homemade Bread Rolls
- Tips for Success: Baking Irresistible Dinner Rolls Every Time
- Ingredient Notes and Substitutions for Tender Dinner Rolls
- Serving Suggestions for Your Homemade Bread for a Crowd
- Storage and Reheating Instructions for Rolls That Melt In Your Mouth
- Frequently Asked Questions About Making Irresistible Dinner Rolls
- Share Your Experience Making These Irresistible Dinner Rolls
Why These Are the Most Irresistible Dinner Rolls You Will Ever Bake
When I set out to develop the perfect side bread, I wasn’t aiming for just ‘good’ rolls. I wanted the kind you sneak one of before dinner, even if you just had a snack! That soft, pull-apart texture is what makes bread truly special, and these deliver every single time. Readers always come back to this recipe because it’s dependable, even for folks who are a little shy about baking yeast bread from scratch.
Key Features of Our Irresistible Dinner Rolls
- They truly melt in your mouth thanks to the right dough consistency we develop during kneading.
- That final warm wash of butter and honey gives them a sweet, savory flavor that folks can’t resist.
- They are unbelievably fluffy—perfect for soaking up those good gravy sauces you work so hard on.
- This is my go-to recipe for holiday gatherings because they hold up beautifully and always impress a crowd.
Gathering Ingredients for Your Irresistible Dinner Rolls
Okay, friend, before we get our hands dirty, let’s look at what we need. We’re keeping this straightforward, but quality counts here, especially with the dairy! Make sure your milk is warm—not hot—and your egg is sitting out on the counter for a bit. Room temperature ingredients help that yeast wake up happy and active, which is the real secret to soft rolls. If the yeast proofs nicely, you know you’re already winning!
Here is what you’ll need to gather up:
- 1 cup whole milk, warmed to 105-115°F
- 2 1/4 teaspoons active dry yeast
- 1/4 cup granulated sugar
- 1 large egg, room temperature
- 1/4 cup unsalted butter, melted and cooled slightly
- 1 teaspoon salt
- 3 1/2 cups all-purpose flour, plus more for dusting
And don’t forget the finishing glaze:
- 4 tablespoons unsalted butter, melted, for brushing
- 2 tablespoons honey, for brushing
- 1 teaspoon water, for brushing
Step-by-Step Guide to Fluffy Homemade Bread Rolls
Now for the fun part! Don’t let the yeast scare you off; making these rolls is just like following directions in a classroom—clear steps lead to a perfect result. We’re going to work patiently, but your hands will quickly find the rhythm for making these amazing, soft rolls.
Activating the Yeast and Mixing the Dough for Irresistible Dinner Rolls
First things first: we need happy yeast! Pour your warmed milk (remember, between 105 and 115 degrees—think warm bath water, not hot shower!) into a big bowl and sprinkle the yeast over top. Give it five to ten minutes. If you come back and see it’s foamy and bubbly, congratulations, your yeast lives! Whisk in your sugar, that room-temperature egg, the melted butter, and salt. Then, we add the flour slowly, cup by cup, mixing until it just turns into a shaggy mess of dough. No need to beat it yet!
Kneading and First Rise: Developing the Structure of Your Rolls
Time to get physical! Turn that dough out onto a lightly floured surface. You need to knead this for a solid 8 to 10 minutes. I like to think of it like giving the dough a really good massage. You’re looking for it to stop sticking and start feeling smooth and elastic—that means it has structure! When you poke it gently, it should bounce right back. When it’s smooth, place it in an oiled bowl, cover it up tight, and find a warm, draft-free spot for it to double in size. That usually takes about an hour to an hour and a half, depending on how warm your kitchen is.
Shaping and Second Proofing for Perfectly Poppable Bread Rolls
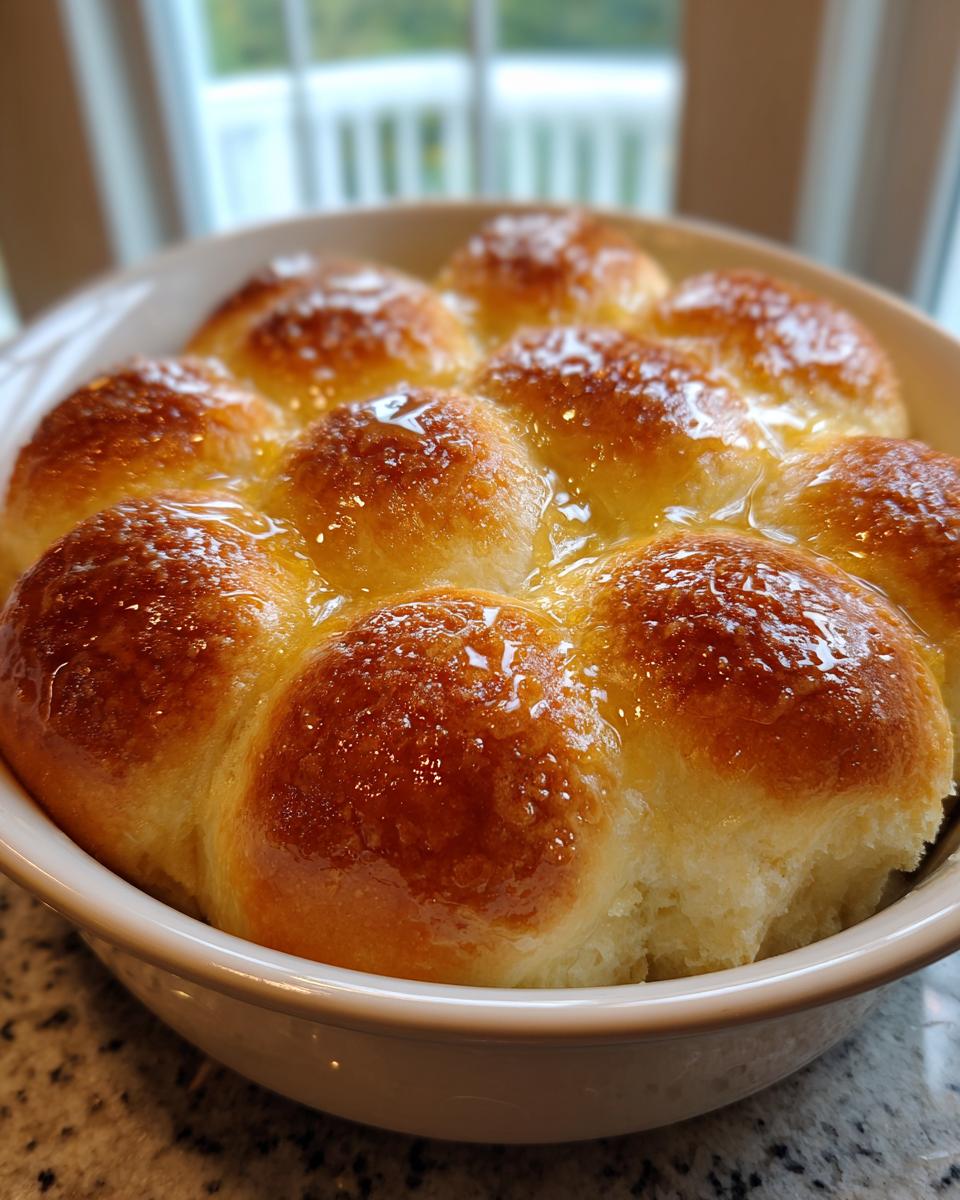
Once your dough has ballooned up, gently punch that air out—we are deflating the yeast breath! Now, we divide it. I usually eyeball it or use a kitchen scale to get 12 even pieces. Roll each piece into a tight, smooth ball. Place them snugly into your greased 9×13 pan. If you put them close together, they’ll bake up touching, giving you those wonderful rolls that pull apart easily. Cover them again and let them puff up one last time for about 30 to 45 minutes until they look noticeably puffy. If you want to check out some tips on shaping bread, I cover a few ideas over here if you’re interested in shaping bread dough.
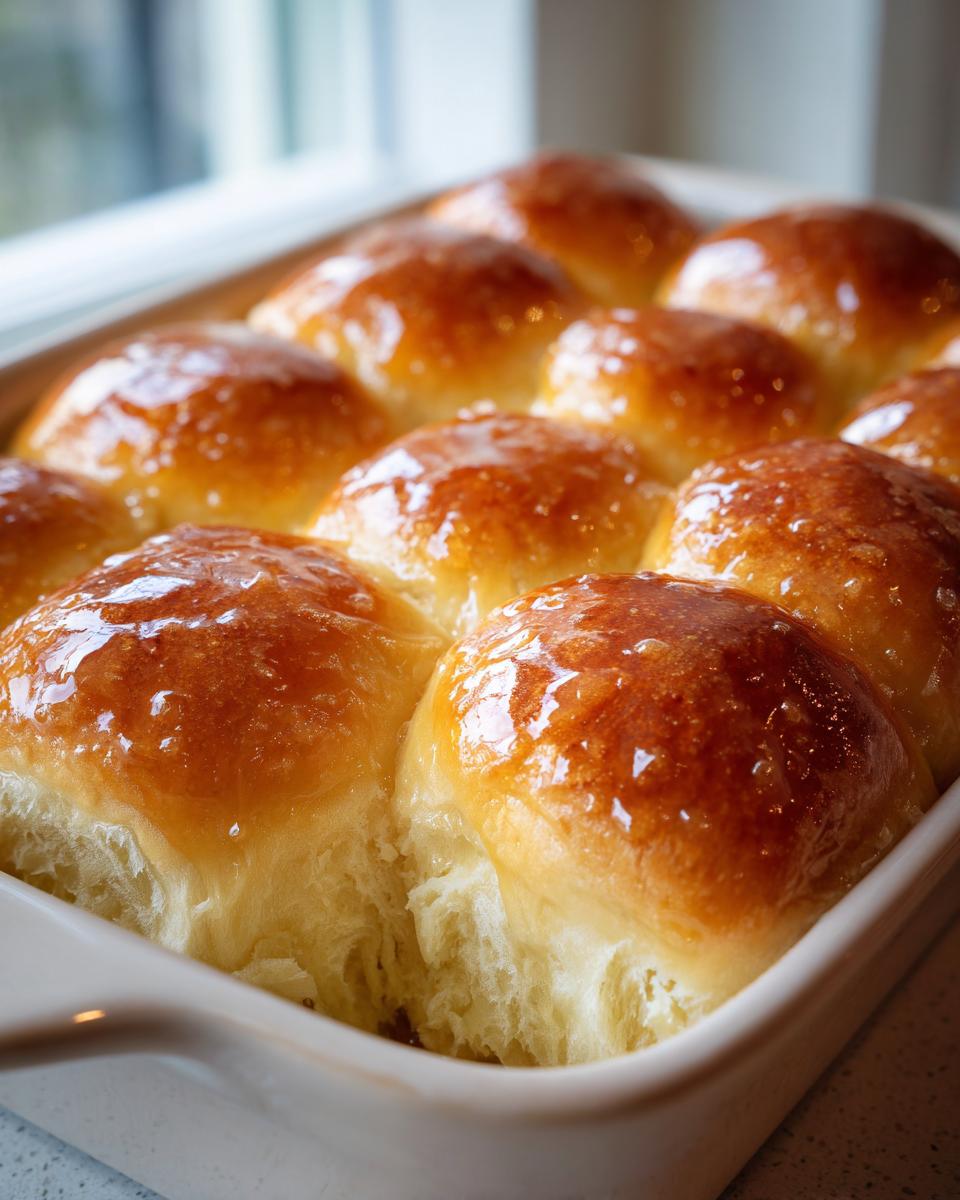
Baking and Applying the Buttery Yeast Rolls Glaze
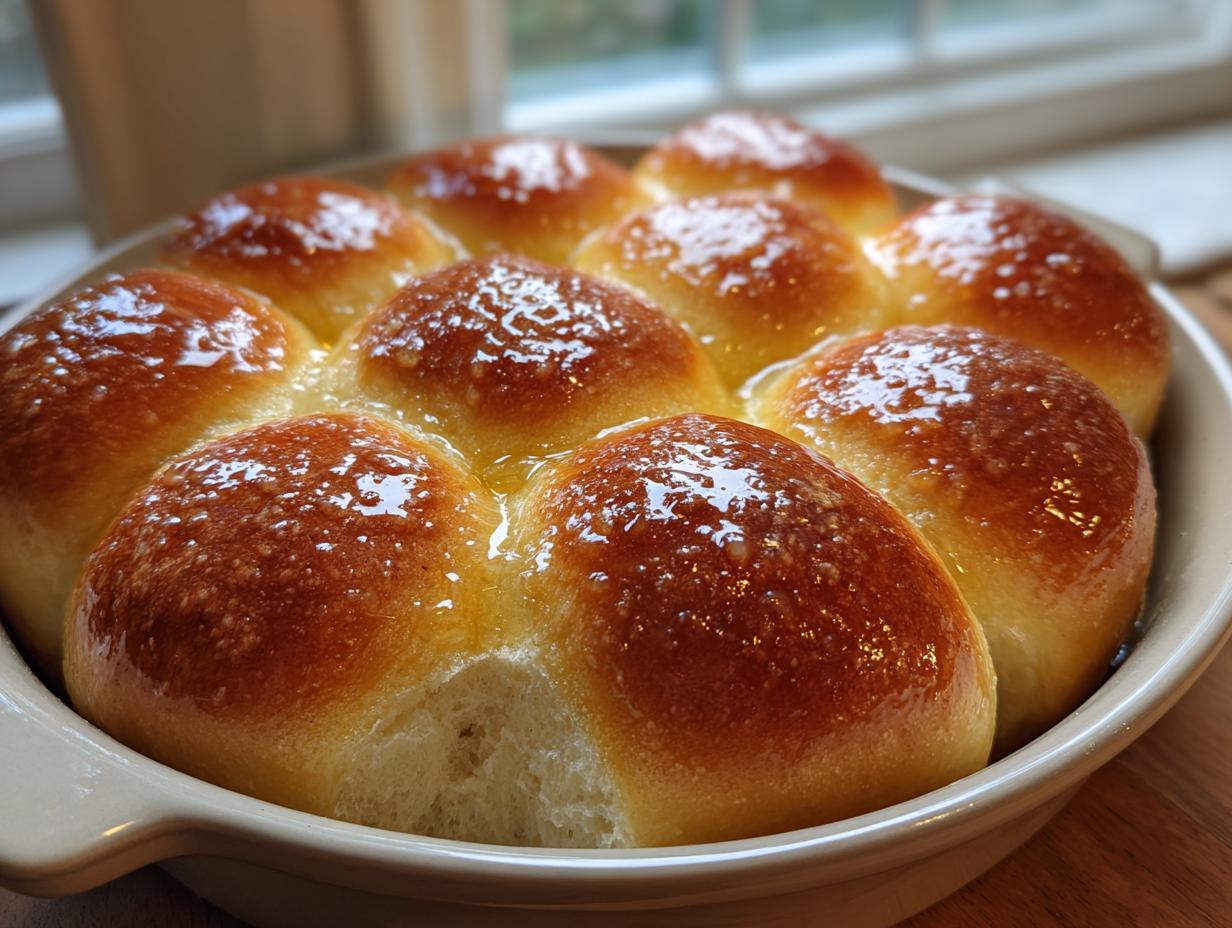
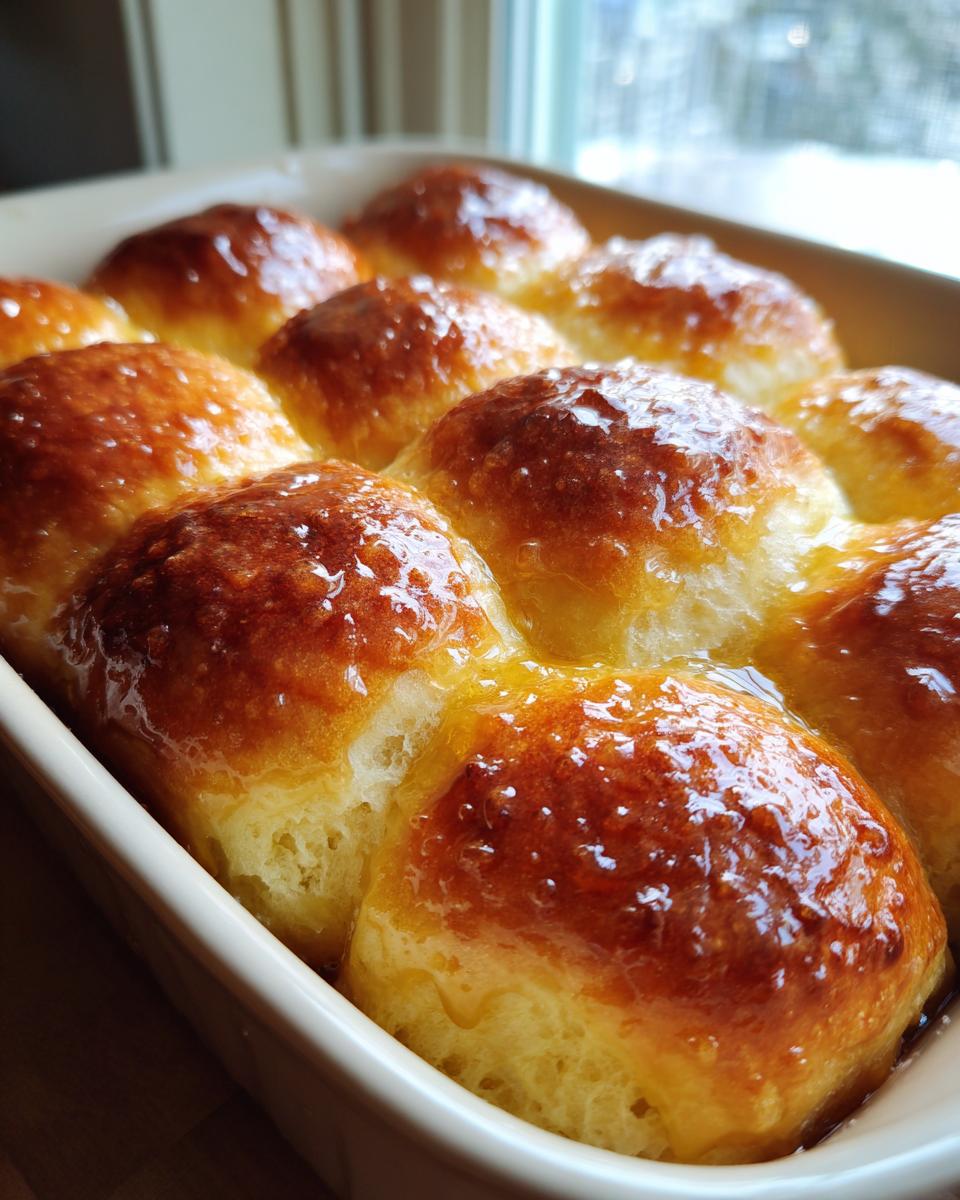
Get that oven preheated to 375°F! Bake these beauties for 15 to 18 minutes. You’ll know they are done when they look beautifully golden brown on top. Now, here is the critical part that makes them *irresistible* dinner rolls: they need attention while they’re screaming hot! Whisk together your extra melted butter, honey, and a tiny bit of water. Brush that sweet, salty mixture all over the tops right away. That warm bread soaks up the glaze perfectly, giving you those gorgeous, shiny, slightly sweet tops you’ve been dreaming about.
Tips for Success: Baking Irresistible Dinner Rolls Every Time
Even with a clear recipe, sometimes the little things make the difference between good rolls and those truly unforgettable, melt-in-your-mouth stars of the table. When I review the notes I usually add to my recipe cards, these are the tips I always circle back to. They seem small, but they ensure you get that signature fluffiness every time you bake these buttery yeast rolls.
Achieving Maximum Softness: The Foil Trick
If you are worried about the tops getting too dark before the middle is baked through—especially if you are using deeper loaf pans—I have a classroom trick for you. For the first ten minutes of baking, cover your pan loosely with aluminum foil. This steams the top slightly, keeping the moisture in place. Then, pull the foil off so the tops can catch that gorgeous golden-brown color you want!
Ingredient Temperature Matters for Easy Dinner Roll Baking
I can’t stress this enough, especially when dealing with yeast! If your milk is cold, the yeast will get sluggish. If the milk is too hot, you’ll kill it right away! You need that specific 105-115°F range. Also, make sure that one egg has been sitting out for about an hour. Letting your ingredients come closer to room temperature helps everything emulsify evenly, making the dough smoother and easier for beginners to handle.
Ingredient Notes and Substitutions for Tender Dinner Rolls
When you’re teaching someone how to bake, you always have to prepare for missing ingredients! If you’re out of whole milk—don’t panic! You can use 2% milk or even water, but you might lose a little richness in the final flavor. I’d suggest mixing half-and-half with water if you have it to stay closer to the fat content. Remember, the fat carries the flavor in these rolls!
For the flour, all-purpose works perfectly because it gives us that structure we love for kneading. If you use a higher-protein bread flour, you might need an extra splash of liquid because bread flour absorbs more moisture. I always stick to AP here because we want those rolls to be tender, not tough!
Serving Suggestions for Your Homemade Bread for a Crowd
Part of the joy of baking these rolls is seeing how many different meals they can elevate! Because they have that touch of honey, they are wonderfully balanced—sweet enough for the dinner table but savory enough to handle robust flavors. They are obviously mandatory for holidays, but I love taking the leftovers and dipping them into a thick bowl of hearty chili the next day. Trust me on that one!
They are also just perfect for sopping up any extra sauce from a big Sunday roast or for swirling around in some rich homemade gravy. Honestly, even just tearing one open, spreading it with a little soft butter, and eating it warm is a meal in itself. They are so versatile!
Storage and Reheating Instructions for Rolls That Melt In Your Mouth
We want these rolls to stay soft for days, but let’s be honest, they usually don’t last that long! Still, if you manage to have any leftovers from your dinner gathering, here is how you keep that wonderful texture intact. When I teach my grandkids about leftovers, I always stress that reheating bread is an art—you can’t just nuke it!
For short-term freshness, keep them at room temperature. Once the rolls have cooled down completely from that buttery glaze, store them tightly sealed in an airtight container or a heavy-duty zip-top bag. If you keep them sealed well, they should maintain that melt-in-your-mouth quality for about two days. The honey glaze actually helps keep them soft!
If you need them to last longer, you can certainly store them in the refrigerator, but that can sometimes dry them out a bit faster than the counter. If you chill them, make sure they are wrapped very securely in plastic wrap first, then maybe foil, to block out any appliance odors. They’ll be good for up to five days this way.
Now, the crucial reheating part! Never use the microwave for more than ten seconds unless you want a stiff roll. The best way to revive your irresistible dinner rolls is in a moderate oven. Wrap the rolls loosely in foil and pop them into a 350°F oven for about 8 to 10 minutes, or until they are fluffy warm all the way through. That light steaming inside the foil brings back that just-baked softness beautifully.
Frequently Asked Questions About Making Irresistible Dinner Rolls
When I teach my baking classes, there are always a few questions that pop up about yeast doughs! It’s completely normal to wonder about substitutions or freezing since you want these buttery yeast rolls to be perfect whenever you decide to bake them. I’ve gathered the ones I hear most often about making these fluffy homemade bread rolls.
Can I use instant yeast instead of active dry yeast in this recipe?
Oh yes, you absolutely can! Instant yeast is wonderful because it’s more forgiving, and this is one of those times where we can simplify things. If you are using instant yeast (sometimes called rapid-rise), you don’t need to proof it in the warm milk first. Just mix it right in with your flour and sugar, and proceed straight to step two. It saves about 10 minutes, and you still get those amazing, soft rolls!
How can I make these rolls sweeter or more savory?
That’s a great question about how to tailor these for your specific meal! To lean sweeter—especially if you are serving them plain—you can bump up that brushing sugar by adding a touch more honey or even sprinkling a tiny bit of turbinado sugar on top right before they bake. For savory rolls, ditch the honey glaze entirely! Instead, when you mix up your melted butter for brushing, toss in a teaspoon of garlic powder and a little dried parsley. They turn into the most delicious side bread for soups!
What is the best way to freeze these buttery yeast rolls for later?
I always tell people to freeze them *after* they’ve baked and cooled. Freezing the raw dough can sometimes lead to uneven rising later on. Once these rolls are fully baked and have cooled down (but before you put the honey glaze on, if you prefer that control), let them cool completely. Wrap the cooled rolls tightly in heavy-duty aluminum foil—plastic wrap alone isn’t enough protection against freezer burn. You can freeze them for up to three months. To reheat, just remove the foil, wrap them in fresh foil, and bake them at 350°F until heated through, maybe 15 minutes. They’ll be like freshly baked again! I even wrote down more detailed freezing instructions on how to make the softest dinner rolls.
Share Your Experience Making These Irresistible Dinner Rolls
I genuinely hope you loved making these rolls as much as I love baking them for my own family. There is nothing more rewarding than knowing one of my simple, tried-and-true methods ended up on your table making a memory!
If you tried spreading that warm honey butter over these beautiful, fluffy homemade bread rolls, please come back and let me know how they turned out! Your feedback helps other home bakers feel confident taking on yeast bread. Did they disappear embarrassingly fast? Did your kids ask for seconds? I want to hear all about it!
You can leave a star rating right here on the recipe card. If you had any questions while baking or if you want to share a picture of your beautiful batch of rolls that melt in your mouth, please don’t hesitate to reach out to me directly through the contact page. Happy baking, dear friend!
PrintIrresistible Soft Buttery Honey Dinner Rolls

Make the softest, fluffiest dinner rolls that melt in your mouth using this straightforward recipe. These buttery yeast rolls are perfect for any meal or holiday gathering.
- Prep Time: 25 min
- Cook Time: 18 min
- Total Time: 143 min
- Yield: 12 rolls 1x
- Category: Bread
- Method: Baking
- Cuisine: American
- Diet: Vegetarian
Ingredients
- 1 cup whole milk, warmed to 105-115°F
- 2 1/4 teaspoons active dry yeast
- 1/4 cup granulated sugar
- 1 large egg, room temperature
- 1/4 cup unsalted butter, melted and cooled slightly
- 1 teaspoon salt
- 3 1/2 cups all-purpose flour, plus more for dusting
- 4 tablespoons unsalted butter, melted, for brushing
- 2 tablespoons honey, for brushing
- 1 teaspoon water, for brushing
Instructions
- Combine the warm milk and yeast in a large bowl. Let stand for 5 to 10 minutes until foamy. This activates the yeast.
- Whisk the sugar, egg, melted butter, and salt into the yeast mixture until combined.
- Gradually add the flour, one cup at a time, mixing until a shaggy dough forms.
- Turn the dough out onto a lightly floured surface. Knead for 8 to 10 minutes until the dough is smooth and elastic. It should spring back when lightly poked.
- Place the dough in a lightly oiled bowl, turning to coat. Cover the bowl with plastic wrap or a clean kitchen towel. Let the dough rise in a warm place for 1 to 1.5 hours, or until doubled in size.
- Gently punch down the risen dough. Divide the dough into 12 equal pieces. Roll each piece into a smooth ball.
- Arrange the dough balls in a greased 9×13 inch baking pan, leaving about 1 inch between them.
- Cover the pan loosely and let the rolls rise again in a warm place for 30 to 45 minutes, or until puffy.
- Preheat your oven to 375°F (190°C).
- Bake for 15 to 18 minutes, or until the tops are golden brown.
- While the rolls are still hot, whisk together the 4 tablespoons of melted butter, honey, and 1 teaspoon of water. Brush this mixture generously over the tops of the warm rolls.
- Serve immediately for the best texture.
Notes
- For extra soft rolls, cover the pan with foil for the first 10 minutes of baking, then remove the foil to brown the tops.
- If you want rolls that pop apart easily, place them close together in the pan. For individual rolls, space them further apart on a baking sheet.
- Room temperature ingredients mix better, so take your egg out ahead of time.
Nutrition
- Serving Size: 1 roll
- Calories: 185
- Sugar: 5
- Sodium: 240
- Fat: 6
- Saturated Fat: 4
- Unsaturated Fat: 2
- Trans Fat: 0
- Carbohydrates: 29
- Fiber: 1
- Protein: 4
- Cholesterol: 25