

Oh, the holiday baking rush! Doesn’t it feel like the list just keeps getting longer every year? Sometimes, I need a festive treat that doesn’t require turning on the oven or spending hours fussing over frosting. That’s why I absolutely adore these grinch oreo balls. Honestly, they are the easiest, no-bake holiday bite you will ever whip up, and they always disappear first on my Christmas platter. My grandkids insist on them every December; they are such a fun addition to our spreads of Easy Christmas Desserts and Festive Holiday Treats. If you’re looking for reliable staples to ease up your holiday kitchen schedule, take a peek at my recipe for easy hollandaise sauce recipe blender—it’s a lifesaver, just like these truffles!
- Why You Will Love Making These Grinch Oreo Balls (Simple Christmas Party Snacks)
- Essential Ingredients for Perfect Grinch Oreo Balls
- How To Make Grinch Treats: Step-by-Step Instructions
- Tips for Success with Your Grinch Oreo Balls Recipe
- Ingredient Notes and Flavor Variations (Red Velvet Oreo Dessert)
- Storage and Gifting Your Bite Sized Holiday Sweets
- Presentation Ideas for Holiday Dessert Table Ideas
- Frequently Asked Questions About Grinch Oreo Balls
- Serving Information for This No Bake Christmas Truffles Recipe
Why You Will Love Making These Grinch Oreo Balls (Simple Christmas Party Snacks)
When the holiday calendar gets packed, you need recipes that are flashy on the outside but incredibly simple on the inside. Well, these Grinch Oreo Balls deliver that punch! We keep things easy here at Cooking by Carla, and this recipe proves you don’t need an oven to create a showstopper. Trust me, once you see how simple they are, they’ll be on your list every year.
- They are completely no-bake! Seriously, we mix, roll, chill, and dip. No need to worry about oven temperatures or perfect baking times.
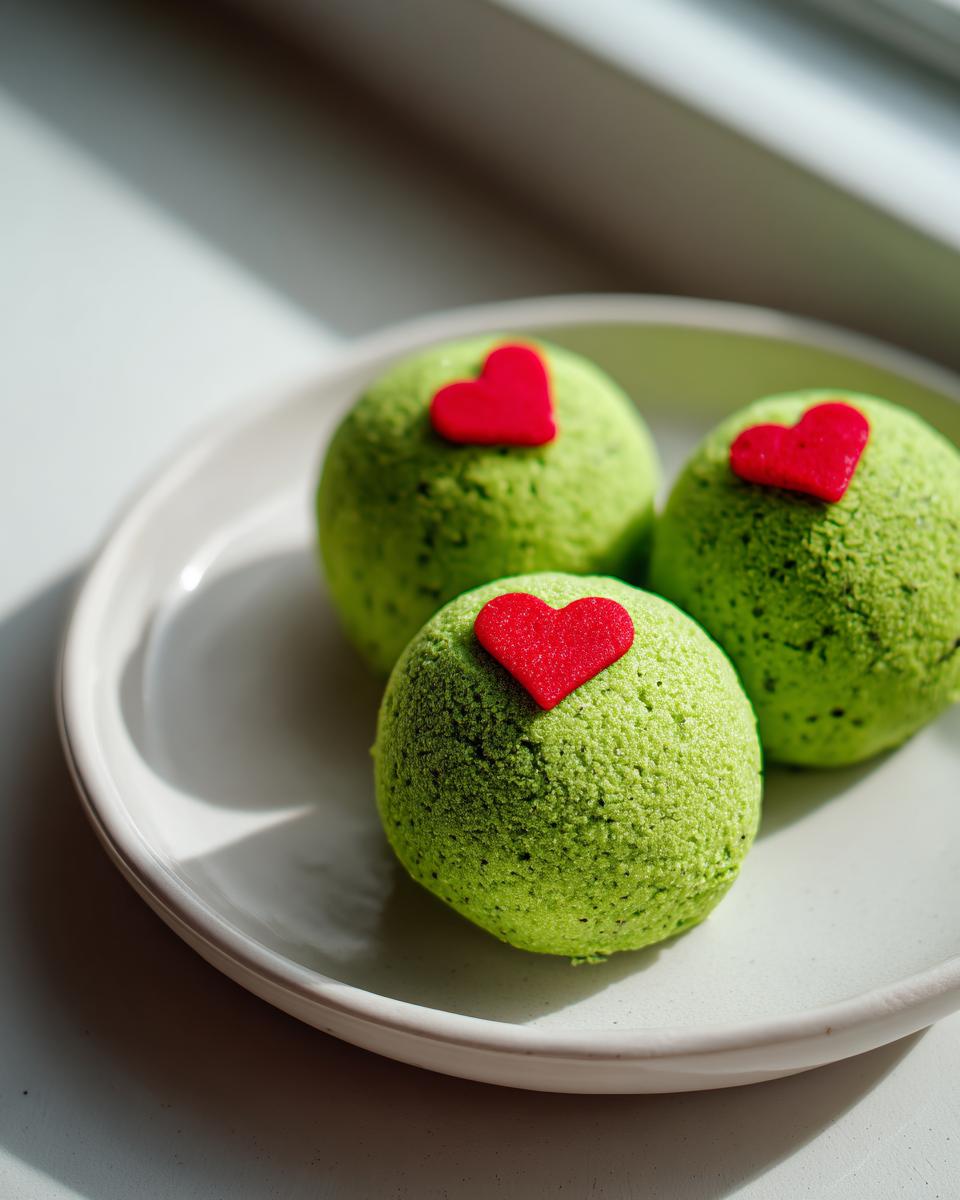
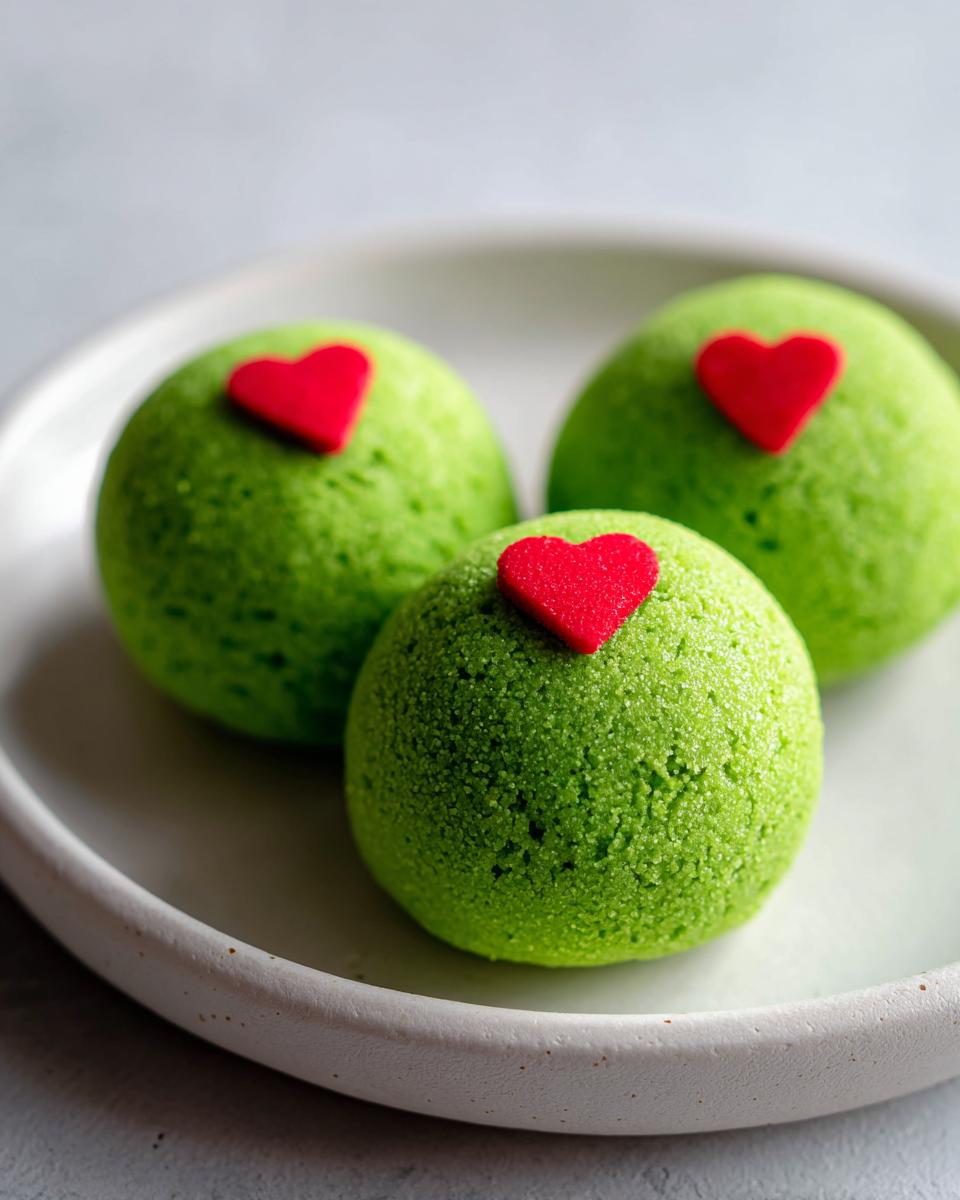
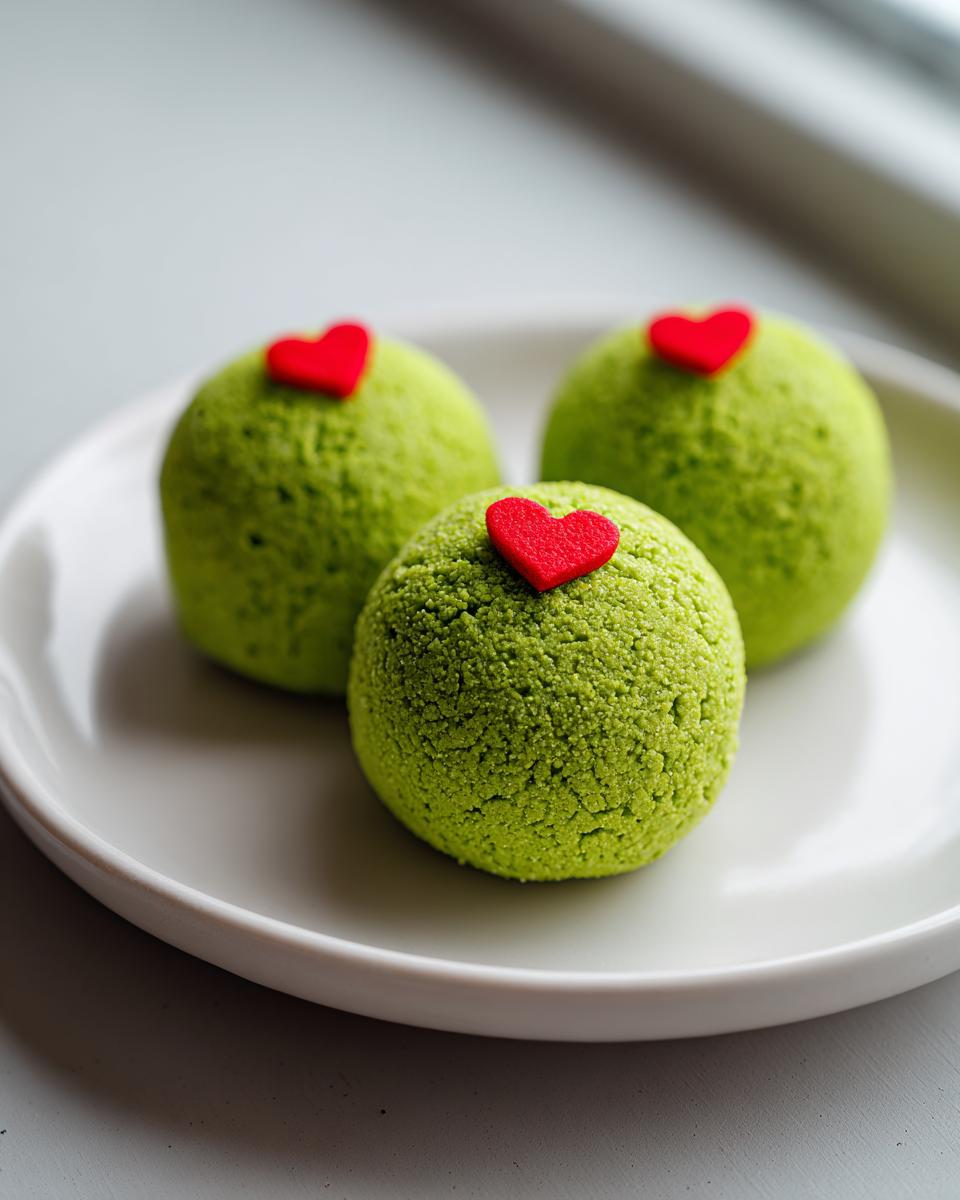
- The visual appeal is huge! That bright green coating with the tiny red heart makes them instantly recognizable and so fun for movie nights or parties. They are perfect for your easy creamy chicken enchiladas dish, just kidding, but they look *that* good!
- Beginner-friendly is an understatement. If you can crush a cookie and mix cream cheese, you can make these. They are wonderful for involving the younger helpers in the kitchen.
- They handle well, making them ideal for dropping off as Easy Food Gifts for Holidays or taking to large events.
- These are an absolute must-have addition to any Christmas Cookie Exchange Recipes box. They stand out beautifully next to traditional cookies.
- Using just five core ingredients means fewer trips to the store and less stress when you’re already juggling so many other things during Christmas week.
If you need another quick, reliable dish to round out your table, you should certainly check out my guide for the easy hollandaise sauce recipe blender—it truly is another one of my simple kitchen secrets!
Essential Ingredients for Perfect Grinch Oreo Balls
Now, when we talk about the best No Bake Oreo Balls Recipe, the ingredients list is short, but every single item matters! You don’t need a pantry full of spices or weird extracts here. It’s about five key things to get that perfect texture and that amazing green glow. I always keep my measuring cups handy because consistency is everything when you’re dealing with cream cheese and melted coatings.
Remember how I always emphasize using good quality dairy in my frostings, like that best cream cheese frosting recipe holds shape? That same rule applies here. We want the center to be sturdy enough to roll, but creamy enough to melt in your mouth. Here is exactly what you need for your ultimate batch of Festive Holiday Treats:
- One full package (about 14.3 ounces) of plain Oreo cookies—and yes, I mean scrape the whole thing, wrapper dust and all!
- 8 ounces of good old cream cheese, and please, make sure it’s softened to room temperature. Hard cream cheese just won’t mix right!
- 12 ounces of green candy melts OR green almond bark. This is what gives us that vibrant, Grinchy color.
- One tiny teaspoon of coconut oil—this is optional, but trust me, it’s my little secret to keep the coating from seizing up or getting too thick when melting. It’s a pro move!
- Red heart-shaped sprinkles or maybe some small red nonpareils if you can’t find the hearts. This is the Grinch’s heart, so don’t skip this finishing touch!
That’s it! See? Simple. If you wanted to experiment with a flavor variation, you could try substituting the regular Oreos for Red Velvet Oreo Dessert cookies, but I recommend sticking to the classic for your first batch of Grinch Themed Food Ideas!
How To Make Grinch Treats: Step-by-Step Instructions
This is where the magic happens, and I promise you, it’s so much fun! Since this is a no-bake recipe, we are focusing on texture and temperature control rather than oven time. Follow these steps closely, especially the chilling periods, and you’ll have the most beautiful No Bake Oreo Balls Recipe treats on your table. If you ever need a savory make-ahead dish for parties, remember my easy hollandaise sauce recipe blender recipe is also there for you!
Mixing the Creamy Oreo Base
First things first, we need crumbs! If you have a food processor, just pulse those Oreos until they look like fine brown sand. If you don’t have one, don’t panic! Just put them in a sturdy zip-top bag, seal it tight, and use a rolling pin to crush them up good. You want it fine, not chunky. Then, move those crumbs into a bowl, add your softened cream cheese, and mix it all together. You’ll use your hands toward the end because you need to really mash it until it forms one thick, uniform dough. It should feel almost like playdough when you’re done—that’s perfect!
Chilling and Preparing the Coating
Next, roll that dough into little one-inch balls. I usually get about two dozen, maybe a few more. Line a sheet pan with parchment paper—that’s crucial!—and let those balls chill in the refrigerator for at least 30 minutes. They *have* to be firm before they meet the melted coating, or they turn into a melted mess! While they are chilling, melt your green candy melts. If those Green Candy Melt Dipped Truffles coatings seem a little too thick after melting, stir in that touch of coconut oil I mentioned. It really makes the texture so much smoother for dipping.

Dipping and Decorating Your Grinch Oreo Balls
Once the centers are cold, it’s dipping time! Drop one ball in the melted green coating, making sure it’s totally submerged. Use a fork or a dipping tool to pull it out, let the extra drip off the side of the bowl, and place it back on that parchment paper. Here is the most important part for these Themed Oreo Desserts: immediately, while the green is still wet, set that little red heart right on top. If you wait even a minute, the heart won’t stick, and that’s how we get our Grinch look! Let them set up completely before you stack them.
Tips for Success with Your Grinch Oreo Balls Recipe
As a teacher for many years, I always tell folks that a recipe is only as good as your preparation! With these little Grinch Oreo Balls, most of the potential hiccups happen in the coating stage, but don’t you worry. We’ve all been there, wrestling with chocolate that won’t cooperate. But since these are one of my favorite Quick Holiday Desserts and need to look perfect for gifting, let’s talk strategy.
If you find your green candy coating is getting thick on you while you are working through your batch—which happens as it cools—don’t try to force it! Over-stirring thick coating just makes a mess. Just take your bowl (or whatever you are melting them in) and pop it back in the microwave for just 10 to 15 seconds, stir it around until it loosens back up, and then keep dipping. It’s that simple. If you need a savory make-ahead dish that doesn’t involve melting candy, remember my easy creamy chicken enchiladas recipe is a fantastic option!
What if your chilled Oreo centers start getting soft while you are working on the dipping batch? This usually happens if your kitchen is warm or if you are taking too long rolling them back out. If they soften up, they get mushy when dipped, and they might even fall apart on your fork. The solution is easy: don’t dip more than half your pan at a time. Keep the un-dipped balls back in the fridge, and only bring out the next batch when you are ready to start dipping again. This ensures every single one of these Festive Holiday Treats holds its perfect little shape.
A quick word on that red heart: if it’s sinking into the green coating and disappearing, it means your coating is too thin, or you aren’t tapping off enough excess when you pull the ball out. If you’ve added the coconut oil and it’s still too thin, try adding a teaspoon of powdered sugar to the melted candy for just a bit more body. Perfect dipping consistency helps that tiny heart sit right on top, making your Themed Oreo Desserts look exactly how they should!
Ingredient Notes and Flavor Variations (Red Velvet Oreo Dessert)
When you’re making something as fun as these Grinch Oreo Balls, you might feel tempted to play around with the ingredients. And that’s okay! I always encourage folks to make my recipes their own—after all, this is your kitchen. The flavor combination in the original recipe is classic, but let’s talk about maximizing flavor for your Grinch Themed Food Ideas.
The biggest flavor variation I often get asked about involves those delightful Red Velvet Oreos. If you want to swap out the regular cookies for Red Velvet Oreos, I say go for it! It gives the inside filling a slight chocolate-vanilla tang that pairs surprisingly well with the green candy coating. Just remember, the final color of the filling will be slightly pinkish or darker red, which is totally fine since it’s hidden anyway!
Now, let’s talk about finding that coating. I’ve had readers ask me where I find the best green candy melts. You typically see them stocked heavily around late October through December in most major grocery stores, usually near the baking chips and chocolate bars. If you can’t find a nice vibrant green, don’t try to dye them with liquid food coloring! It thins out the coating and makes for a runny disaster. Stick to quality green candy melts or green almond bark if you want those professional-looking, thick coatings for your Festive Holiday Treats.
If you are looking for another simple, make-ahead savory option to balance out all this sweetness on your dessert table, don’t forget that my easy creamy chicken enchiladas recipe is fantastic for preparing ahead of time!
Storage and Gifting Your Bite Sized Holiday Sweets
One of the best parts about making Grinch Oreo Balls is that they are wonderful make-aheads! Since they are rich, creamy, and coated in that waxy candy melt shell, they hold up beautifully, which is perfect for busy cooks like us. I always try to get these done a few days before Christmas so I’m not scrambling.
For storage, you need an airtight container, plain and simple. You don’t want them drying out, and you certainly don’t want them absorbing any strange refrigerator smells! Keep them in the fridge. They will stay delicious and firm for up to a full week. Don’t worry if they seem extra hard when you first pull them out; just let them sit on the counter for about 15 minutes before serving, as that lets the cream cheese filling soften up just the way we like it. These are genuinely some of my favorite Quick Holiday Desserts because they last!
When it comes time to package these up as Easy Food Gifts for Holidays—which I do for neighbors and teachers—presentation really matters visually. You can’t just dump them in a Ziploc bag, not when they look this cute! I always suggest using small, decorative parchment paper liners—the kind you might use for mini cupcakes or candies. Place one truffle in each liner.
Then, stack them gently inside a nice tin or a small festive box. Here’s my grandmother’s old trick: put a crumpled piece of parchment paper or some festive tissue paper at the bottom, then layer the candy cups in a single layer if possible. If you must stack them, make sure you put another piece of parchment paper between the layers. That hard green coating can sometimes smudge or stick to the candy on top if they press too tightly together, and we want those little red hearts perfectly intact!
Remember, if you are looking for a savory dish to gift or serve alongside this sweetness, my easy creamy chicken enchiladas recipe holds up wonderfully well for transporting to potlucks too!
Presentation Ideas for Holiday Dessert Table Ideas
Making these adorable Grinch Oreo Balls is only half the battle; the other half, which I absolutely love, is getting them displayed beautifully! We eat with our eyes first, especially during the holidays when everything is meant to look a little extra special and whimsical. Think about your dessert table—it needs color, texture, and height to really draw people in. These little green delights are perfect for adding that playful charm we all look for in Whimsical Winter Desserts.
Don’t just line them up on a plain plate if you can help it! I highly recommend using a tiered serving tray. Stacking them up adds immediate visual interest and saves space on a crowded table. Use the bottom tier for the bulk of the treats, and maybe place just ten or twelve of the most perfect-looking ones on the very top tier. Seeing them elevated makes them feel instantly fancier.
To really lean into that festive look, try pairing them with some simple white chocolate-dipped pretzels. They give you a wonderful salty/sweet contrast, and the white coating looks just like freshly fallen snow next to our bright Grinch green! If you made my chocolate babka recipe homemade swirl bread, placing a few green balls right around the base of the babka—almost like little ornaments—makes the whole display look intentional and professional.
Another great trick for these Bite Sized Holiday Sweets is using them as garnishes. If you decide to make a big bowl of festive fudge or even layer them onto a platter with some powdered sugar dusted brownies, tucking one or two of these green balls right on top adds that perfect pop of unexpected color. It shows you put in that little extra bit of thought, which is what holiday baking is all about!
Frequently Asked Questions About Grinch Oreo Balls
I always say that the best cooks are the ones who aren’t afraid to ask questions! It shows you care about getting the details right, and that’s how you end up with truly delicious Festive Holiday Treats. Here are some of the things I hear most often when folks are whipping up these cute as can be Grinch Oreo Balls.
Can I make the Oreo ball centers ahead of time?
Oh, absolutely! This is one of the reasons I love this specific No Bake Oreo Balls Recipe so much. You can definitely mix up the Oreo and cream cheese dough, roll them into balls, and store them on your lined baking sheet in the refrigerator. I find they hold up perfectly for about two full days if they are wrapped tightly with plastic wrap. That’s a huge help when you are planning your schedule for Quick Holiday Desserts. Just wait until the day you plan to serve them to do the dipping, though!
What is the best way to get the green color for these festive holiday treats?
That vibrant green is the showstopper, right? For the best, most consistent results for these Green Candy Melt Dipped Truffles, I strongly recommend using high-quality green candy melts or green almond bark right out of the bag. They are formulated to melt smoothly and hold that color! If you prefer using plain white chocolate or vanilla wafers instead, you *must* use gel food coloring, not the liquid kind you might use for cake batter. Liquid coloring adds too much moisture and will make your coating seize up into a hard, unusable block. We learned that lesson the hard way years ago!
If you need some savory help to balance out your sweet baking marathon, please go check out my easy creamy chicken enchiladas recipe. It’s a wonderful make-ahead option for any party!
Serving Information for This No Bake Christmas Truffles Recipe
We’ve made such a wonderful batch of these easy, No Bake Christmas Truffles, and now it’s time to talk about how they fit into your day, both in terms of time and what you’re putting into your body. When I test these recipes, I always track the time because I know how precious those holiday minutes are! This recipe for Oreo Truffles Recipe is designed to be quick, but remember that chill time is non-negotiable for perfect dipping.
Here are the timing details you need to plan your baking session:
- Prep Time: About 25 minutes of active work.
- Cook Time (Melting/Dipping): Only about 5 minutes!
- Total Time (Including mandatory chilling): Right around 55 minutes total, though you can break that time up over a couple of hours.
- Yield: We usually get between 24 to 30 little treasures, depending on how large you roll your balls.
For those of you keeping a close eye on nutrition, I’ve put together the estimated breakdown based on the recipe yielding 24 servings. Please remember, these are estimates, just like when I used to calculate food portions for my classroom parties years ago!
Estimated Nutrition Per Ball (1 of 24):
- Calories: 160
- Total Fat: 9g
- Saturated Fat: 5g
- Carbohydrates: 19g
- Sugar: 16g
- Protein: 1g
- Cholesterol: 10mg
These are definitely a rich treat, little bursts of holiday joy! If you need something lighter on the menu to balance things out, I always suggest having a crisp salad or perhaps trying my recipe for easy creamy chicken enchiladas—that always gets rave reviews when I bring it to parties!
PrintNo-Bake Grinch Oreo Balls: The Ultimate Christmas Treat

Make these adorable, no-bake Grinch Oreo Balls for a festive holiday dessert. They feature a creamy Oreo center, bright green coating, and a signature red heart detail, making them perfect for cookie exchanges or holiday gifting.
- Prep Time: 25 min
- Cook Time: 5 min
- Total Time: 55 min
- Yield: 24 servings 1x
- Category: Dessert
- Method: No-Bake
- Cuisine: American
- Diet: Vegetarian
Ingredients
- 1 package (14.3 oz) Oreo cookies (about 36 cookies)
- 8 ounces cream cheese, softened
- 12 ounces green candy melts or green almond bark
- 1 teaspoon coconut oil (optional, for smoother melting)
- Red heart-shaped sprinkles or small red nonpareils
Instructions
- Place the Oreo cookies into a food processor and pulse until fine crumbs form. If you do not have a food processor, place them in a large zip-top bag and crush them with a rolling pin.
- Transfer the crumbs to a medium bowl. Add the softened cream cheese and mix with a sturdy spoon or clean hands until the mixture is completely combined and forms a thick dough.
- Roll the dough into small balls, about 1 inch in diameter. You should get approximately 24 to 30 balls. Place the balls on a baking sheet lined with parchment paper.
- Chill the Oreo balls in the refrigerator for at least 30 minutes. This step helps them firm up before dipping.
- Melt the green candy melts according to package directions. If using, stir in the coconut oil for a thinner consistency. Do this in a microwave-safe bowl in 30-second intervals, stirring well after each interval until smooth.
- Dip each chilled Oreo ball into the melted green coating, ensuring it is fully covered. Gently tap the excess coating off against the side of the bowl.
- Place the coated ball back onto the parchment-lined baking sheet.
- Immediately place one red heart sprinkle on top of each ball to resemble the Grinch’s heart before the coating sets.
- Allow the Grinch Oreo Balls to set completely at room temperature, or speed up the process by chilling them for another 15-20 minutes.
Notes
- For a flavor variation, substitute regular Oreos with Red Velvet Oreos.
- If the candy coating becomes too thick while working, microwave it for 10-15 seconds to loosen it up.
- Store these bite-sized holiday sweets in an airtight container in the refrigerator for up to one week.
Nutrition
- Serving Size: 1 ball
- Calories: 160
- Sugar: 16
- Sodium: 95
- Fat: 9
- Saturated Fat: 5
- Unsaturated Fat: 4
- Trans Fat: 0
- Carbohydrates: 19
- Fiber: 0
- Protein: 1
- Cholesterol: 10