

Oh, the absolute tragedy of a holiday baking project collapsing! We’ve all been there, right? You spend hours making those perfect gingerbread walls, only to have the whole structure slump over before the first gumdrop even makes it onto the roof. That usually means your icing isn’t cut out for structural engineering work. Well, stop worrying! Here at Cooking by Carla, I promise you dependable results, and that starts with making the proper royal icing recipe. This recipe for **gingerbread house icing** isn’t just pretty; it sets rock-hard, meaning it becomes the best edible glue. It’s strong enough to hold up the heaviest roof but smooth enough for all your lovely piping work. Trust me, after thirty years of teaching the basics, my recipes always deliver stability!
- Why This Gingerbread House Icing is the Best for Assembly and Decoration
- Ingredients for Your No Fail Gingerbread Icing
- How To Make Gingerbread House Glue and Decorating Gingerbread House Icing
- Tips for Success with Your Sturdy Christmas Cookie House Frosting
- Storage and Keeping Your Gingerbread House Icing Fresh
- Troubleshooting Common Gingerbread House Icing Issues
- Frequently Asked Questions About Royal Icing Recipe
- Estimated Nutritional Values for Gingerbread House Icing
- Share Your Holiday Baking Creations
Why This Gingerbread House Icing is the Best for Assembly and Decoration
When you’re building something festive that needs to last past Christmas morning, you can’t mess around with plain powdered sugar frosting. I developed this recipe because I wanted something you could rely on, just like you rely on my classic cookie recipes. This **gingerbread house icing** is truly the best of both worlds—it’s an architectural wonder and a decorator’s delight all rolled into one bowl. Finding a recipe that works perfectly every time is why I share all my best dessert recipes with you all.
- It’s quick-drying and sets up firm, which means less time spent holding walls together and more time relaxing.
- The texture is perfectly manageable; you can make it thin for light decorative swirls or thick enough to be genuinely load-bearing.
- It tastes clean and sweet without overpowering the flavor of your gingerbread pieces.
Sturdy Gingerbread House Glue Frosting Consistency
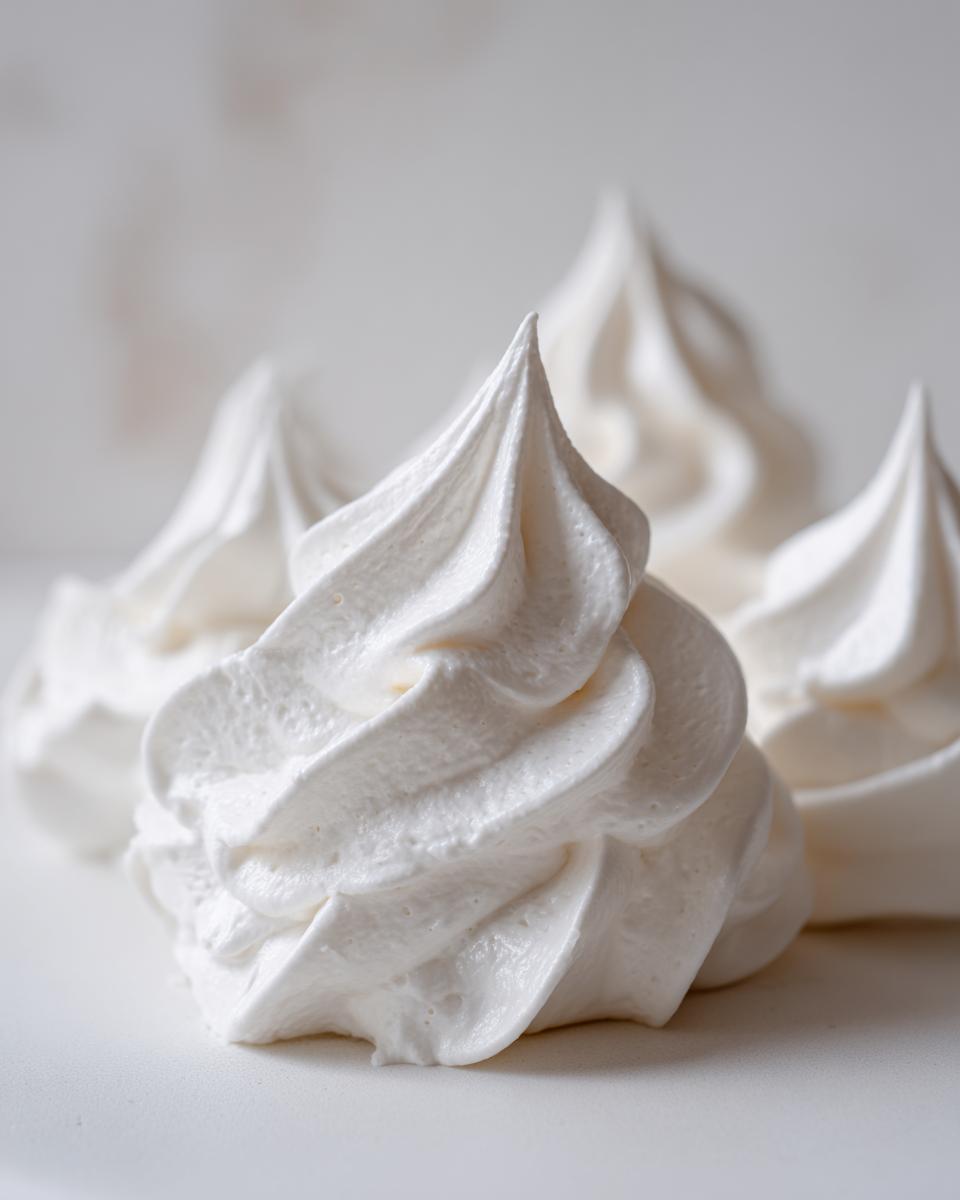
When we talk about glue, we mean serious holding power! For assembly, you want this royal icing as thick as possible. It needs to be almost paste-like when you first mix it. This helps it form strong seams where the baked pieces meet. This stiff **Gingerbread House Glue Frosting** dries rock-solid so your roof won’t cave in when a curious little hand bumps the table. That’s reliability you can count on!
Pipeable Gingerbread Decorating Icing Texture
Now, once the structure is sound and stable, we move to the fun part: making it pretty! For trimming windows and adding snowdrifts, you need a slightly looser texture. You don’t have to make a second batch! Just mix a tiny bit of water into the extra icing you set aside. This slight loosening gives you the perfect **Pipeable Gingerbread Decorating Icing** that flows beautifully through the tip but still maintains nice edges and lines.
Ingredients for Your No Fail Gingerbread Icing
When I put together a recipe here at Cooking by Carla, I want you to trust every single measurement. This **gingerbread house icing** relies on precision because the structure of your house depends on it! You’ll need four cups of confectioners’ sugar, but please, make sure you sift it first. Lumps mean weak spots, and we absolutely cannot have those here.
The core of this recipe is the binding agent. You have two trustworthy options: use four large, fresh egg whites, or go with four tablespoons of meringue powder. I always give both options because while the fresh whites come straight from the farm-fresh feel I grew up with, the meringue powder is just so reliable and removes any worry about using raw eggs. I cover all my bases so you can pick what’s best for your kitchen!
Ingredient Notes and Substitutions for Gingerbread House Icing
If you choose the fresh egg white route, you’ll want a little help to stabilize that meringue, so that’s why I include a tiny bit of cream of tartar—it’s our insurance policy against weeping! Don’t forget the extracts; vanilla is a must, but a hint of lemon really brightens the flavor profile. Always use sifted powdered sugar; this is non-negotiable for getting that smooth, hard shell. If you want the absolute easiest time, look into using my foolproof meringue powder royal icing approach for your **gingerbread house icing**.
How To Make Gingerbread House Glue and Decorating Gingerbread House Icing
Now that we have our trusted ingredients, let’s get this icing mixed! Whether you went with the fresh egg whites or opted for the meringue powder, the technique is what turns this mixture into a reliable construction material. Remember, we are aiming for serious stiffness first, because this is going to be our primary **gingerbread house glue**! I always get my mixer ready before I even start adding the sugar, because once the sugar starts going in, you have to keep things moving. For baking tips that are just as dependable as this recipe, you can check out my guide to easy homemade chocolate pudding recipe, which uses similar no-fail methods!
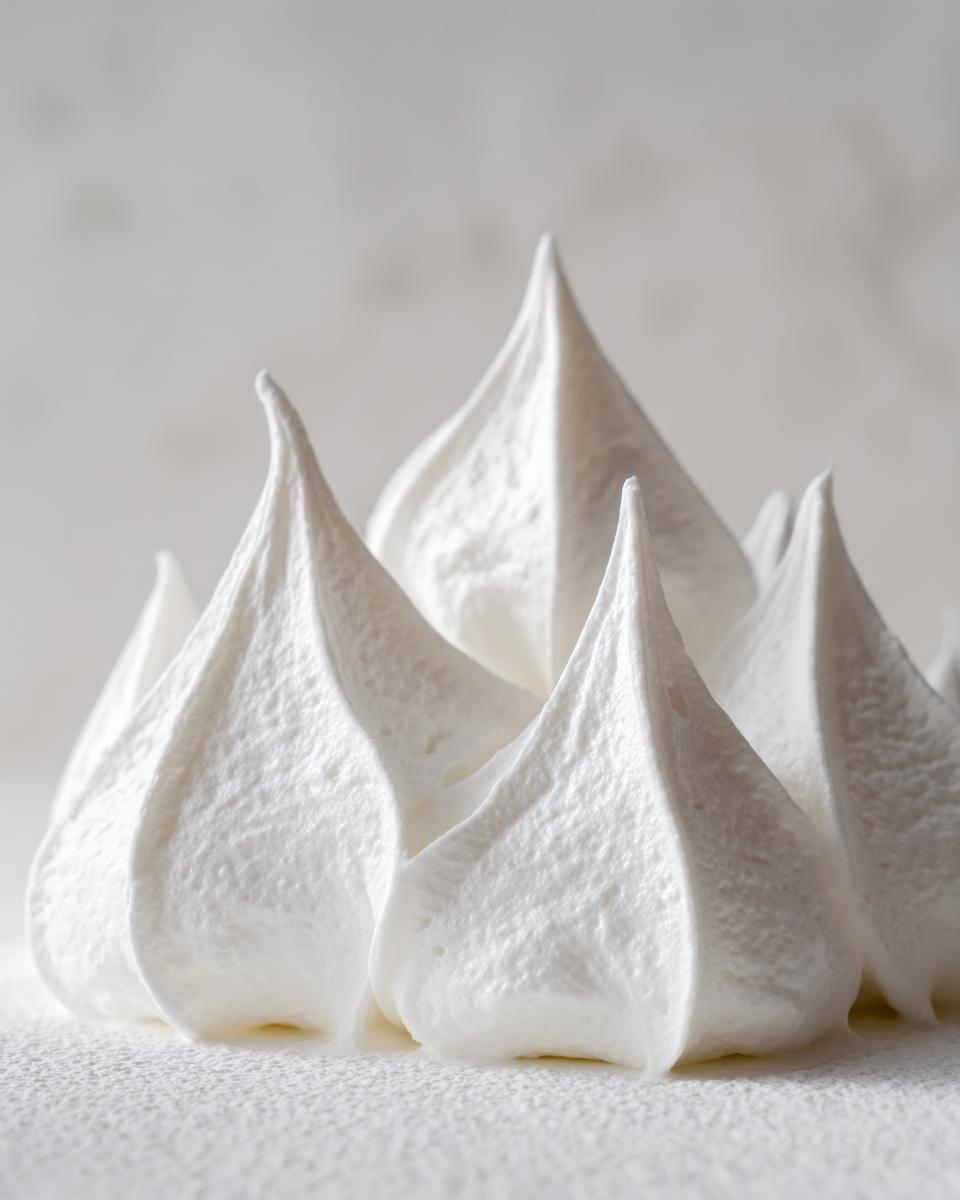
Achieving Stiff Peaks for Assembly
If you are using egg whites, get those going until soft peaks form—please make sure your bowl is grease-free, or nothing will whip up right. Then, slowly, I mean slowly, start adding that sifted confectioner’s sugar, one cup at a time. Once it’s all in, you need patience! Beat this on medium-high speed for a full 5 to 7 minutes. You are done when the icing is glossy and forms peaks that stand straight up when you lift the beater. That’s the sign that you have the **Best Icing for Assembling Gingerbread**.
Adjusting Consistency for Pipeable Gingerbread Decorating Icing
If you’re ready for decoration time, you can tweak what you have left. Take a small amount destined for your piping bag and stir in water, just a few drops at a time. You are looking for a texture that holds its shape when piped but immediately softens a bit, not one that stands rigidly stiff like the glue consistency. If you accidentally add too much water, don’t panic! Just beat in another tablespoon of powdered sugar until it’s perfect for piping those fun roof shingles.

Tips for Success with Your Sturdy Christmas Cookie House Frosting
As a former teacher, I know that knowing the steps isn’t always enough; you need the real-world advice that makes things foolproof. This is where years of kitchen experience come into play, especially when it comes to high-humidity days which, believe me, are the enemy of good royal icing! If it’s raining or just damp, your icing glue might take ages to set, which is frustrating when you’re trying to build your walls.
My best tip for working with this **Sturdy Christmas Cookie House Frosting** is speed. Once it’s mixed stiff, work fast! Have all your gingerbread pieces ready, propped up with cans or jars if you need them to stand while they dry. When you are using it as edible glue, apply it generously—don’t be shy with the thick icing on those seams.
And remember that external knowledge about cookie construction is helpful too; for instance, check out this great resource on royal icing for gingerbread houses if you ever need extra tips. If you’re looking for something lighter for your next baking project, my recipe for classic butter cookies is always a winner!
Storage and Keeping Your Gingerbread House Icing Fresh
Don’t you hate wasting any good batch of **gingerbread house icing**? This stuff doesn’t stay liquid forever once it starts setting up, but we certainly don’t want to throw away any extra we made for decorating later! If you have leftover icing that you didn’t use for assembly, cover it right away. The absolute secret here is pressing a piece of plastic wrap directly onto the surface of the icing inside an airtight container. This stops that awful crust from forming on top.
If you need to keep it for a few days—maybe you are decorating over several evenings—it keeps perfectly fine in the refrigerator for up to a week. When you pull it out later, you might need to beat it for just a minute to bring back that glorious, glossy texture before reusing it for piping snowflakes.
Troubleshooting Common Gingerbread House Icing Issues
Even with the best recipe in the world, sometimes the environment throws us a curveball, doesn’t it? I’ve had my gingerbread houses weep icing right down the wall on damp Christmas Eve! If you notice your **gingerbread house icing** starts cracking too quickly, or worse, if the structural seams look wet and gooey (we call that weeping), it almost always comes down to humidity in the room. Humidity prevents that beautiful, quick dry time we rely on for that rock-hard gingerbread house glue.
If you see weeping, the fix is usually simple: just give your icing a few quick whisks with the mixer or stir in half a teaspoon of extra sifted sugar to stiffen it up right away. If the cracks appear later during decoration, it means your icing might have been too stiff to begin with—just loosen that remaining batch slightly with a few drops of water. My advice is always to aim for the softest possible stiff icing you can get away with! For all these tips and more foolproof guidance, you can always check out my easy peanut butter fudge recipe page for general low-stress baking advice.
Frequently Asked Questions About Royal Icing Recipe
It’s natural to have questions when you’re relying on icing to hold up your entire holiday centerpiece! I’ve gathered the questions I hear most often from readers who are getting ready to make their **gingerbread house icing**. Getting the consistency just right for this specific job is key, whether you’re using it as **Edible Glue for Holiday Baking** or for pretty piping. Whether you need to get in touch with me or just want to learn more about my standards, you can always find my contact page.
Can I color this gingerbread house icing?
Oh, absolutely! Nothing says Christmas like colored snowdrifts and bright window trim! The trick for the best results with this **Royal Icing Recipe** is adding the color *after* you’ve hit those stiff, perfect peaks. I highly recommend using gel-based food coloring rather than liquid drops. Liquid messes with the precise water content we worked so hard to achieve. Just add a tiny dab of gel right at the end and mix it gently until it’s all one wonderful shade.
How long does this icing need to dry before decorating?
This is important! If you are using this icing for assembly—to glue the walls and roof together—you need patience. Seriously, I always let my houses sit for a full overnight rest before I even touch them again. We need that **Strong Icing for Building Gingerbread Houses** to set completely. However, if you’ve used a slightly softer batch just for decoration, it only needs about 30 minutes to an hour to crust over enough so you can pipe the next layer without smudging the first!
Estimated Nutritional Values for Gingerbread House Icing
Now, I always tell families that cooking should be about joy, not charts and graphs! But because so many of you ask about this specific **gingerbread house icing**, here are the basic estimates based on the recipe for a serving size of 1/4 cup. Remember, these numbers—like my baking advice—are based on using standard ingredients and sticking precisely to the recipe provided. Everything here is just sweet sugar and binding agents, of course, so enjoy it responsibly!
- Calories: 200
- Total Fat: 0g
- Carbohydrates: 50g (Sugar: 50g)
- Protein: 1g
This is just a general guide, sweet friends, so don’t let complicated numbers take the fun out of your holiday baking!
Share Your Holiday Baking Creations
Seeing your incredible gingerbread masterpieces is truly the best part of my holiday season! If this **gingerbread house icing** held your creation steady and looked beautiful while doing it, please let me know. Hearing about your success encourages me so much. Take a moment to leave a star rating below, and don’t be shy about sharing photos of your sturdy, decorated houses. If you ever need privacy reassurance about sharing your photos, you can review my privacy policy right here.
PrintThe Best Strong Royal Icing for Gingerbread House Glue and Decoration
Make sturdy gingerbread houses using this reliable royal icing recipe. It works perfectly as edible glue for assembly and pipes well for detailed holiday decorating.
- Prep Time: 15 min
- Cook Time: 0 min
- Total Time: 15 min
- Yield: Enough icing for one large gingerbread house
- Category: Holiday Baking
- Method: Mixing/Beating
- Cuisine: American
- Diet: Vegetarian
Ingredients
- 4 large egg whites (or 4 tablespoons meringue powder)
- 1 teaspoon vanilla extract
- 1/2 teaspoon lemon extract (optional)
- 4 cups confectioners’ sugar (powdered sugar), sifted
- 1/4 teaspoon cream of tartar (if using egg whites)
Instructions
- If using egg whites, place them in a clean, grease-free mixing bowl. Add the cream of tartar. Beat on medium speed until soft peaks form. If using meringue powder, combine it with 1/2 cup of warm water and let it sit for 5 minutes before proceeding to the next step.
- Add the vanilla and lemon extracts (if using) to the egg whites or meringue mixture. Beat briefly to combine.
- Gradually add the sifted confectioners’ sugar, one cup at a time, beating well after each addition. Start on low speed to prevent the sugar from flying out, then increase to medium-high.
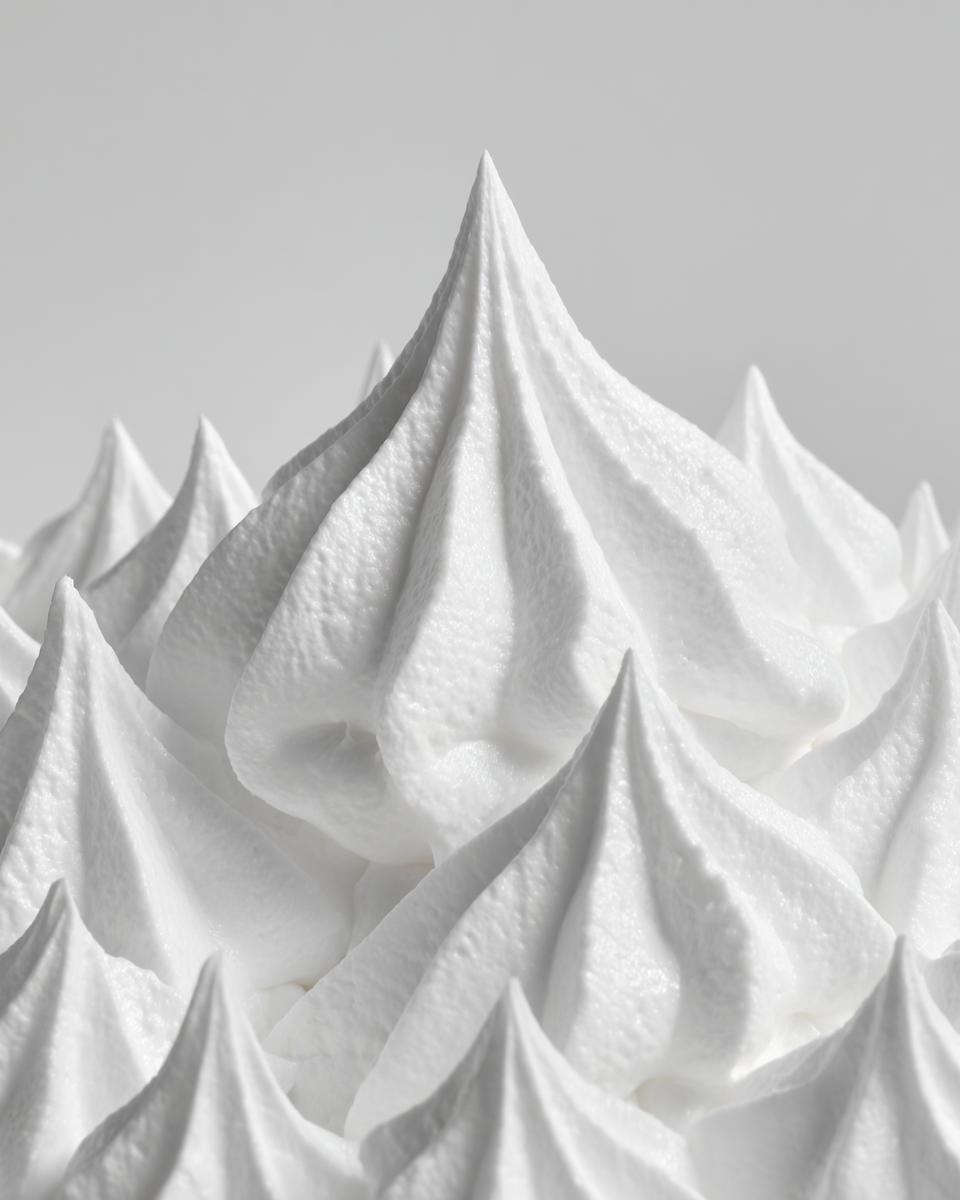
- Beat the icing on medium-high speed for 5 to 7 minutes until it is very stiff, glossy, and holds stiff peaks. This is the consistency you need for strong gingerbread house glue.
- To test the consistency: Lift the beaters; the icing should form stiff peaks that do not droop.
- For building the house, use the icing immediately. For decorating, if the icing is too stiff, add a few drops of water at a time until you reach a pipeable consistency. If it is too thin, add more sifted confectioners’ sugar, one tablespoon at a time.
- Use immediately for assembly. For decorating, transfer the desired amount to piping bags fitted with tips.
- Allow the assembled house to dry completely, usually overnight, before adding final decorations.
Notes
- For the strongest ‘gingerbread house glue,’ keep the icing very stiff—thicker than what you would use for simple cookie borders.
- If you prefer not to use raw egg whites, meringue powder provides a safe, reliable alternative for this sturdy royal icing recipe.
- This icing dries hard and fast, which is essential for holding walls and roofs together.
- To store leftover icing, press plastic wrap directly onto the surface of the icing in an airtight container to prevent a crust from forming. Store in the refrigerator for up to one week.
Nutrition
- Serving Size: 1/4 cup
- Calories: 200
- Sugar: 50g
- Sodium: 5mg
- Fat: 0g
- Saturated Fat: 0g
- Unsaturated Fat: 0g
- Trans Fat: 0g
- Carbohydrates: 50g
- Fiber: 0g
- Protein: 1g
- Cholesterol: 0mg