
Oh, summer’s bounty! There is just nothing better than capturing that bright, sweet-tart burst of fresh plums before the season slips away from us. If you’ve been wanting to try your hand at preserving fruit, this is your moment. I’m sharing my absolute favorite, super reliable **homemade plum jam recipe**. We’re keeping it easy here—this is a stovetop version that requires absolutely no added pectin! As someone who grew up watching my family can vegetables every fall in the Midwest, I learned early on that good food doesn’t need a dozen complicated steps. This quick **plum jam** delivers that deep, homemade flavor you love in under an hour. Trust me; you’ll want to save this method. You can always find more about my simple kitchen philosophy over on my About page!
- Why This Easy No Pectin Plum Jam Recipe Works Best
- Gathering Ingredients for Your Plum Jam
- How to Make Plum Jam From Scratch: Step-by-Step Instructions
- Canning Plums Safely: Water Bath Processing Tips
- Tips for the Best Sweet and Tangy Plum Jam
- Storing Your Homemade Plum Jam
- Serving Suggestions for Your Quick Plum Preserve
- Frequently Asked Questions About Making Plum Jam
- Estimated Nutritional Data for Plum Jam
Why This Easy No Pectin Plum Jam Recipe Works Best
I know what you’re thinking: “Jam making takes all day!” But that’s why I love this formula. My goal for you is success without spending your entire afternoon chained to the stove. This simple approach turns beautiful plums into finished **plum jam** faster than you can make a grocery list for next week.
- It’s incredibly fast! We are talking about having this jam processed or ready for the fridge in under an hour total time. Say goodbye to long simmering sessions.
- It uses just three core ingredients, proving that fresh fruit flavor is king. No weird stabilizers needed here!
- It’s practically idiot-proof for beginners looking to start **canning plums**.
Quick Cooking Time for Homemade Plum Jam
Honestly, most of the time when you see a recipe promising quick results, they sneak in a packet of pectin. Not here! Because we rely on the fruit’s natural setting power, the active cooking time is short. Once the mixture hits that rolling boil, it’s just a matter of minutes before we get that beautiful, thick texture. It truly is a wonderful **quick plum preserve**.
The Secret to Great Plum Jam Without Pectin
The magic in this **no pectin plum jam** isn’t just luck; it’s science! Ripe plums naturally carry enough pectin, especially their skins, to get the job done. We just need a little boost from the acidity of the lemon juice, and then we have to cook it long enough for the sugar and water content to concentrate properly. Hitting that 220 degrees Fahrenheit mark is your golden ticket to a perfectly set jam every single time.
Gathering Ingredients for Your Plum Jam
When making any good **plum jam**, the quality of your fruit dictates 90% of the final result. Since this recipe uses so few ingredients—we’re keeping it honest and simple—you really need to pick the best plums you can find. We rely totally on those gorgeous fruits, the sugar to preserve them, and a splash of lemon acid to help bring everything together beautifully.
Here’s what you’ll need for about four half-pint jars of spreadable goodness:
- 2 lbs of ripe plums, make sure you pit them and slice them in half.
- 3 cups of plain granulated sugar—no fancy substitutions here!
- 1 tablespoon of fresh lemon juice—this is important!
Ingredient Notes and Substitutions for Plum Jam
If you use deep red or purple plums, your **plum jam** will have that classic jewel tone. Yellow plums still work great, but you’ll get a lighter, almost amber-colored spread. If you want to mix in those spices I mentioned in the notes, now is the time! Toss in half a teaspoon of cinnamon or a tiny bit of vanilla when you add the lemon juice. It smells heavenly!
And please, make sure those plums are ripe but still firm. Mushy plums turn into soup quickly, and we want a nice set!
How to Make Plum Jam From Scratch: Step-by-Step Instructions
Alright, time to get messy! Turning those chopped plums into actual spreadable **plum jam** is straightforward, but the timing is everything, especially since we aren’t using any added pectin to cheat our way to thickness. Follow these steps closely, and you’ll have brilliant jars ready for gifting or slathering on toast before you know it. This entire process, not counting the initial soak time, moves pretty quickly.
Preparing the Fruit and Sugar Soak
The very first thing you must do is give the sugar time to work its magic. Don’t skip this waiting period, or you’ll end up with burnt sugar splattering on your nice clean pot later! Just combine your pitted and halved plums right in a big, heavy-bottomed pot with all 3 cups of sugar. Then, you walk away. I mean it—let it sit on the counter for at least a full hour, or sometimes even longer if I’m running errands. That time allows the sugar to literally pull all the lovely juice right out of the fruit.
Cooking to the Setting Point for No Pectin Plum Jam
Once that fruit is juicy, put the pot over medium-high heat. You’ll stir it occasionally until it bursts into a full, rolling boil—the kind of boil that doesn’t break when you stir it. Now, toss in the tablespoon of lemon juice. This is where the thermometer comes in handy. You have to keep that heat steady and keep stirring frequently so the bottom doesn’t scorch. We need that temperature to climb steadily until it hits exactly 220 degrees Fahrenheit (104 degrees Celsius). That temperature confirms the sugar concentration is perfect for your **no pectin plum jam** to set up nicely.
If you don’t have a thermometer, you’ll boil for about 20 to 30 minutes after reaching the boil, but honestly, the thermometer is your best friend when canning!
Testing the Set and Jarring Your Plum Jam
The moment you hit that temperature, you must test the set. Take the pot off the heat right away. To perform the wrinkle test, which I swear by, put a tiny bit of jam onto a plate you chilled in the freezer for a minute. Pop it back for 60 seconds. If you poke that little spoonful and the surface wrinkles, great! You are done cooking the jam. If it runs, put the pot back on low heat for five more minutes and try again.
Before jarring, use a spoon to gently skim off any foamy bubbles that formed on the top—that keeps your final **homemade plum jam recipe** looking professional. Then, ladle the hot jam into your sterilized jars. Wipe the rims until they are spotless, leave about 1/4 inch of space at the top (that “headspace”), and seal them up! If you’re water bath canning, make sure you check out the process details for canning salsa safely, the rules for processing time are very similar.
Canning Plums Safely: Water Bath Processing Tips
Now that you have that perfect consistency in your **plum jam**, we need to tuck it away safely for later enjoyment. If you’re planning to keep this jam on the counter or in the pantry for months, processing it in a boiling water bath is a must. Remember, this is an old skill, and safety is always the most important part of preservation, especially for us **beginner canning recipes** folks!
Get your big canning pot ready with the rack inside, and bring that water to a gentle simmer before you even begin filling the jars. Once your hot jam is sealed in sterilized jars with that 1/4 inch headspace, carefully lower them into the simmering water. Process your jars for exactly 10 minutes. Now, I’m from the Midwest, but if you live way up high in the mountains, you have to remember to add a little extra processing time for safety!
Tips for the Best Sweet and Tangy Plum Jam
Getting that perfect balance of sweet and tartness in this **plum jam** comes down to a few little secrets I’ve learned over the years of working with seasonal fruit. You want that bright flavor to shine through without becoming overly sharp or too sugary. If you decide to go the spice route, like some folks I know who love a little warmth, you can check out how other cooks add warming notes to their preserves, but honestly, the base recipe lets the plums sing loudest.
Sometimes, when I’m dealing with a giant haul of plums that I just can’t cook right away, I’ll even make a batch of plum butter or just freeze the fruit first. But for the best result, we always stick to peak ripeness.
Using Ripe Plums for Natural Sweetness
This is non-negotiable for a great **simple fruit preserve**: the riper the plum, the less added sugar you really need, and the better your final *no pectin plum jam* will taste. We are relying on those natural sugars to concentrate with the sugar we add. If your plums feel rock hard, they are underripe, and your jam might seem too sour or need an extra long boil just to break them down. Look for plums that yield gently when you press them—that’s peak flavor ready to be jarred!
Storing Your Homemade Plum Jam
Once you’ve gone through all the effort to make this gorgeous **plum jam**, you want to make sure it stays perfect, right? Storage is easy, but it depends on whether you completed the water bath canning step. If you can them properly, they’ll sit on your pantry shelf for a year, totally safe and delicious!
If you made a smaller batch and decided to try the **refrigerator plum jam** route—which is perfect for testing flavors or for using quickly—you need to store it in a sealed container in the fridge. It stays fresh for about three weeks that way. I love making a small batch just for immediate topping on my overnight oats!
Serving Suggestions for Your Quick Plum Preserve
So, you’ve got jars cooling on the counter—now what? The best part about this **quick plum preserve** is how versatile it is beyond just toast! That bright, sweet-and-tangy flavor we worked hard to achieve pairs beautifully with so many things. I always make an extra jar just for stirring into plain Greek yogurt for a morning snack. It’s heavenly over biscuits, too. If you’re looking for ways to use up more of your morning fixings, I’ve gathered some of my favorite easy breakfast recipes!
Frequently Asked Questions About Making Plum Jam
I know when you’re reading a new **homemade plum jam recipe**, you always end up with a few last-minute questions spinning in your head. That’s totally normal! Canning and preserving can seem intimidating, but I promise, this **plum jam** recipe is straightforward. Let’s tackle the ones I hear most often when folks start reaching for their preserving pots!
Do I have to peel the plums for this plum jam recipe?
Nope! Don’t worry about peeling those plums at all. The skins are actually your friends here! They hold a lot of the natural pectin that helps this **no pectin plum jam** set up nicely, and frankly, they give the jam that gorgeous, deep color we are looking for. Just wash them, pit them, and chop them up. The skins soften beautifully during the boil.
How long does this refrigerator plum jam last?
This is a great question, especially if you just made a small batch and didn’t process the jars in a water bath. If you are just keeping this as **refrigerator plum jam** (meaning you capped the jar but didn’t seal it through processing), you should plan to eat it within about three weeks. Make sure it stays tucked away in the coldest part of your fridge and always use a clean spoon when dipping in!
If you have any other questions about tweaking or storing, feel free to reach out to me through my Contact page!
Estimated Nutritional Data for Plum Jam
When you make **plum jam** at home, things can look a little different nutritionally depending on your sugar choice and how much liquid evaporates, but here are the estimates from our base recipe. For a 2-tablespoon serving, expect about 90 calories and 23 grams of sugar. Remember, since this recipe relies on natural fruit and cane sugar, these values are just guiding numbers! They can certainly vary based on the exact ripeness of your fruit and how concentrated your final batch gets.
PrintEasy No Pectin Plum Jam
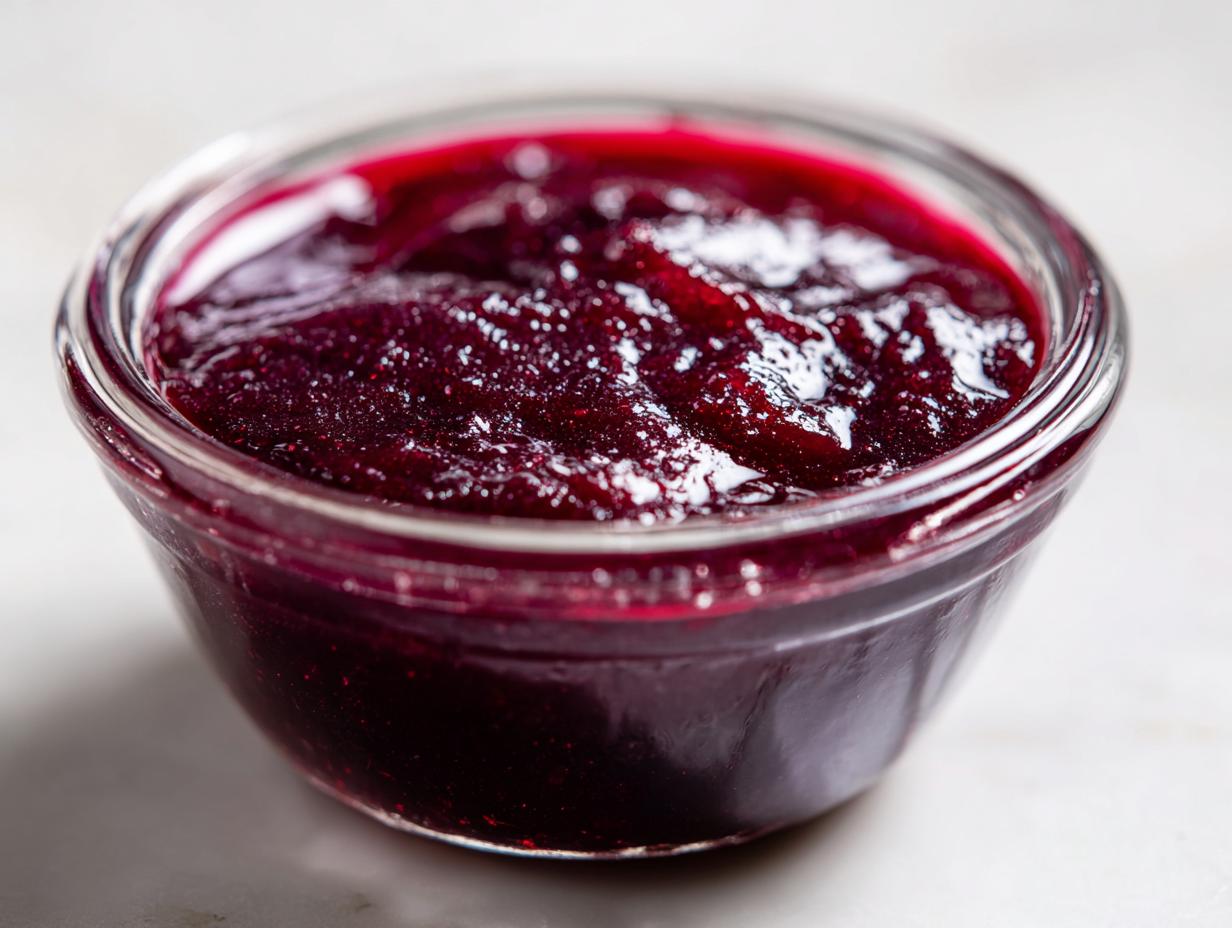
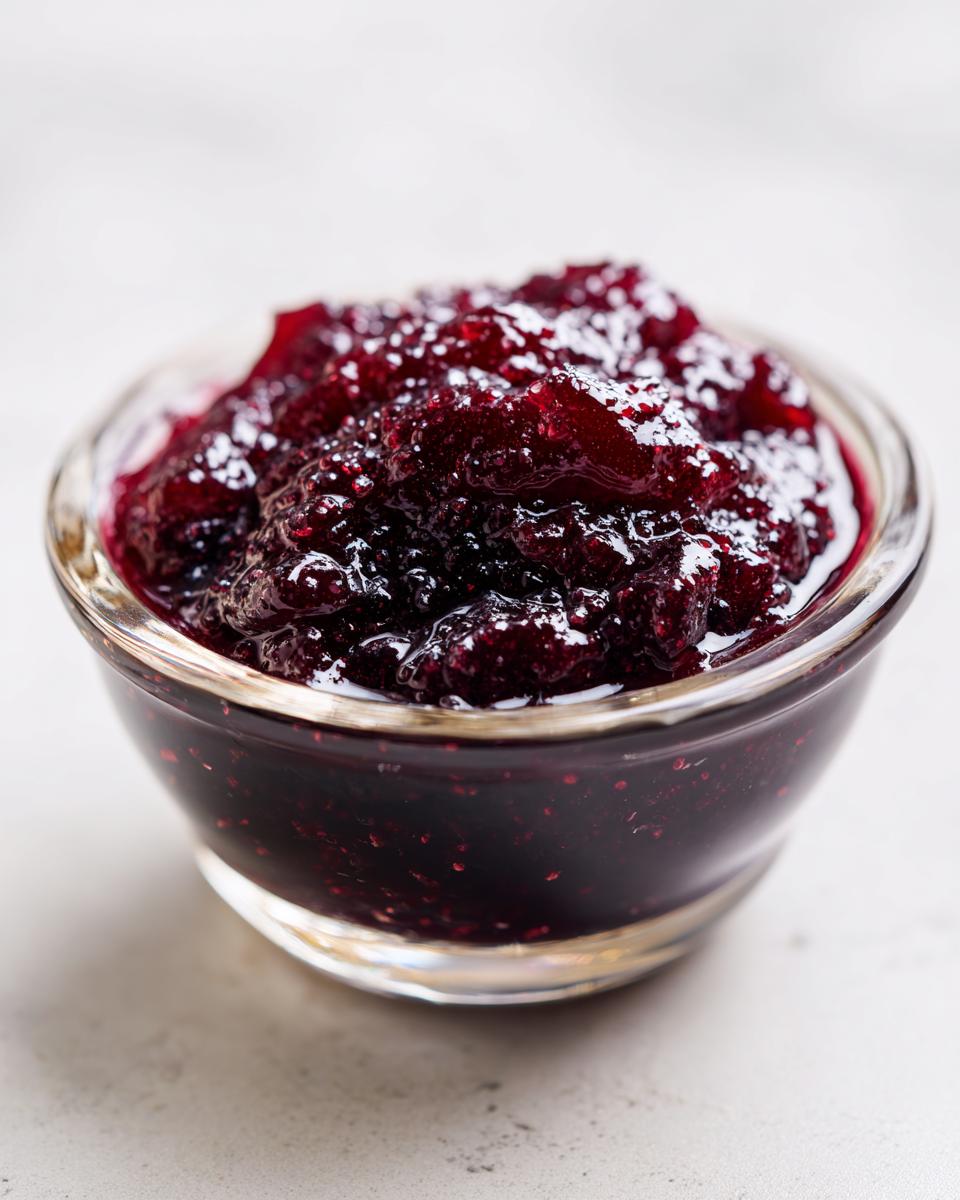
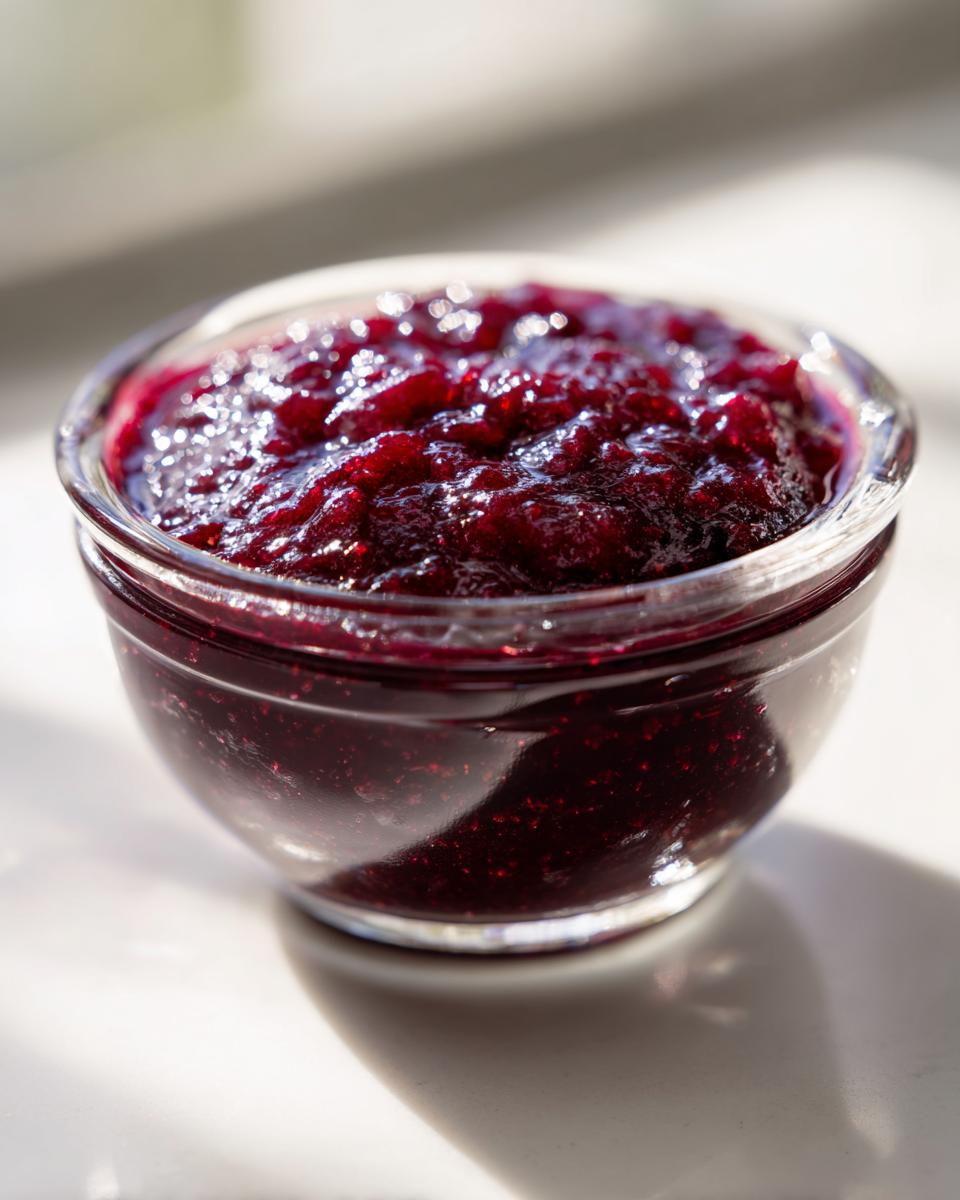
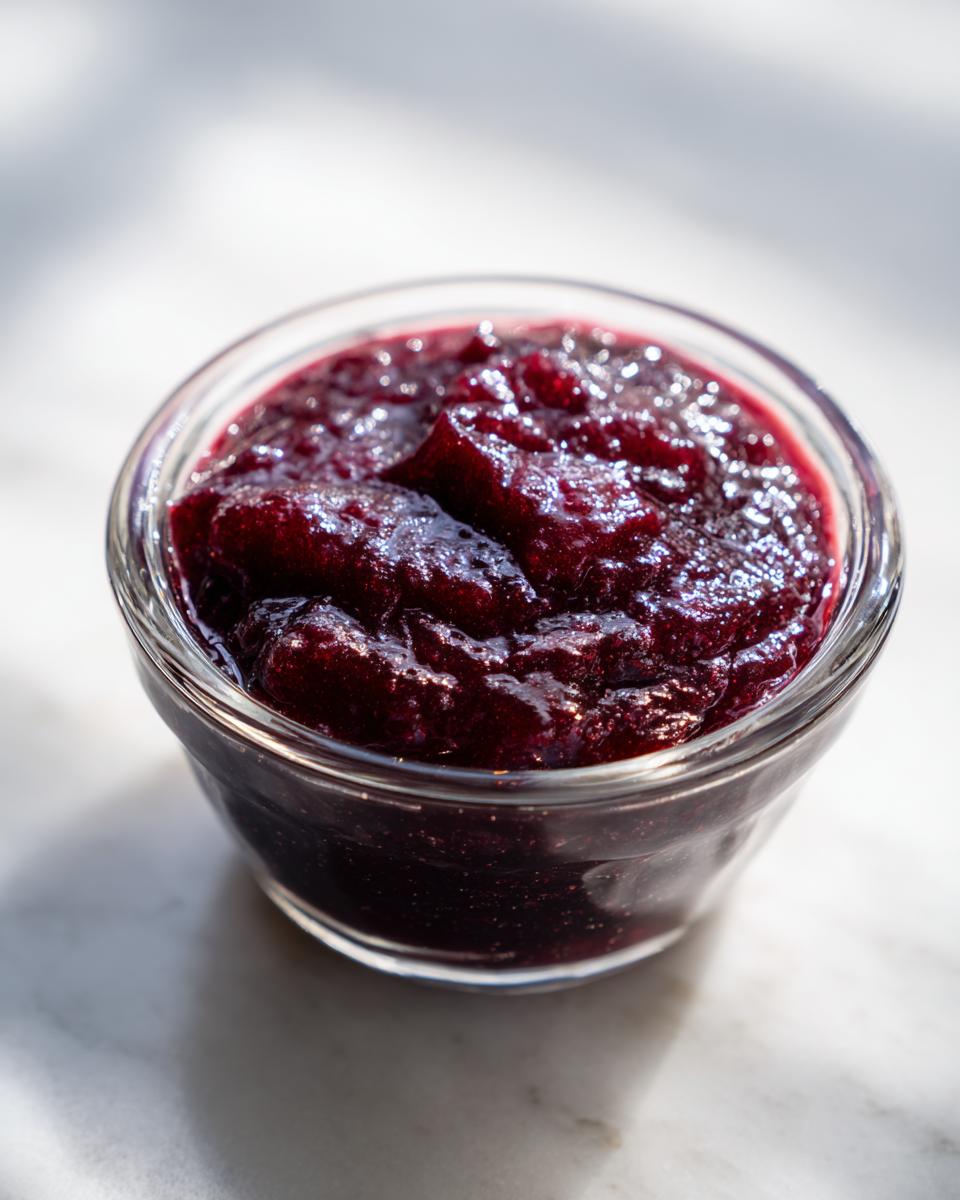
Make this simple homemade plum jam using ripe plums, sugar, and lemon juice. This recipe requires no added pectin and cooks quickly on the stovetop, resulting in a bright, flavorful spread perfect for toast or gifts.
- Prep Time: 15 min
- Cook Time: 35 min
- Total Time: 50 min
- Yield: About 4 half-pint jars 1x
- Category: Preserves
- Method: Stovetop Cooking
- Cuisine: American
- Diet: Vegetarian
Ingredients
- 2 lbs ripe plums, pitted and halved
- 3 cups granulated sugar
- 1 tablespoon fresh lemon juice
Instructions
- Combine the plums and sugar in a large, heavy-bottomed pot. Let the mixture sit for at least 1 hour, or until the sugar dissolves and the plums release their juices.
- Place the pot over medium-high heat. Stir occasionally until the mixture reaches a full, rolling boil that cannot be stirred down.
- Add the lemon juice. Continue to boil, stirring frequently to prevent scorching on the bottom of the pot.
- Use a candy thermometer to monitor the temperature. Cook until the jam reaches 220 degrees Fahrenheit (104 degrees Celsius). This usually takes about 20 to 30 minutes after reaching a boil.
- Test for set: Remove the pot from the heat. Spoon a small amount of jam onto a chilled plate. Return the plate to the freezer for 1 minute. Push the jam with your finger; if the surface wrinkles, the jam is set. If it is still runny, return the pot to the heat and cook for another 5 minutes, then test again.
- Skim off any foam from the surface using a spoon.
- Ladle the hot jam into sterilized jars, leaving 1/4 inch headspace. Wipe the rims clean.
- Process the jars in a boiling water bath canner for 10 minutes, adjusting for altitude, or store the jam in the refrigerator for short-term use.
Notes
- For a spiced flavor, add 1/2 teaspoon of ground cinnamon or 1/4 teaspoon of vanilla extract along with the lemon juice.
- If you prefer a smoother jam, you can mash the plums slightly before cooking or use an immersion blender briefly after the jam reaches temperature, before skimming foam.
- This recipe yields refrigerator jam if you skip the water bath canning step.
Nutrition
- Serving Size: 2 tablespoons
- Calories: 90
- Sugar: 23g
- Sodium: 2mg
- Fat: 0g
- Saturated Fat: 0g
- Unsaturated Fat: 0g
- Trans Fat: 0g
- Carbohydrates: 23g
- Fiber: 0.5g
- Protein: 0.3g
- Cholesterol: 0mg