

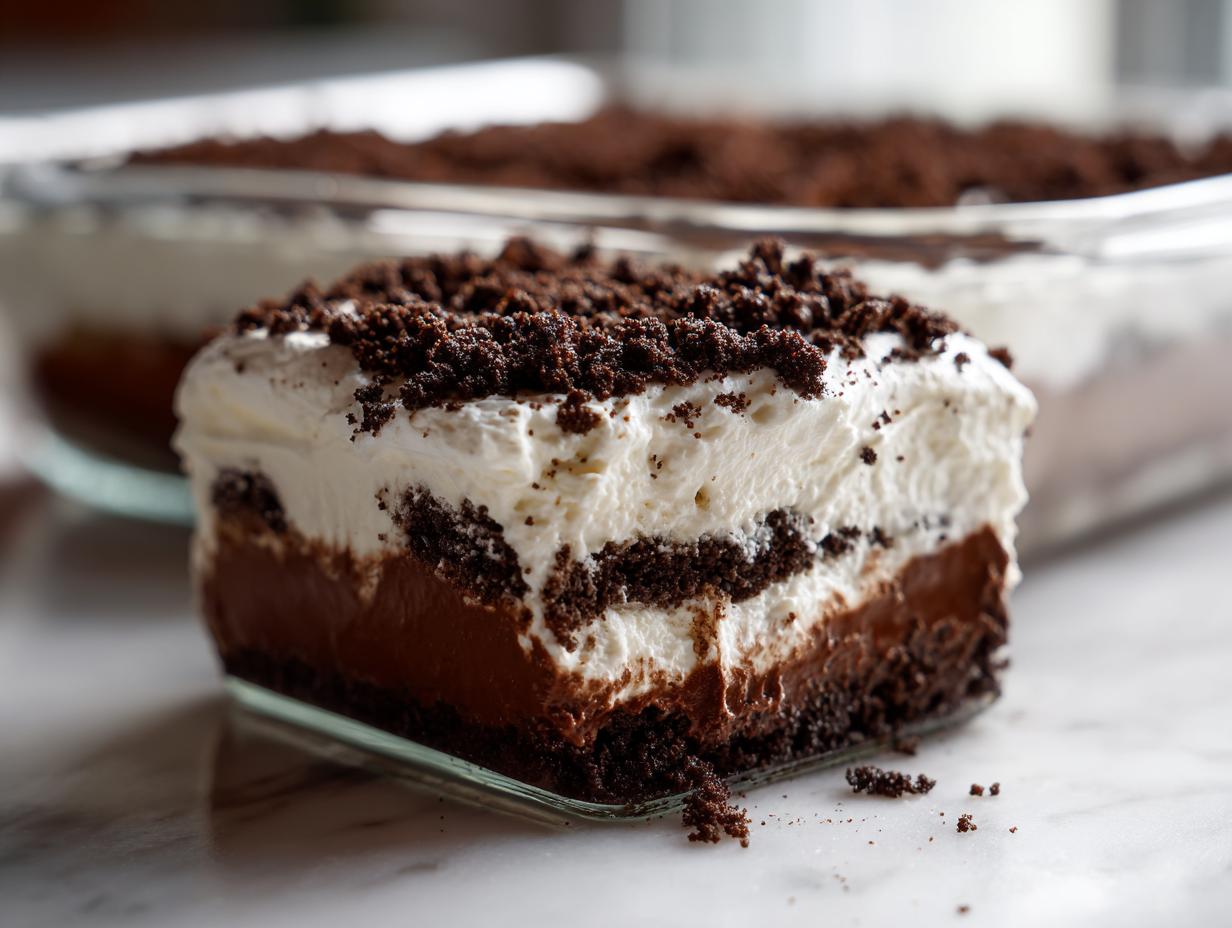
Oh, there is just something about those old-fashioned, nostalgic desserts that brings me right back to my elementary school classroom, only this time, there won’t be any pop quizzes! If you are looking for a treat that requires zero oven time, comes together quickly, and is guaranteed to make everyone—from my grandchildren to the neighbors—ask for the recipe, then you’ve found it. We’re talking about my Classic No-Bake Oreo Dirt Cake. Because I spent so many years teaching, I like to think I can explain things clearly, and I promise this layered dessert is foolproof. It’s the ultimate indulgence for a fun Family Night Treat, and it’s ready before you even know it. If you love simple sweets, you should definitely peek at my full collection of best dessert recipes!
- Why This Classic No Bake Dirt Cake Recipe Remains a Favorite (Best Dirt Cake Recipe)
- Gathering Ingredients for Your Oreo Dirt Cake Recipe
- Step-by-Step Instructions for the Easiest Dirt Pudding
- Tips for the Perfect Dirt Dessert with Gummy Worms Presentation
- Storage and Make Ahead Dirt Cake Secrets
- Frequently Asked Questions About Chocolate Dirt Dessert
- Nutritional Estimate for This Creamy Dessert
- Share Your Creations from Carla's Kitchen
Why This Classic No Bake Dirt Cake Recipe Remains a Favorite (Best Dirt Cake Recipe)
You know, deciding what to bring to a gathering can be stressful, but this Best Dirt Cake Recipe takes all the guesswork out. It’s my go-to when I need something that tastes rich but doesn’t require me to stand over a hot stove. Plus, it’s just fun! It always disappears first, whether it’s a church potluck or just a Tuesday evening.
- It cuts down on cleanup since it’s a perfect Make Ahead Dessert.
- It satisfies that craving for something ultra-creamy and chocolatey; try pairing it with my recipe for homemade chocolate pudding if you want to elevate it!
- It’s instantly recognizable and sparks joy for everyone who grew up eating this kind of Nostalgic Dessert.
Quick Dessert Recipe Ready for Any Occasion
The hands-on time is truly minimal. We’re looking at about 25 minutes of active work, maximum! Because it’s completely no bake, you are free to focus on the rest of your meal prep. When you need an impressive yet simple Potluck Dessert Idea, this layered filling is always the answer.
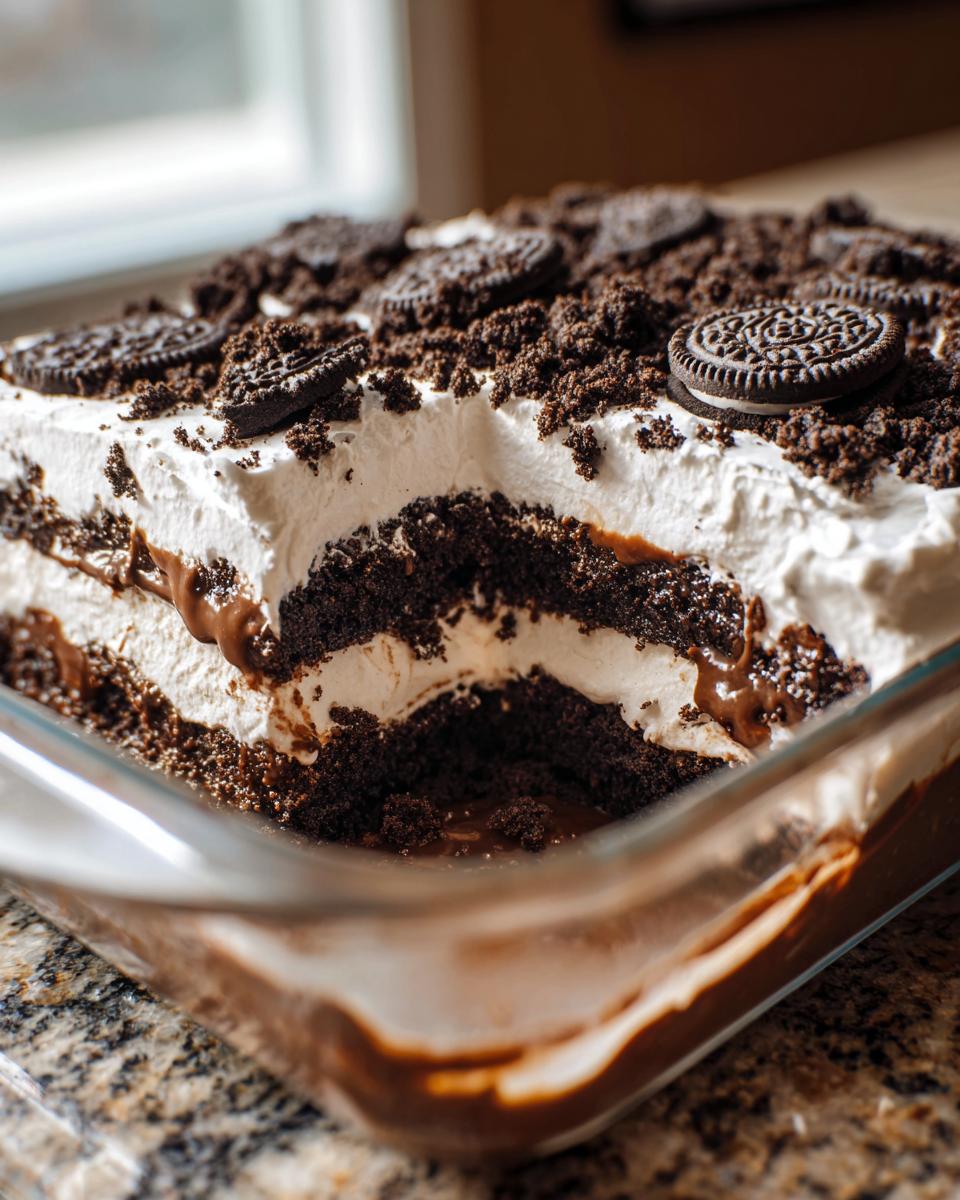
Simple Dirt Cake Layers for Easy Assembly
Don’t let the layers intimidate you! This isn’t fussy French pastry; this is good, honest American home baking. We alternate our crunchy ‘dirt’ layer with our smooth, creamy filling. Keeping the layers straightforward ensures that every single scoop you dig out has a perfect mix of texture.
Gathering Ingredients for Your Oreo Dirt Cake Recipe
Before we get to the fun of layering, we need to make sure our pantry is ready. This Oreo Dirt Cake Recipe relies on standard, accessible ingredients, but how we treat them really matters for that creamy texture we’re aiming for. Like any good baking project, preparation is key. You’ll need to have everything measured out and ready to go, especially making sure your butter and cream cheese have time to soften up—trust me on this, it saves so much trouble later!
- 1 package (14.3 ounces) Oreo cookies (yes, we use the whole cookie, feelings and all!)
- 1 package (8 ounces) cream cheese, softened
- 1 cup (2 sticks) unsalted butter, softened
- 1 cup confectioners’ sugar
- 1 container (12 ounces) frozen whipped topping, thawed (or the equivalent in fresh whipped cream)
- 2 packages (3.9 ounces each) instant chocolate pudding mix
- 3 cups cold milk
- Gummy worms, for decoration (optional, but you really should!)
Ingredient Notes and Substitutions for Creamy Chocolate Pudding Dessert
Now, let’s talk about those temperamental ingredients. The success of our Creamy Chocolate Pudding Dessert filling relies heavily on getting the first three items just right. If your cream cheese and butter are too cold, they won’t blend smoothly with the sugar, and you’ll end up with little lumps instead of that silky texture we want.
Make sure they are room temperature—soft enough that you can easily press a finger into them without resistance. If you prefer not to use the store-bought frozen whipped topping, that’s just fine by me! You can certainly substitute it with some great homemade cream, much like when I teach people how to make my easy 3-ingredient cookies that use a similar base. Just be sure that homemade whipped cream is well-whipped so it holds up when folded into the pudding mixture.
Step-by-Step Instructions for the Easiest Dirt Pudding
Alright, now for the fun part—putting this whole beautiful, messy thing together! Since this is a No Bake Dirt Cake, we don’t have to worry about oven times, but we do need to be thoughtful about how we mix our components. I’ve broken down the steps so you can see exactly how those creamy fillings meet that crunchy chocolate coating. Follow these steps carefully, and you’ll have the most delicious result!
- First, we tackle the cookies. Put all those luscious Oreos, yes, even the cream filling inside, into your food processor. Pulse it until you get fine crumbs. It should look like dark, rich soil! Set about 1 cup of those crumbs aside specifically to use for the very top layer later.
- Next up is that buttery, tangy layer. In a large bowl, beat your now-softened cream cheese, butter, and confectioners’ sugar until everything looks smooth as silk—no graininess allowed around my kitchen! Gently fold in *half* of your thawed whipped topping until it’s just mixed in.
- Now for the chocolate heart of the dish. In a separate bowl, whisk the two packages of instant chocolate pudding mix with the 3 cups of cold milk. You need to whisk vigorously for about two minutes until it starts to look thick. Let it sit for five minutes so it can really firm up properly.
- We bring the creaminess back in! Gently fold the remaining half of the whipped topping into the thickened pudding mixture. You want to keep the air in there, so be gentle—don’t deflate all that fluff we just worked for!
- Now we build! Grab your trifle dish or your 9×13 pan. We start by spreading half of the remaining Oreo crumbs across the bottom. This is the foundation layer.
- Spoon half of your glorious chocolate pudding filling over those crumbs. Spread it out ever so gently so you don’t drag the dark crumbs upward into the white filling.
- Continue building: Add the rest of that rich chocolate pudding mixture right on top of the first filling layer.
- The final layer of ‘dirt’ goes on now! Sprinkle the rest of those reserved Oreo crumbs over the entire surface, covering every bit of the pudding so it looks ready for planting!
- Cover your dish really well—plastic wrap works well—and stick it in the refrigerator for a minimum of four hours. Honestly, if you can wait overnight, that’s even better. This chilling time is crucial for structure.
For a deeper dive into the techniques that make this a perfect no-bake option, you can check out my thoughts on making a silky chocolate mousse pie, because texture building is so important here.
Preparing the Crushed Oreo Dessert Base
When you are crushing those Oreos, pay close attention to the texture. You are aiming for the look of freshly turned earth, not dust! If the crumbs are pulverized down to powder, they tend to get too soggy when they sit against the filling. We want some slight texture there—a bit of crunch to contrast the creamy filling. If you don’t have a food processor, don’t fret! Just toss those whole cookies into a sturdy zip-top bag, seal it tightly, and take a rolling pin to them until they are broken down just right. This is the secret to a fantastic Crushed Oreo Dessert!
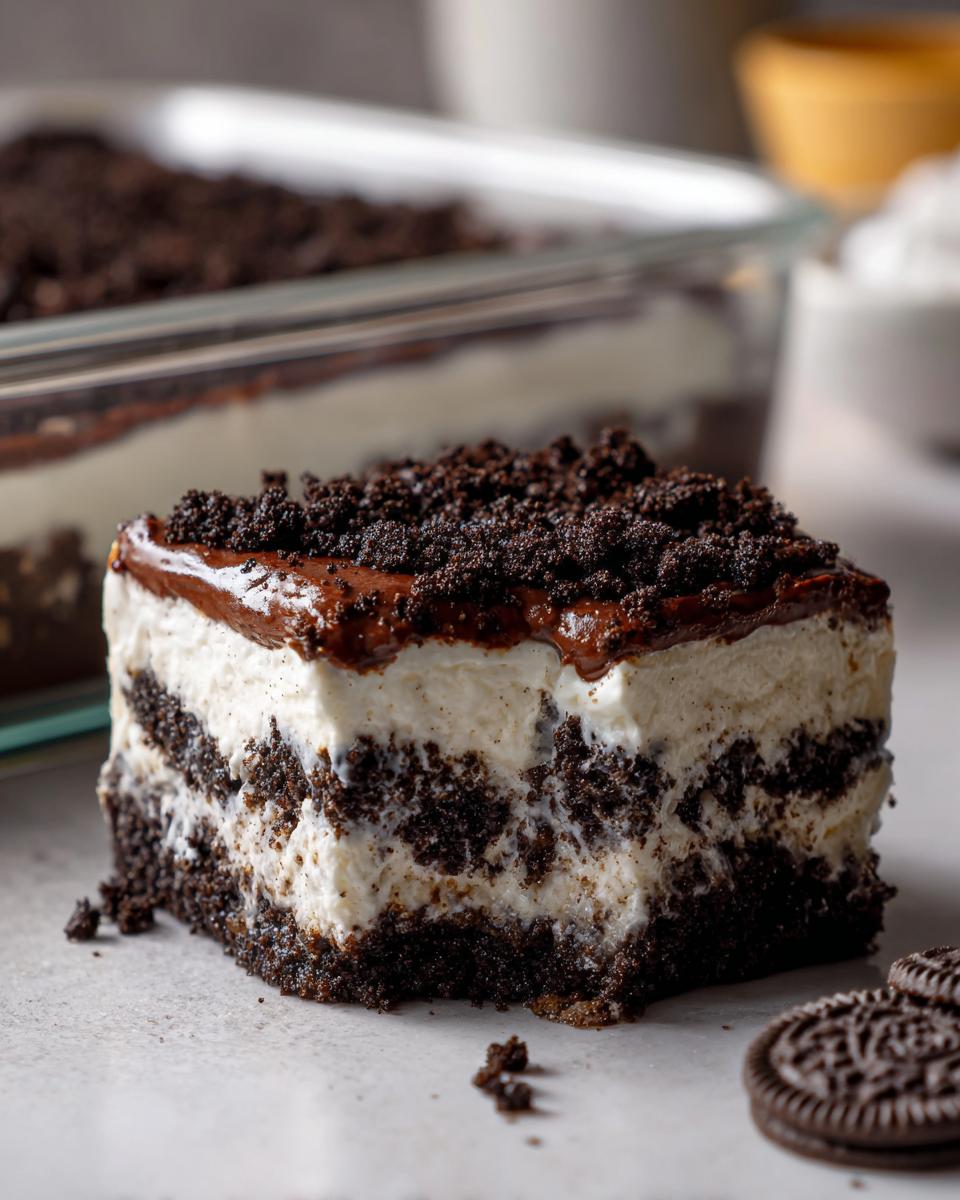
And for a fun peek at how others make their versions, I saw a lovely post over at Maria’s Recipes that uses a slightly different preparation approach than mine.
Assembling the Layered Oreo Dessert
This is where the magic happens, making it look just like its name suggests! After you’ve made your two main filling components (the cream cheese mixture and the pudding mixture), you bring the whipped topping into both, splitting it between them. This keeps everything light and fluffy. When you layer it in your dish—crumbs, then chocolate filling, then remaining chocolate filling, then more crumbs—please spread each addition delicately.
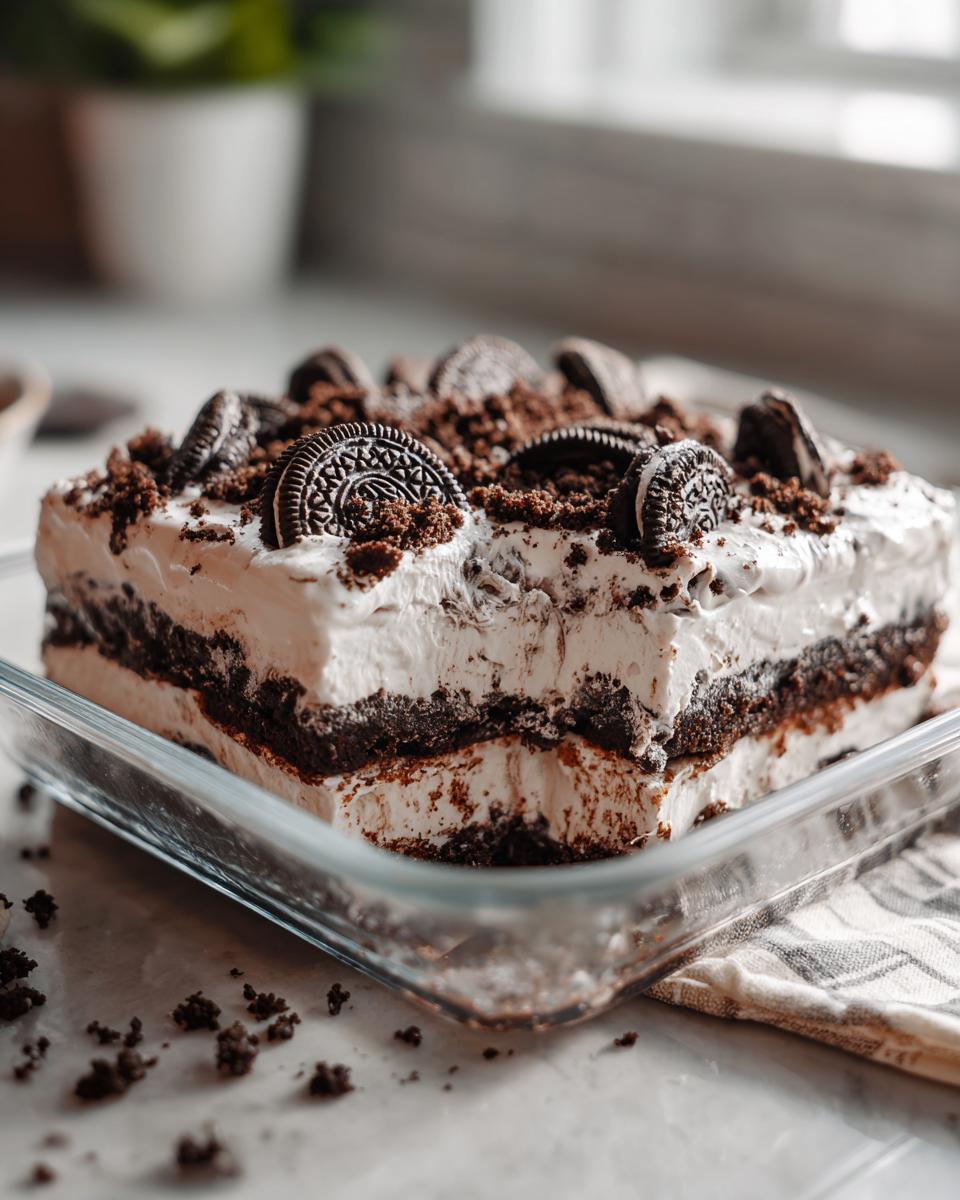
We are layering for visual appeal here, so we don’t want the layers bleeding into each other too much right away. Keep those lines clean! This care in assembly is what makes the final presentation of your Layered Oreo Dessert so impressive. When it’s done chilling, that top layer of crumbs will truly look like wonderful, tempting dirt.
Tips for the Perfect Dirt Dessert with Gummy Worms Presentation
The actual baking (or, in our case, the *no-baking*) is done, but presentation is half the fun with this dish! We want this to look as delightfully messy as a freshly dug garden patch. It’s the visual appeal that makes this so wonderful for children and parties alike—it’s just silly, and we need more silly desserts in our lives, don’t we?
To get that perfect ‘dirt’ look, make sure your reserved 1 cup of crushed Oreos is reserved until the very last minute before serving. If you put the topping on too early, it starts to absorb moisture from the pudding underneath and loses that beautiful, dry, crumbly texture.
And now, for the best part: the worms! Those delicious Gummy Worms are completely optional, but they turn this from a simple pudding dish into an event. I like to gently press a few of them into the top layer of crumbs right before I bring it out to the table. Have one worm peeking out of the side, and another looking like it’s trying to wriggle its way deeper in. Kids absolutely adore this touch!
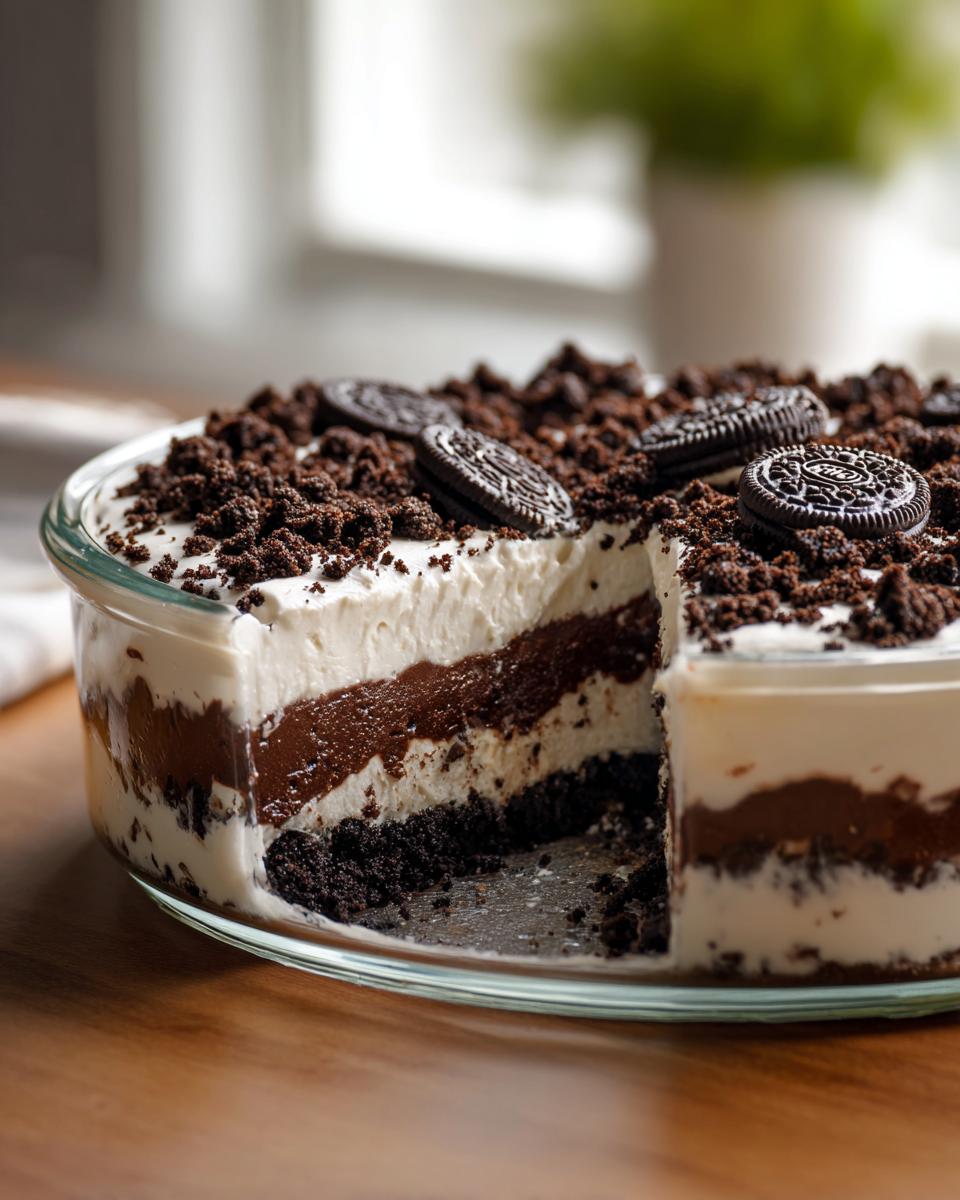
If you’re serving a crowd or planning to take this dessert somewhere easy, swapping out the large dish for individual servings is a great idea. You can easily make this delicious Dirt Cup Recipe by layering the ingredients right into small plastic cups or mason jars. This is fantastic for things like yard parties or just keeping portion control easy. You use the exact same layers, just scaled down!
If you’ve ever made my recipe for the best homemade rich creamy hot chocolate, you know I love cozy flavor combinations. While we stick mostly to chocolate and cream here, remember that presentation is all about showing off the contrast between the black crumbs and the pale, creamy filling layer peeking through the sides. Don’t forget to check out how others approach presentation over at The First Year Blog for even more visually fun ideas!
Storage and Make Ahead Dirt Cake Secrets
Now, I know you’re probably tempted to grab a spoon right after you dust that last layer of ‘dirt’ on top, but hear me out—you absolutely must resist for a few hours! This is where the patience I learned as a teacher really comes into play. Chilling is not optional here; it’s what transforms this mix of ingredients into a solid, sliceable, creamy casserole of goodness. This is truly the best part of being able to plan ahead for a Make Ahead Dessert.
The magic happens in the cold. We have creamy elements—the whipped topping and the cream cheese mixture—that need time to meld and firm up with the pudding. If you try to serve it too soon, the layers can slide around, and you’ll end up with a soupy mess instead of that beautiful structure you worked so hard to create.
My personal rule, which I learned from years of baking pies like my easy banana cream pie, is to let it sit for a minimum of four hours. But honestly, if you can cover it up and let it rest in the refrigerator overnight—say, for a full 24 hours—it sets up even better. When you chill it that long, the crumbs soften just *enough* without getting mushy, and the filling firms up perfectly. It becomes sturdy, yet that delightful creamy texture remains intact.
When you’re ready to serve the next day, just pull it out, stick in your gummy creatures if you haven’t already, and dig in! This easy quality makes it such a wonderful option for busy schedules. You can find some great pointers on setting times on posts like the one over at Cut, Cook, Taste, confirming that chilling is key to achieving that luscious, set texture.
Frequently Asked Questions About Chocolate Dirt Dessert
I always end up with so many questions when I try a new dessert for the first time, and I want to make sure you feel completely confident before you start crumbling those cookies! Since we already covered the core assembly, let’s tackle a few common things people ask me about this Chocolate Dirt Dessert. Remember, if you have tried many sweet recipes, like my easy peanut butter fudge, you know that small details make a huge difference!
Can I use homemade chocolate pudding instead of instant mix for this recipe?
That is a wonderful question! If you prefer making your chocolate pudding completely from scratch, you absolutely can, but you have to treat it with extra care since we are using whipped topping. Instant pudding sets up very quickly without needing to cook, which is part of why this is such a wonderfully Quick Dessert Recipe. If you use homemade pudding, you must allow it to cool completely—and I mean cool, probably needing an hour or two in the fridge—before you fold in any of that whipped topping.
If you fold warm pudding into the topping, the topping will deflate instantly, and your layers will be runny. We want that marvelous creaminess, not soupy pudding! Cooked pudding also sometimes needs more time to stiffen up before layering it on top of the shortbread base.
What are good serving suggestions for this dessert for parties?
This No Bake Dirt Cake is so flexible! While serving it straight from the 9×13 pan is traditional, I’ve found that having individual servings makes cleanup a breeze at big parties. You can certainly go the route of the Dirt Cup Recipe I mentioned earlier for absolute fuss-free serving.
Flavor-wise, this dessert is very rich, so it pairs beautifully with something bright or acidic to cut through the chocolate and cream. I love serving a small slice alongside a cup of strong black coffee, or maybe even a side of tart raspberries or sliced strawberries. The fresh fruit makes it feel a little less overwhelming and adds a lovely color contrast! It’s a definite winner for any Kid Friendly Desserts gathering because everyone gets their own little patch of ‘dirt’!
For more creative serving ideas and to see what others are doing with their layered sweets, you can always take a look at the wonderful ideas shared by Aliana’s Recipes regarding their take on the Oreo Dirt Cake.
Nutritional Estimate for This Creamy Dessert
Now, I know when we are making treats like this rich, creamy Oreo Dirt Cake Recipe, we aren’t really sitting down thinking about the exact balance of fats and carbs—we are thinking about how quickly we can get a serving before our grandkids beat us to it! But for those of you who like to keep track, I put together a little ballpark estimate for you based on the ingredients we used. Think of this as a helpful guide, not a strict scientific count. When I was a teacher, we always emphasized that homework corrections were for learning, not punishment, and nutritional guides are the same way!
These numbers are based on dividing the recipe into 12 generous servings, which is how I usually portion it out when I make it for a big crowd. As you know, the brands of Oreo cookies or the exact type of milk you use can change these numbers a bit. So please treat this as an estimate only, but it gives you a general idea of what’s in one good-sized scoop of this delicious goodness.
- Serving Size: 1 serving
- Calories: 450
- Sugar: 45g
- Sodium: 350mg
- Total Fat: 25g
- Saturated Fat: 15g
- Carbohydrates: 55g
- Protein: 5g
If you are serving this at a gathering, maybe pair a small slice with some fresh fruit to give folks a little break from the richness of the chocolate! For more fun recipes like this one, you can always check out the wonderful collection of ideas over at Desserts on a Dime.
Share Your Creations from Carla’s Kitchen
Well, that’s it! You’ve got my tried-and-true method for making the Best Dirt Cake Recipe, the one that always gets happily devoured at church socials and family celebrations. Now, the best part of sharing these recipes from my kitchen to yours is hearing from you wonderful home cooks!
I truly hope this easy, no-bake treat brings back some happy memories or creates some brand-new ones at your own table. Did you stick to the classic presentation, or did you go all out with extra gummy worms and maybe even some crushed peanuts on top? I’d just love to know! Please take a moment to leave a star rating right here on the page—it helps other cooks find reliable recipes like this one.
And if you snap a picture of your finished masterpiece, especially if you made the individual chocolate pudding cups, please share it on social media! Tag me so I can see the wonderful work you’ve done. It warms my heart more than fresh-baked bread to see my recipes being enjoyed.
If you ever have a question about the recipe, or maybe you want to tell me about a different twist you added, please don’t hesitate to reach out through my contact page. Happy scooping, everyone!
PrintClassic No-Bake Oreo Dirt Cake Recipe

Make this easy, creamy Oreo Dirt Cake, a nostalgic, no-bake dessert perfect for potlucks and family night treats. You layer rich chocolate pudding with whipped topping and crushed Oreos for a crowd-pleasing dish.
- Prep Time: 25 min
- Cook Time: 0 min
- Total Time: 4 hr 25 min
- Yield: 12 servings 1x
- Category: Dessert
- Method: No Bake
- Cuisine: American
- Diet: Vegetarian
Ingredients
- 1 package (14.3 ounces) Oreo cookies
- 1 package (8 ounces) cream cheese, softened
- 1 cup (2 sticks) unsalted butter, softened
- 1 cup confectioners’ sugar
- 1 container (12 ounces) frozen whipped topping, thawed (or equivalent homemade whipped cream)
- 2 packages (3.9 ounces each) instant chocolate pudding mix
- 3 cups cold milk
- Gummy worms, for decoration (optional)
Instructions
- Prepare the Oreo crumbs: Place all Oreo cookies, including the cream filling, into a food processor. Pulse until you have fine crumbs resembling dirt. Set aside about 1 cup of the crumbs for the top layer.
- Make the cream cheese layer: In a large bowl, beat the softened cream cheese, softened butter, and confectioners’ sugar together until the mixture is smooth and creamy. Fold in half of the thawed whipped topping until just combined.
- Make the pudding layer: In a separate bowl, whisk together the instant chocolate pudding mix and cold milk for about two minutes, until the mixture begins to thicken. Let it stand for five minutes.
- Combine the layers: Gently fold the remaining half of the whipped topping into the thickened chocolate pudding.
- Assemble the dirt cake: In a large trifle dish or 9×13 inch pan, create the first layer using half of the remaining Oreo crumbs. Spread evenly over the bottom.
- Add the filling: Spoon half of the chocolate pudding mixture over the crumb layer. Spread it gently to cover the base.
- Repeat the layers: Add the remaining chocolate pudding mixture on top of the first filling layer. Then, top that with the remaining Oreo crumbs, covering the entire surface to look like dirt.
- Chill: Cover the dish and refrigerate for at least four hours, or preferably overnight, to allow the layers to set properly.
- Decorate and serve: Before serving, press gummy worms into the top layer of crumbs for a fun presentation. Cut into servings.
Notes
- You can make this dessert in individual small cups (dirt cups) instead of one large dish for easy serving at parties.
- For a richer flavor, use dark chocolate instant pudding instead of regular chocolate pudding.
- If you do not have a food processor, place the Oreos in a large zip-top bag and crush them using a rolling pin.
- This make ahead dessert tastes best when chilled for a full 24 hours.
Nutrition
- Serving Size: 1 serving
- Calories: 450
- Sugar: 45
- Sodium: 350
- Fat: 25
- Saturated Fat: 15
- Unsaturated Fat: 10
- Trans Fat: 0.5
- Carbohydrates: 55
- Fiber: 2
- Protein: 5
- Cholesterol: 50