
Oh, I know those nights! You’re pulling a big pot of chili together, or maybe you’ve got a lovely stew simmering away, and you realize you need something warm and comforting on the side—but you certainly don’t have time to wait for yeast to bubble or dough to double. That’s why I want to share my absolute favorite shortcut—the Ultimate 3-Ingredient No-Yeast beer bread. It’s magic, truly. If you’re like me, you believe the very best food doesn’t need to be complicated; it just needs to taste like home. This recipe proves that when you have the right staples, you can mix, pour, and bake a delicious, crumbly loaf in under an hour. It’s the staple I turn to when the dinner table is waiting!
- Why This 3-Ingredient Beer Bread is Your New Favorite Quick Bread Recipe
- Gathering Ingredients for Your Simple Beer Bread
- How to Prepare the Easiest Beer Bread Instructions
- Tips for the Best Texture on Your Homemade Beer Bread
- Simple Variations for Savory Beer Bread
- Serving Suggestions for Your Warm Beer Bread
- Storage and Reheating Instructions for Leftover Beer Bread
- Frequently Asked Questions About Making Beer Bread
- Estimated Nutritional Data for This Beer Bread Recipe
Why This 3-Ingredient Beer Bread is Your New Favorite Quick Bread Recipe
If you’re searching for an easy homemade bread that practically makes itself, stop looking right now. This recipe is the definition of wonderful simplicity! We are talking about a quick bread recipe that requires zero rising time, zero kneading, and barely any measuring. Honestly, it’s the perfect baking adventure for beginners, which is why I love sharing it with my grandchildren, especially when they want to try a new quick bread recipe.
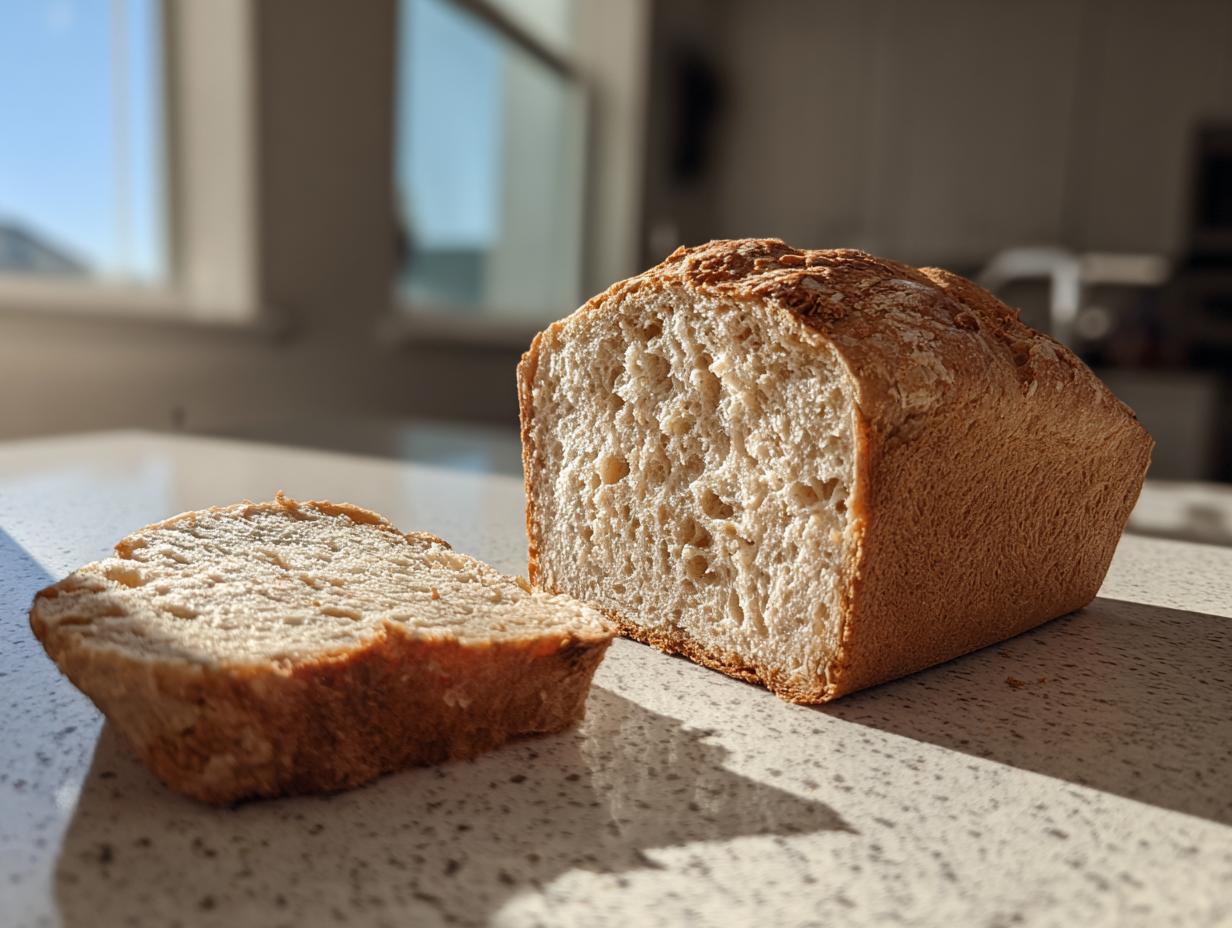
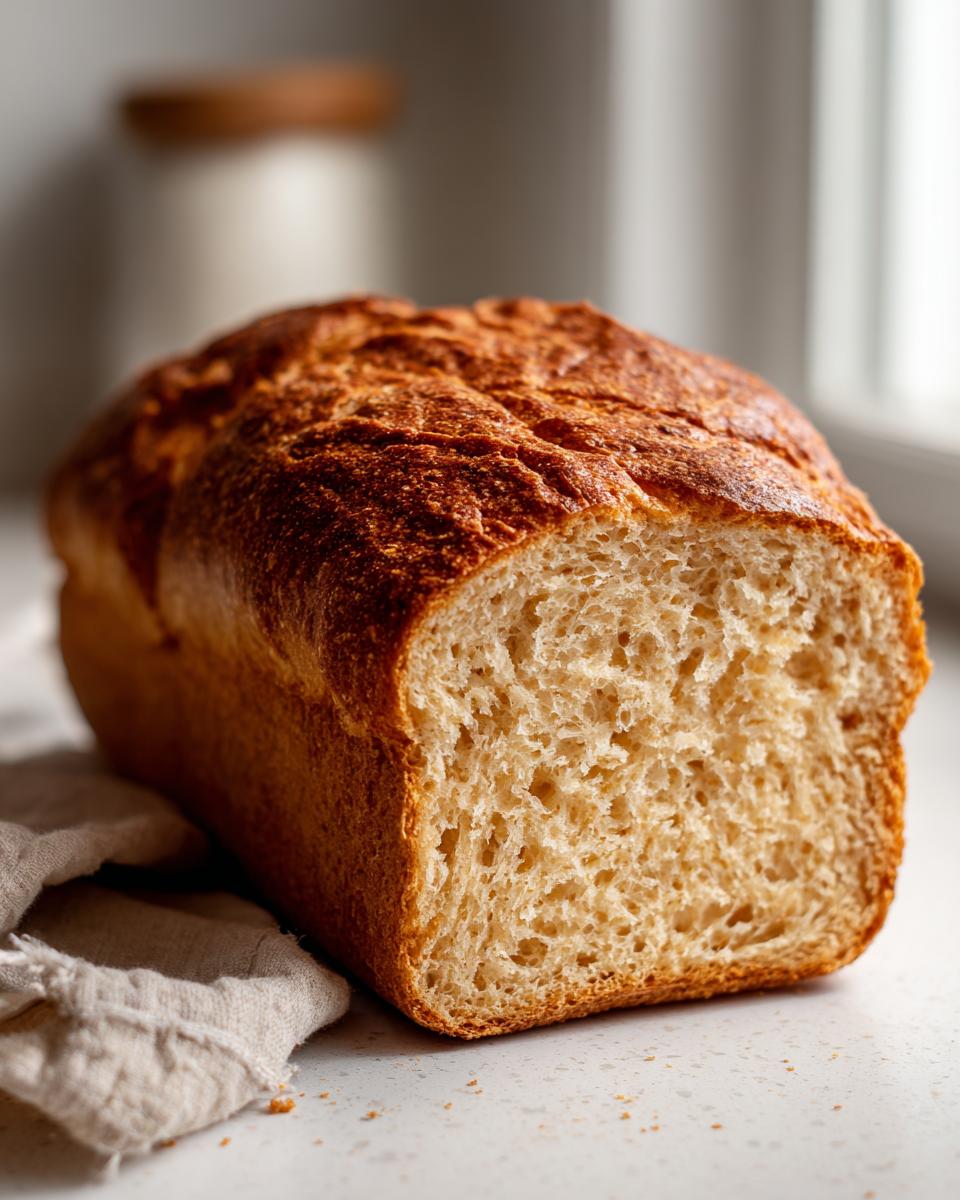
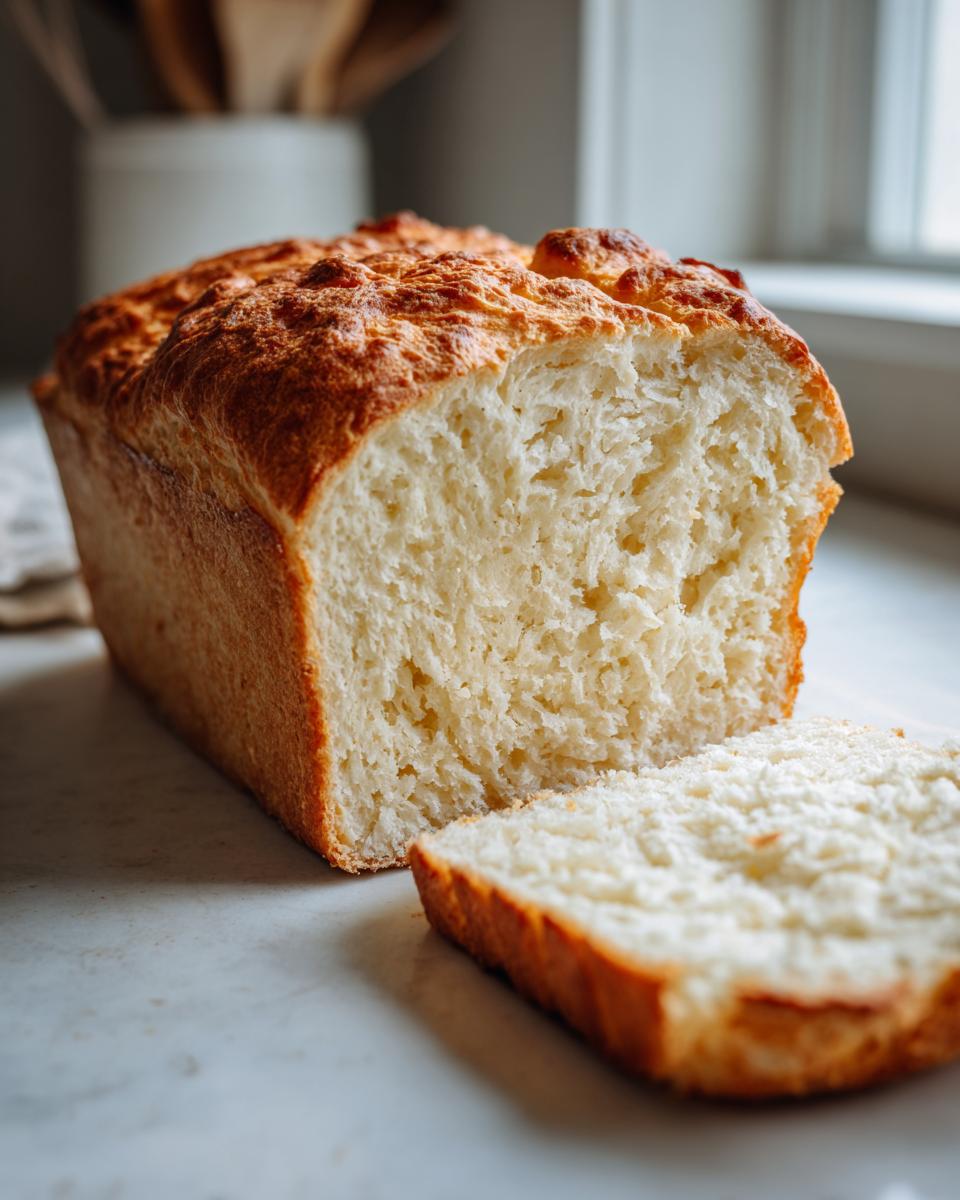
We rely on just three pantry staples to make a loaf that has that perfect, crisp brown crust we all crave, while keeping the inside wonderfully soft. It’s proof that you don’t need a long ingredient list to create real comfort food. Forget messy doughs; this 3 ingredient recipes approach means you’re talking about five minutes of prep time, tops. It’s my top recommendation when I need a fantastic bread for soup at the last minute.
The Magic of Baking Without Yeast
The secret to skipping the yeast and avoiding the wait is all in the beer you choose. That fizz, that lovely carbonation, is doing all the heavy lifting for us! Those bubbles get trapped while baking, giving the loaf the lift it needs. That’s the whole science behind this wonderful no yeast bread. It eliminates a whole step, making this an ideal beginner baking project that always turns out perfectly reliable. You get all the satisfying texture without any of the waiting!
Gathering Ingredients for Your Simple Beer Bread
When I say simple, I mean it! You only need three core ingredients, which is why I love calling this my ultimate 3 ingredient recipes centerpiece. If you count the optional topping, it bumps up to a glorious (and still easy!) 4 ingredient bread situation. Because this is a baking without yeast recipe, the quality and state of these few items really matter, so pay attention to how I describe them. Don’t fret if you don’t have fancy specialty flours; we are keeping this grounded in what you probably already have.
Ingredient Clarity and Preparation Notes
The most important detail is the flour—you absolutely must use self-rising flour. That is where our lift comes from, not yeast! Next, please fetch your beer and let it sit out just a bit. It needs to be at room temperature so that the carbonation interacts best with the flour when mixing. Avoid dark, super hoppy brews if you can. A simple, light lager or a pale ale works beautifully for this buttery bread recipe; they give great flavor without overwhelming everything.
If you choose to add that lovely, crisp topping, make sure your 4 tablespoons of unsalted butter are fully melted before you drizzle it over the top. This little bit of fat helps achieve that signature golden, slightly crackly crust everyone raves about in my beer bread!
How to Prepare the Easiest Beer Bread Instructions
Now for the fun part, the actual making! If you’ve ever felt intimidated by yeast or kneading? Forget all that worry. This is the definition of no knead bread. We aren’t developing gluten here; we are just mixing things gently until they come together. That’s it. Remember to start your prep by getting that oven warmed up immediately. We want everything hot right when this batter is ready to go into the pan, making sure those carbonation bubbles get to work right away.
First things first: get your oven set to 375 degrees Fahrenheit. While that’s heating up, grab your standard 9×5 inch loaf pan. I always take a little extra time here to grease it well—a good layer of butter or cooking spray—and then dust it lightly with flour. People always ask me if it’s worth the extra minute, and believe me, for a sweet/savory quick bread like this, it prevents sticking! Once that’s done, you’re ready for the mixing bowl. This whole section moves incredibly fast, which is why this is my go-to quick side dish.
Mixing the Beer Bread Batter: Avoid Overmixing
This is where you need to listen to me closely, dear baker. You combine your dry ingredients first—the self-rising flour and the sugar. Give those a quick whisk around just to make sure they are acquainted. Then, pour in the entire can of room-temperature beer. Remember, we want that fizz! Now, take a sturdy wooden spoon and stir. You are only stirring until you no longer see big dry streaks of flour. Stop stirring right then! I mean it. If you keep going, you squash all those lovely air bubbles the beer created, and you get a dense brick instead of fluffy beer bread. A few lumps in the batter are perfectly fine, maybe even necessary. Don’t stress over perfect smoothness here; just combine and transfer it to your prepared pan.
Baking Time and Testing for Doneness in Your Beer Bread
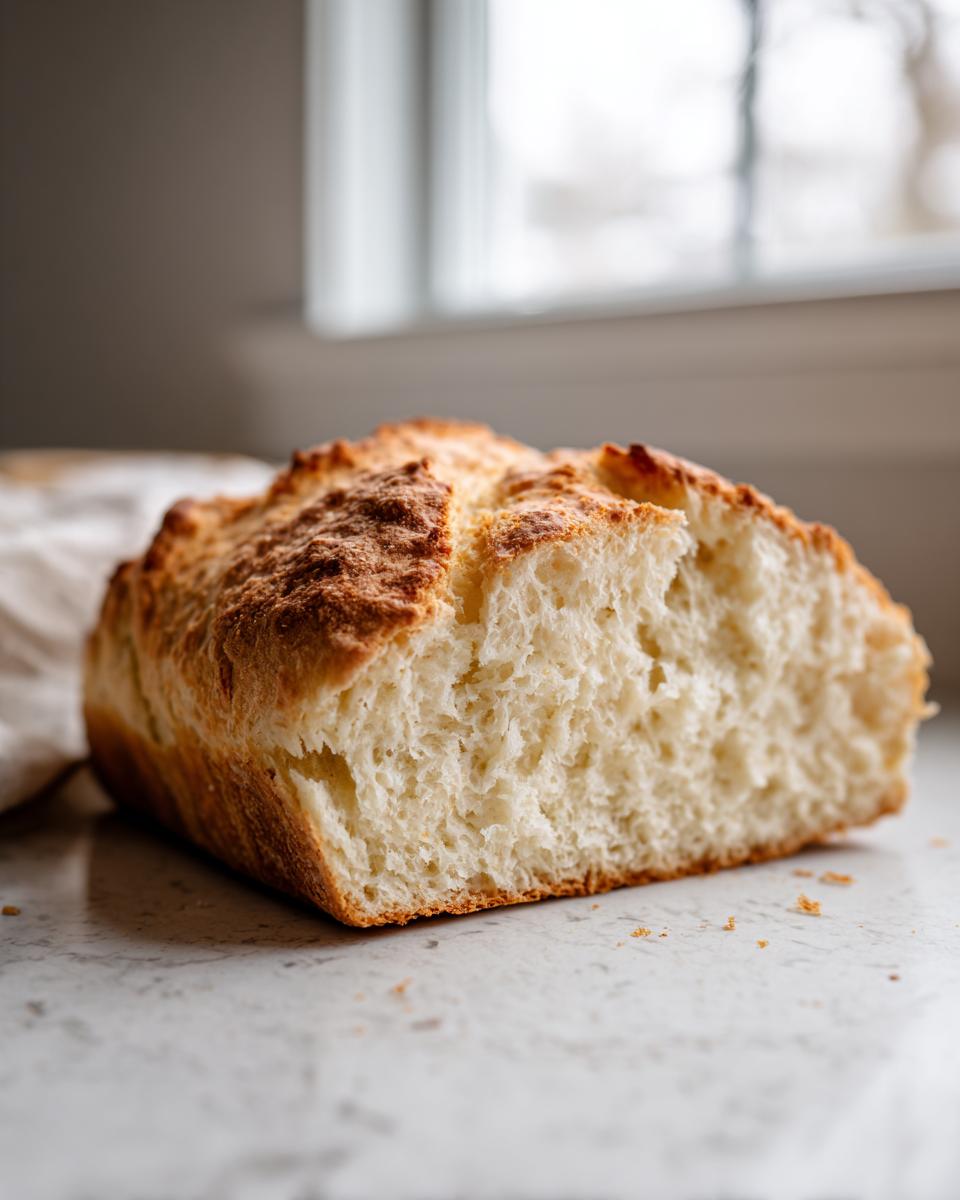
Once your batter is settled in the pan, drizzle that melted butter right over the top if you’re using it—it really adds a beautiful finish! Pop that pan into your preheated oven. It generally takes between 45 to 55 minutes to bake through. Keep an eye on it after the 40-minute mark. You are looking for a top that is beautifully deep golden brown. That color tells you the crust is setting up nicely. When you think it’s done, use a thin bamboo skewer or a toothpick and insert it right into the center. You want it to come out clean, or maybe with just a few moist crumbs clinging to it. If you pull out wet batter, give it another five minutes. Getting that timing right is key for a soft interior texture.
After you pull it out, give this beautiful loaf about 10 minutes to rest inside the pan. Seriously, patience is a virtue, even in easy homemade bread making! If you try to turn it out too soon, it might collapse a bit, and we certainly don’t want that. After that short rest, invert it onto a wire rack to fully cool down. While it’s tempting to slice right away, letting it cool slightly helps the steam distribute, giving you a better texture overall. For another great, no-fuss recipe, check out the method at Striped Spatula if you need another quick idea!
Tips for the Best Texture on Your Homemade Beer Bread
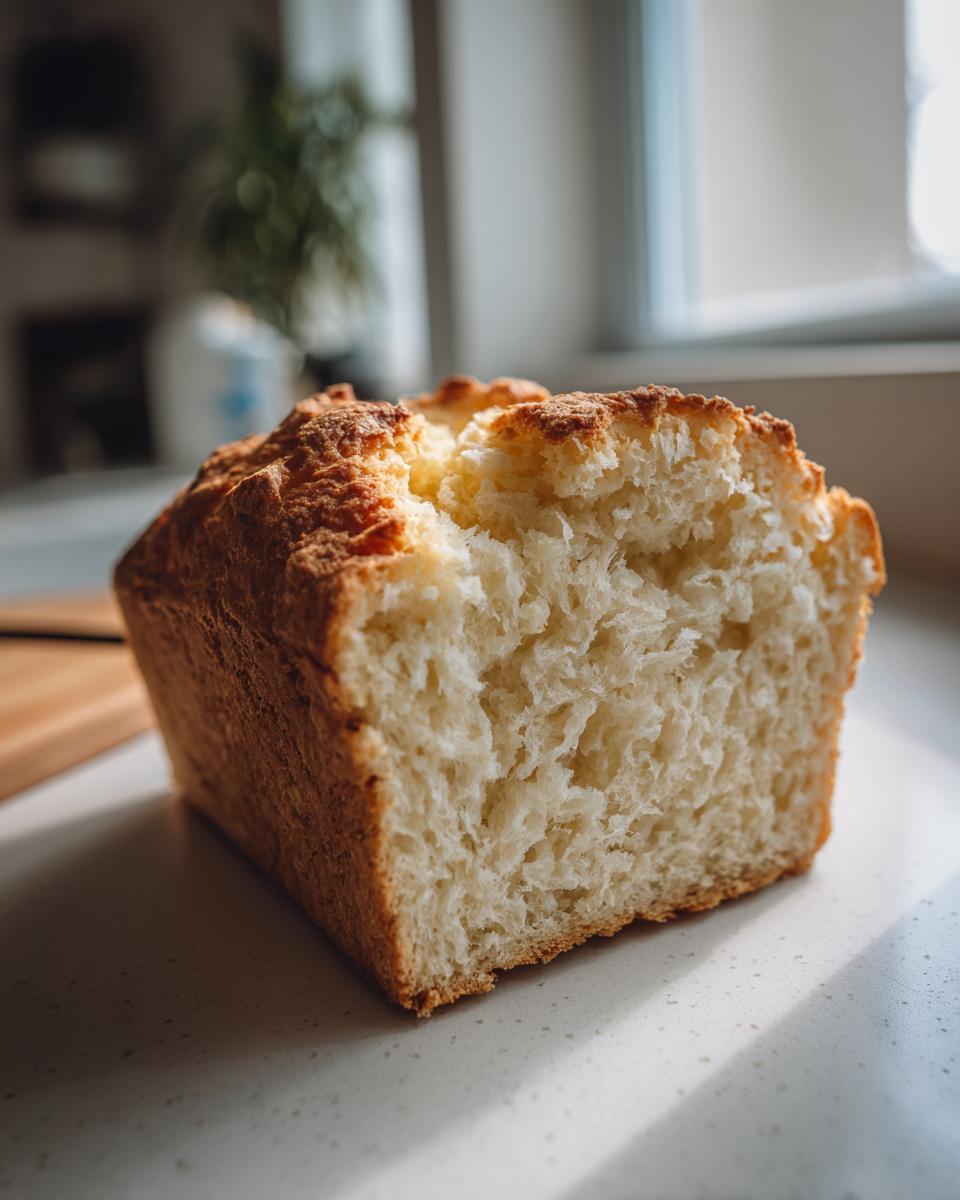
Achieving that perfect texture—a crumb that is tender inside and wonderfully crisp outside—is what separates an okay loaf from the best batch of easy homemade bread you’ve ever made. I learned this while perfecting my fluffy southern biscuits: temperature control is everything! If your beer is too cold, it won’t react as vigorously with the self-rising flour, which means an inferior rise. Always, always use room temperature beer.
Pan preparation is the second pillar of texture. If you skip the greasing and flouring, you risk tearing the bottom crust when you try to remove it. A well-greased then lightly floured loaf pan ensures the crust stays intact, giving you that beautiful lift. Then comes the cooling—don’t rush it! Letting the bread sit in the warm loaf pan for those initial 10 minutes allows the structure to set completely. If you turn it out onto the rack too soon, the steam trapped underneath can make the bottom soggy, and we want a nice, firm base for pairing with our stews and soups!
Simple Variations for Savory Beer Bread
While the basic three-ingredient beer bread is wonderful for dipping into sweet jams, I know a lot of you are looking for something more along the lines of a dinner accompaniment. That’s where making a savory beer bread comes in, and it’s just as easy! If you want to skip the sugar completely—which I often do when serving this alongside a main dish—you just swap that quarter cup of sugar for about a teaspoon of good salt.
But let’s talk about the real game-changer: cheese. If you have a cup of sharp cheddar or Monterey Jack sitting around, add it right into the dry ingredients when you begin mixing. It melts beautifully into the batter and creates incredible flavor pockets.
This savory version pairs perfectly with a hearty bowl of chili or my creamy cheddar potato soup. If you need more cheddar inspiration, check out the recipe from Golden Home Meals about their cheddar beer bread for some extra ideas on making it extra cheesy!
Serving Suggestions for Your Warm Beer Bread
Once your beer bread comes out of the oven, the only question left is what to enjoy it with! Since this is such a fantastic, fast quick side dish, I usually look for something that needs a great piece of bread for soaking up juices. It is absolutely marvelous alongside a big bowl of hearty chili or any thick, comforting stew you’ve prepared. Honestly, I don’t think it needs much fuss to shine.
If you’re feeling fancy, you can serve it with my recipe for creamy baked garlic bread dip, but most often, my family just grabs a warm slice and slathers it with salted butter. That crisp crust meets that soft, yeasty interior—it’s perfection right there on your plate. It’s simple, satisfying comfort food that requires almost no effort from you!
Storage and Reheating Instructions for Leftover Beer Bread
Even this fast homemade bread sometimes sticks around, and that’s okay! Since this is a quick bread, it’s best stored at room temperature, not in the fridge, which can dry it out faster. Wrap the cooled loaf tightly in plastic wrap first, and then tuck it into an airtight container or a zippered bag. It usually stays wonderfully soft for about three days this way.
Now, if you want to revive that glorious crust? Don’t microwave it! That only makes it chewy. Instead, slice whatever you plan to eat and pop those pieces directly onto a baking sheet. Warm them in a 350-degree oven for just about 5 to 7 minutes. That heat brings back that perfect, slightly crunchy exterior so you can enjoy it like it just came out of the oven!
Frequently Asked Questions About Making Beer Bread
I always get questions when I share this recipe because folks are amazed at how little effort goes into such a great loaf. It’s definitely one of my favorite beginner baking projects because it takes out all the guesswork! Here are a few things people ask me most often about this beer bread.
What if I don’t have self-rising flour? Can I still make this bread?
You absolutely can, but you have to adjust! Self-rising flour already has the leavening built in, which is the heart of our baking without yeast magic. If you only have regular all-purpose flour, you need to add baking powder and salt yourself. For every cup of regular flour, add 1 1/2 teaspoons of baking powder and about 1/4 teaspoon of salt. Mix those into your dry ingredients along with the sugar, and you’re back in business! It’s a simple swap.
Does the alcohol cook out of the beer bread?
Yes, most of it does! When you bake at 375 degrees, by the time the loaf is done baking through, the alcohol content is negligible. A lot of the carbonation gets released as bubbles, obviously, but any residual alcohol cooks right off. That said, if you’re worried about it or if you’re baking for little ones, you can use non-alcoholic beer or even club soda or sparkling cider instead. Just know the flavor profile might change slightly!
Can I use a dark stout or a unique craft beer?
You can, but tread lightly! While I love craft beer, very dark, bitter stouts or super hoppy IPAs can seriously change the flavor profile of this quick bread recipe. They often result in a bread that tastes a bit bitter or earthy rather than soft and comforting. Stick to lagers, pilsners, or pale ales for the best results that complement the simple sugar. For more fun baking ideas that use bubbles, you might want to peek at my recipe for an easy punch!
How long does the alcohol stay active in the recipe if I’m worried?
The alcohol converts to steam and cooks off during baking, just like in any baked good that calls for wine or liquor. If you want to read more about how simple ingredients make an amazing loaf, check out the details over at Secret Chicken Recipe. It’s such a forgiving recipe!
Estimated Nutritional Data for This Beer Bread Recipe
Now, I’m not a nutritionist by any means—I’m a home cook who loves simple, delicious food! So, please take these numbers with a grain of salt, just like you would with any recipe you find online. Since beer bread can vary so much depending on the brand of beer you introduce into the dough, these figures are just an estimate based on standard serving sizes. This information is just here to give you a general idea of what you are looking at calorie-wise for this wonderful, easy loaf.
Remember, these values assume you are sticking to the core 3 ingredients when slicing this loaf into eight generous servings. If you load it up with butter every time, those numbers will naturally shift a little bit!
- Calories: Around 210 per slice
- Fat: About 2 grams
- Protein: Roughly 5 grams
- Carbohydrates: Approximately 44 grams
- Sugar: About 5 grams
This is why I love this quick side dish so much for regular meals; it uses simple pantry items and isn’t loaded down with heavy fats or excessive sugar, especially since we skip the optional glaze. As always, using a lighter beer or even club soda instead of beer might slightly alter the final count, so treat this as a helpful guide, not a strict nutritional label!
PrintUltimate 3-Ingredient No-Yeast Beer Bread
Make this incredibly easy, no-yeast beer bread with just three pantry staples. You mix the ingredients and bake immediately for a quick side dish with a crisp crust and soft center.
- Prep Time: 5 min
- Cook Time: 50 min
- Total Time: 55 min
- Yield: 8 servings 1x
- Category: Side Dish
- Method: Baking
- Cuisine: American
- Diet: Vegetarian
Ingredients
- 3 cups self-rising flour
- 1/4 cup granulated sugar
- 1 (12 ounce) can of beer, room temperature
- 4 tablespoons unsalted butter, melted (optional, for topping)
Instructions
- Preheat your oven to 375 degrees Fahrenheit. Grease and flour a standard 9×5 inch loaf pan.
- In a large bowl, combine the self-rising flour and sugar. Mix these dry ingredients together well.
- Pour the entire can of beer into the dry mixture. Stir just until the ingredients are combined. Do not overmix; a few lumps are fine.
- Pour the batter into your prepared loaf pan.
- If you are using butter, drizzle the melted butter evenly over the top of the batter.
- Bake for 45 to 55 minutes, or until the top is golden brown and a toothpick inserted into the center comes out clean.
- Let the bread cool in the pan for about 10 minutes before turning it out onto a wire rack to cool completely. Slice and serve warm.
Notes
- Use any type of beer you have on hand; lagers or pale ales work well. The carbonation helps the bread rise since there is no yeast.
- For a savory beer bread, skip the sugar and add 1 teaspoon of salt and 1 cup of shredded cheddar cheese to the dry ingredients.
- This quick bread recipe is perfect served alongside soups or stews.
Nutrition
- Serving Size: 1 slice
- Calories: 210
- Sugar: 5
- Sodium: 350
- Fat: 2
- Saturated Fat: 1
- Unsaturated Fat: 1
- Trans Fat: 0
- Carbohydrates: 44
- Fiber: 1
- Protein: 5
- Cholesterol: 0