
It’s that time of year again, isn’t it? The air gets crisp, the leaves turn those beautiful colors, and suddenly everyone starts looking for that perfect, quintessential holiday bake. For me, growing up in the Midwest, nothing says ‘home’ quite like a slice of perfectly set pumpkin pie. This isn’t some fancy, complicated dessert; this is the definitive, easy-to-follow classic pumpkin pie recipe designed to give you that unbelievably creamy pumpkin filling every single time. Trust me, when you bake this, you’re tasting decades of reliable kitchen wisdom from my own family tradition. If you want to know more about where this confidence comes from, you can always read a little bit about me over at the heart of our kitchen!
- Why This Classic Pumpkin Pie Recipe is Your New Holiday Favorite
- Gathering Your Ingredients for the Classic Pumpkin Pie Recipe
- How to Make Pumpkin Pie Using This Classic Pumpkin Pie Recipe
- Tips for the No Fail Pie Recipe and Perfect Setting
- Serving Suggestions for Your Classic Pumpkin Pie Recipe
- Make Ahead Holiday Pies and Storage for This Classic Pumpkin Pie Recipe
- Frequently Asked Questions About Your Classic Pumpkin Pie Recipe
- Estimated Nutritional Data for This Classic Pumpkin Pie Recipe
- Share Your Old Fashioned Pumpkin Pie Creations
Why This Classic Pumpkin Pie Recipe is Your New Holiday Favorite
I bake hundreds of things every year, but there are just a select few that I keep coming back to because they just *never* fail me, and this pie is definitely one of them. You need reliability when the holidays roll around, right?
- It’s truly a No Fail Pie Recipe once you follow the two-stage baking heat!
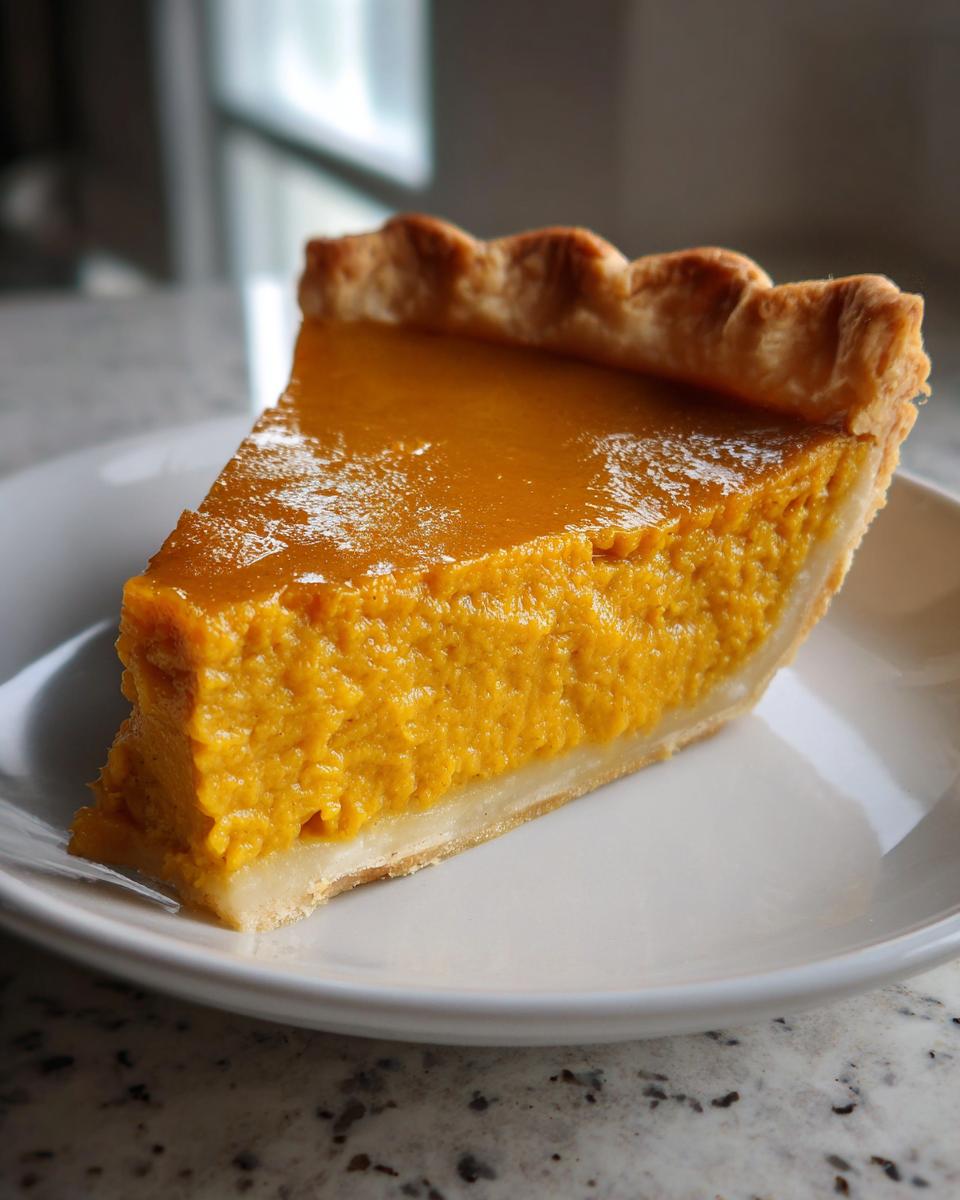
- It delivers that gorgeously creamy pumpkin filling that people dream about.
- The spices are mixed exactly the way my grandmother taught me for that Old Fashioned Pumpkin Pie taste.
Achieving the Perfect Creamy Pumpkin Filling
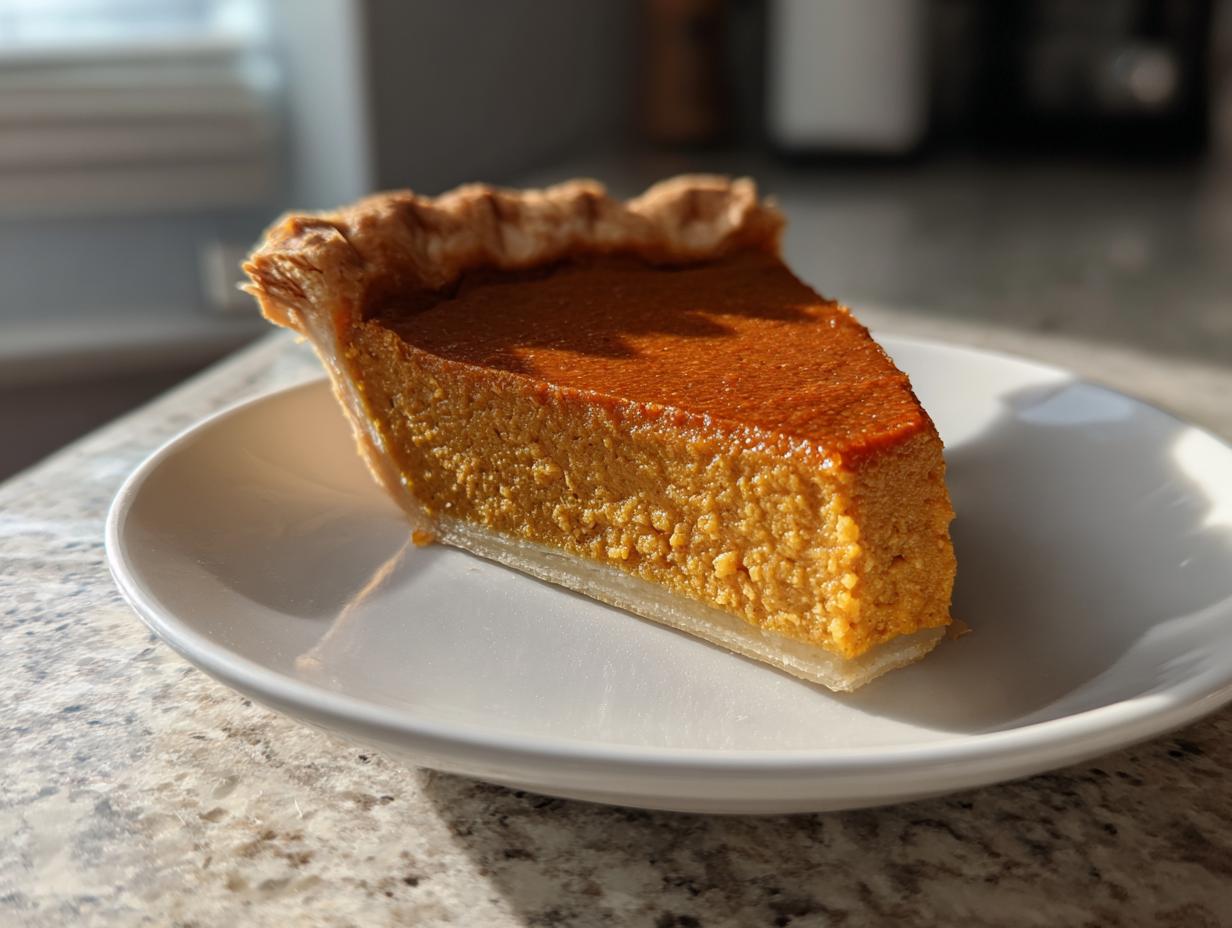
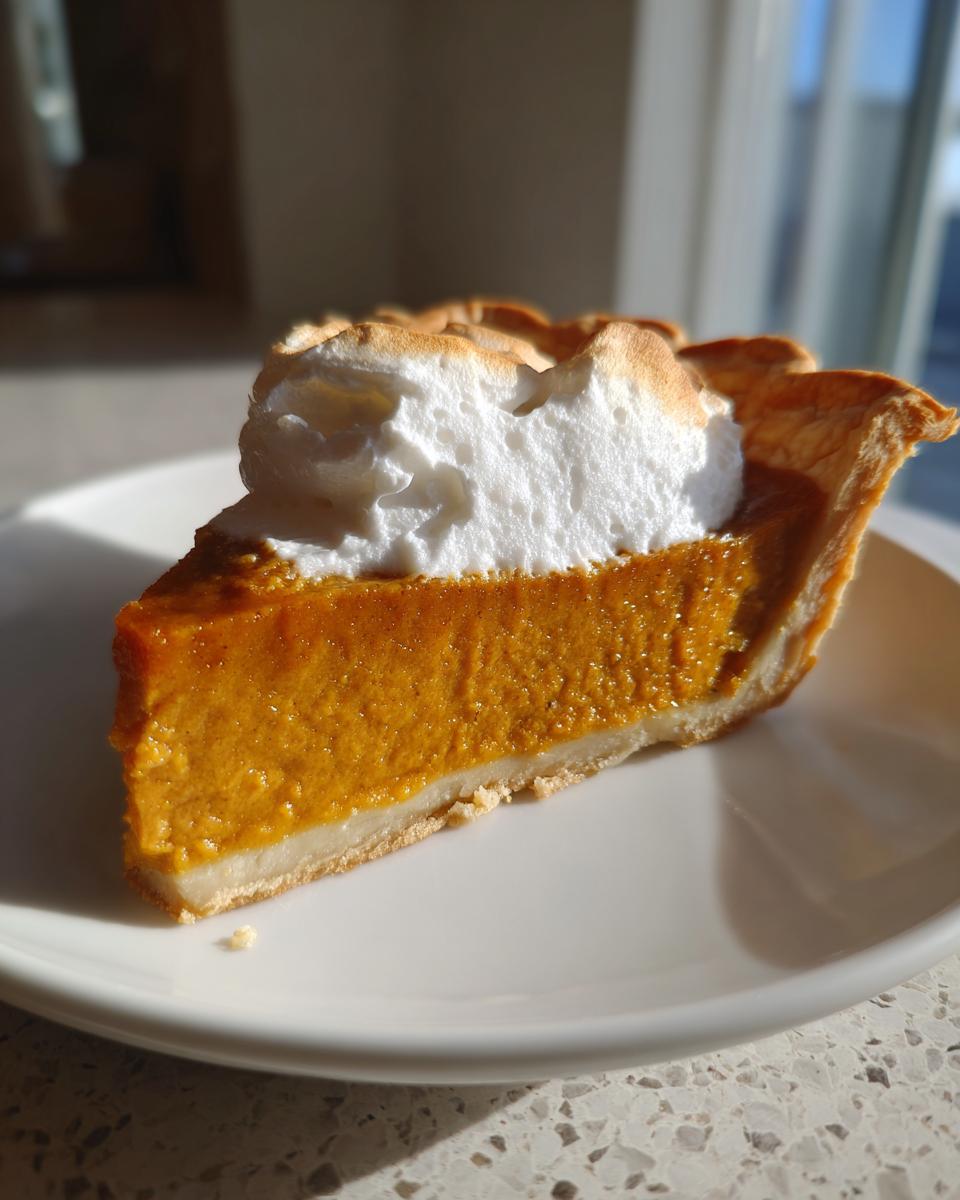
Listen, we aren’t messing around with runny fillings. That amazing, velvety texture comes straight from using evaporated milk—not regular milk—which is much richer. When that milk hits the lightly beaten eggs and bakes slowly, it sets up into this sturdy yet incredibly smooth custard. That’s the secret to maintaining that classic, luxurious mouthfeel!
The Best Spice Blend for Pumpkin Pie
You won’t find any exotic additions here! We stick to the basics that evoke pure comfort. It’s all about the comforting blend of cinnamon, ginger, nutmeg, and just a whisper of cloves. When you mix those traditional flavors into the smooth pumpkin, it smells like Thanksgiving morning itself. It’s what gives you that authentic flavor profile when you bite into that Old Fashioned Pumpkin Pie.
Gathering Your Ingredients for the Classic Pumpkin Pie Recipe
Okay, gathering the supplies is half the fun! This recipe keeps things wonderfully straightforward—it’s really an Easy Holiday Pie Recipe because we rely on great canned pumpkin puree, which saves so much hassle. Don’t you just love that? You’ll need one full 15-ounce can of pure pumpkin, two large eggs that you need to lightly beat first—don’t whisk them hard, just enough to mix the yolk and white—and that lovely can of evaporated milk. Then, we bring out the sugar and our perfectly balanced spices. If you’re ever looking for another simple win in the kitchen, check out my recipe for easy homemade chocolate pudding, but for pie assembly, let’s stick to the essentials!
Pie Crust Considerations for a Flaky Pie Crust Tutorial
For the crust, I’ve specified “unbaked,” which means you can use your favorite store-bought shell, or if you’re feeling ambitious and want that award-winning flaky pie crust tutorial level of goodness, make it from scratch! If you go homemade, remember my cardinal rule: keep everything icy cold. Butter, water—cold! It stops the gluten from working too hard and gives you those crisp, airy layers.
How to Make Pumpkin Pie Using This Classic Pumpkin Pie Recipe
This is where the magic really happens, and I promise you, it’s not scary at all! First things first: get that oven humming at 425 degrees F. You’re going to take your unbaked pie crust—whether it’s a beauty you made or one you grabbed—and set it right into your 9-inch plate. Now, pay attention to the mixing because this prevents a sad, grainy filling! You want to whisk the wet stuff first in a big bowl: that pumpkin puree, the creamy evaporated milk, and your two eggs that you just gave a little light beat. Whisk it until it looks happy and uniform. Then, in a separate little bowl, I mix all my dry sugar and spices together—this is key for even flavor!
Once the dry and wet teams are ready, you gradually introduce the spices into the pumpkin mixture. Don’t dump it all in at once! Whisk gently until you see no streaks of sugar. Pour that lovely, smooth filling right into your prepared crust. This is the foundation for what will become the Best Traditional Pumpkin Pie.
If you need some quick ideas for a busy morning, I have some great tips over on my easy breakfast recipes page, but for now, focus on this pie!
Baking Steps for the Best Traditional Pumpkin Pie
You’ll start hot! Bake it at that high 425 degrees F for exactly 15 minutes. This shocking heat helps set the bottom crust so it doesn’t get soggy. Then, and this step is non-negotiable, lower the temperature down to 350 degrees F. Let it bake another 35 to 40 minutes. To check if it’s done—and this is how you avoid that dreaded crack—slide a thin knife or a toothpick right near the center. If it comes out clean, your creamy pumpkin filling has set perfectly! Pull it out gently.
Tips for the No Fail Pie Recipe and Perfect Setting
Now that you’ve wrestled that pie out of the oven—gently, I hope!—we need to talk about making sure it looks as good as it smells. Remember those handy notes I added to the recipe card? They’re my personal assurances that you’ve got a no fail pie recipe on your hands. The biggest thing to prevent cracking is to respect the cooling time. Don’t even *think* about slicing into it right away!
If the edges of your crust started looking a bit too toasty while it was baking, just pull out a small piece of aluminum foil and loosely drape it over those edges. That protects them beautifully. The most important part for that signature smooth texture is letting it chill completely—at least four hours on a wire rack before you even think about moving it to the fridge. This allows the filling to truly set up into that gorgeous, rich custard. If you need more baking wisdom, I share a lot of my favorite tips, like when I make my melt-in-your-mouth butter cookies!
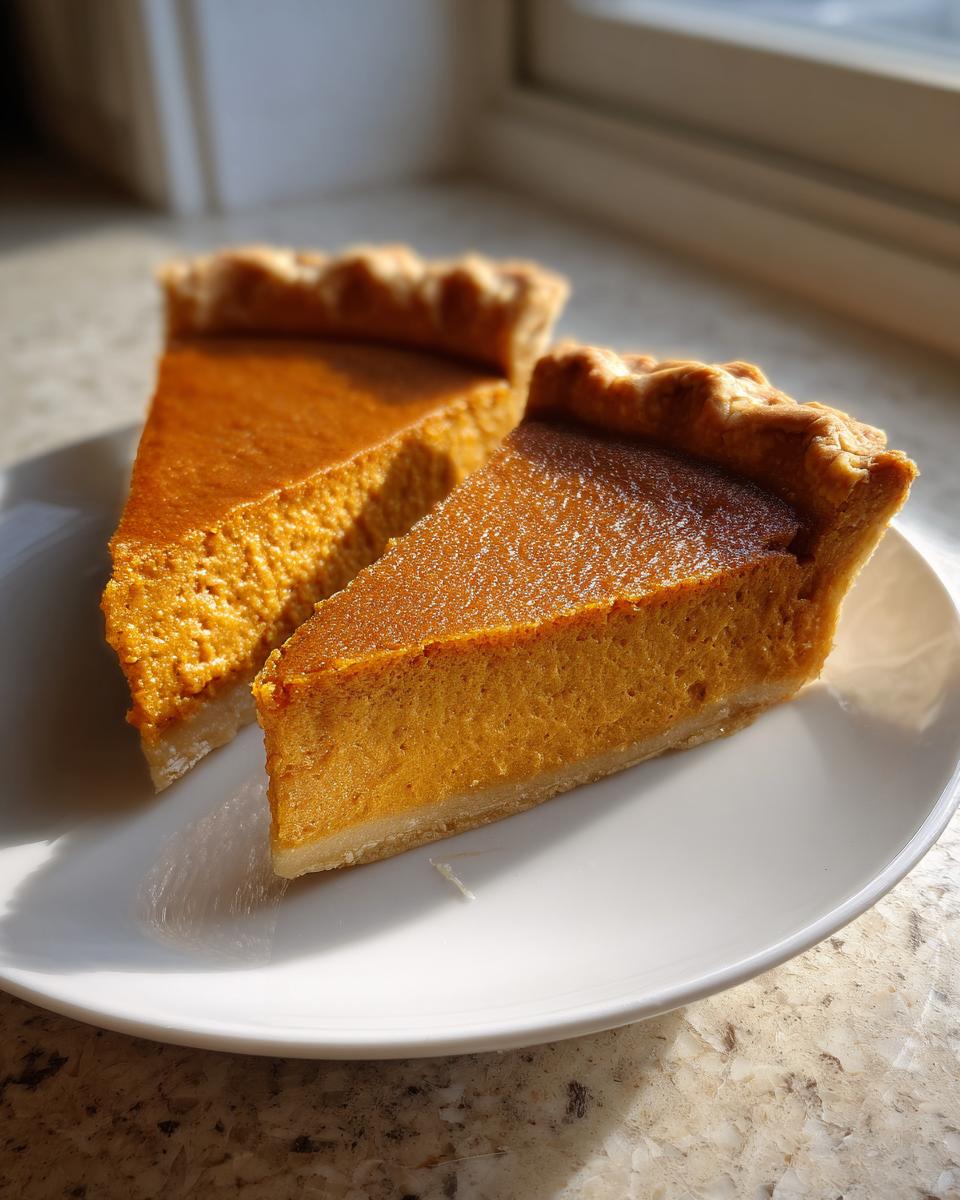
Serving Suggestions for Your Classic Pumpkin Pie Recipe
You’ve done the hard work getting that beautiful, creamy set, so now we need to talk about the finishing touch! A slice of this classic pumpkin pie recipe just screams for a dollop of luscious topping. Honestly, to complete the ultimate Comfort Food Pie experience, you have to make your own whipped cream. Seriously, it takes five minutes, and the taste difference is huge! It just elevates the whole slice.
Pairing This Thanksgiving Dessert Ideas Star
If you’re looking for the perfect drink companion, keep it simple. A hot cup of coffee is always my go-to, or maybe a mug of spiced apple cider—it just echoes the warm notes in the pie. Either way, let the pie be the star of your Thanksgiving Dessert Ideas spread. If you want another beverage idea that’s cozy, check out my recipe for the best homemade rich, creamy hot chocolate!
Make Ahead Holiday Pies and Storage for This Classic Pumpkin Pie Recipe
Planning ahead is crucial when you’re juggling a huge holiday meal, isn’t it? The good news is that this classic pumpkin pie recipe is fantastic for getting done early. Because that filling needs time to set properly for that best texture, I actually prefer making mine a day ahead of time. You can whip it up the day before your big meal, keep it covered tightly in the fridge, and it’s one less thing stressing you out on Thanksgiving morning!
Once it’s completely cool—don’t rush this part!—wrap the pie plate loosely with plastic wrap. You don’t want the surface to dry out in the fridge. You can safely keep this pie stored in the refrigerator for about three to four days. Honestly, it tastes just as good on day three as it does fresh! Check out my guide on make ahead holiday pies for more tips on prepping your whole dessert lineup in advance.
Frequently Asked Questions About Your Classic Pumpkin Pie Recipe
I know you might have some last-minute worries before you slide this beautiful dessert into the oven, so let’s clear those up quickly! Preparing an Old Fashioned Pumpkin Pie should feel wonderful, not stressful. Almost everyone wonders about the milk substitution, and whether they can skip those crucial temperature changes! I want this to be the easiest fall baking essential you make all season long.
Can I substitute evaporated milk in this Classic Pumpkin Pie Recipe?
You certainly can try, dear reader! If you must, heavy cream is the closest match for richness, but it won’t behave exactly the same way in the oven. Regular milk just doesn’t have the necessary solids to create that signature, super creamy pumpkin filling, so it might end up a little softer than you hoped.
What is the best way to prevent cracks in the Creamy Pumpkin Filling?
This is the million-dollar question! Honestly, cracks come from baking too long or removing the pie from a hot environment too fast. You must stick to that gradual temperature reduction—the 425°F blast followed by the 350°F gentle bake. Let it cool slowly on the counter before chilling; patience is key to a smooth surface!
Estimated Nutritional Data for This Classic Pumpkin Pie Recipe
Now, I want to be super clear: since I bake mine in my home kitchen with ingredients specific to my pantry, these numbers are just ballpark estimates based on the recipe as written, serving 8 people. They are a good guide for your classic pumpkin pie recipe, but perfection depends on the brands you use! We know the goal is comfort, not counting every calorie, but it’s nice to peek!
- Serving Size: 1 slice
- Calories: 310
- Fat: 15g
- Carbohydrates: 40g
- Protein: 6g
- Sugar: 28g
This is just the data estimate for one slice of that delicious, old fashioned pumpkin pie!
Share Your Old Fashioned Pumpkin Pie Creations
Well, that’s it! You’ve successfully baked Carla’s Classic Pumpkin Pie Recipe, and I sincerely hope it tastes just like home for you. Now, I would absolutely love to hear about it! Did you manage that perfect, buttery crust? Tell me how the family loved that old fashioned pumpkin pie flavor in the comments below. If you’re feeling extra proud, I always adore seeing your beautiful bakes—feel free to reach out via my contact page to share a picture. And if you want to check out another popular version of this classic, take a peek at the lovely recipe from Kristine here: Classic Pumpkin Pie!
PrintCarla’s Classic Homemade Pumpkin Pie
Make a traditional, creamy pumpkin pie with perfectly spiced filling and a flaky crust. This recipe delivers the comforting flavor of American home cooking for your holiday table.
- Prep Time: 15 min
- Cook Time: 55 min
- Total Time: 70 min
- Yield: 8 servings 1x
- Category: Dessert
- Method: Baking
- Cuisine: American
- Diet: Vegetarian
Ingredients
- 1 unbaked 9-inch pie crust (homemade or store-bought)
- 1 (15 ounce) can pure pumpkin puree
- 1 (12 ounce) can evaporated milk
- 2 large eggs, lightly beaten
- 3/4 cup granulated sugar
- 1 teaspoon ground cinnamon
- 1/2 teaspoon ground ginger
- 1/4 teaspoon ground nutmeg
- 1/4 teaspoon salt
- 1/4 teaspoon ground cloves
Instructions
- Preheat your oven to 425 degrees F. Place your unbaked pie crust into a 9-inch pie plate.
- In a large bowl, whisk together the pumpkin puree, evaporated milk, and eggs until smooth.
- In a separate small bowl, combine the sugar, cinnamon, ginger, nutmeg, salt, and cloves. Mix these dry spices well.
- Gradually add the spice and sugar mixture to the pumpkin mixture, whisking until everything is fully incorporated and smooth.
- Pour the filling into the unbaked pie crust.
- Bake at 425 degrees F for 15 minutes.
- Reduce the oven temperature to 350 degrees F. Continue baking for 35 to 40 minutes, or until a knife inserted near the center comes out clean.
- Cool the pie completely on a wire rack before slicing. Serve chilled or at room temperature.
Notes
- For a flakier crust, keep all ingredients cold when preparing it from scratch.
- If the crust edges start to brown too quickly during baking, cover them loosely with aluminum foil strips.
- This pie tastes best after it has chilled for at least 4 hours, allowing the creamy filling to set fully.
- Serve with homemade whipped cream for the best experience.
Nutrition
- Serving Size: 1 slice
- Calories: 310
- Sugar: 28g
- Sodium: 250mg
- Fat: 15g
- Saturated Fat: 7g
- Unsaturated Fat: 8g
- Trans Fat: 0g
- Carbohydrates: 40g
- Fiber: 2g
- Protein: 6g
- Cholesterol: 65mg